How to Make a Spartan Helmet | The Odyssey Costume
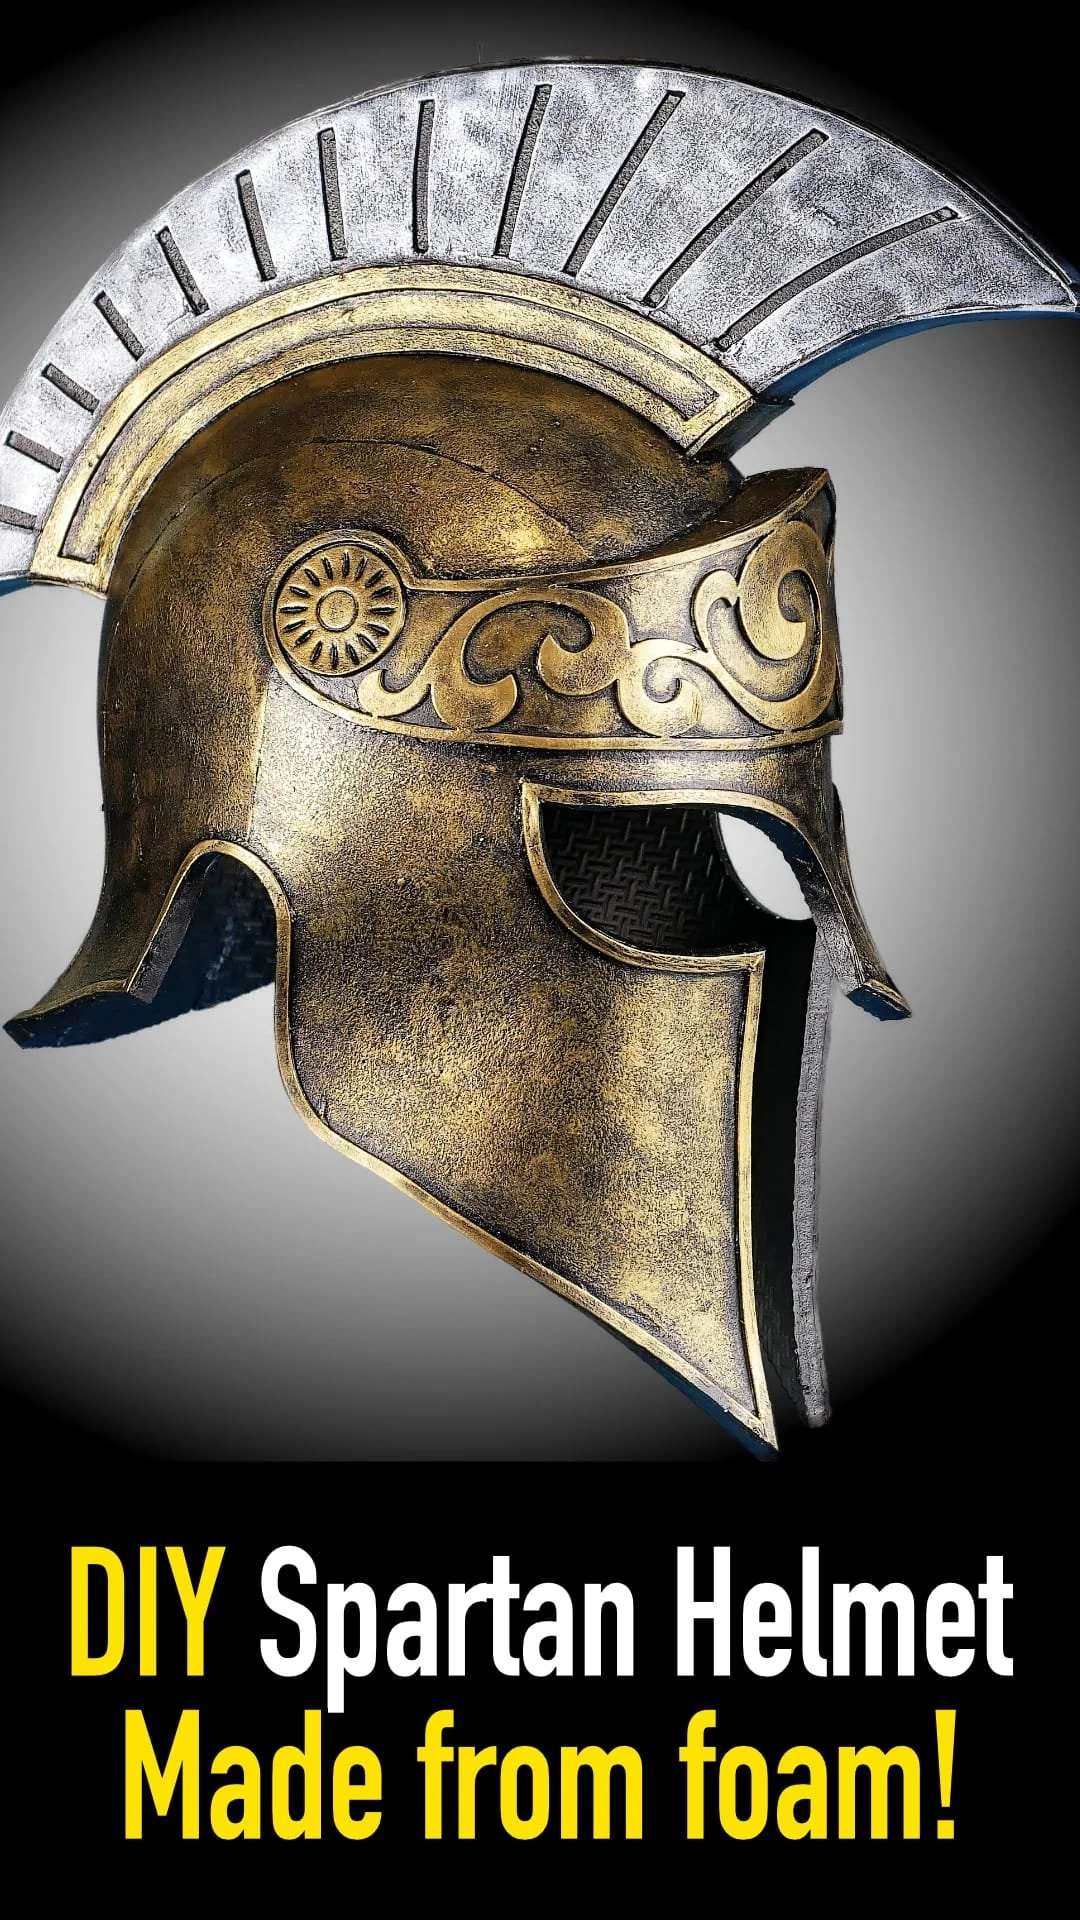
In this tutorial overview, I'll show you how to make your own Spartan helmet that would feel right at home on the Odyssey movie set. It's a great pattern that easily adapts to other helmet styles as well. The pattern has multiple sizes to fit most heads from children to large headed adults, and it's a pretty quick build if you have a bit of experience or are good with your hands.
This is a shortened overview of the instructions, you can find in-depth instructions in the purchased Spartan Helmet Pattern
Step 1: Measure Your Head
I’ve tried to take the guesswork out of making a helmet that fits you on the first try, so grab a flexible measuring tape and measure around your head. You want to measure at the spot a hat would sit. Look at the chart (included in the pattern) to find the size you will use. I currently have 5 sizes in the pattern- Extra Small to Extra Large.
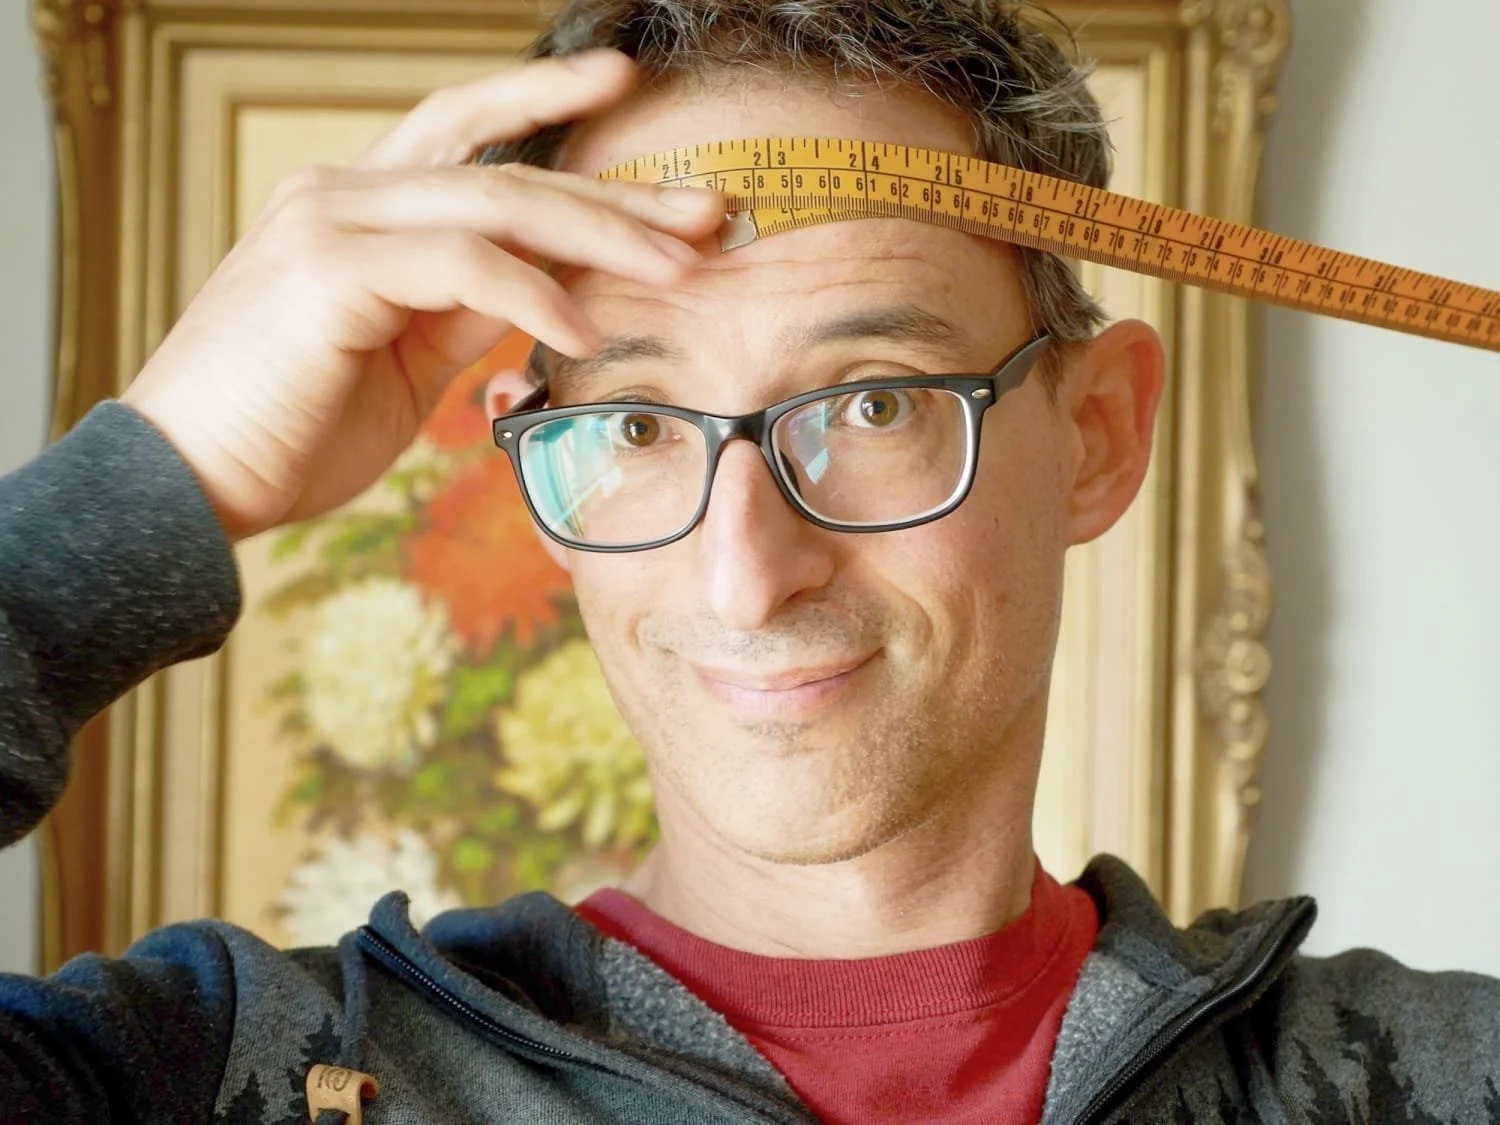
Measure your head where a ball cap would sit.
Step 2: Print and Tape the Pattern Together
Here’s the most important part of getting a helmet that fits. You’ve got to make sure the patterns print at 100% or actual size.
At this time I haven’t found any phone apps that allow you to specify actual size so I suggest printing from a laptop or desktop computer. (If you need a program to print from, I find Adobe Acrobat Reader DC works well, and is free)
After printing make sure to measure the print guides to verify that they are the right size.
If you don’t print at actual size, the printer will likely scale down the print due to the fact that I make my patterns to work on both U.S. letter as well as A4 paper sizes.
Now you can tape your printed pages together to make the complete full sized pattern.
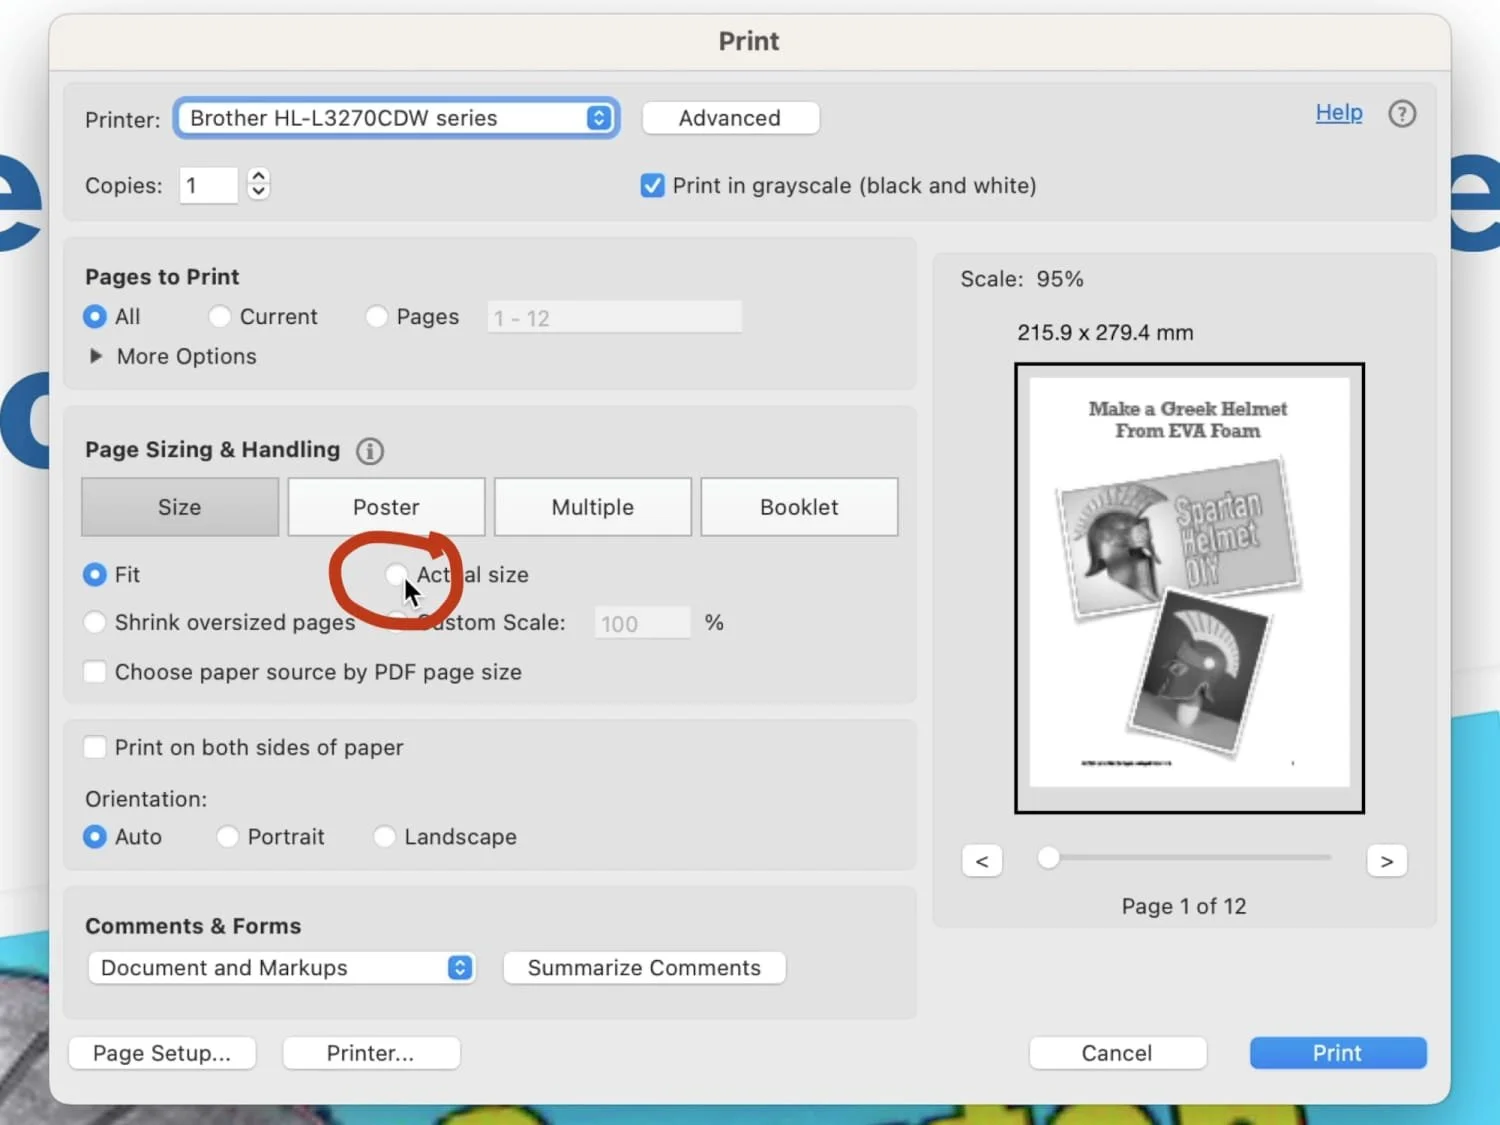
Make sure to print at actual size or “100%”
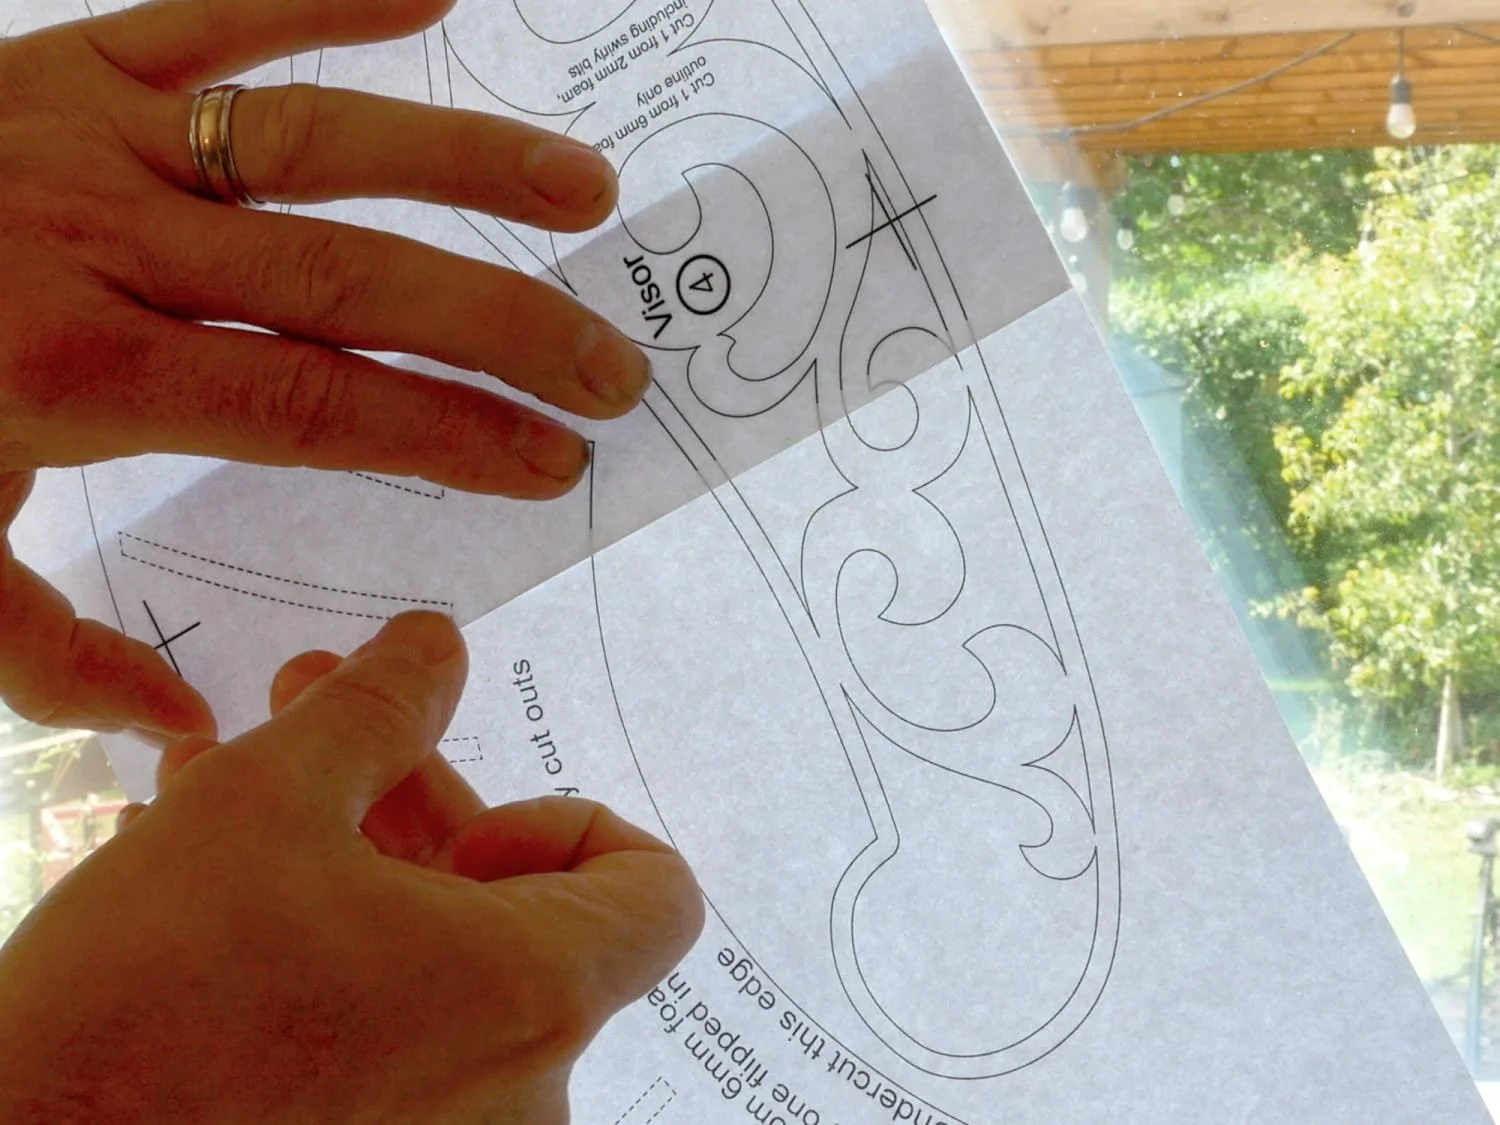
Overlap crosses and tape the pattern together
Step 3: Trace the Pattern Onto Some Foam
Use scissors to cut out the paper pattern, just barely leaving the black line visible.
Each pattern piece has instructions on it as to how many times it will need to be traced and whether you will need to flip the pattern piece over for the second tracing. Whenever you trace a flipped pattern piece, it is helpful if you label it with a “B” so that you know which are which.
The main helmet consists of just three pattern pieces that are mirrored for a total of six. I recommend just cutting these six pieces from your foam first so you can assemble them and verify that your helmet actually fits.
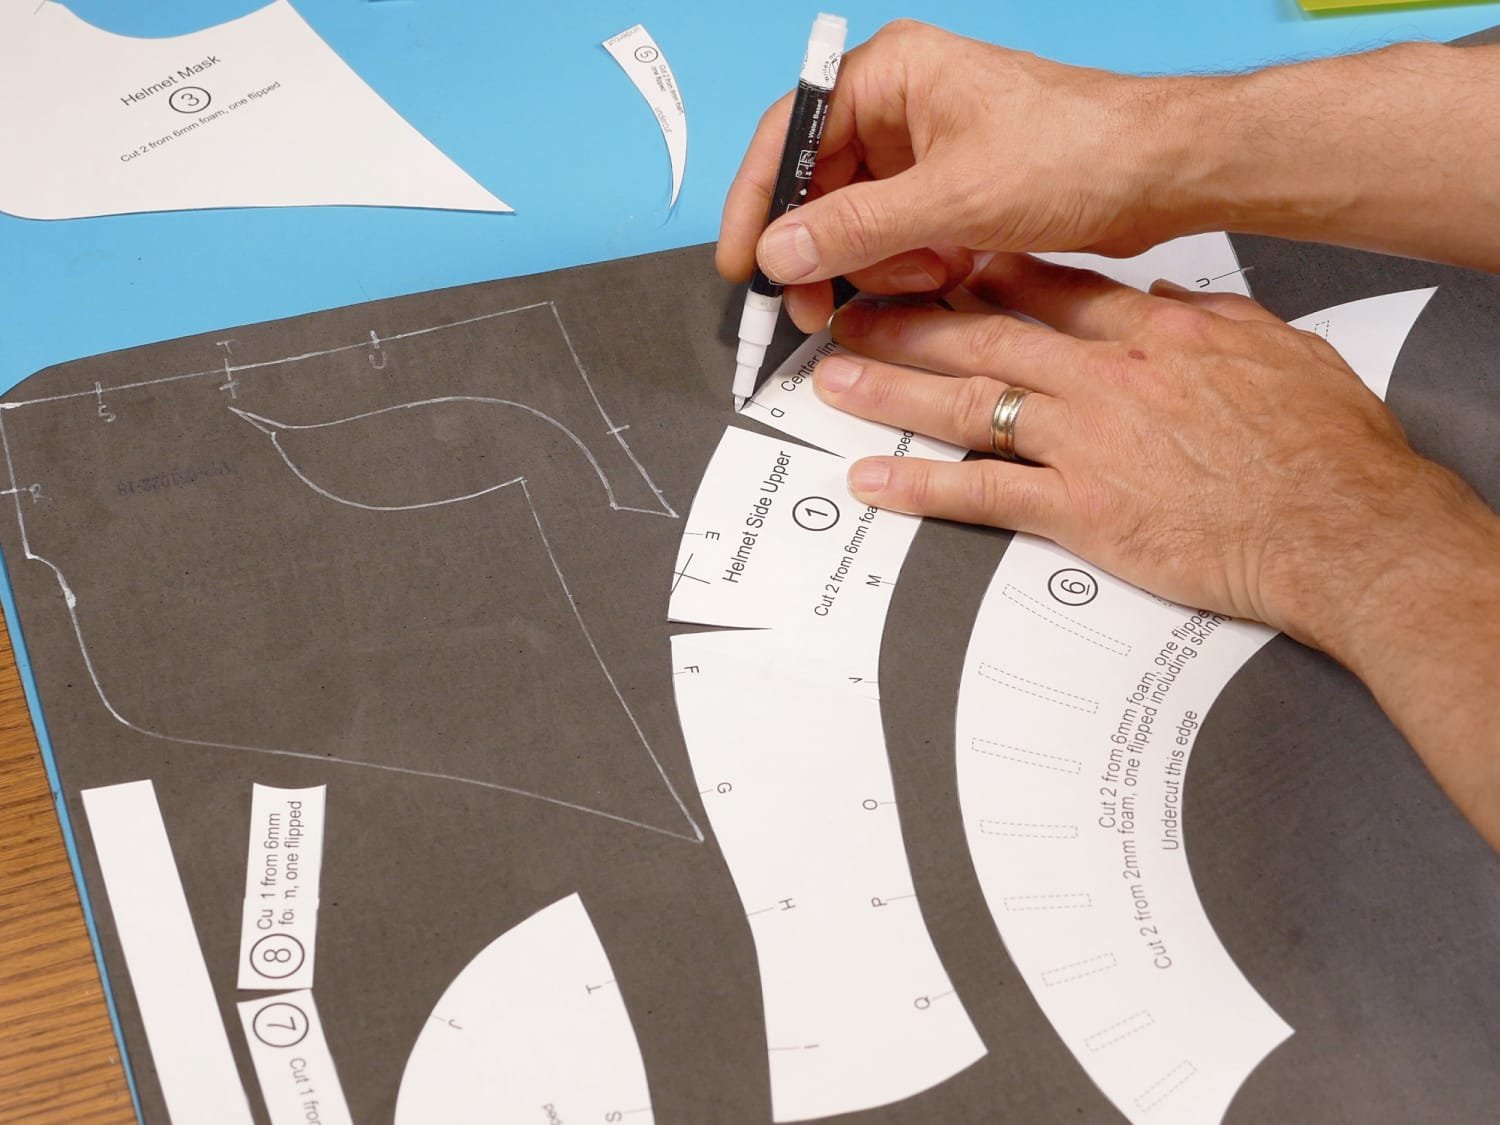
Tracing pattern pieces with white paint pen
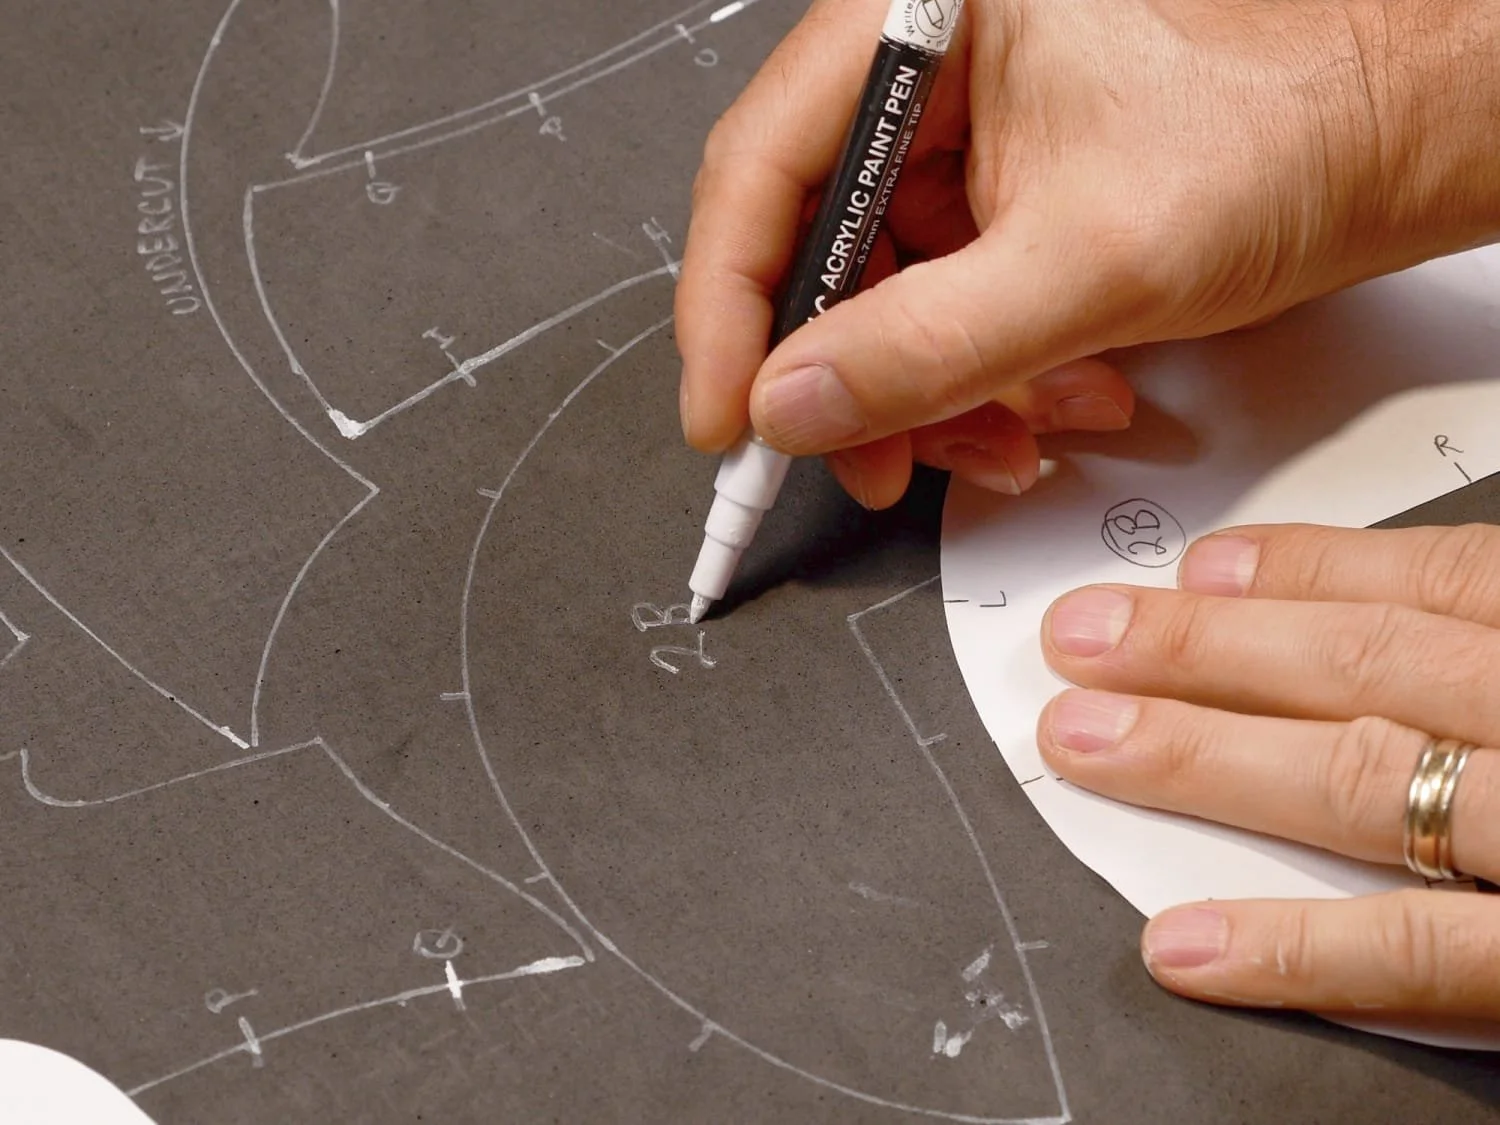
Label the flipped pieces so you don’t mix them up!
Step 4: Cut the Pieces Out
For getting a good result cutting EVA foam, you absolutely need a really sharp knife. I recommend a utility knife for most of the cutting - the ones with the blade that can click in and out. I also find a #11 scalpel really useful for any sharp turns that the wider utility knife can’t do. Get lots of spare blades as well (or learn to sharpen your own and save $$)
Most of the pieces get cut vertically, but watch for piece 3,5,6,and 9 as those need to be cut with the knife held at an angle.
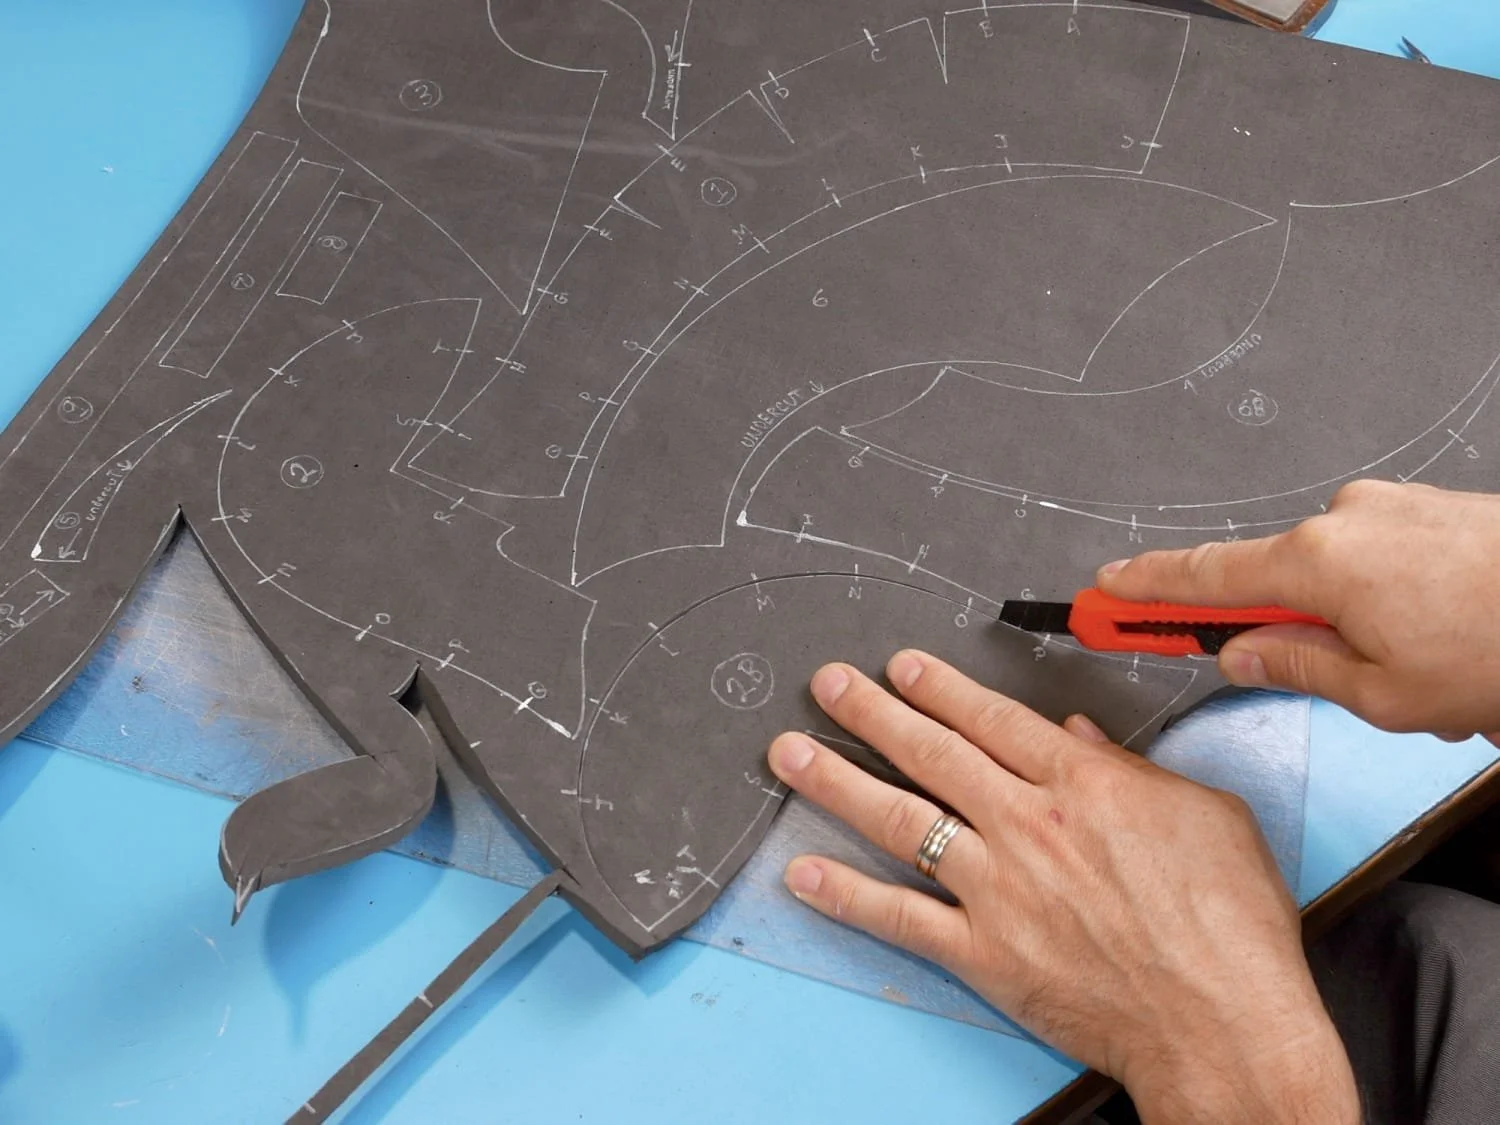
Cut directly on the traced line
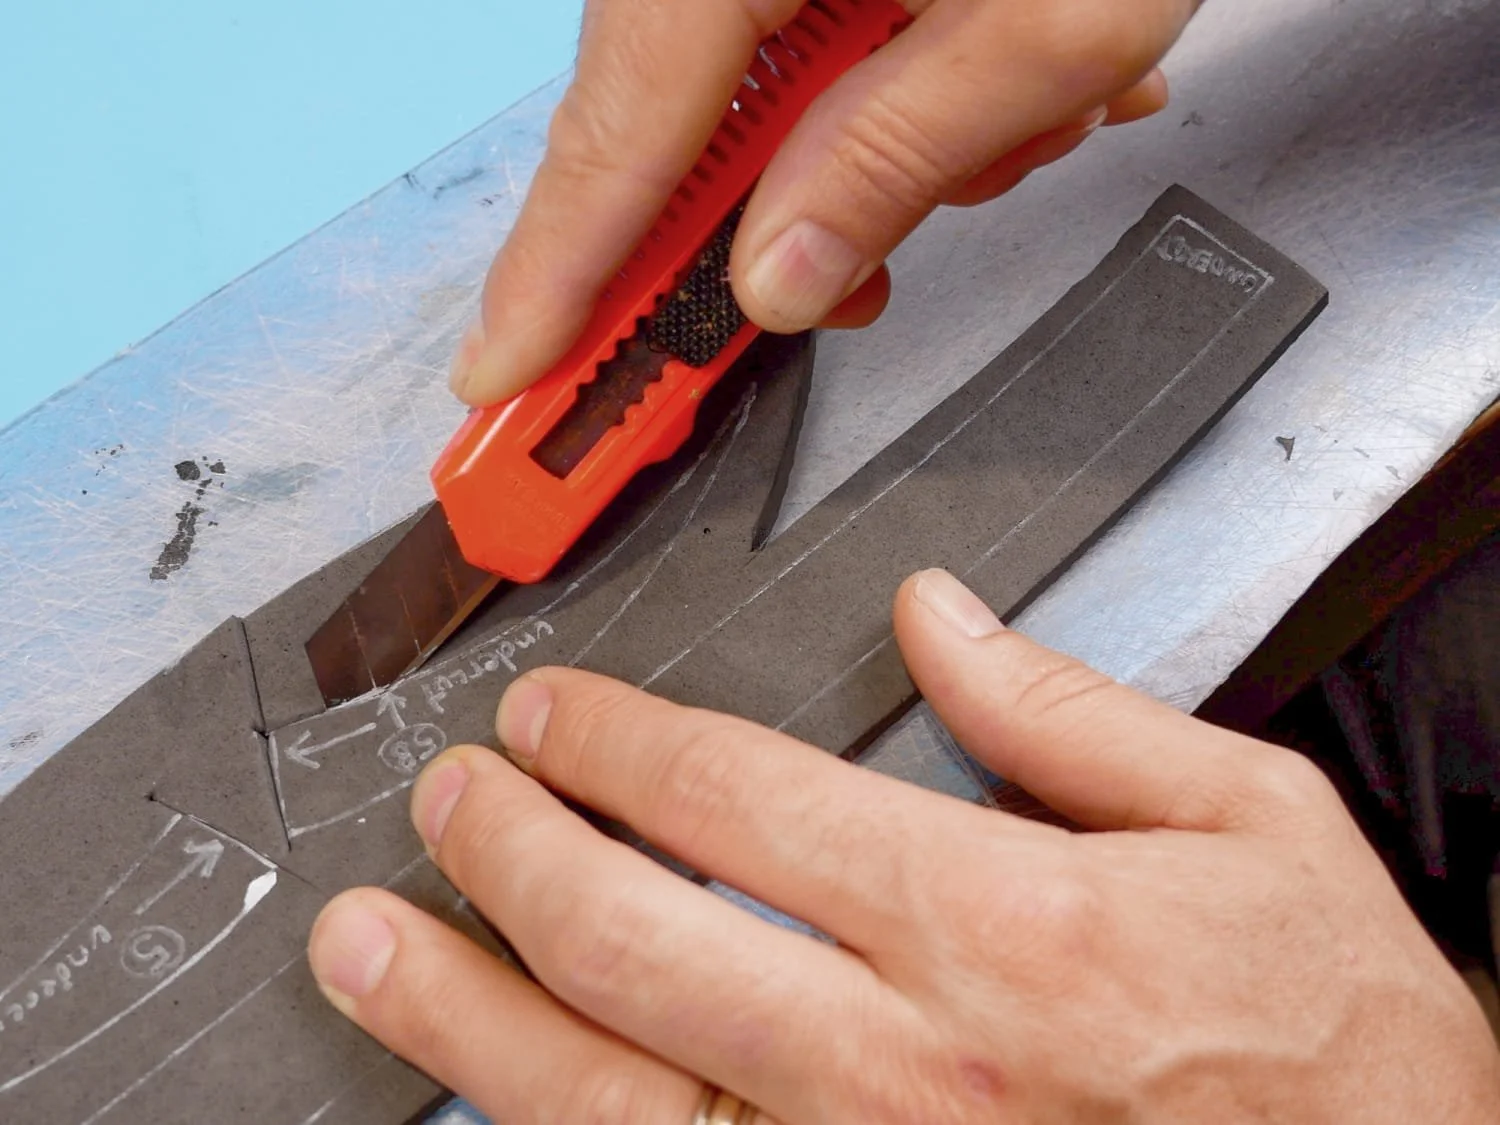
Some pieces are cut with the knife at an angle
Step 5: Some Important Info About Gluing
You will notice that I use hot glue on most of my projects. It is easily accessible and is relatively safe. You can also use contact cement for a helmet that is more durable, especially in really hot situations where hot glue would soften, but if you do, make sure you have proper ventilation and lung protection.
I recommend a hot glue gun with adjustable temperature. That way you can turn the temperature down so it is just above the melting point of the glue. You don’t need to hold things as long, there are less fumes, and you don’t get burned as easily!
If you have problems getting clean seams with hot glue, one thing you can do is wait until the seam is cool and them rub along the seam with a piece of scrap foam. This softens the glue and allows you to rub away the excess.
You will also see me sometimes wipe the hot glue off the foam seam before it completely cools. I am able to do this without burning my fingers because my glue gun is set to a low temperature and I have a fair bit of experience knowing how long to wait. I think it produces the best results, but do so at your own risk!
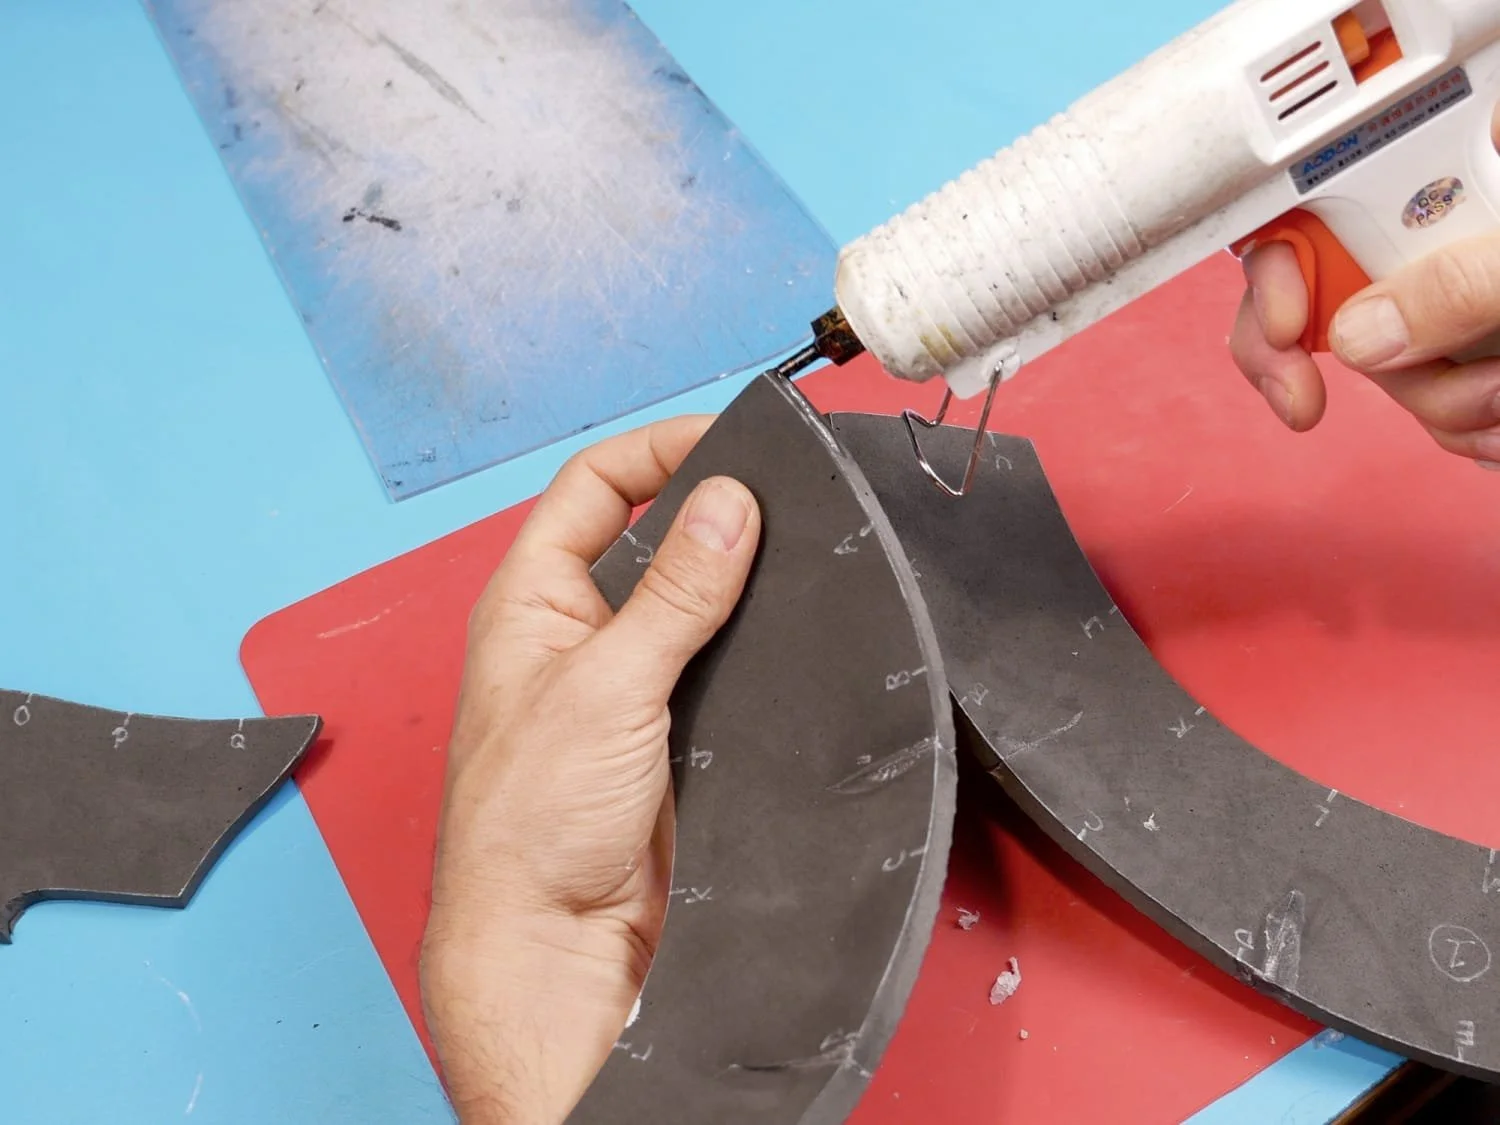
Apply a short line of glue…
Step 6: Let’s Get Gluing
Gluing the helmet pieces together is pretty straightforward. Make sure you are lining up the alignment marks on the pieces and work from front to back.
The great thing about EVA foam is that it can easily stretch or compress. That allows you to manipulate the foam as you are gluing so that you can make sure the alignment marks line up.
It’s best to glue the main helmet pieces together inside out, it allows for better quality glue seams on what will be the exterior of the helmet once it is flipped back the right way.
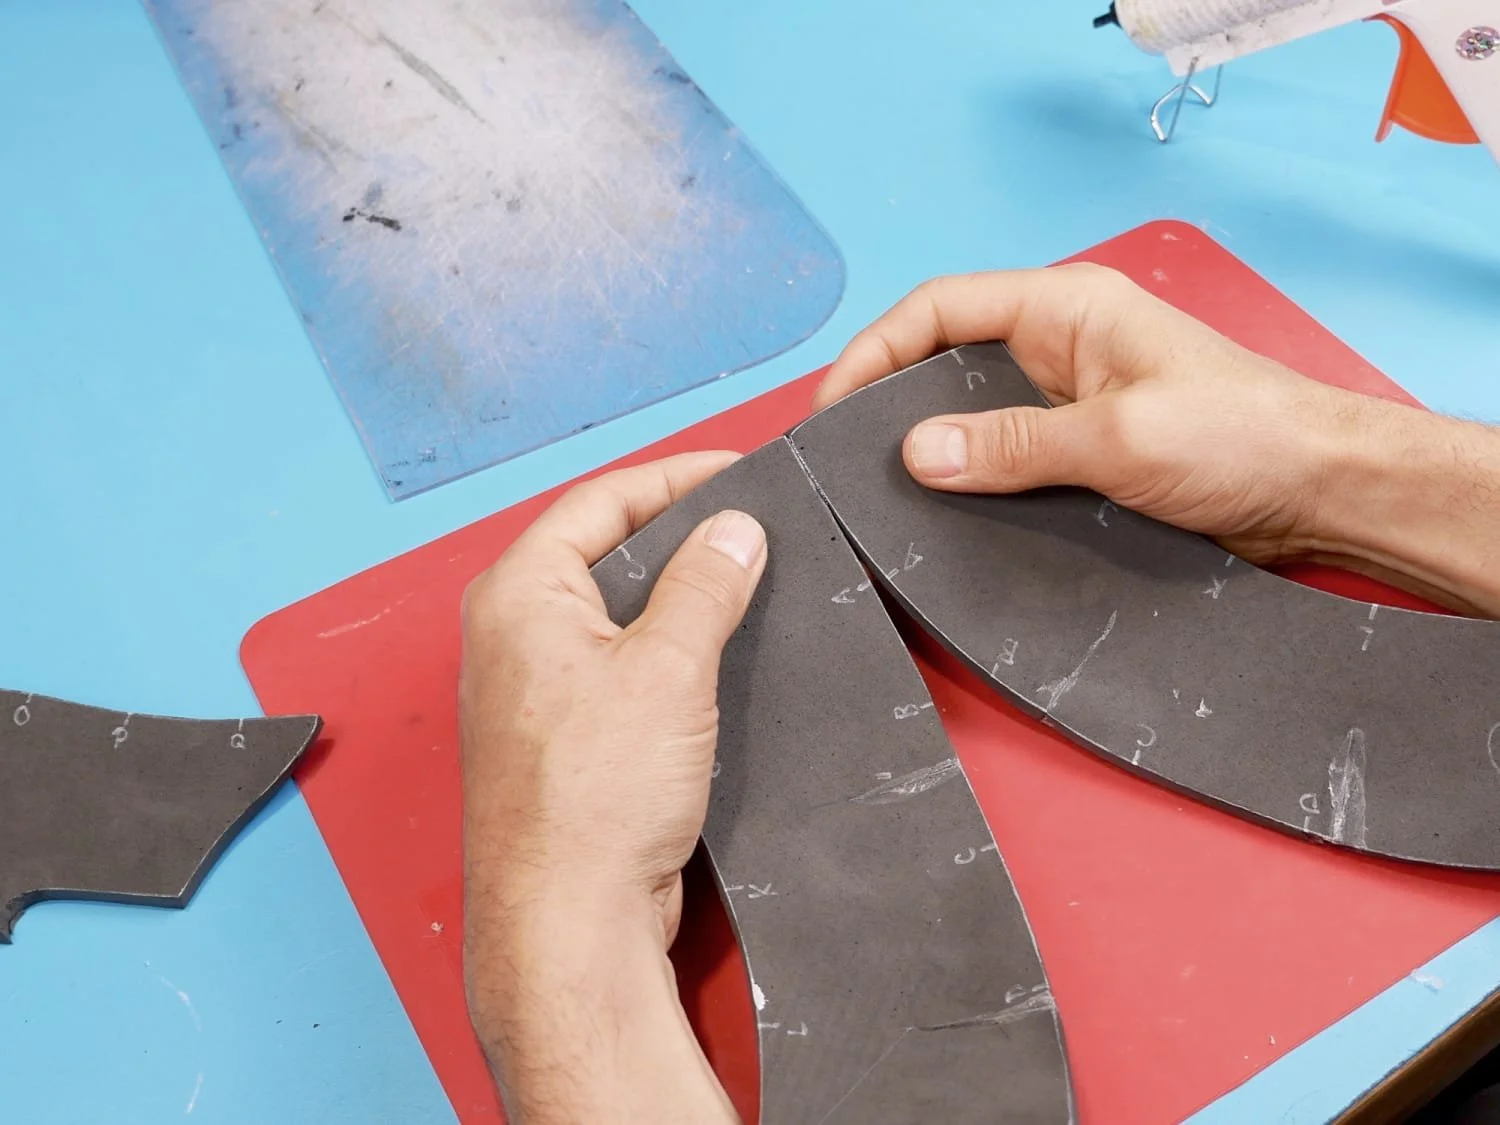
…and hold the edges of the foam together until it cools
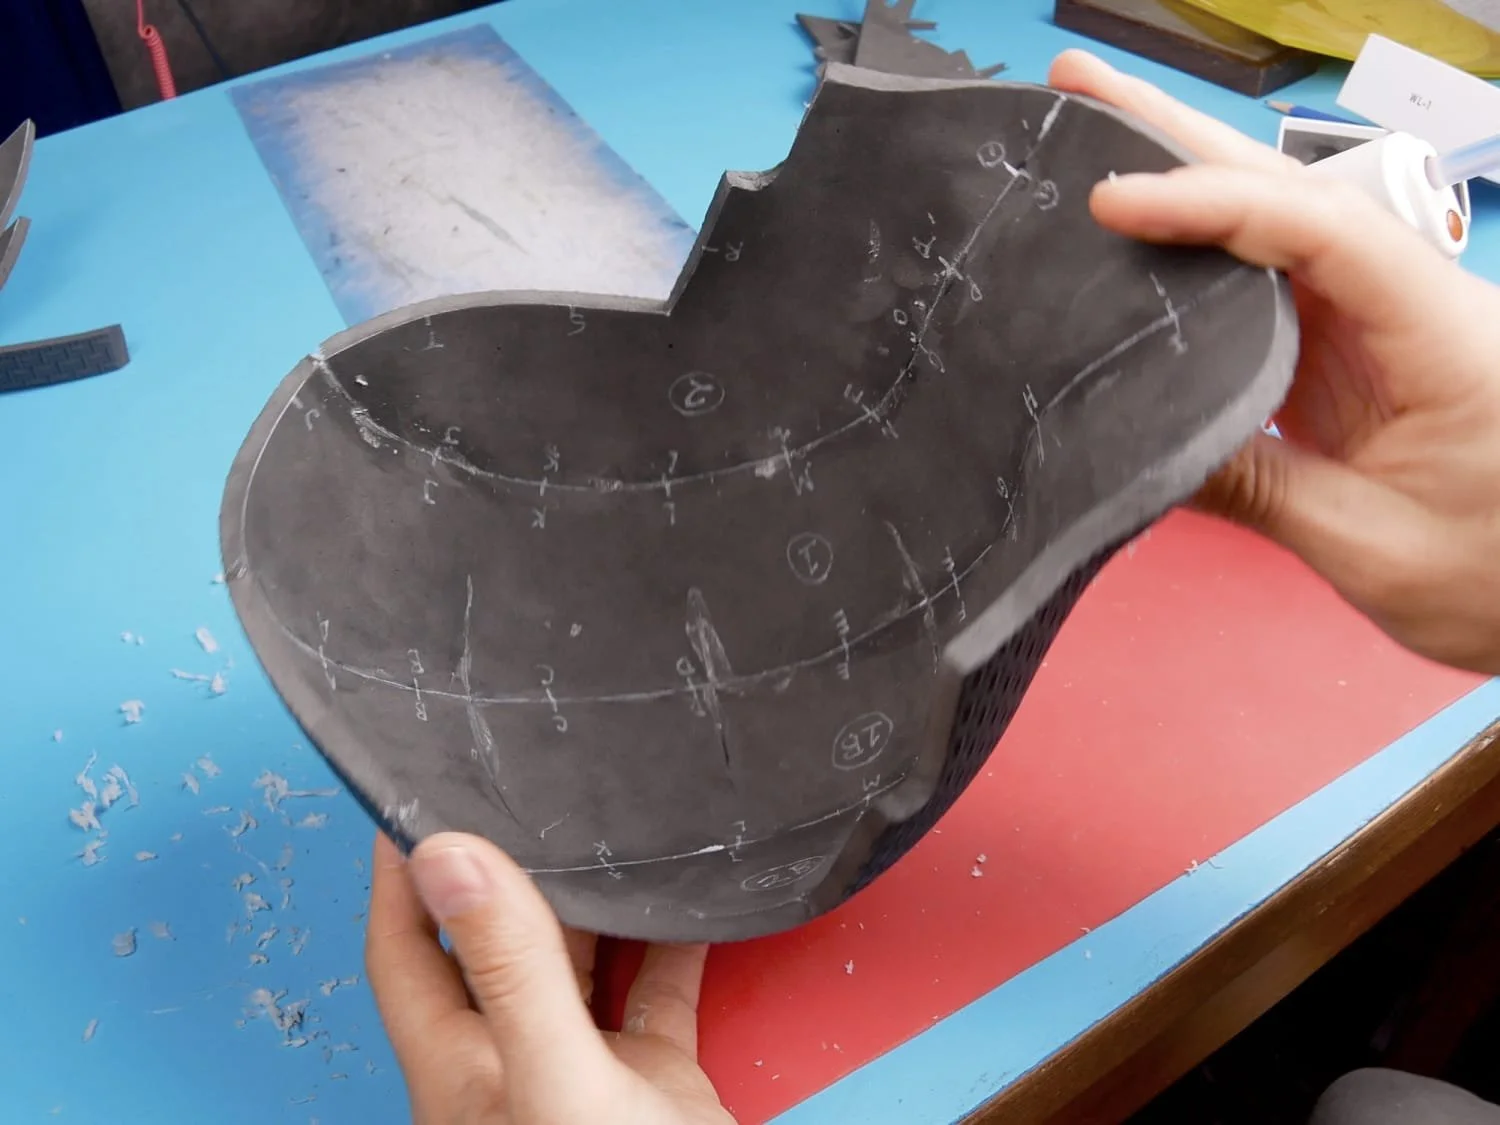
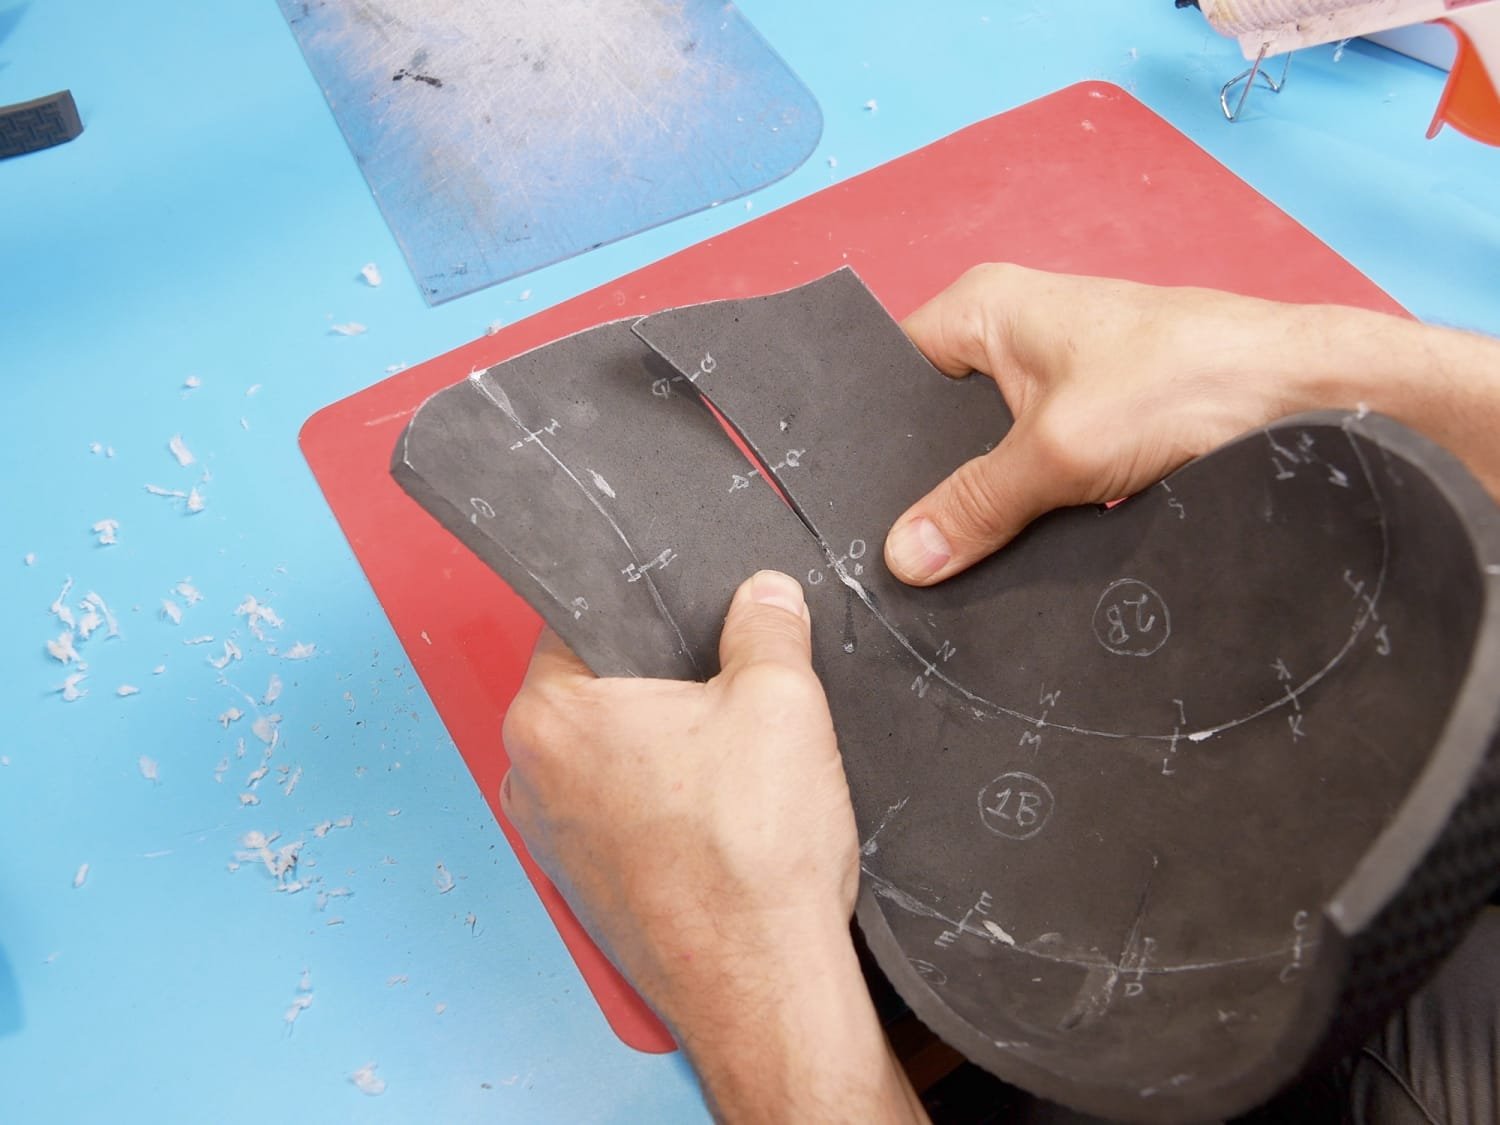
Continue the process
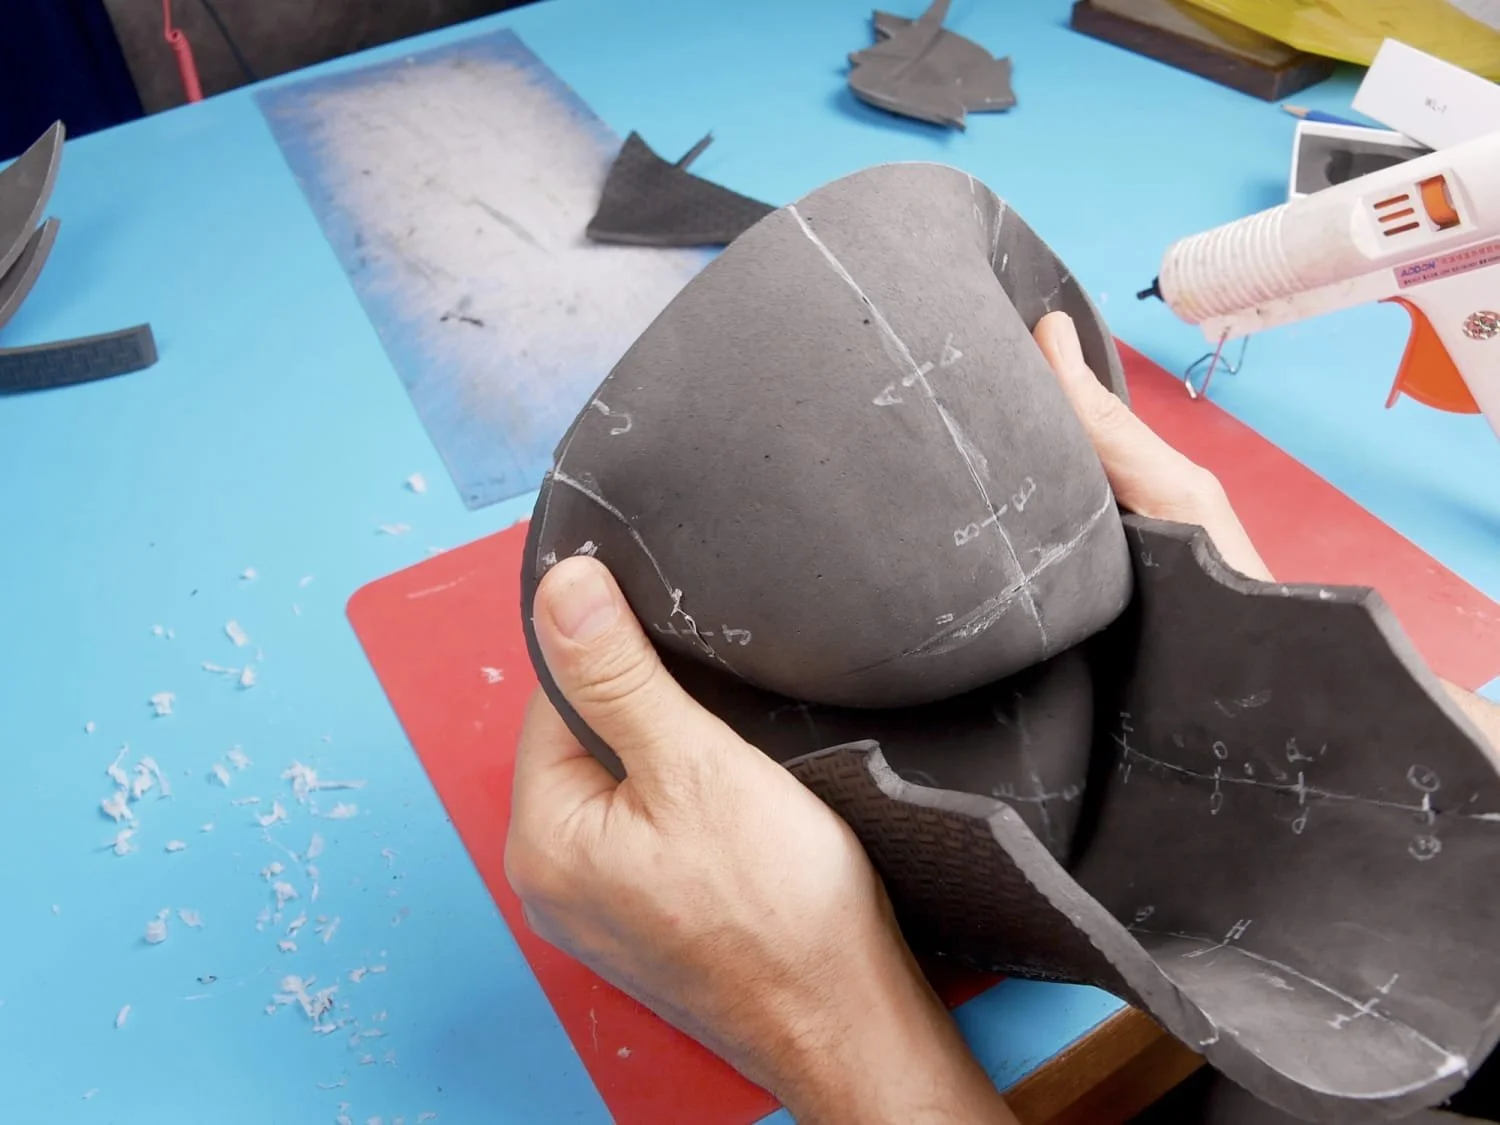
Flipping the helmet inside out
Step 7: Add the Mask
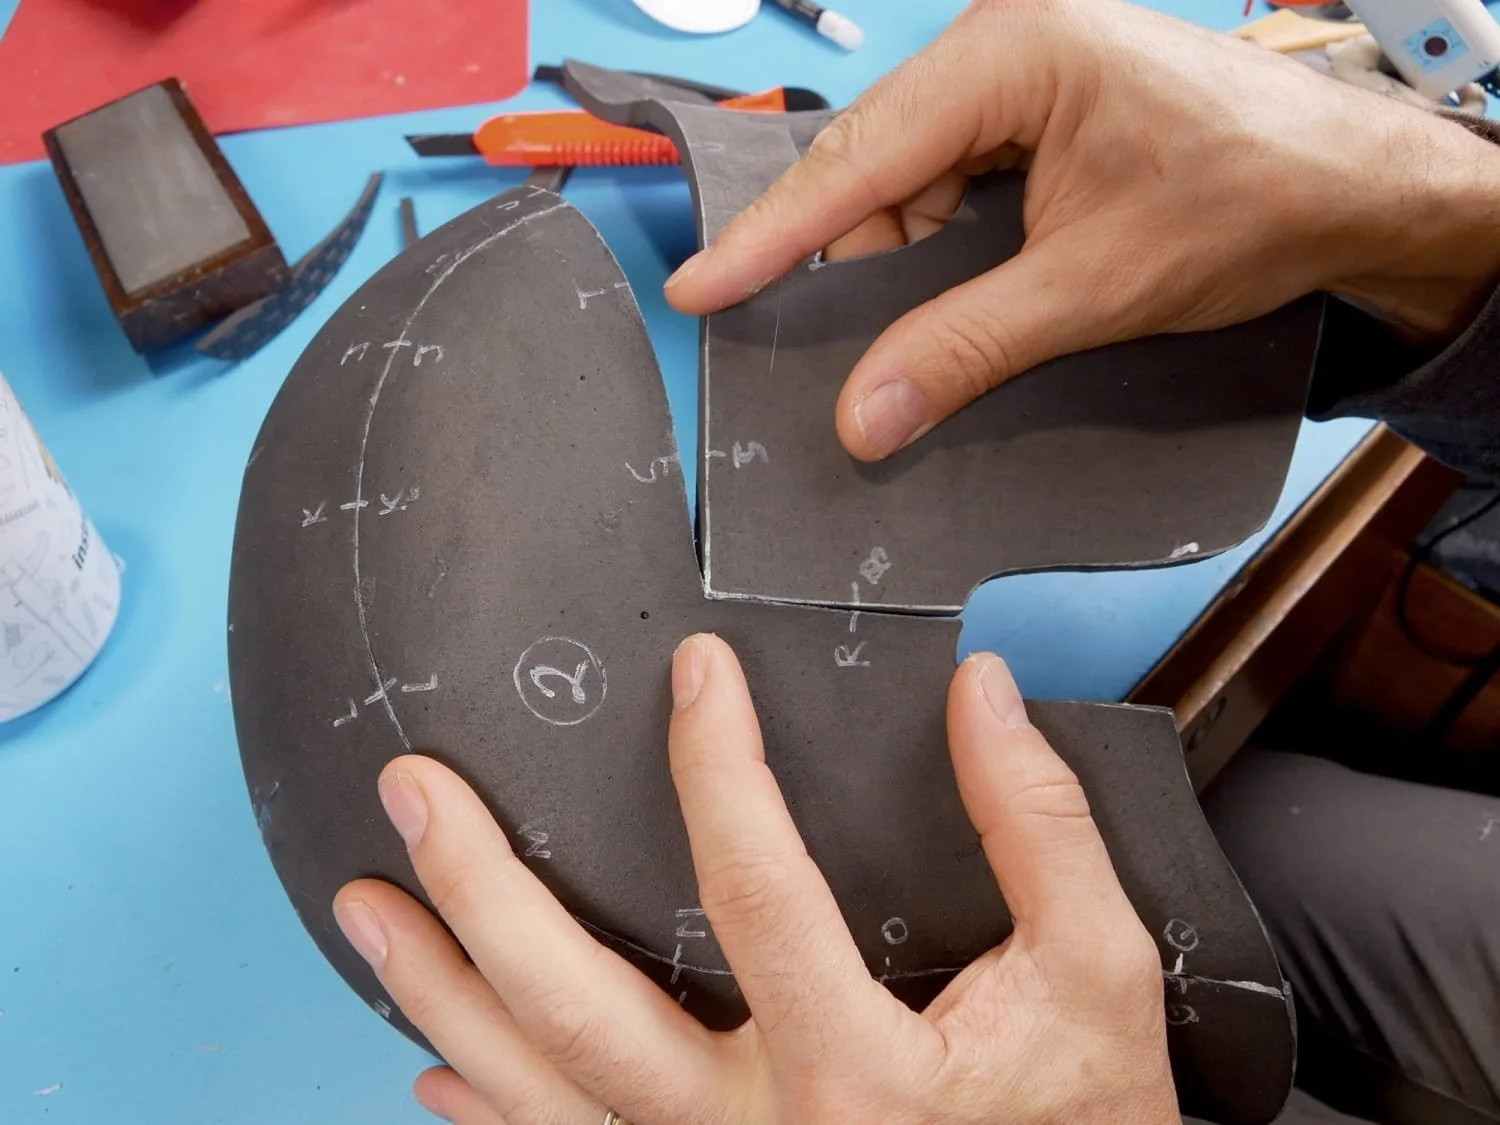
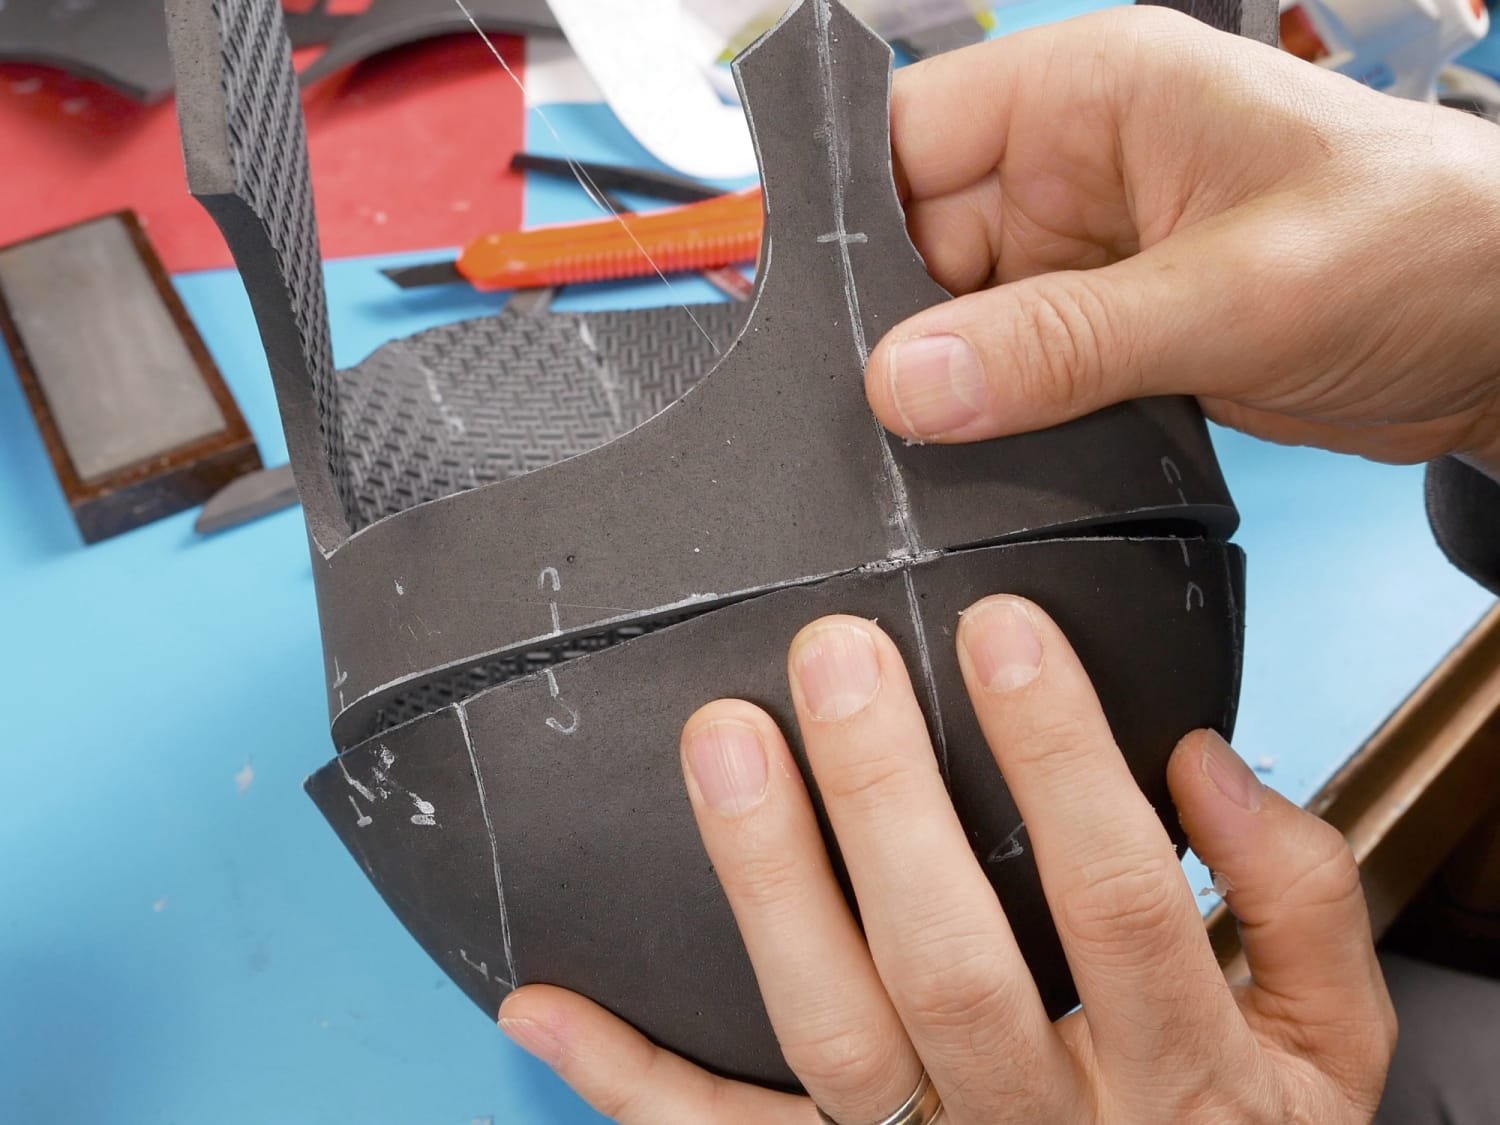
Once the helmet is right-side-out, it’s time to add the mask.
The mask gets glued down the centreline first, and then glued to the rest of the helmet.
If you want a helmet with a different look, this mask section is the place to do it. As long as you keep the top edge and flat side the same, you can do whatever you want with the rest and it will still fit with the rest of the helmet.
Step 8: Forming with Heat
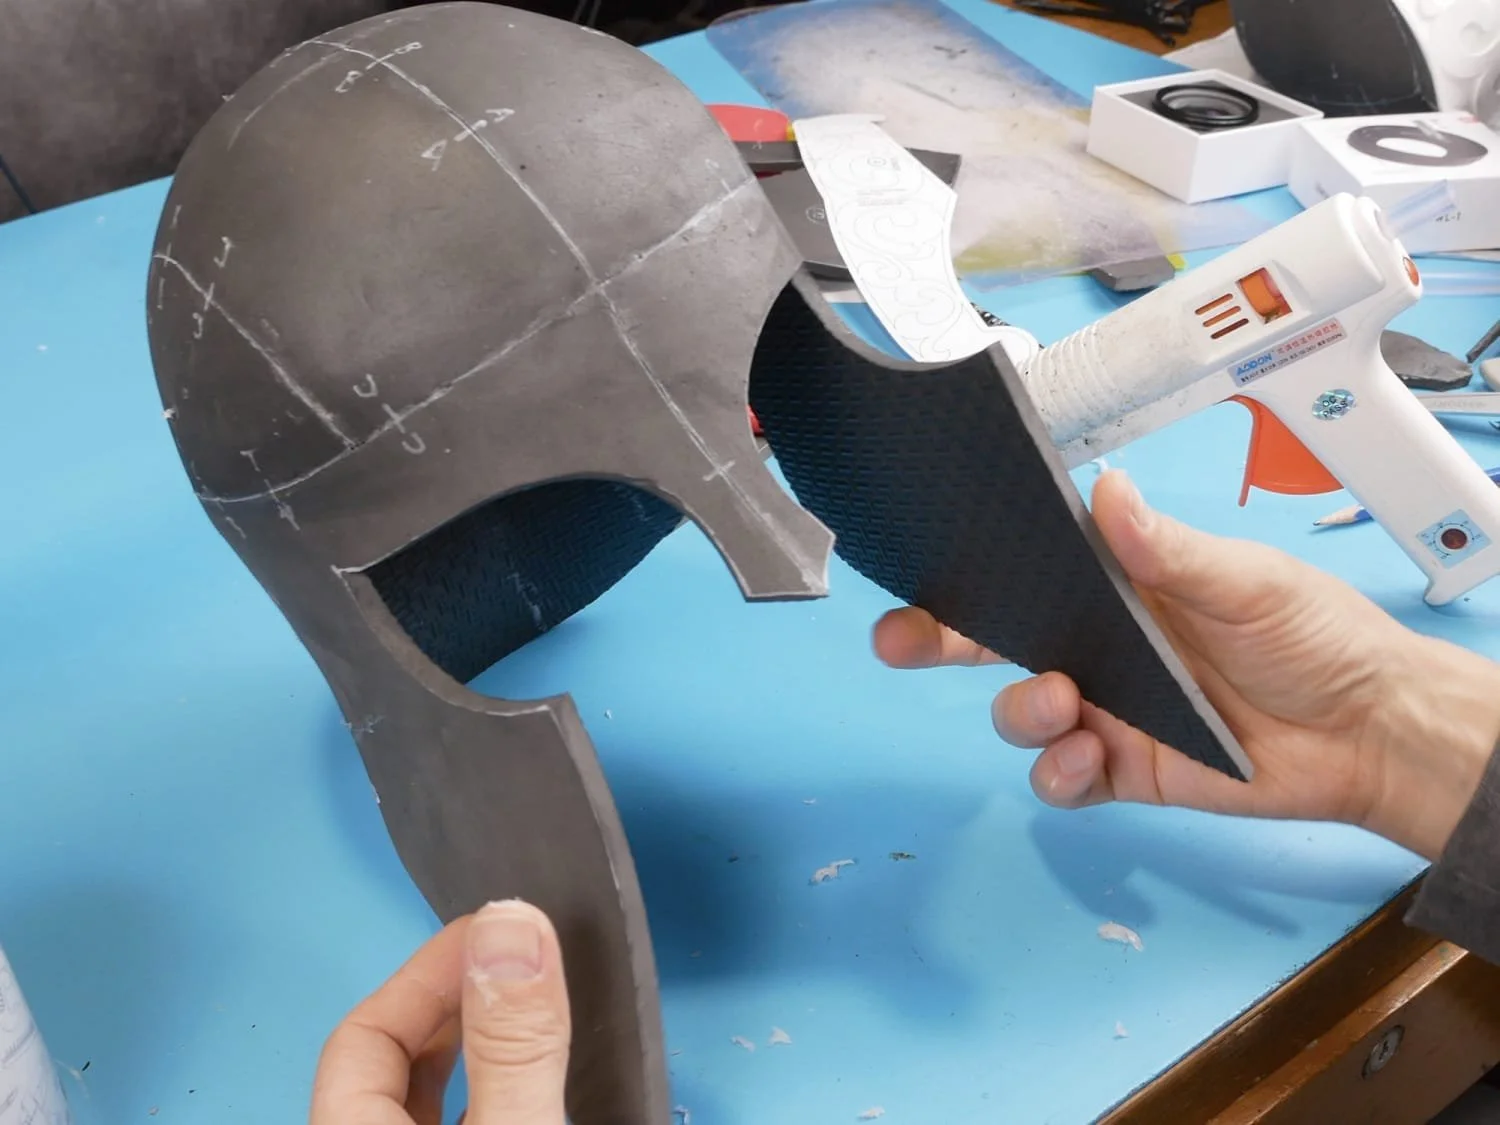
At this point your helmet should look pretty three dimensional, however the cheek guards have nothing to hold them in their curved shape. That’s another beauty of EVA foam- it’s ability to be heat formed.
You can take a heat gun and heat up the cheek guards, then bend them and hold them in an exaggerated position until they cool.
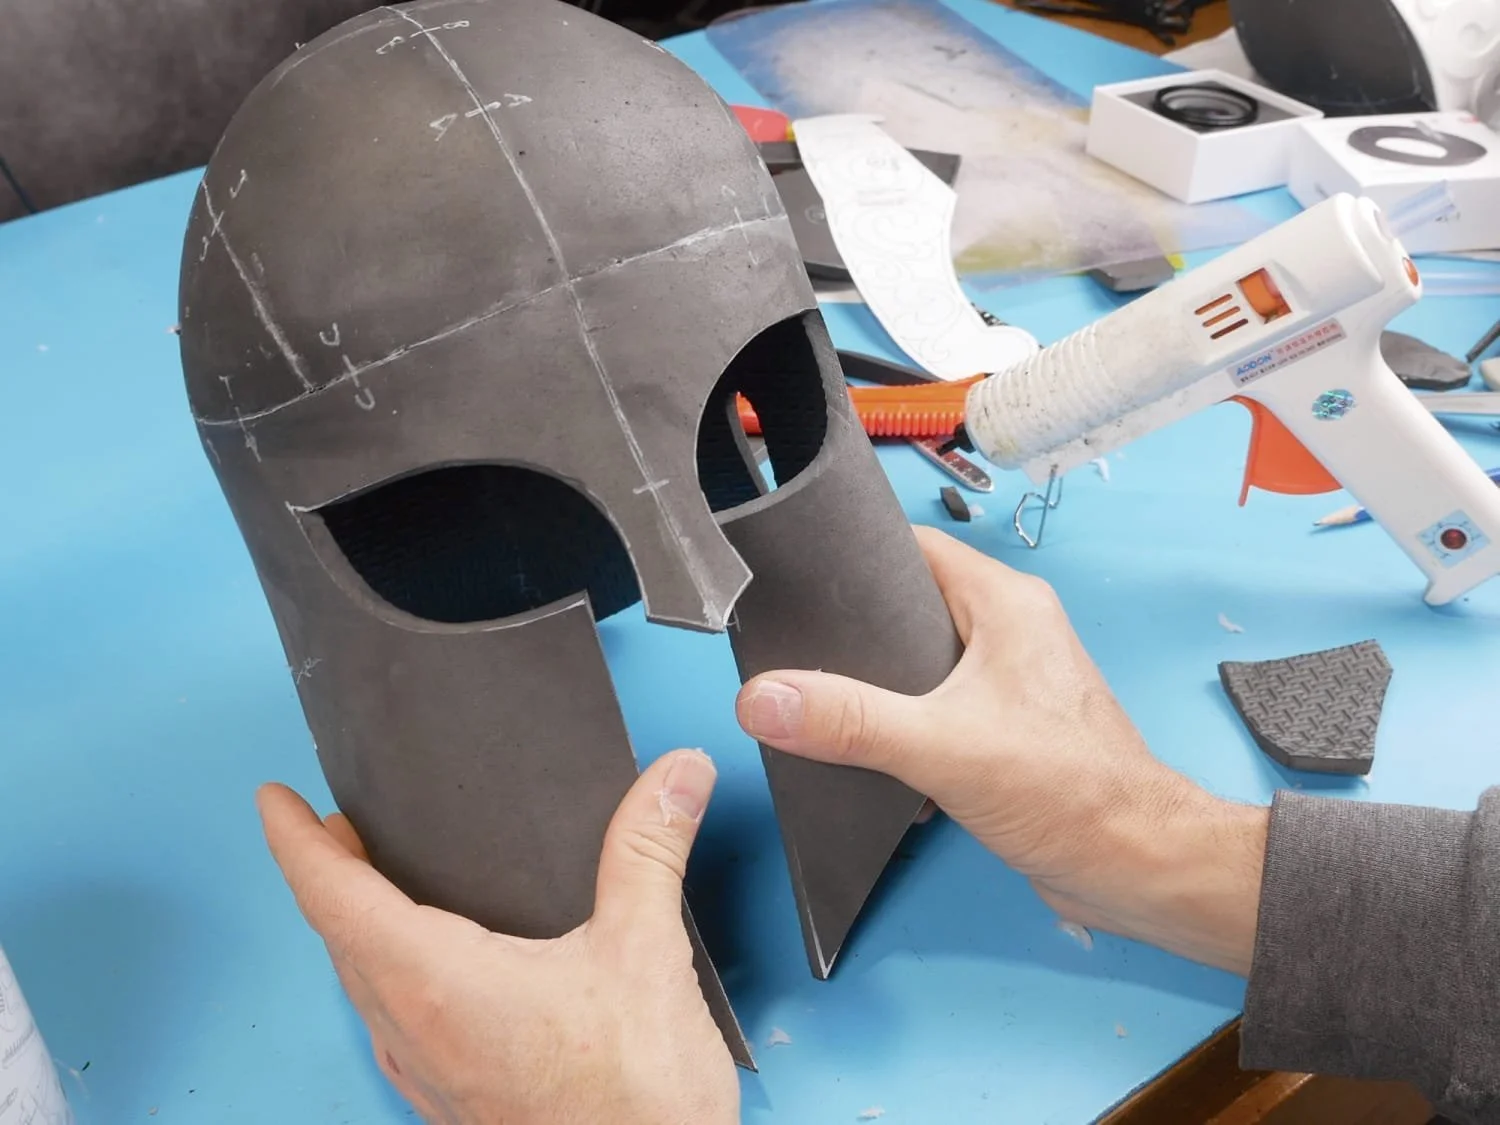
Step 9: Try It On
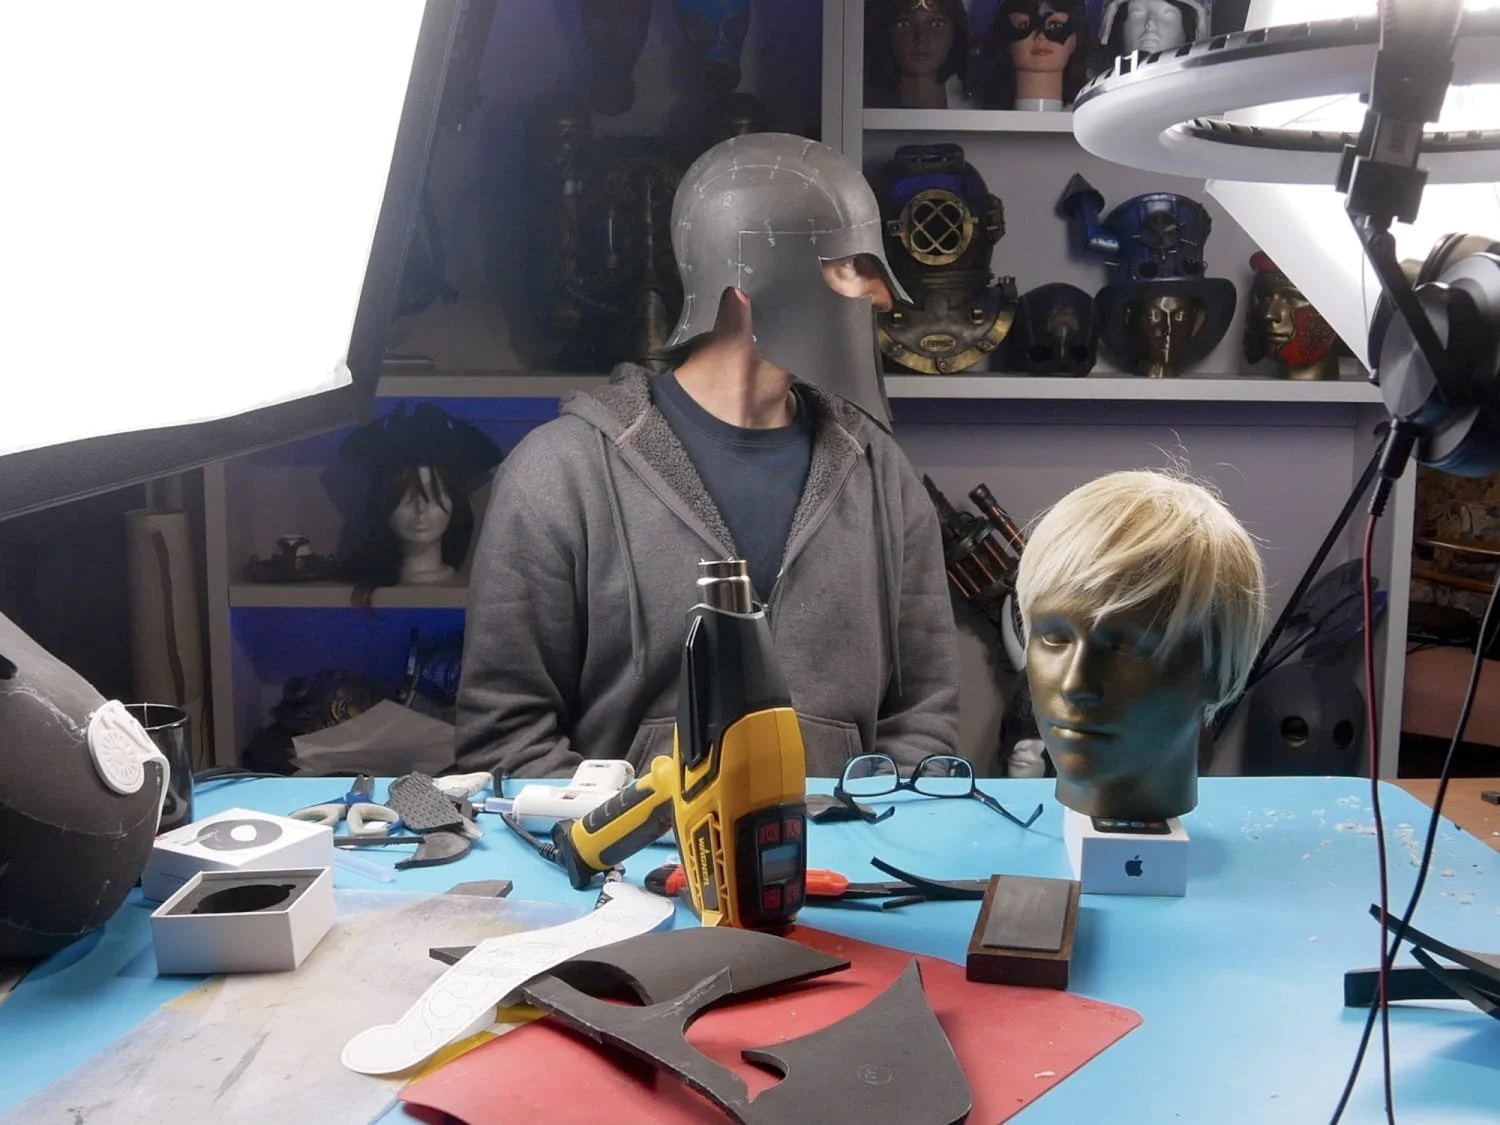
Now’s a great time to verify that your helmet is looking awesome, so put it on and see how it fits! If it is a little low over your eyes, you can add a little bit of soft upholstery foam inside the top of the helmet to raise it a bit.
Step 10: Make the Basic Plume Shape
For this helmet build I have designed a plume that looks like it is made of solid metal. If you are more interested in a brush-type plume, you should check out my Roman Helmet*** build.
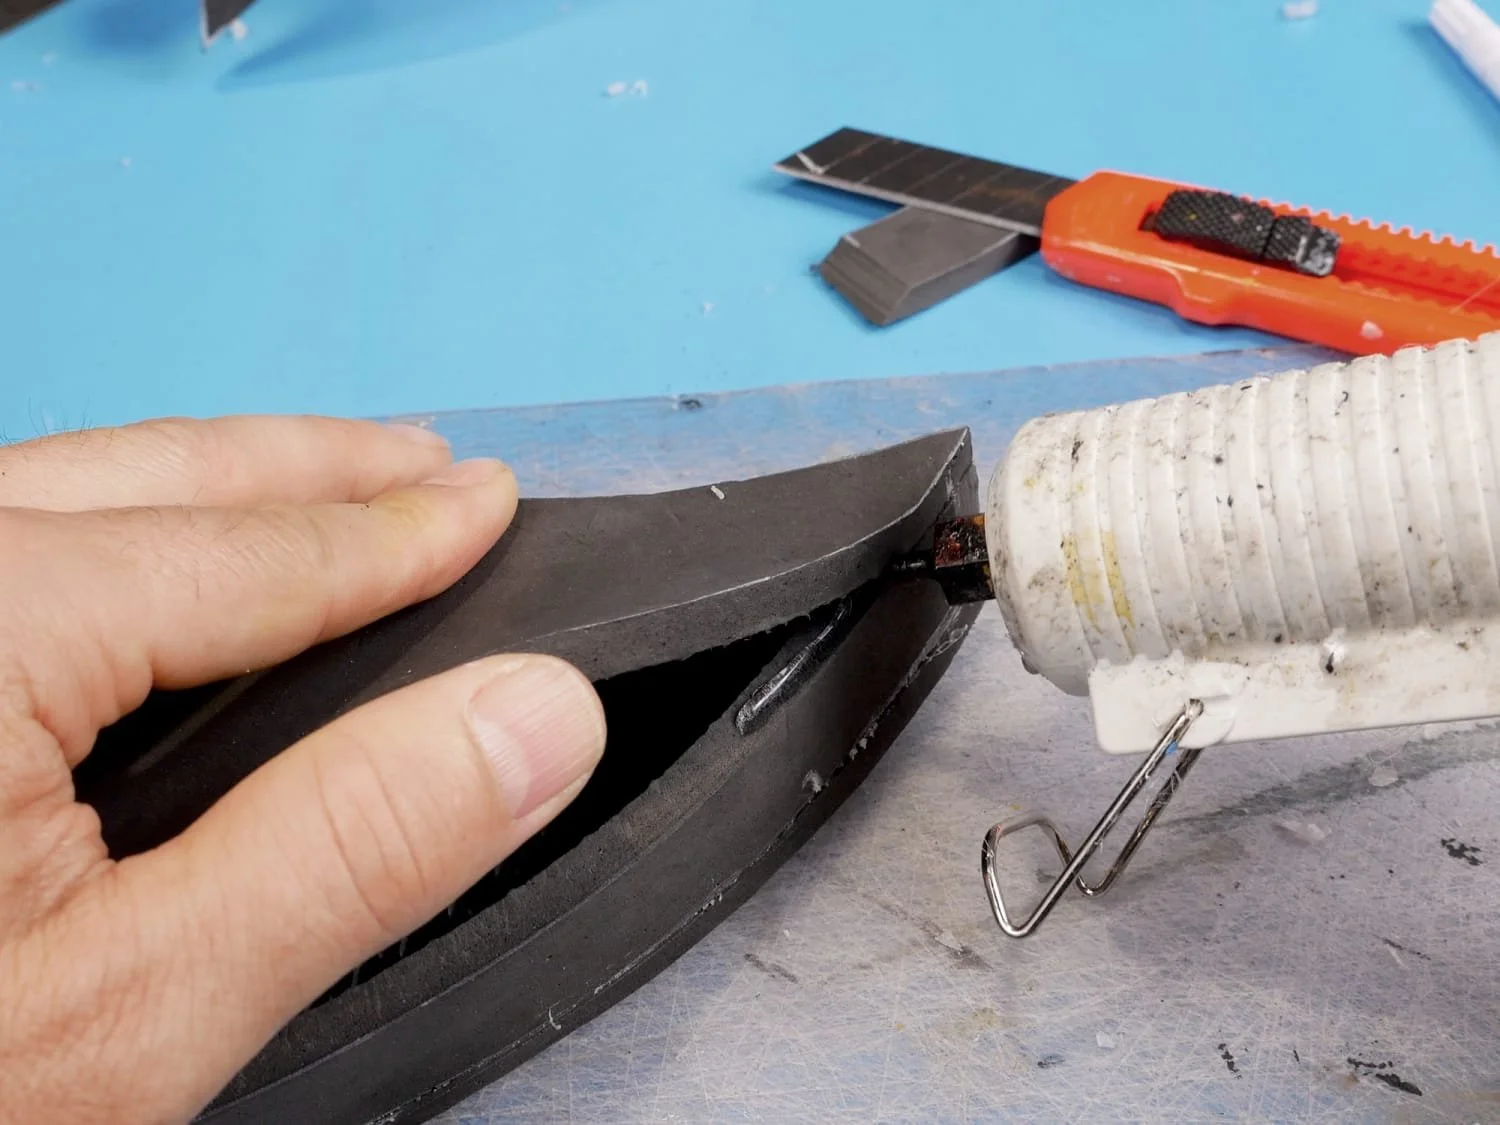
Gluing the plume together
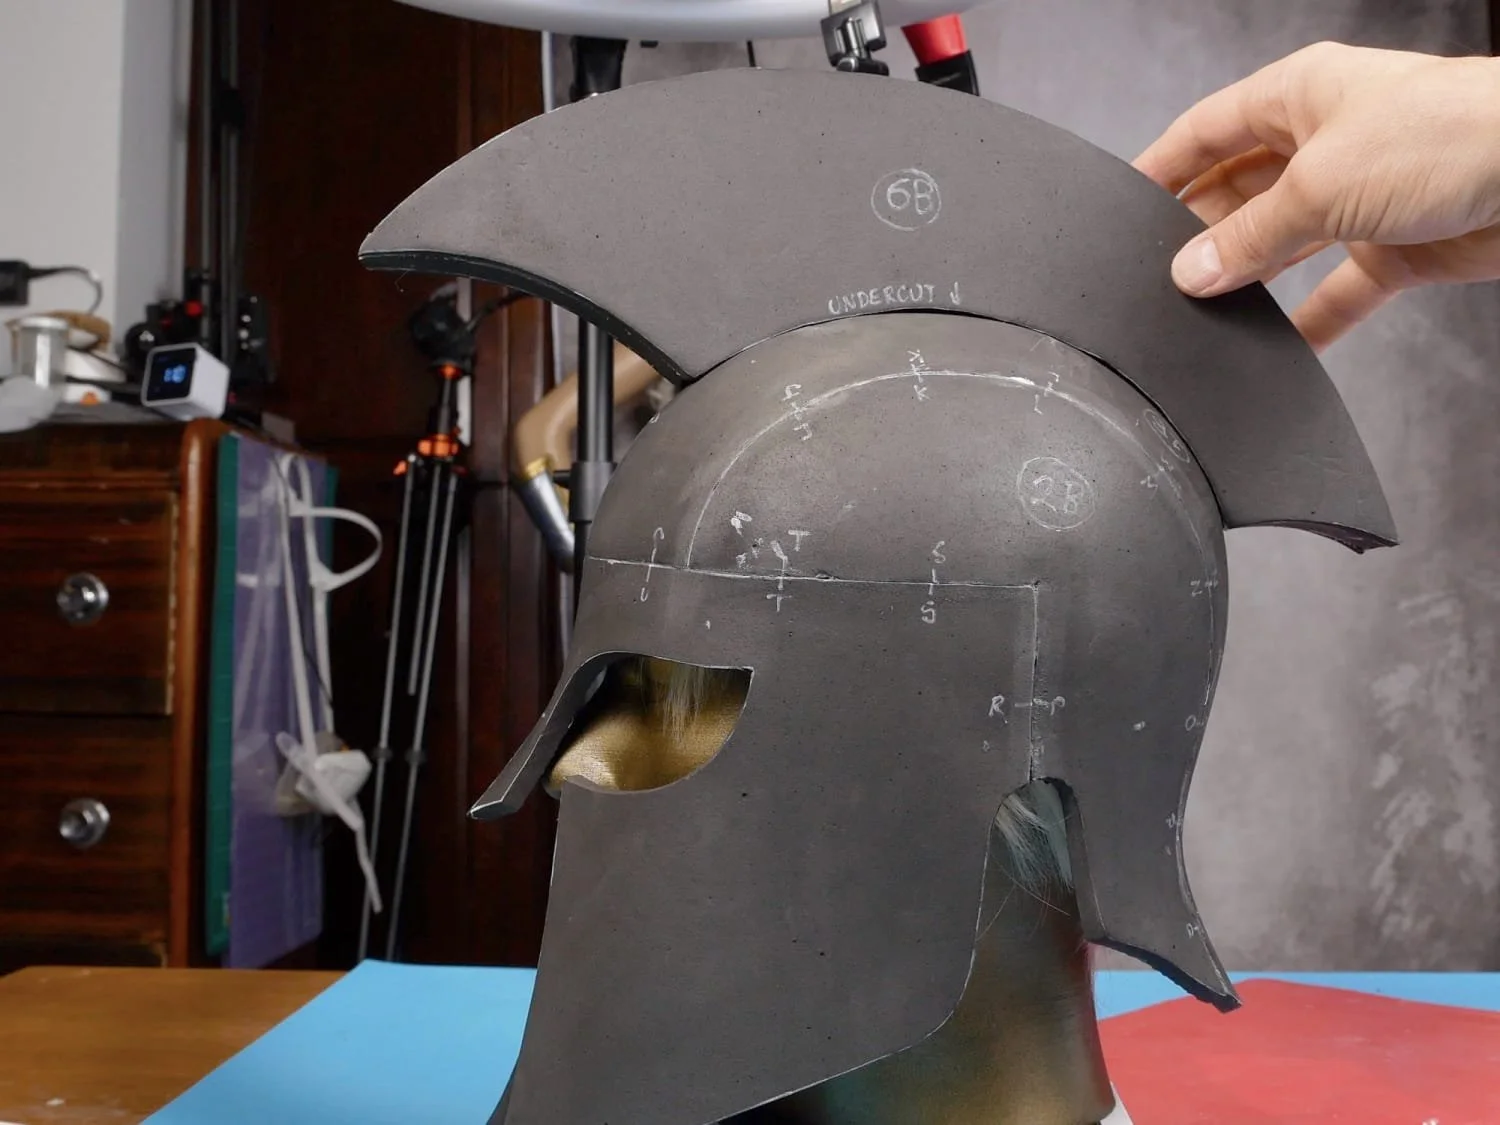
Testing the plume on the helmet
Step 11: Make the Visor
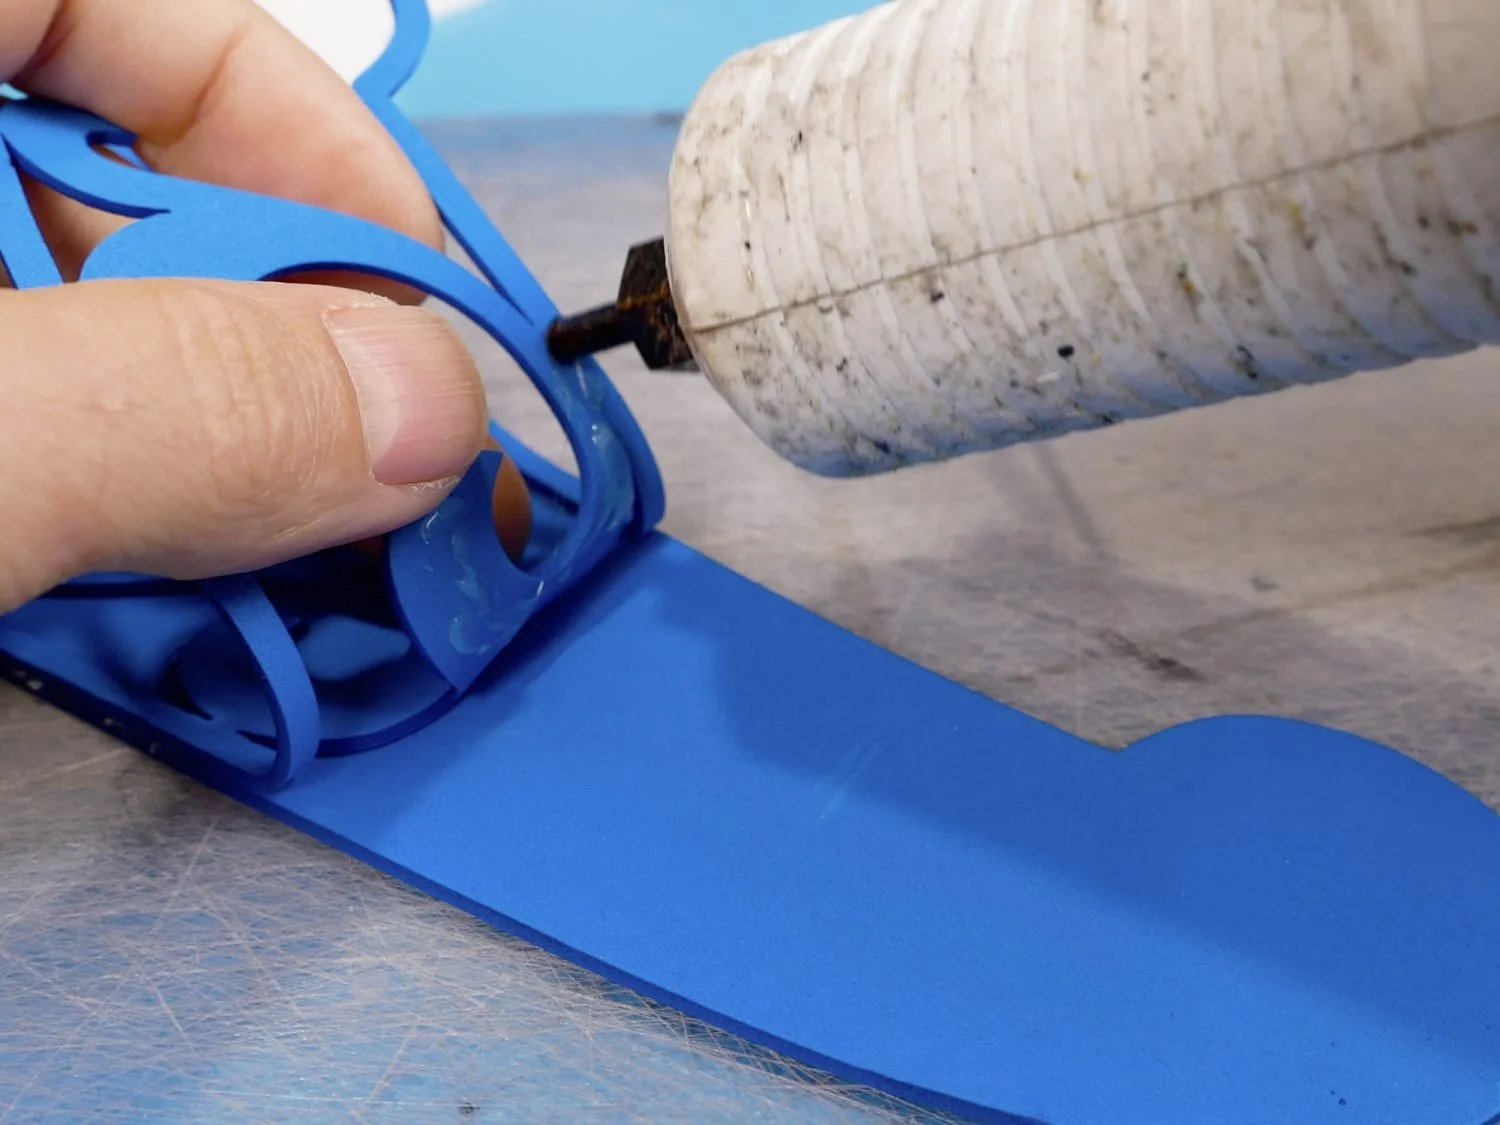
Gluing the swirl onto it’s backing
The visor is the ornamental piece on the front of the helmet. I have designed a swirly cutout detail, but feel free to create your own personalized design. I happen to have a laser cutter, which makes cutting all those swirls a breeze, however I have done many similar projects by hand, and it is totally doable with a scalpel and some patience.
The yellow discs are ornamented by pressing a pen cap in the centre to make a circle, and then the back of a pair of tweezers for the radiating lines.
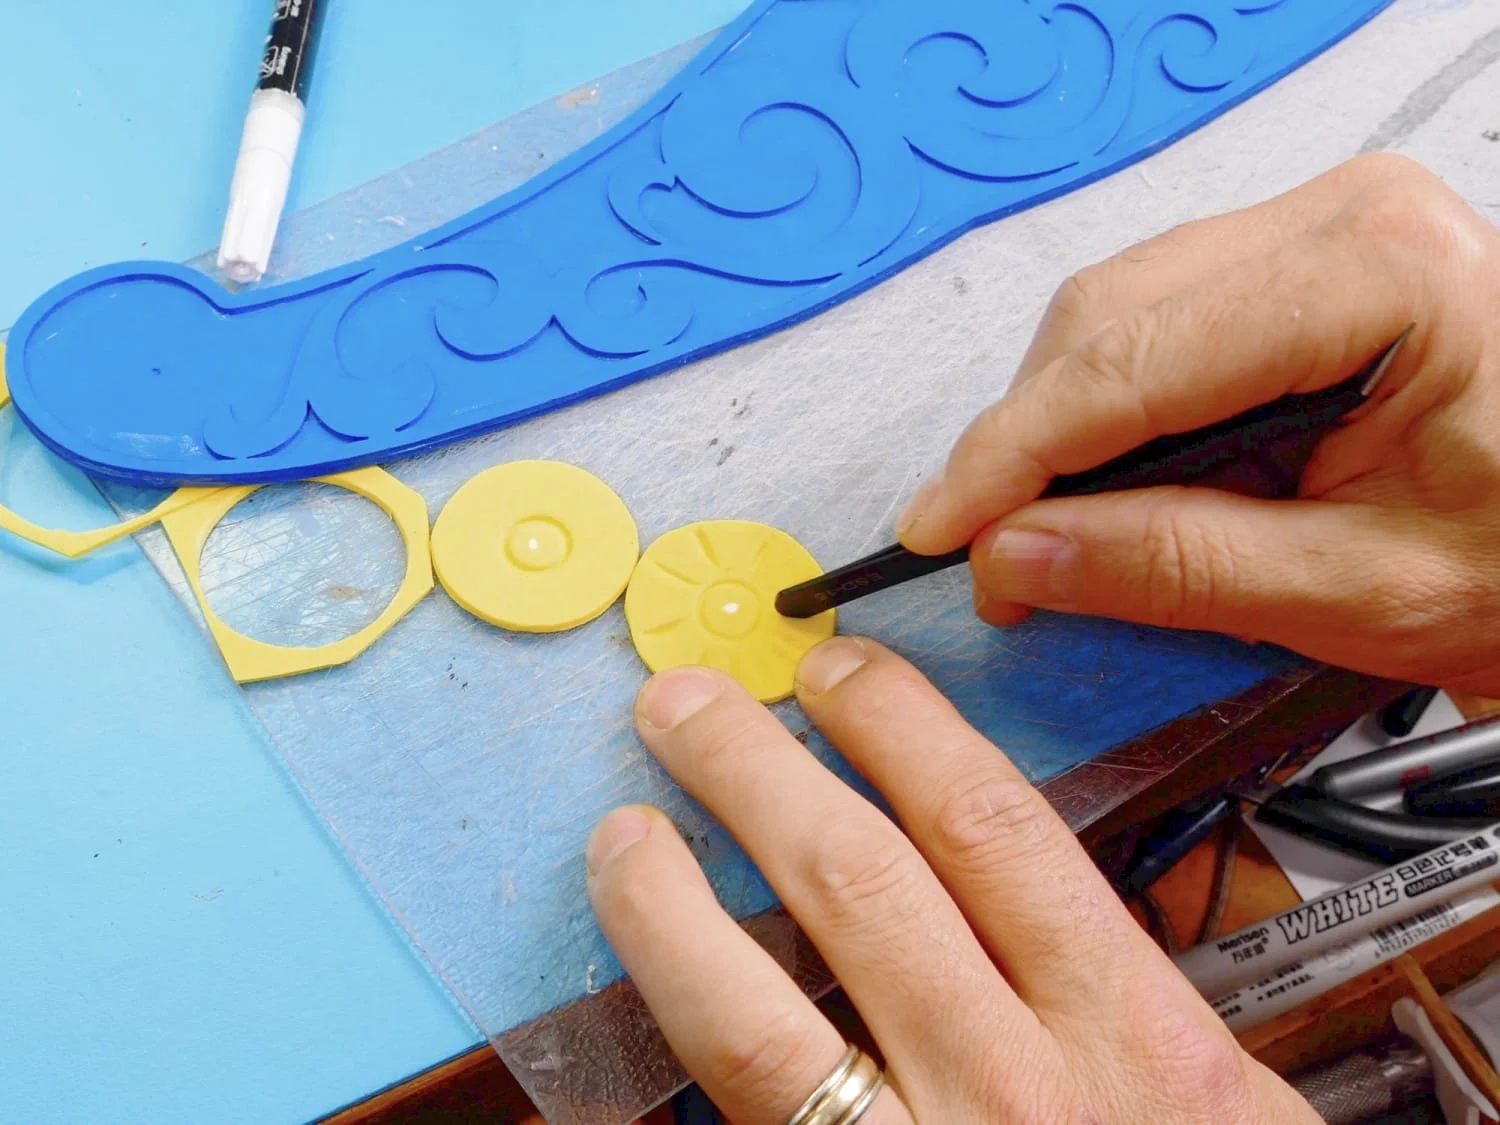
Using the rounded back of tweezers to make indentations
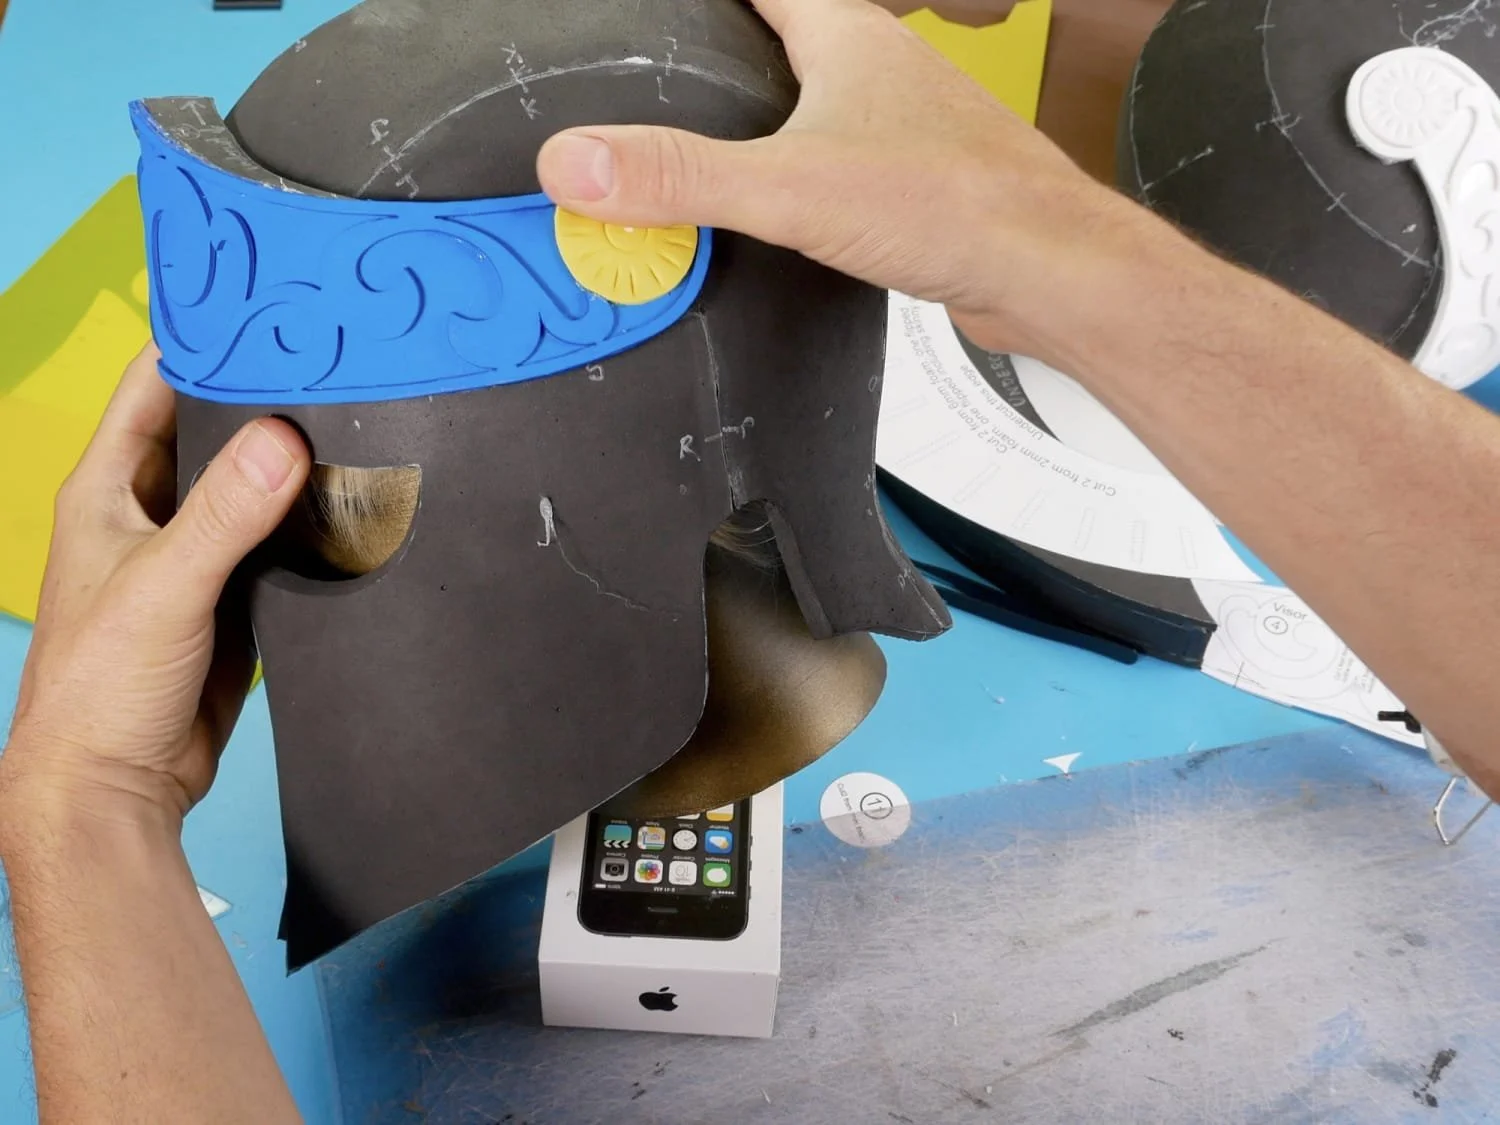
Gluing the visor to the helmet
Step 12: Decorate the Plume
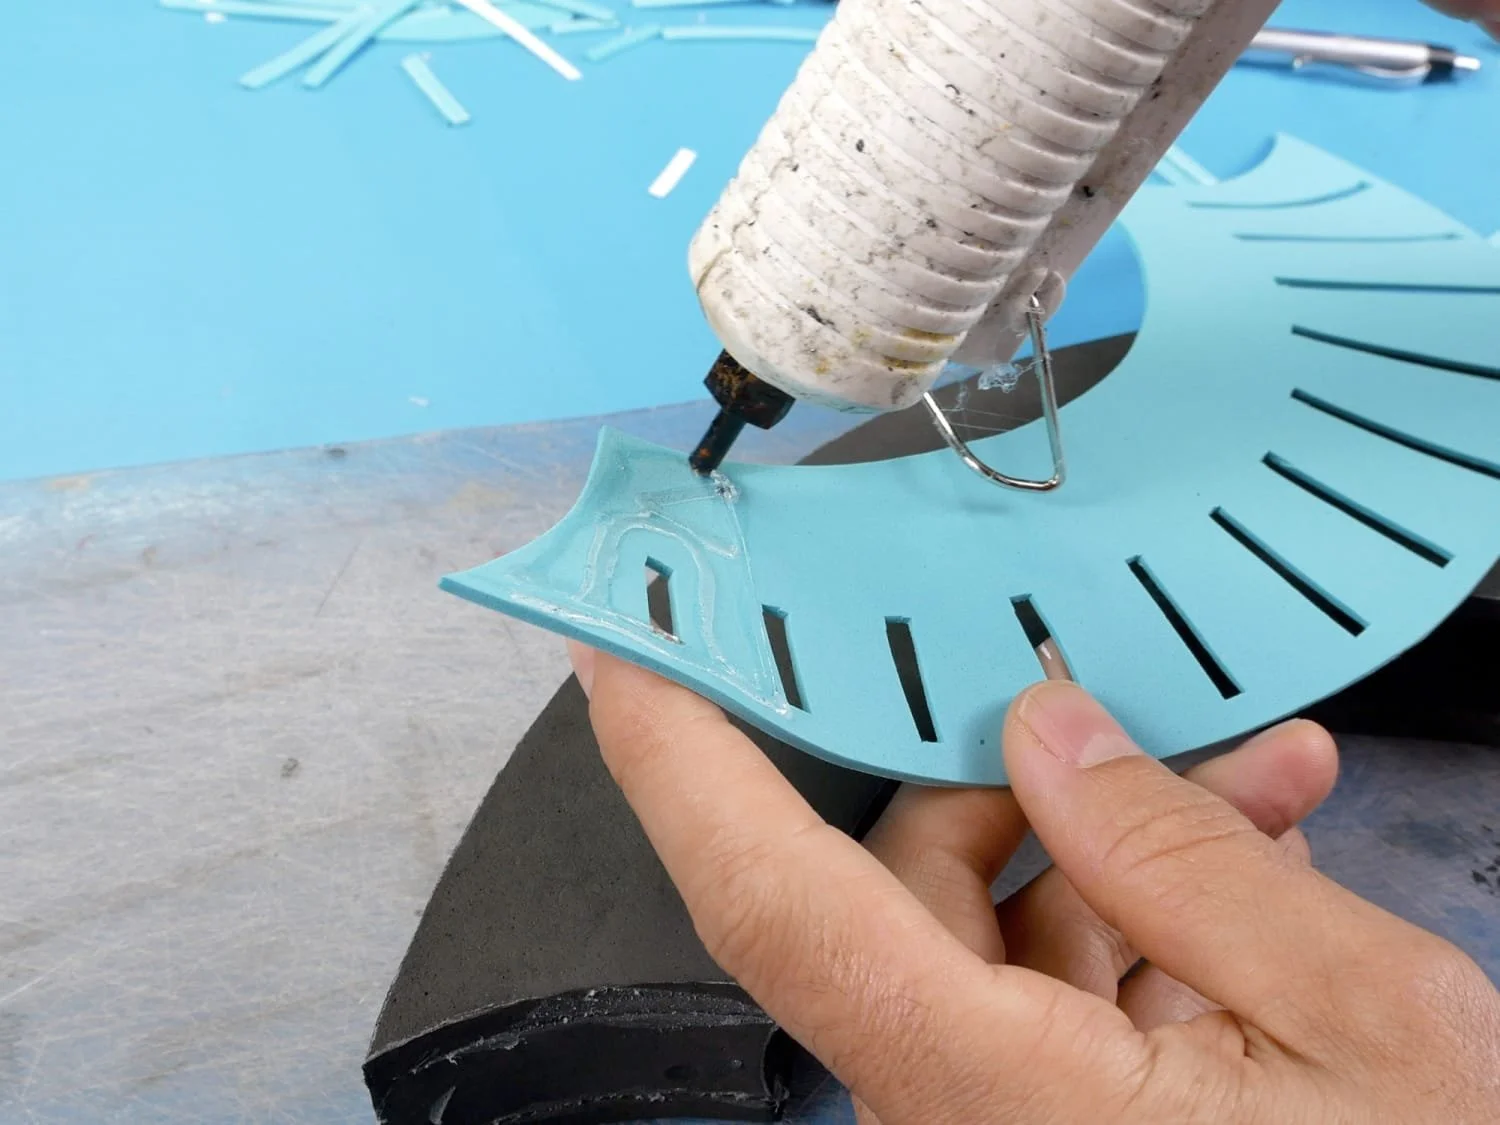
Here we add some texture to the sides of the plume by gluing on a sheet of 2mm thick craft foam.
Then the plume is glued in place on the helmet, and another detail piece is added around the base.
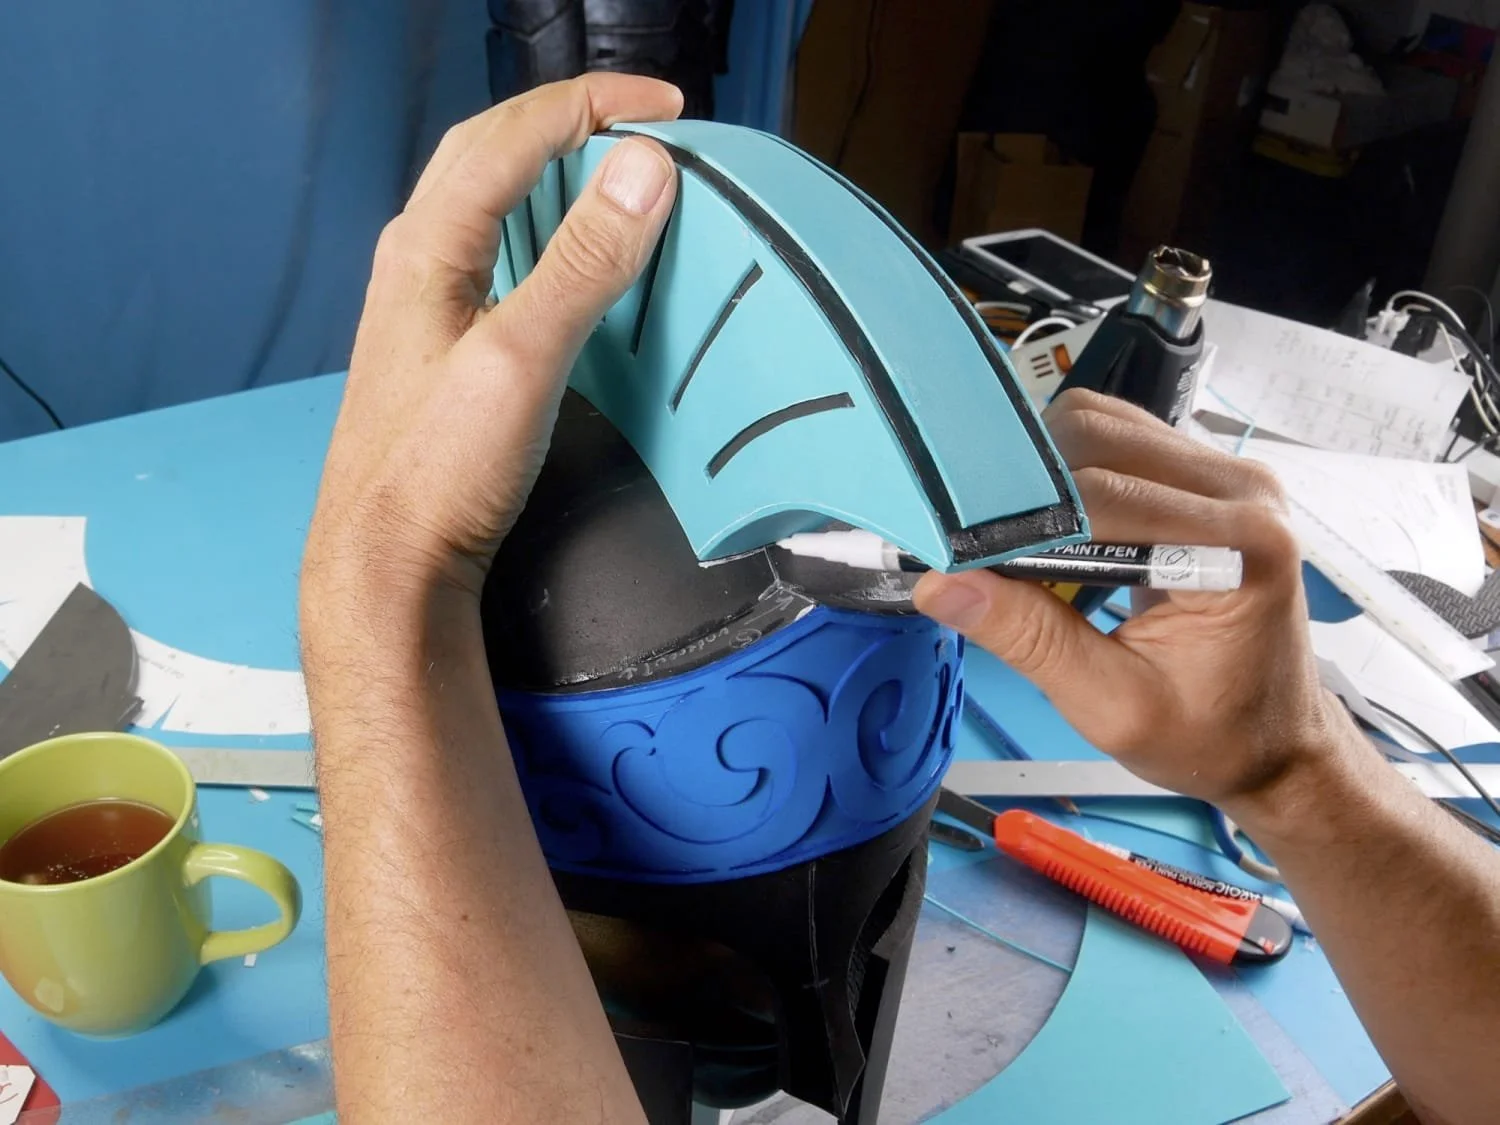
Step 13: Add Some Trim
The final item in the construction is to add some thin strips of craft foam around all the edges. This rim adds a finishing touch and gives the final paint job more depth.
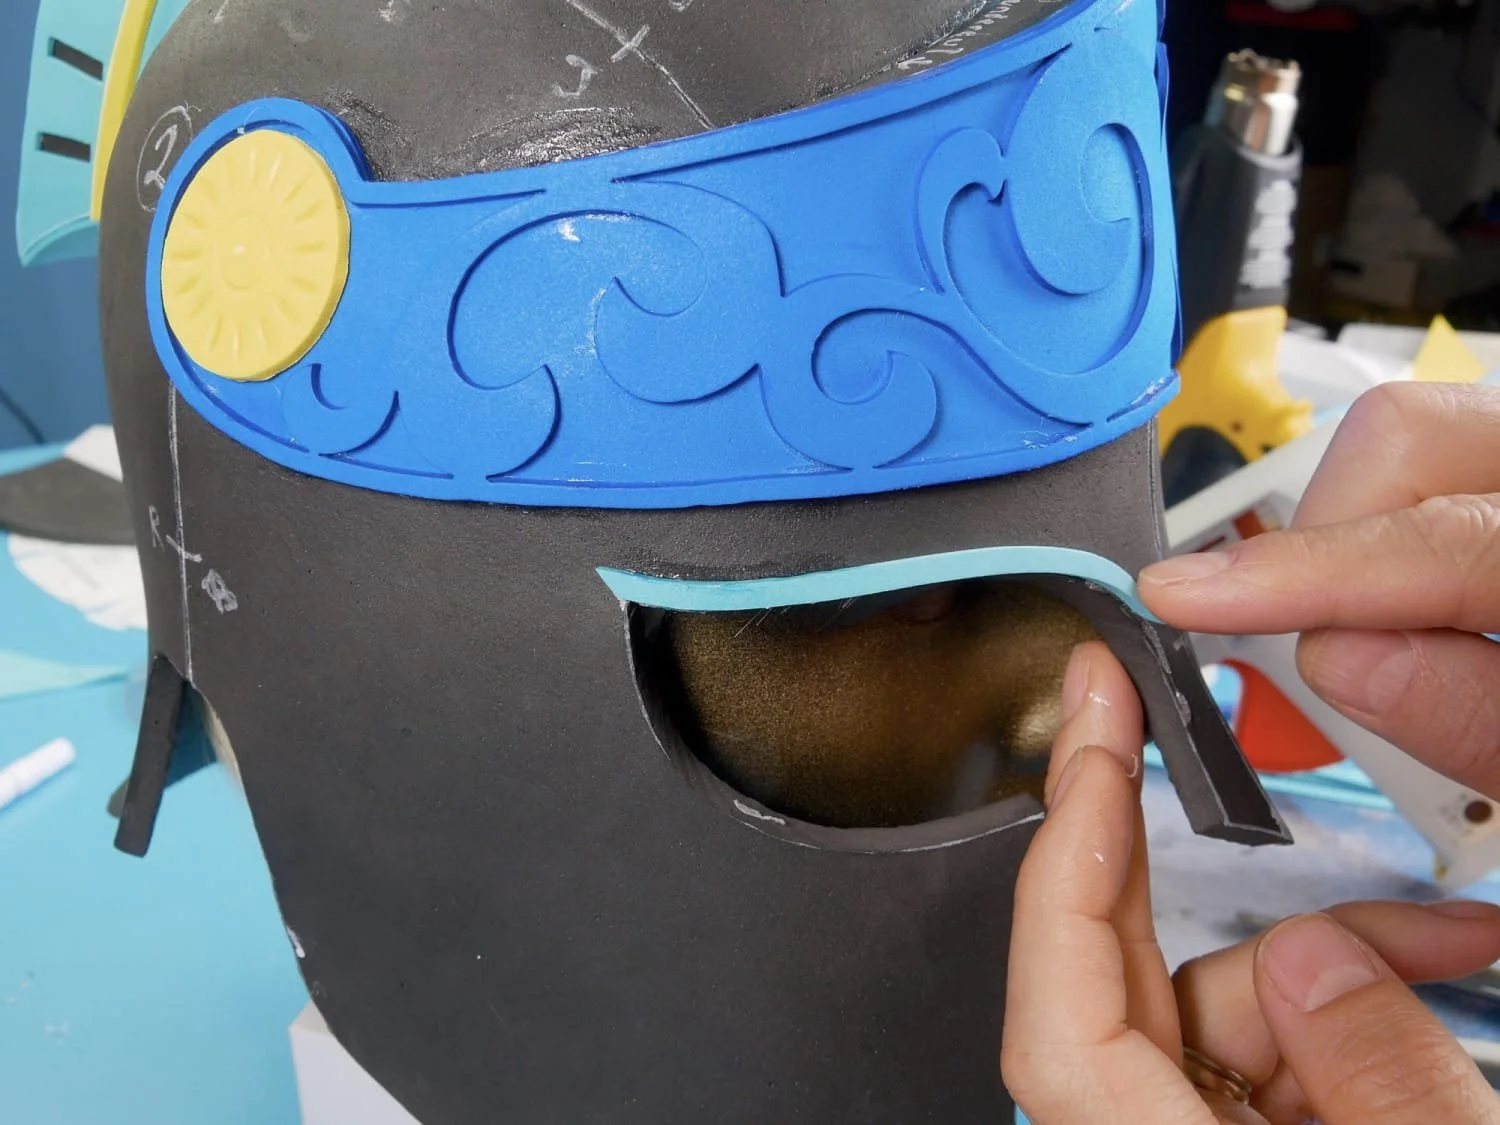
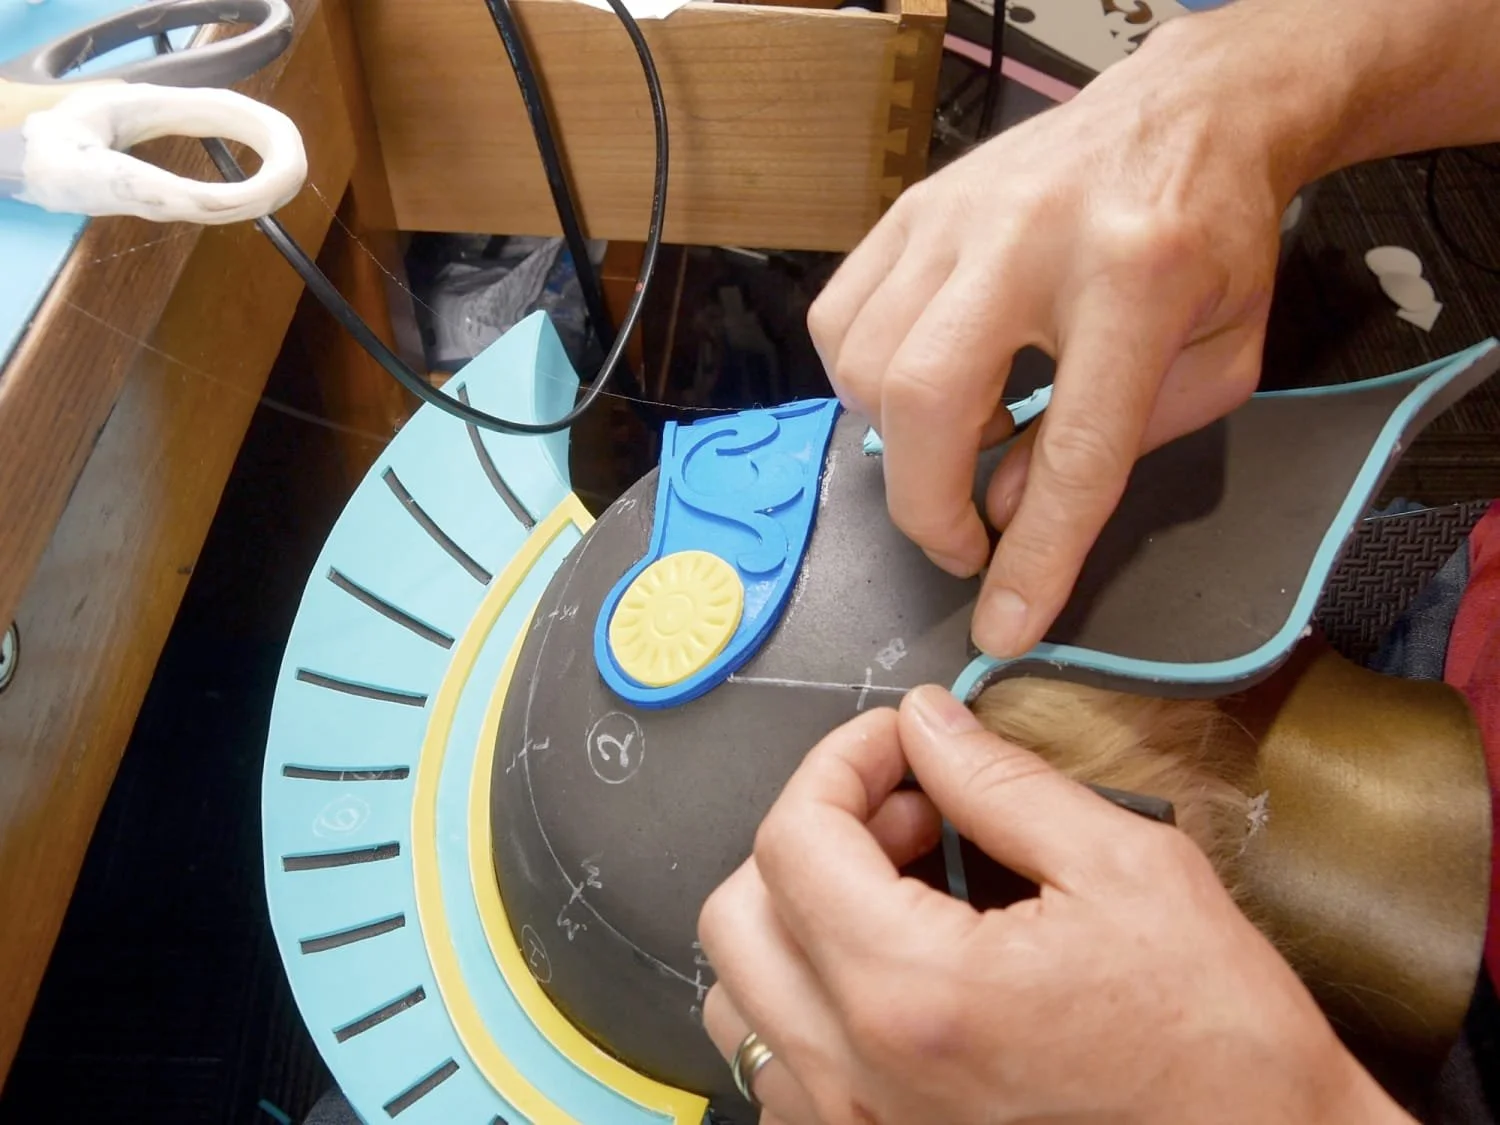
Step 14: Basecoat
There are lots of ways to paint, but the one I use is great for giving a really nice antique metal finish.
It is really important to get a good base coat down on the foam before you use the metallic paints. I use some pretty cheap artists acrylic paints and give three coats of that, allowing it to dry between coats. In this example I have stippled the paint as I went, to give a rough, worn texture to the helmet. (I also used white paint for the first two coats because I was running low on black. Usually I’d use black for all three coats.)
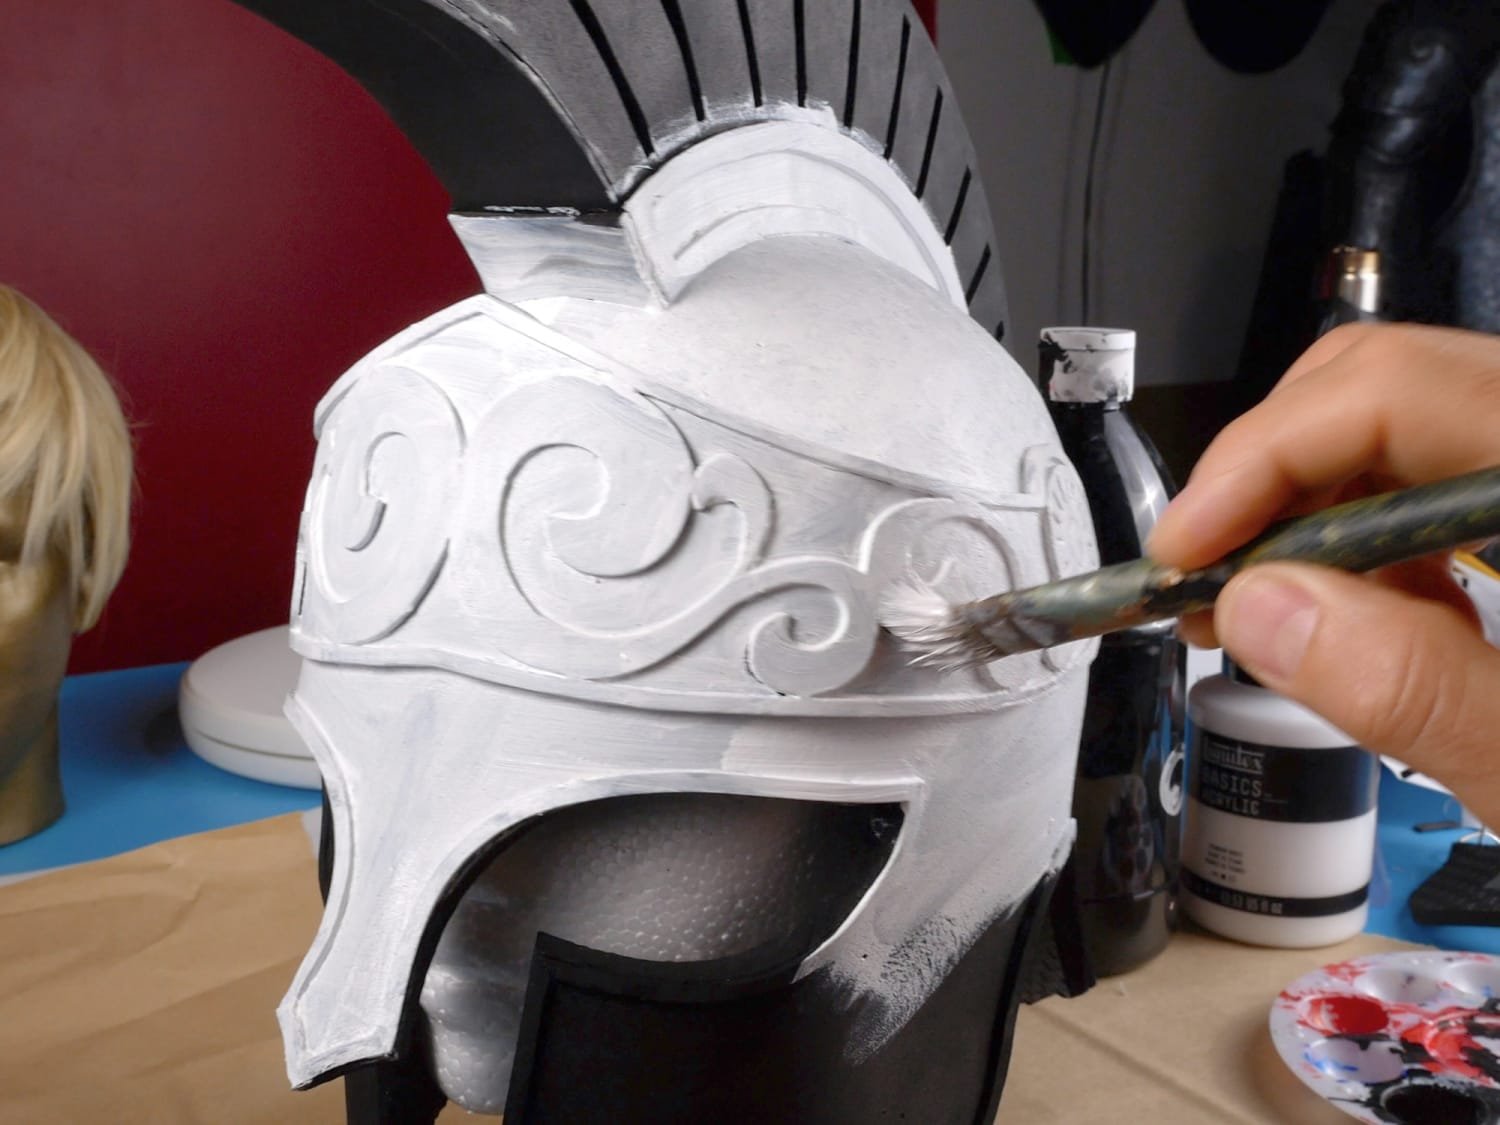
Stippling the base coats for a slightly rough texture
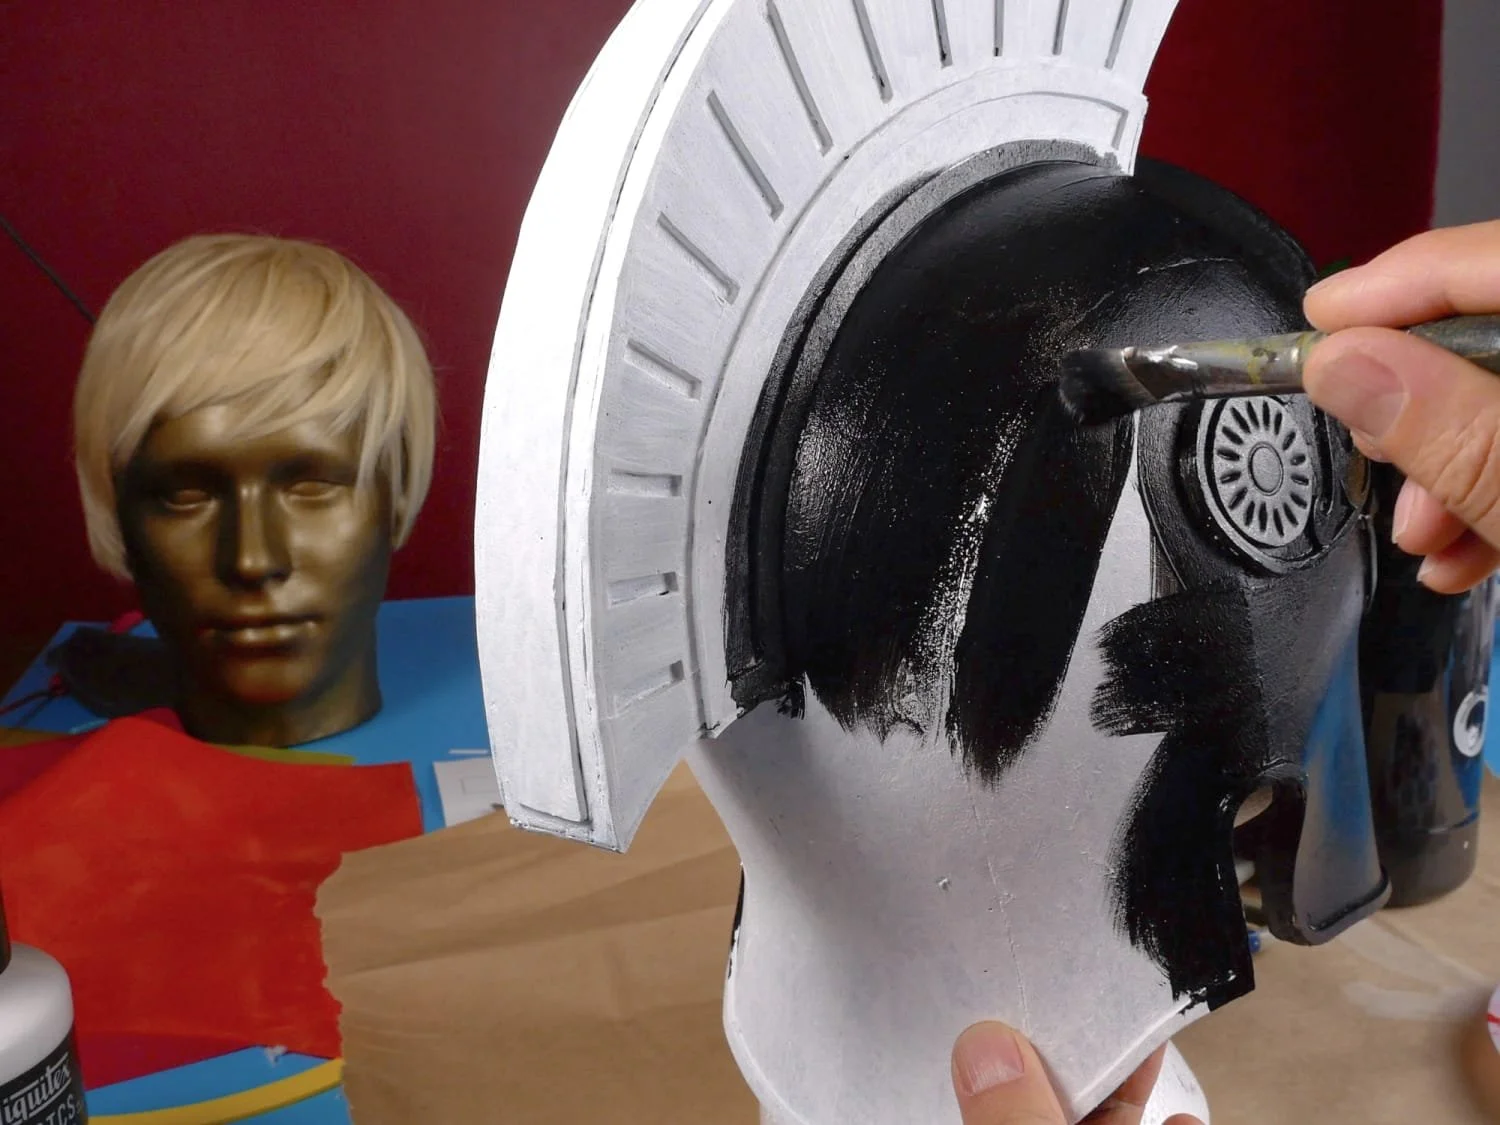
Paint it black before applying the metallic paints
Step 15: Metallic Paint
This step is where the magic happens! It takes a bit of practice, but the result is fantastic.
You just put a small amount of paint on a piece of cardboard, and then, take a little with a gloved finger, rub most of the paint off on the cardboard, and then apply the rest onto the painted surface of the helmet, rubbing gently.
Do a small section at a time and slowly cover the whole piece.
Because your finger can’t get into the corners, the metallic paint won’t reach into those areas, and that leaves the piece with dark areas consistent with old oxidized metal.
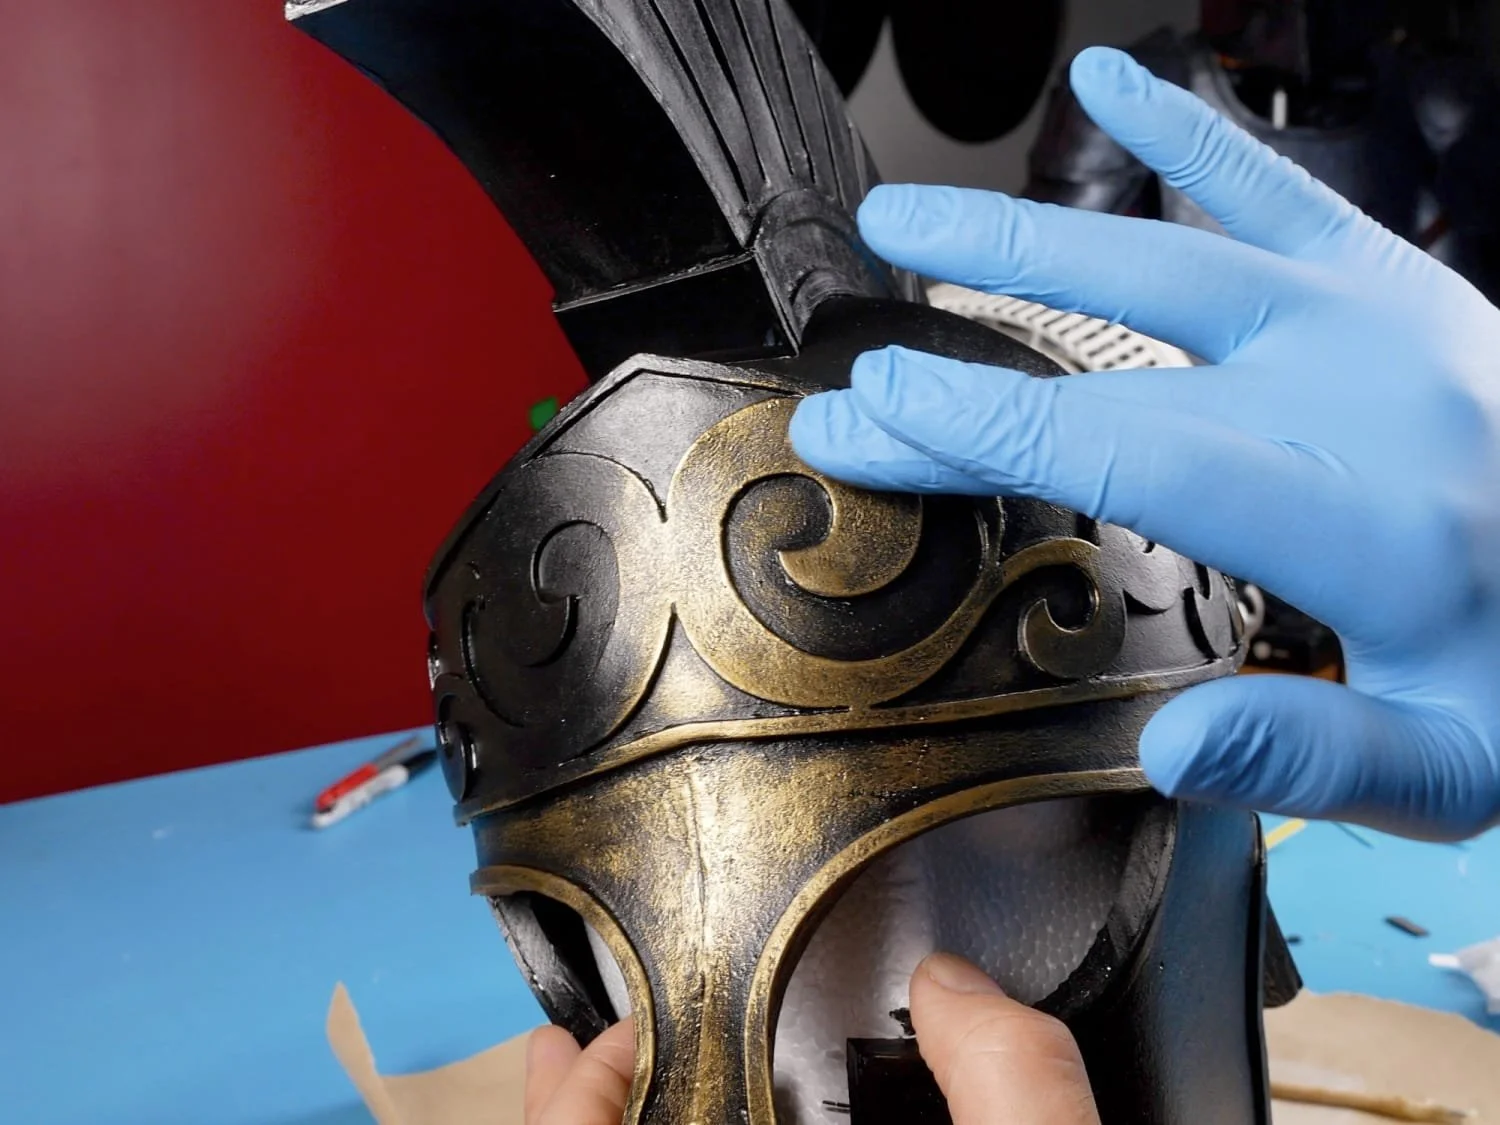
A little metallic paint on the fingertip
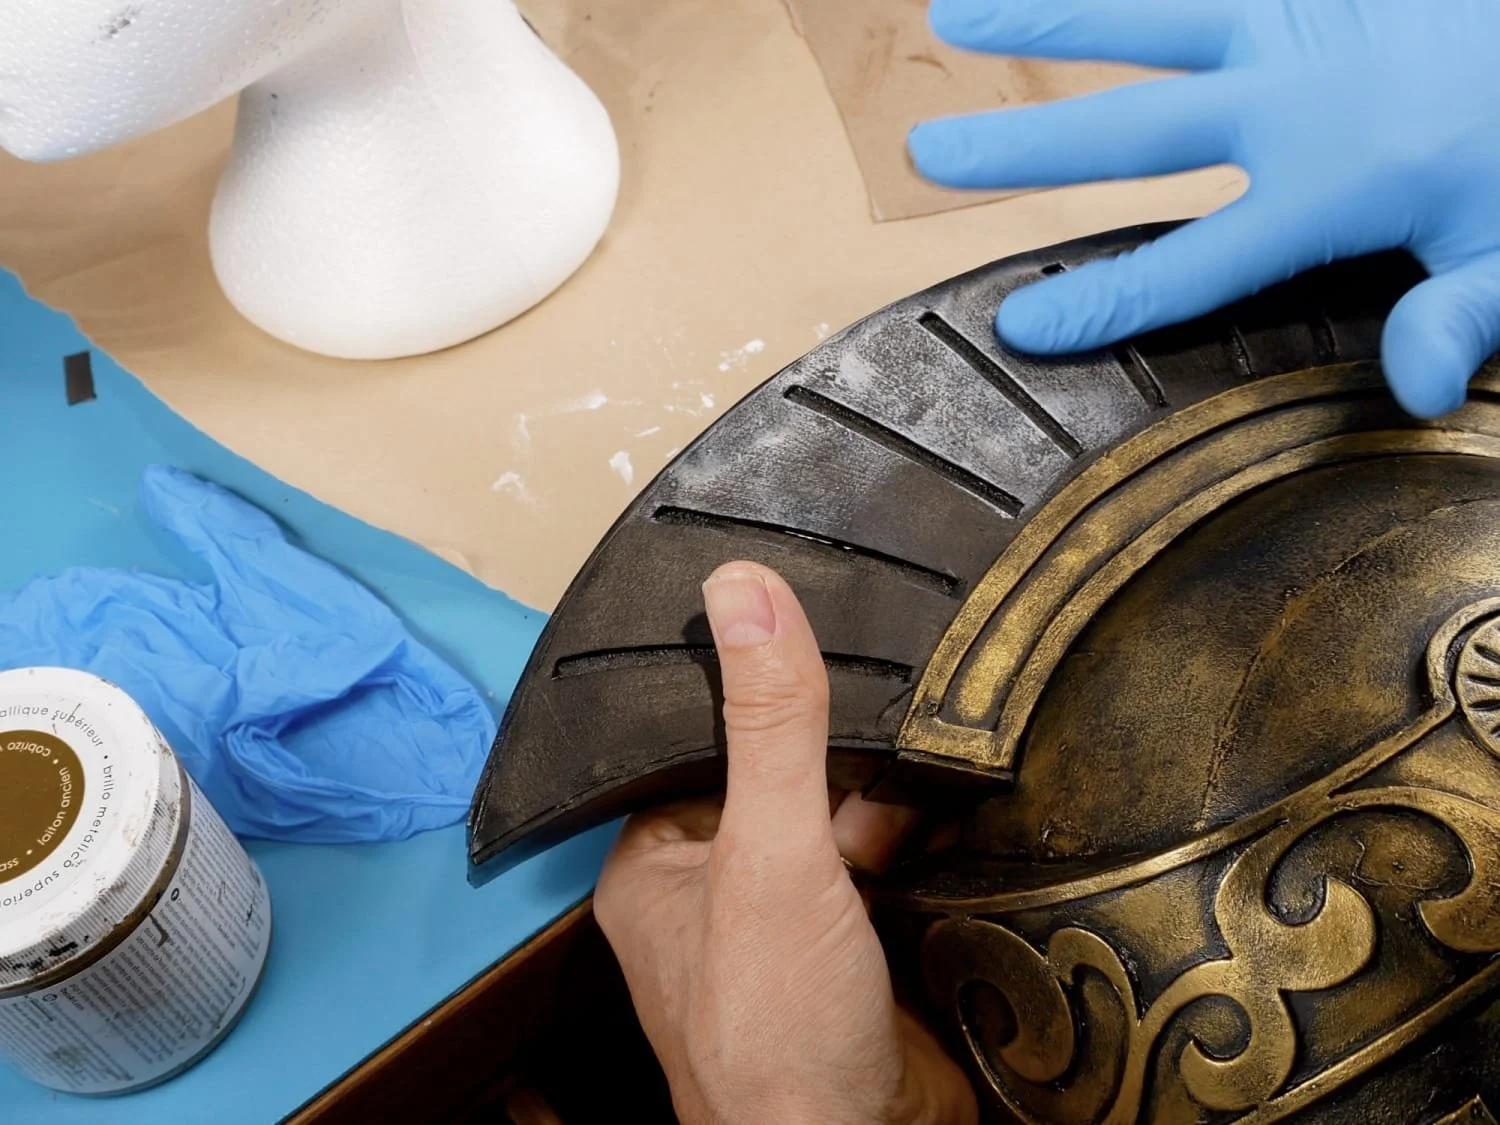
Lightly apply it a little at a time
Step 16: You are done!
That’s it, now it’s time to go enjoy your epic new helmet!!
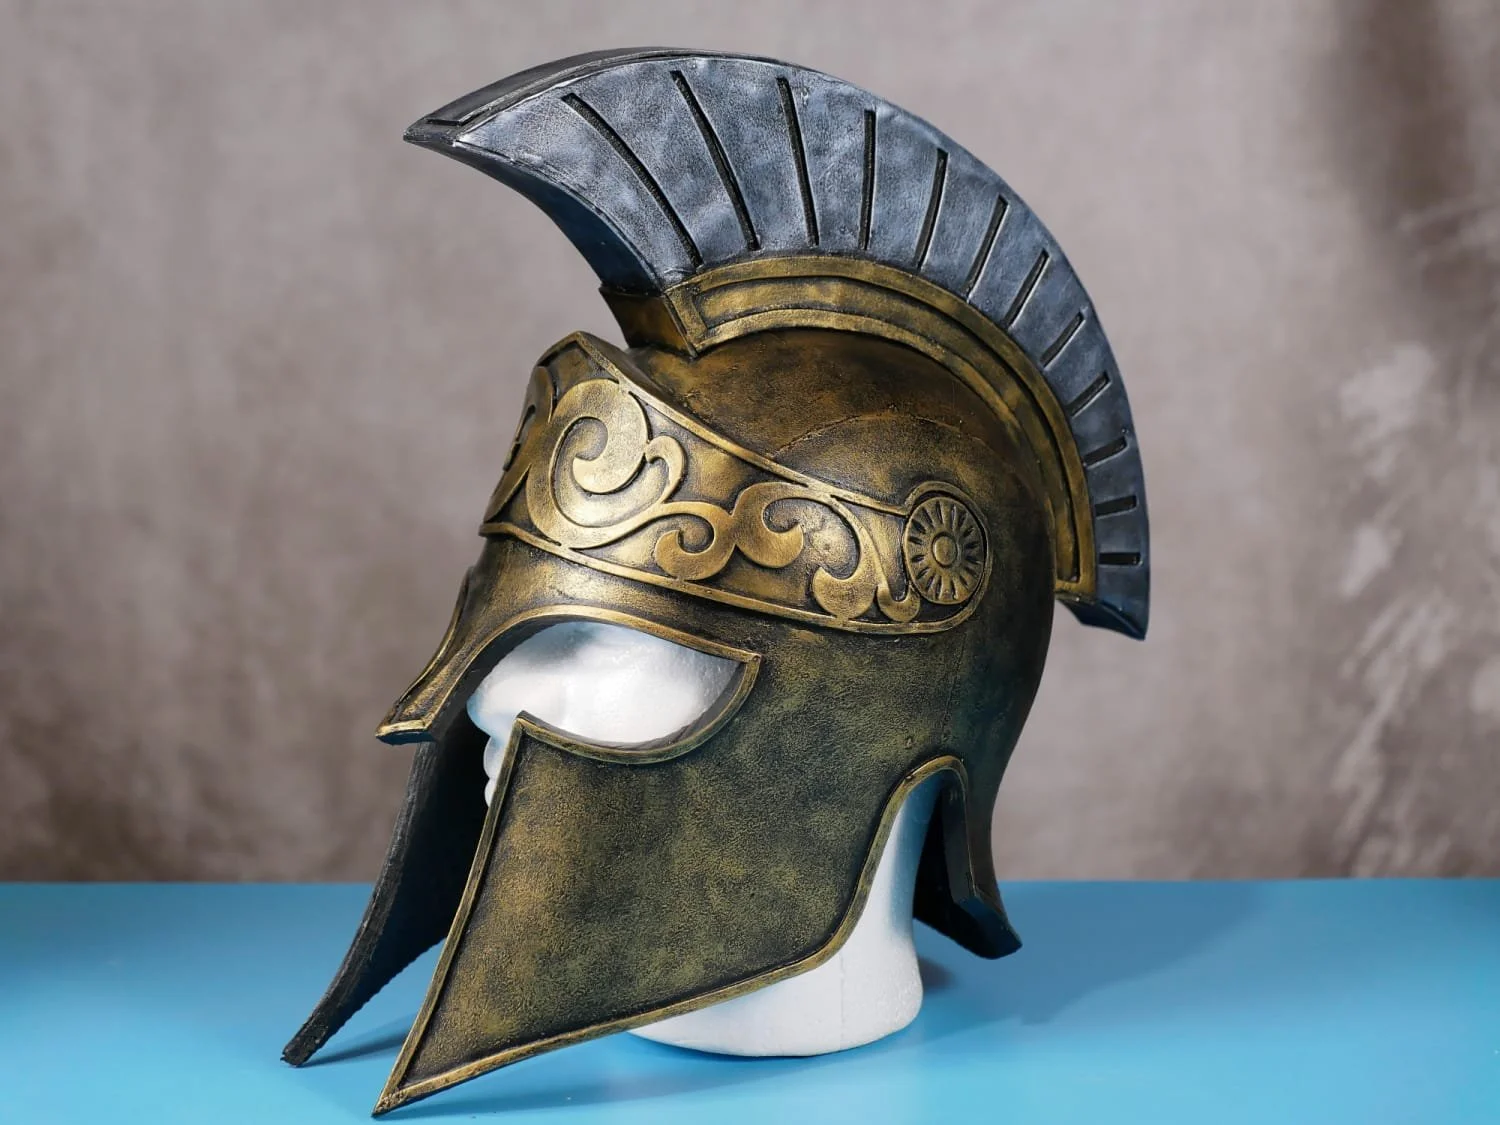
Finished Spartan Helmet
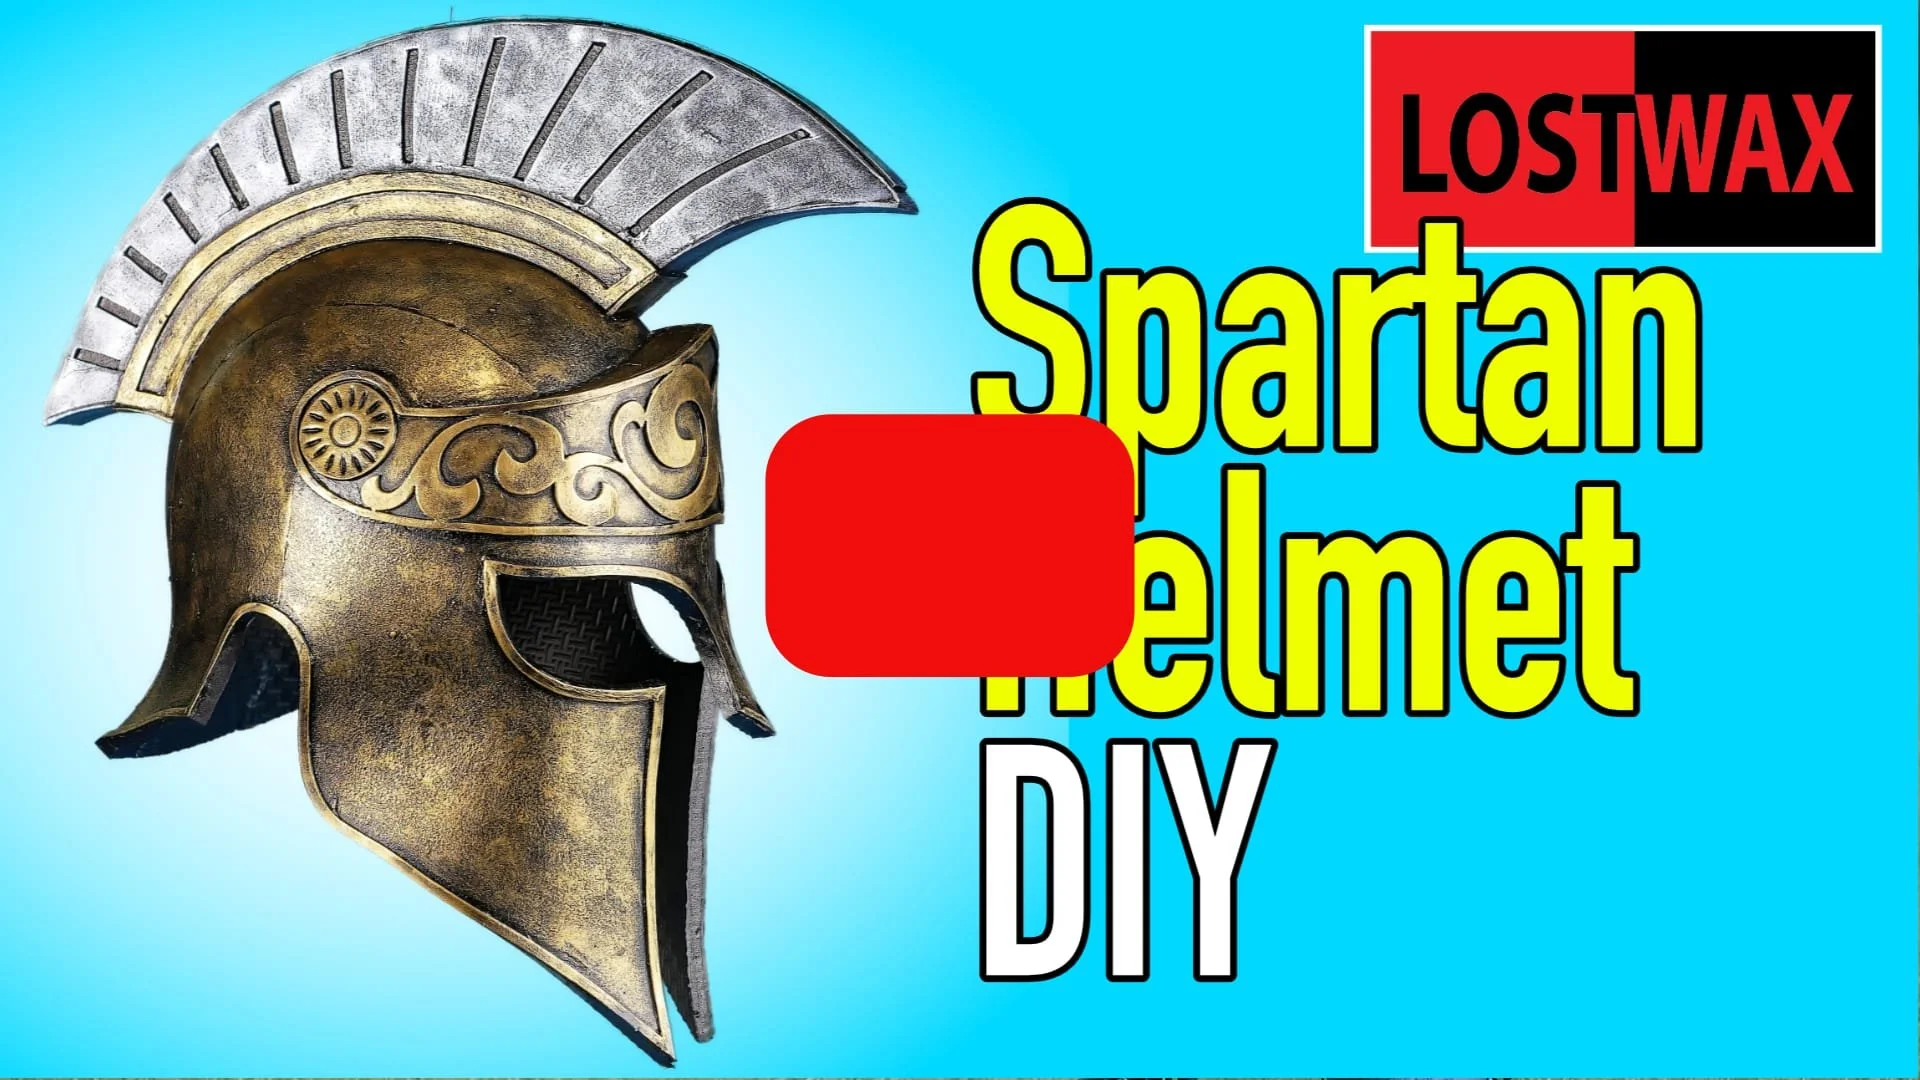
Watch the Spartan Helmet video tutorial here