How to Make an Aviator Hat From Craft Foam!(Steampunk or Not)
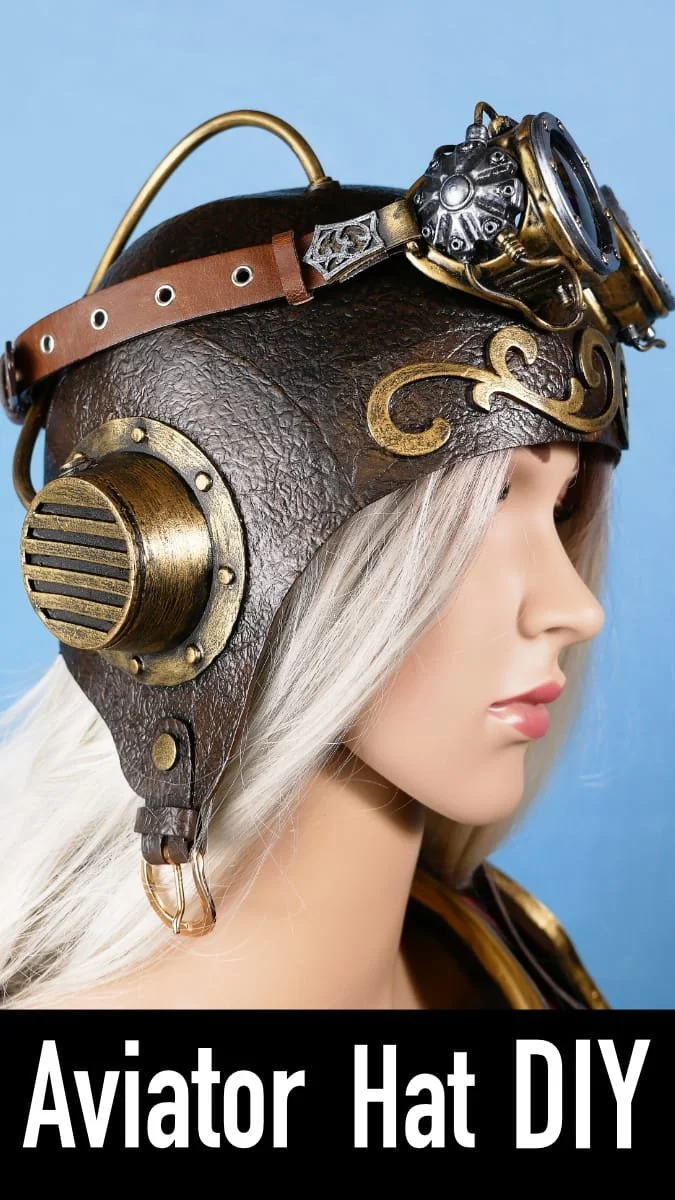
If you are looking to create a flight helmet based on the iconic World War I Style, then look no further! Or alternatively, you might want a steampunk cosplay that leans towards sky pirates, airships captains, and intrepid explorers! Either way, you’ve got this.
This pattern only requires a few sheets of easily sourced 2mm craft foam, so it's a super low budget, yet extremely effective project.
Note- this post is just an overview of the process, make sure to read the instructions included with the pattern if you are making it for real!
Step 1: Supplies
Pattern: When you print it, measure against the print guides to know the scale is correct. When printing, make sure scale is set to ACTUAL SIZE Because I make my patterns to work on both A4 and U.S. letter paper, often Adobe Acrobat will try and shrink the pages a little bit.
Craft foam: The foam I used was approx. 2mm thick. You will need two 12" x 18" sheets for all sizes except extra large, for which you will need three.
Very Sharp Knife: If it is not really sharp you will have a terrible time when you are cutting the foam. I use a surgical scalpel or utility knife. Use a brand new blade.
Hot Glue Gun: I highly suggest a glue gun that has adjustable temperature. If you use a temperature just a little bit higher than the melting point of the glue, you will have fewer burnt fingers, and not have to hold pieces together as long while they cool.
Super Glue: Helpful for gluing down bits and pieces.
Paint Pen or Gel Pen: Used for any markings on the foam.
Black and Brown Paint: Artists acrylics work reasonable well, though they can crack over time. If you want a really durable, long lasting finish, I would suggest using a flexible paint, such as Plaid FX paints.
Metallic paint: I used DecoArt Americana Metallics “Antique Brass”
A Buckle: Try find one you can recycle from some old clothing item- bags, shoes, and belts are good places to look.
Heat Gun or Blowdryer: Used for heating and forming the foam.
Iron (optional): Used to add a leather-like texture to the foam. You can see my tutorial on the textured leather technique here: http://youtu.be/45Lxy_2lDw4
Aluminum foil (optional): used to add texture to foam.
Leather Punches: I used 12mm, 9mm, 5mm, 3mm
Contact Cement (optional): I used hot glue in the video, and I think this works great, however, if you are going to be wearing or storing your costume somewhere that will get quite hot, you might want to use contact cement instead.
Wire: I used some 3mm telephone wire and some 6mm acrylic tubing.
I have links to a lot of the different supplies I use on my projects here
Step 2: Texture the Foam to Make It Look Like Leather (optional)
This is a technique that I came up with a long time ago, and it is still my favourite way to make foam look close to leather.
You need an old iron that you are okay to wreck, and some aluminum foil.
Using the heat and the crinkled texture of the foil, you can impart that texture to the foam. The one thing you need to be careful of is that you don’t re-heat the foam after it is textured as that will soften the foam again and the texture will disappear.
Here’s my original video showing the technique step by step: Textured Foam Video
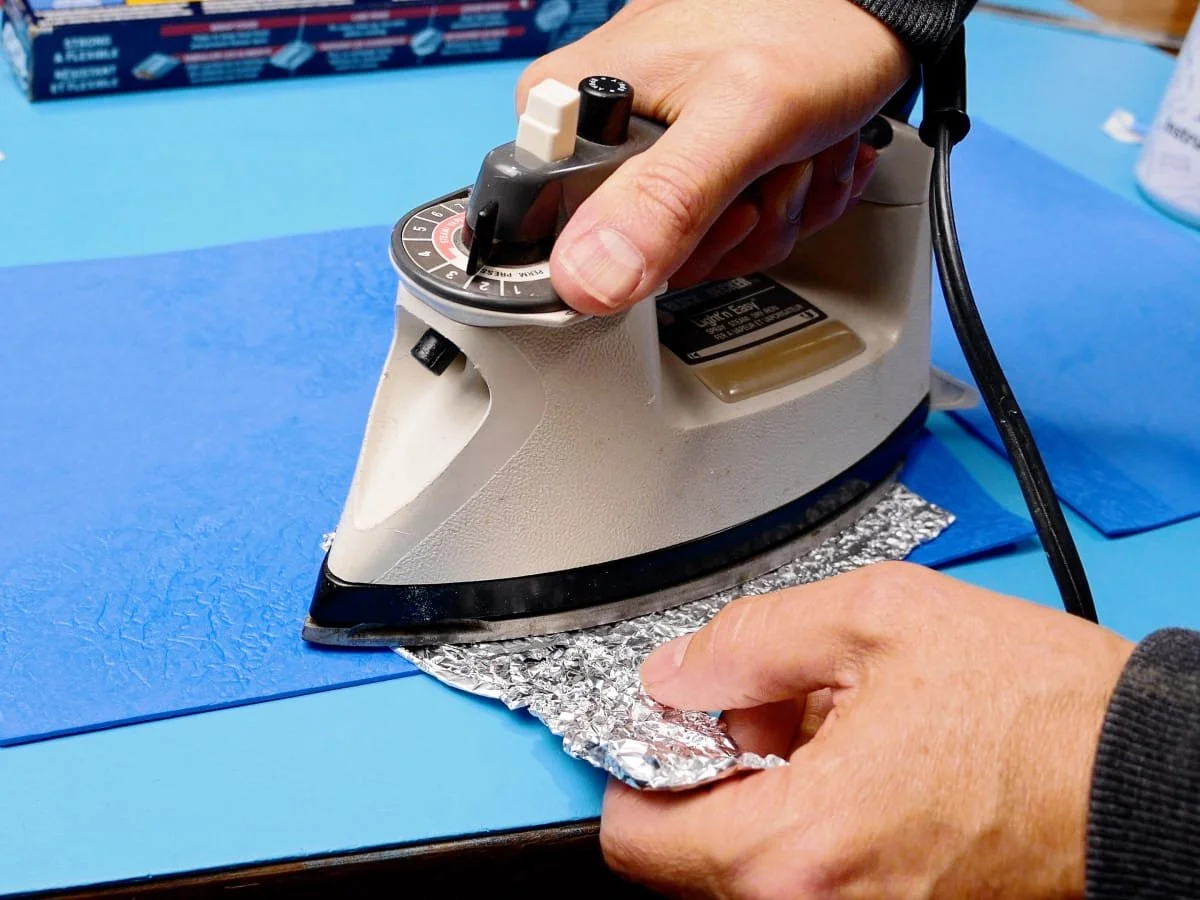
Crumple the foil, then iron over it
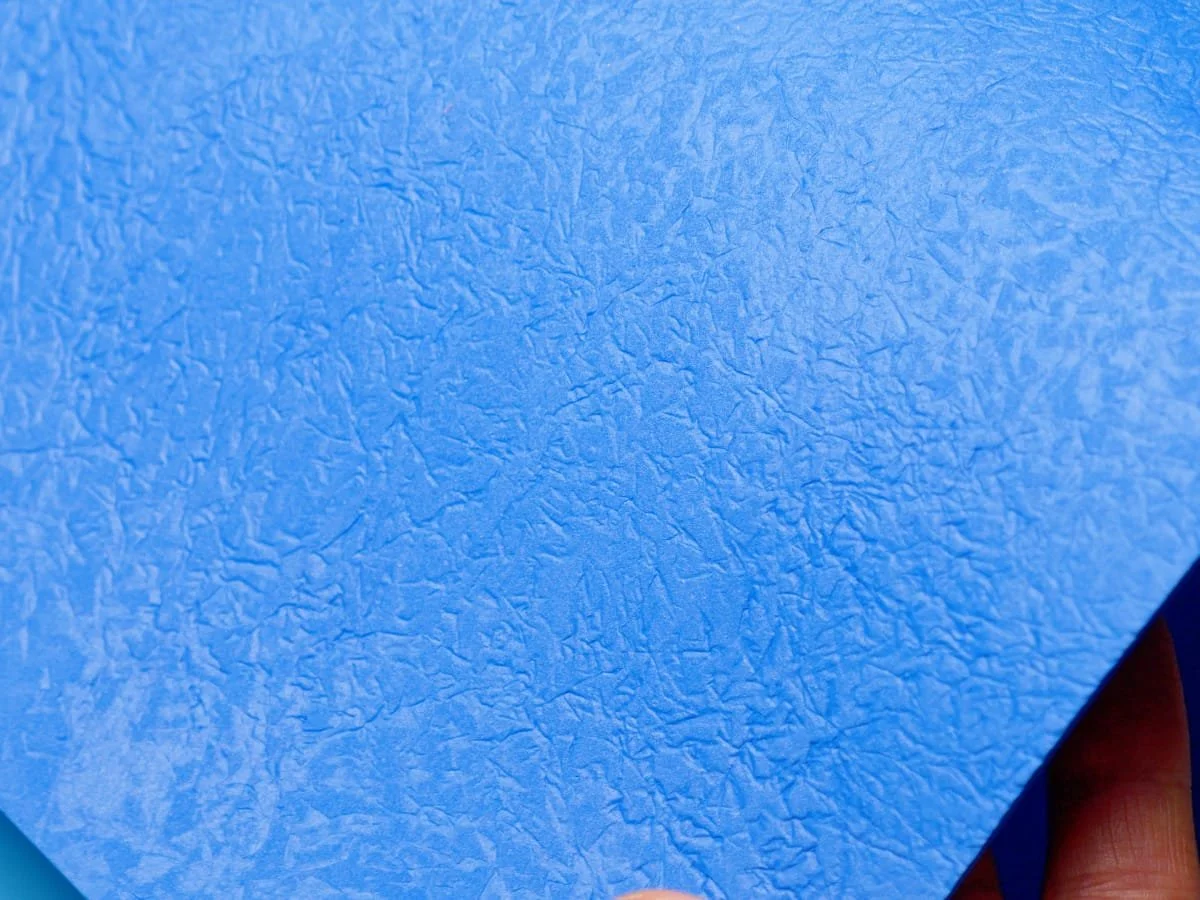
finished faux leather from foam
Step 3: Print and assemble the pattern
Print the pattern pages from the PDF. Make sure the scale is set to actual size or 100%. Some of the pattern pieces are larger than one sheet of paper. For these, line up the “+” marks and tape the sheets together. I find it is easier to line up the marks if I hold the papers up against a window or a light table so that the light coming through the window allows me to see through to the lower registration marks.
Make sure the scale is set to actual size in the settings when you print.
After printing, measure the print guides with a ruler to verify that they are the correct size.
Cut out the pattern pieces.
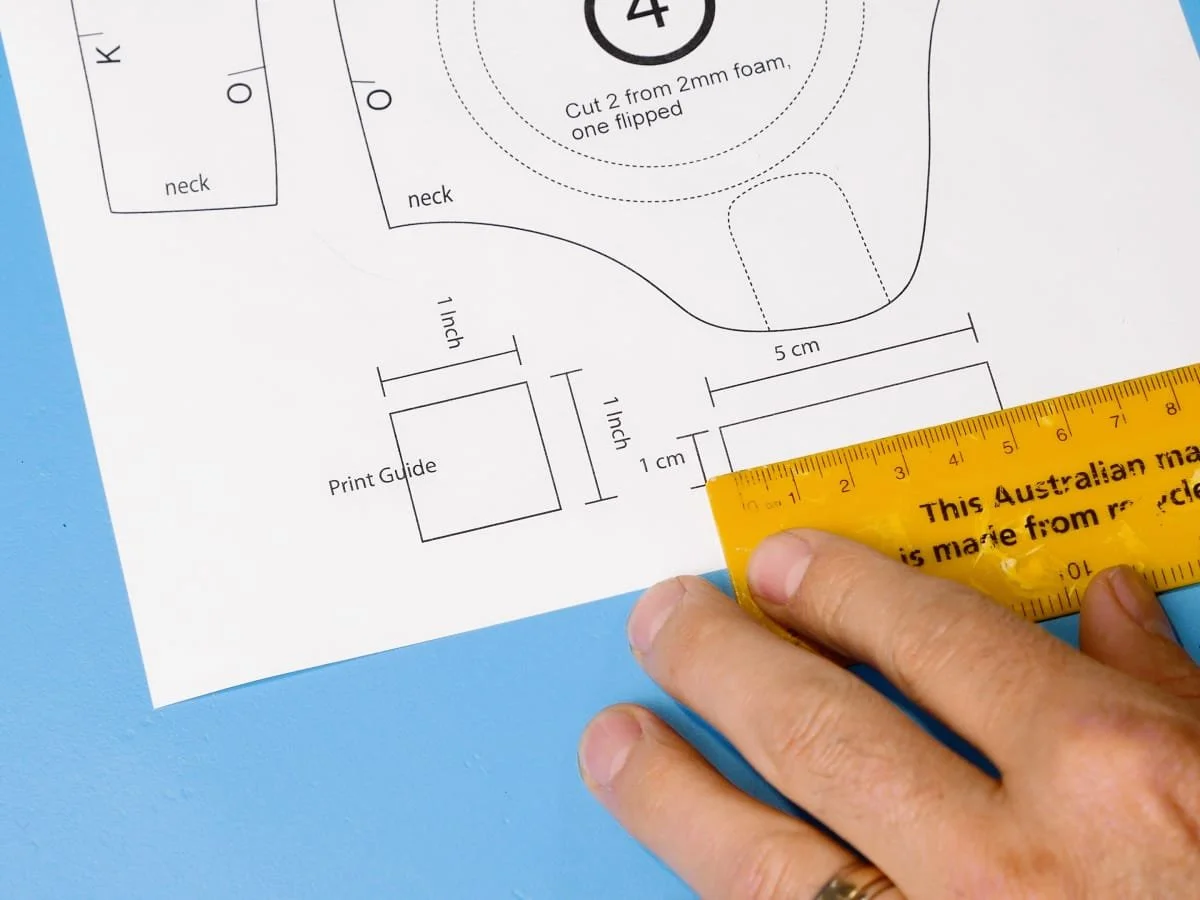
Make sure to measure the print guides!
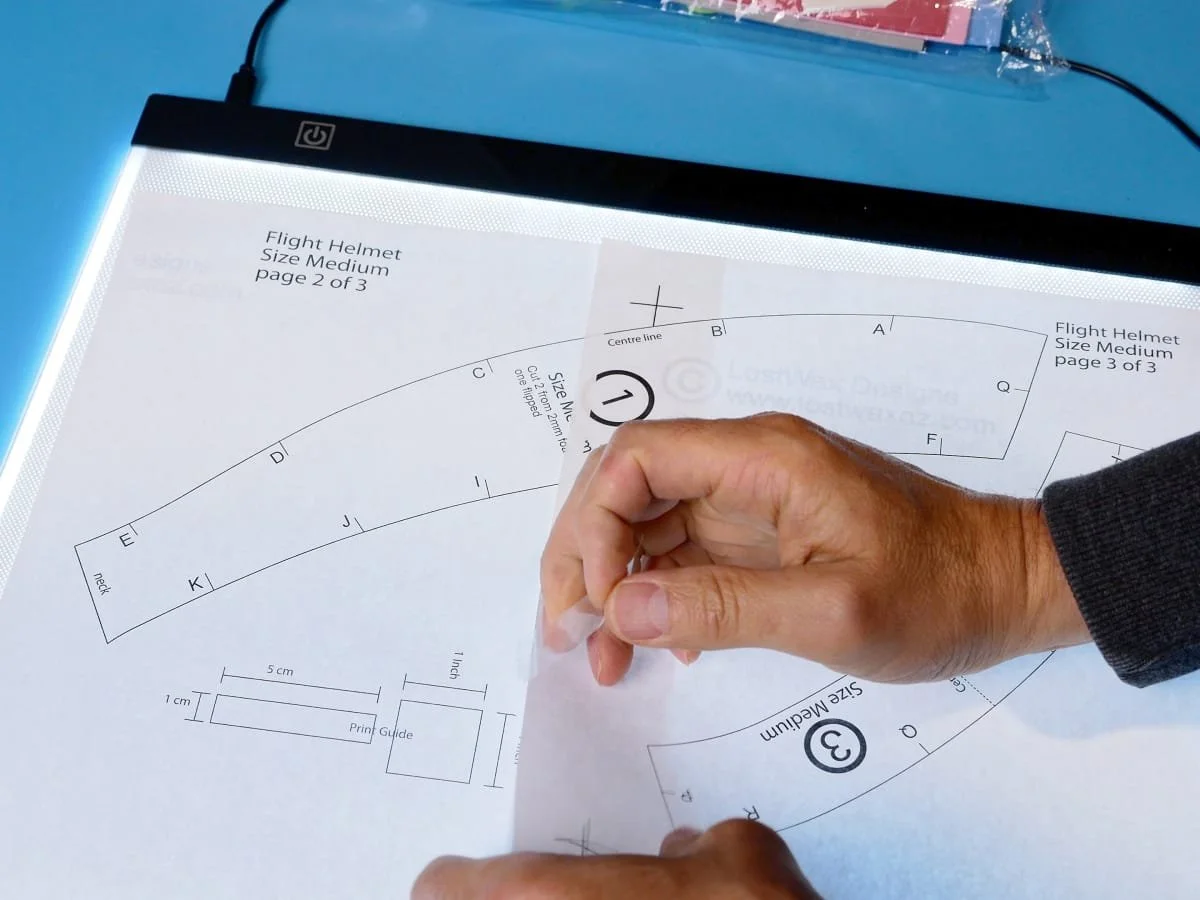
You can also use a window on a sunny day to see through the paper
Step 4: Cut Some Foam
Trace the pattern pieces onto a couple sheets of 2mm thick craft foam.
Using your extremely sharp knife, cut out the foam parts. The main helmet is made up of just 7 pieces.
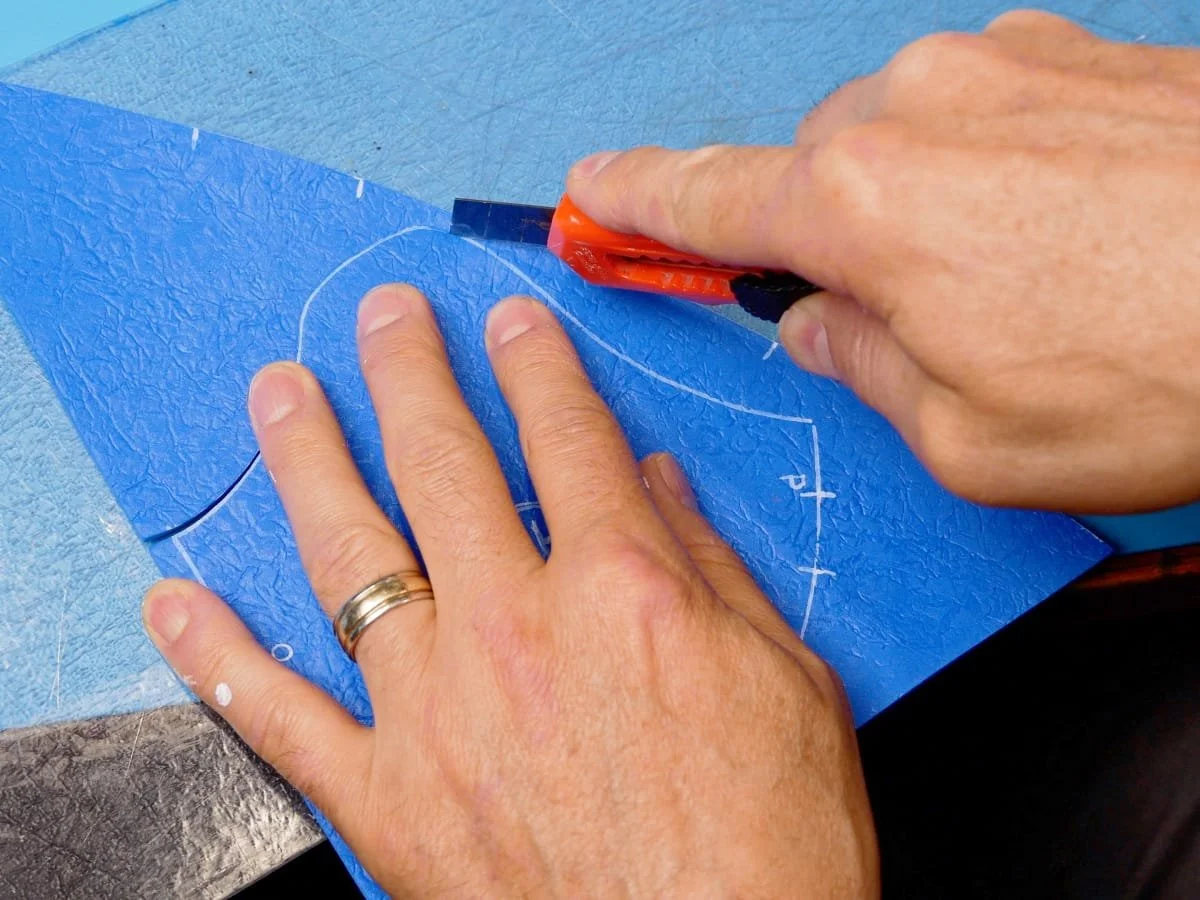
Cutting the craft foam pieces
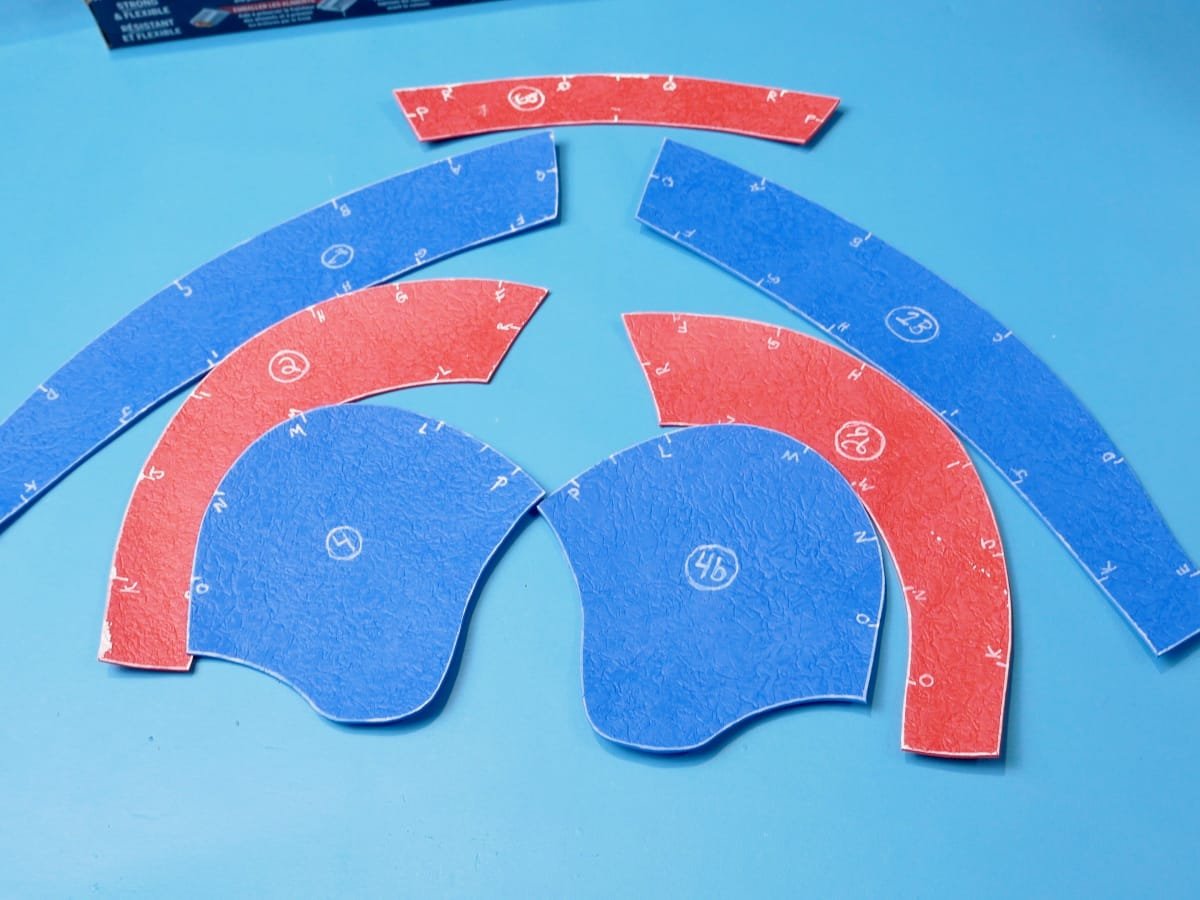
The 7 main pieces that make up the flight hat
Step 5: A Bit About Gluing
You will notice that I now use hot glue on most of my projects. It is easily accessible and is relatively safe. You can also use contact cement for a helmet that is more durable, especially in really hot situations where hot glue would soften, but if you do, make sure you have proper ventilation and lung protection.
I recommend a hot glue gun with adjustable temperature. That way you can turn the temperature down so it is just above the melting point of the glue. You don’t need to hold things as long, there are less fumes, and you don’t get burned as easily!
If you have problems getting clean seams with hot glue, one thing you can do is wait until the seam is cool and them rub along the seam with a piece of scrap foam. This softens the glue and allows you to rub away the excess.
You will also see me sometimes wipe the hot glue off the foam seam before it completely cools. I am able to do this without burning my fingers because my glue gun is set to a low temperature and I have a fair bit of experience knowing how long to wait. I think it produces the best results, but do so at your own risk!
Step 6: Glue All The Edges
Now it’s time to start putting these flat pieces of foam together to make a 3 dimensional shape. These pieces all get glued together along their thin edges so it’s good if you have a silicone mat or some non stick baking paper underneath to help you line up the edges.
Start by gluing the centre seam and then the piece beside that one, then the front piece and finally the flaps that go over the ears.
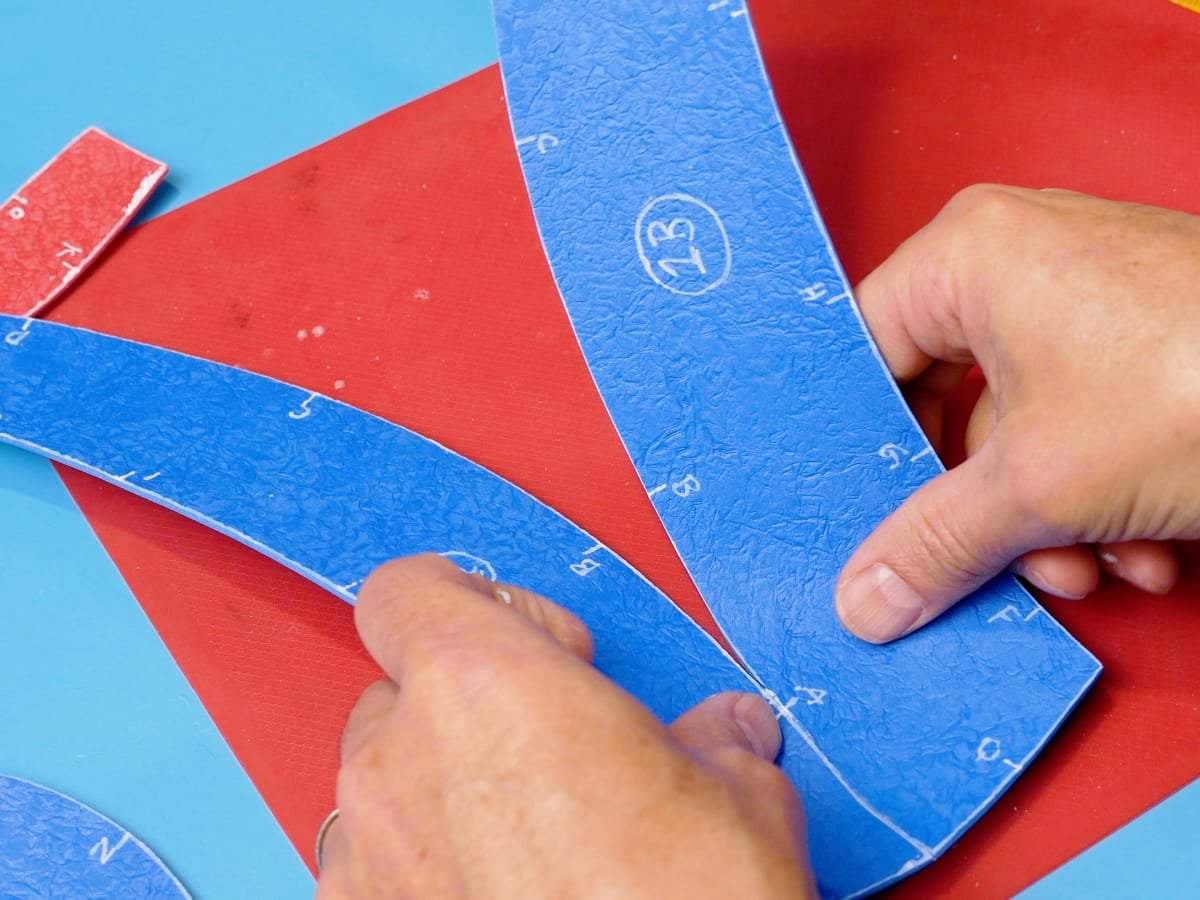
Start gluing along the centre line
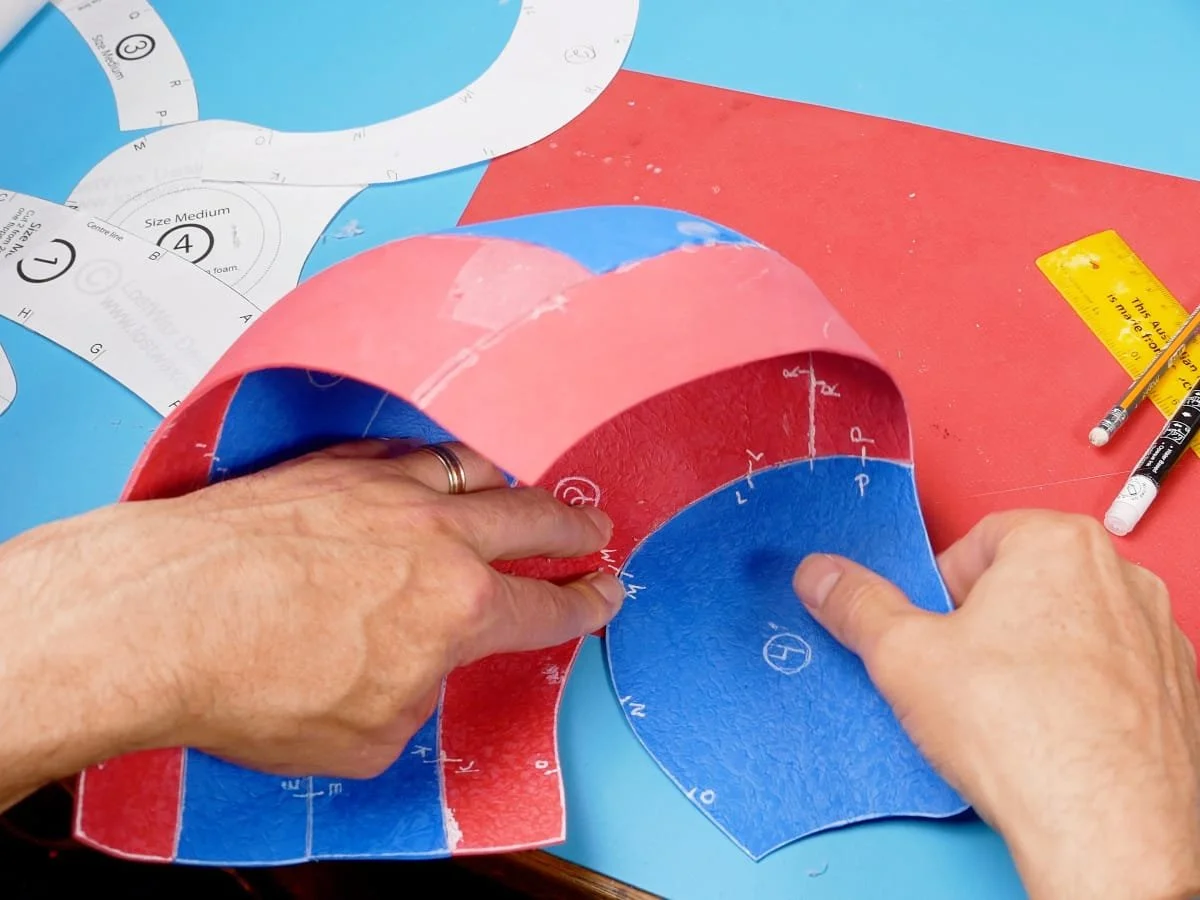
gluing the ear flap onto the rest of the hat
Step 7: Flippety Flip
If you are following the instructions in the tutorial, you will have glued the helmet together inside out. Now it’s time to flip it back the way it’s supposed to be.
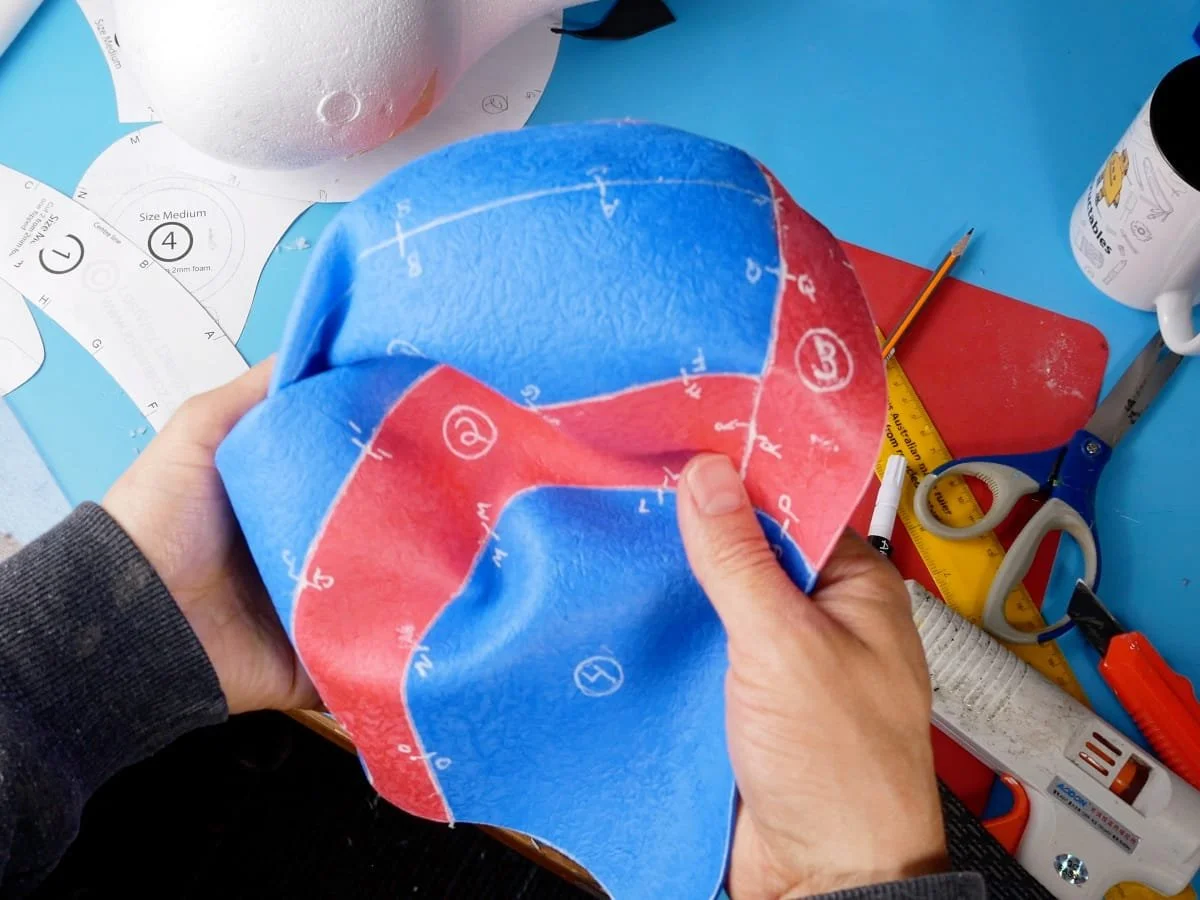
Flip the helmet right side out when you are done gluing
Step 8: You Might Be Done?
If you are making a standard aviator hat, you are pretty much done the construction at this point, all you need to do is add a strap and paint it. Or if you want to go a bit further, you can add a finishing strip around the edges and make some fake sewing marks along the seams.
To add a chin strap, skip to step 10.
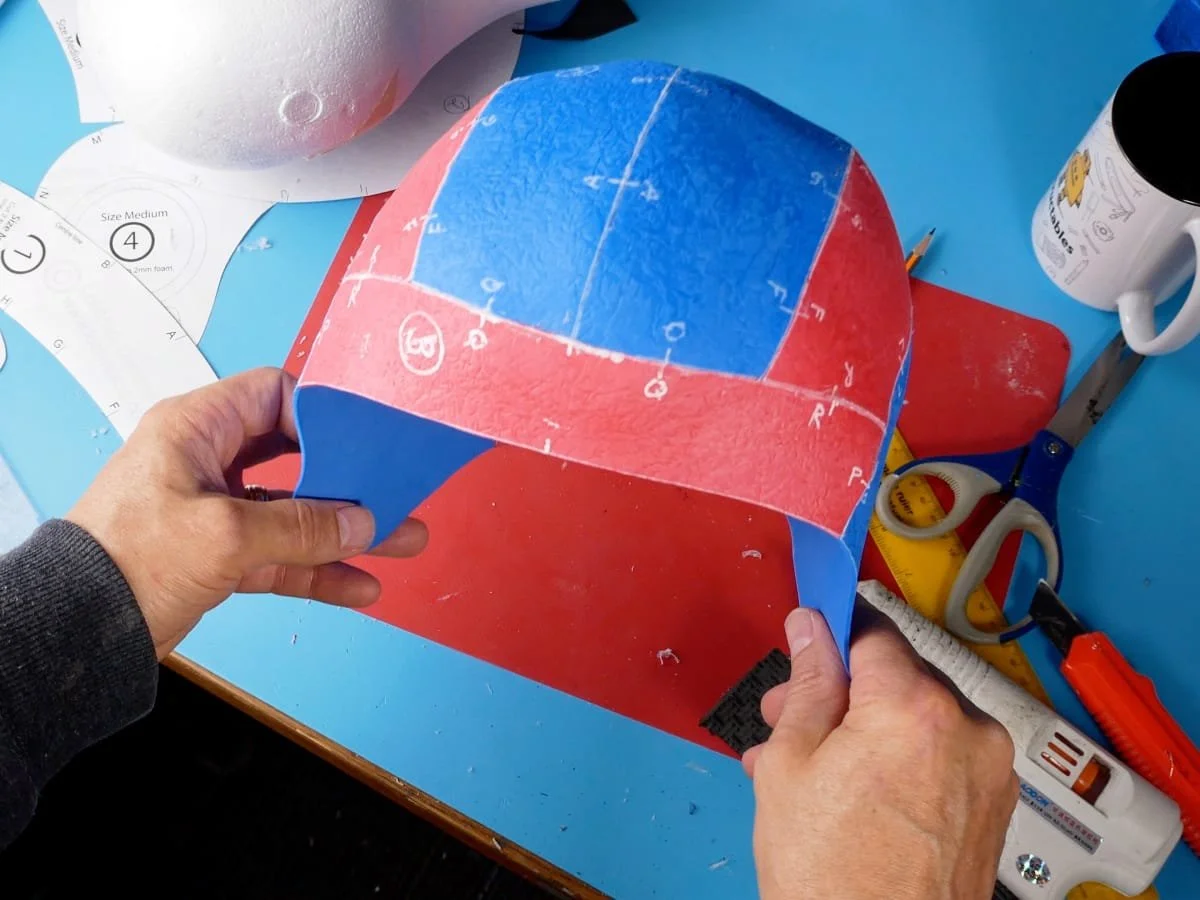
helmet finished as simply as possible
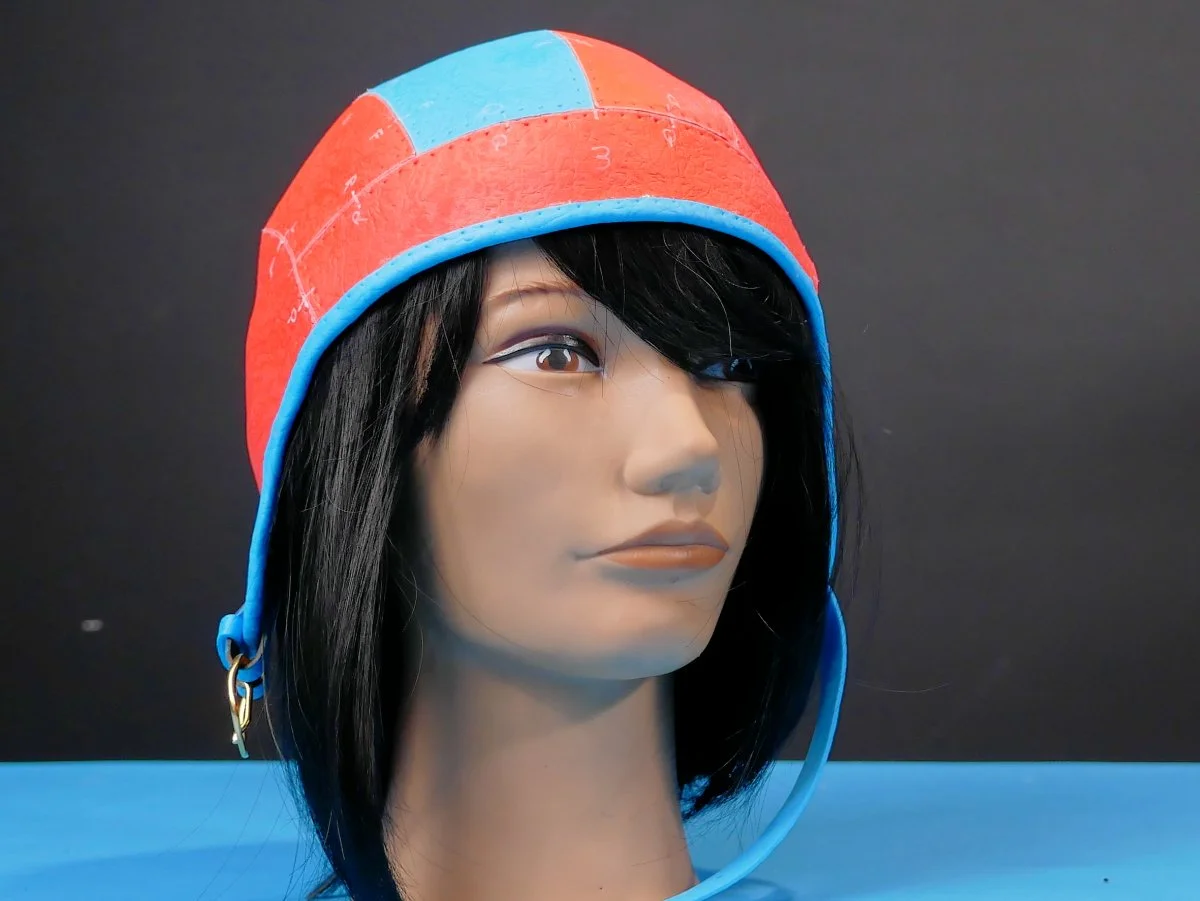
flight hat with a few extra details like the rim and stitch marks
Step 9: Adding the Steampunk Bits
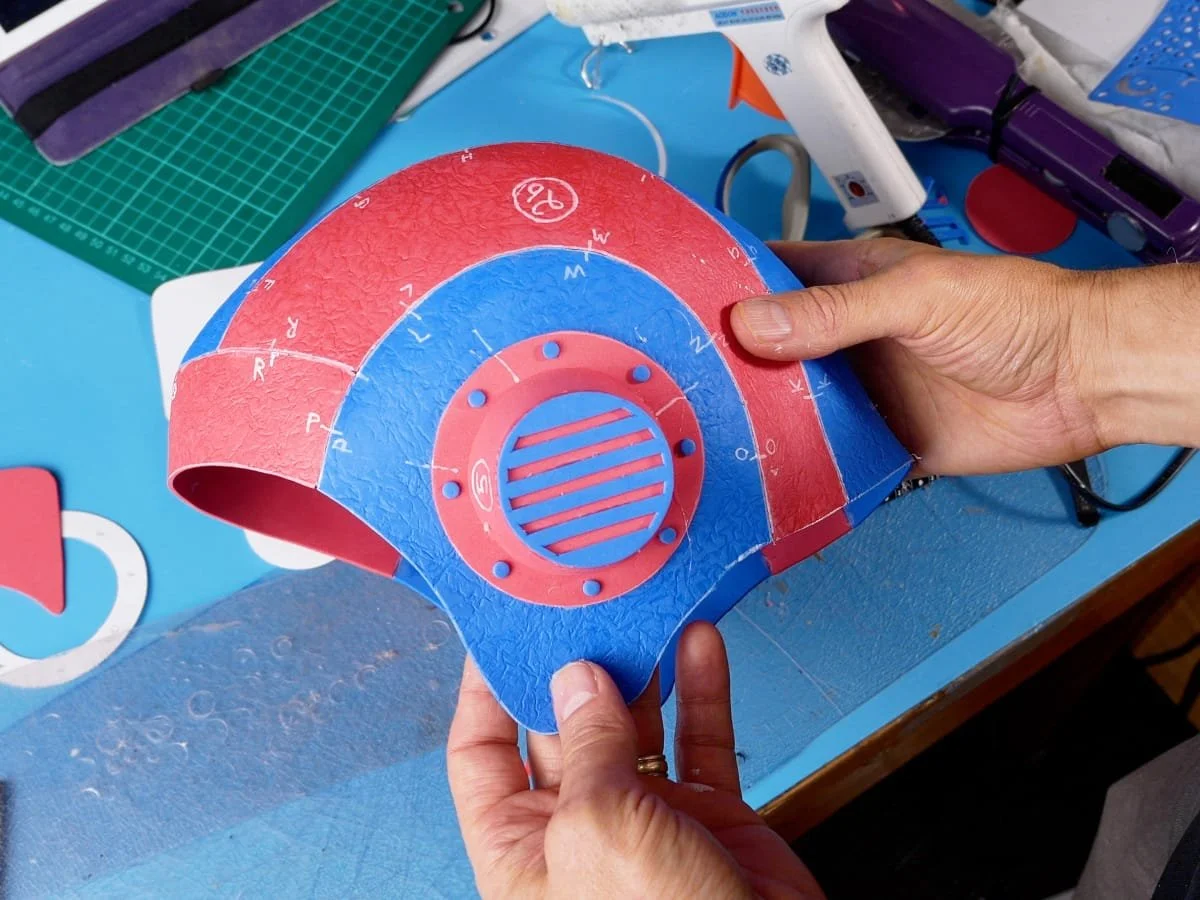
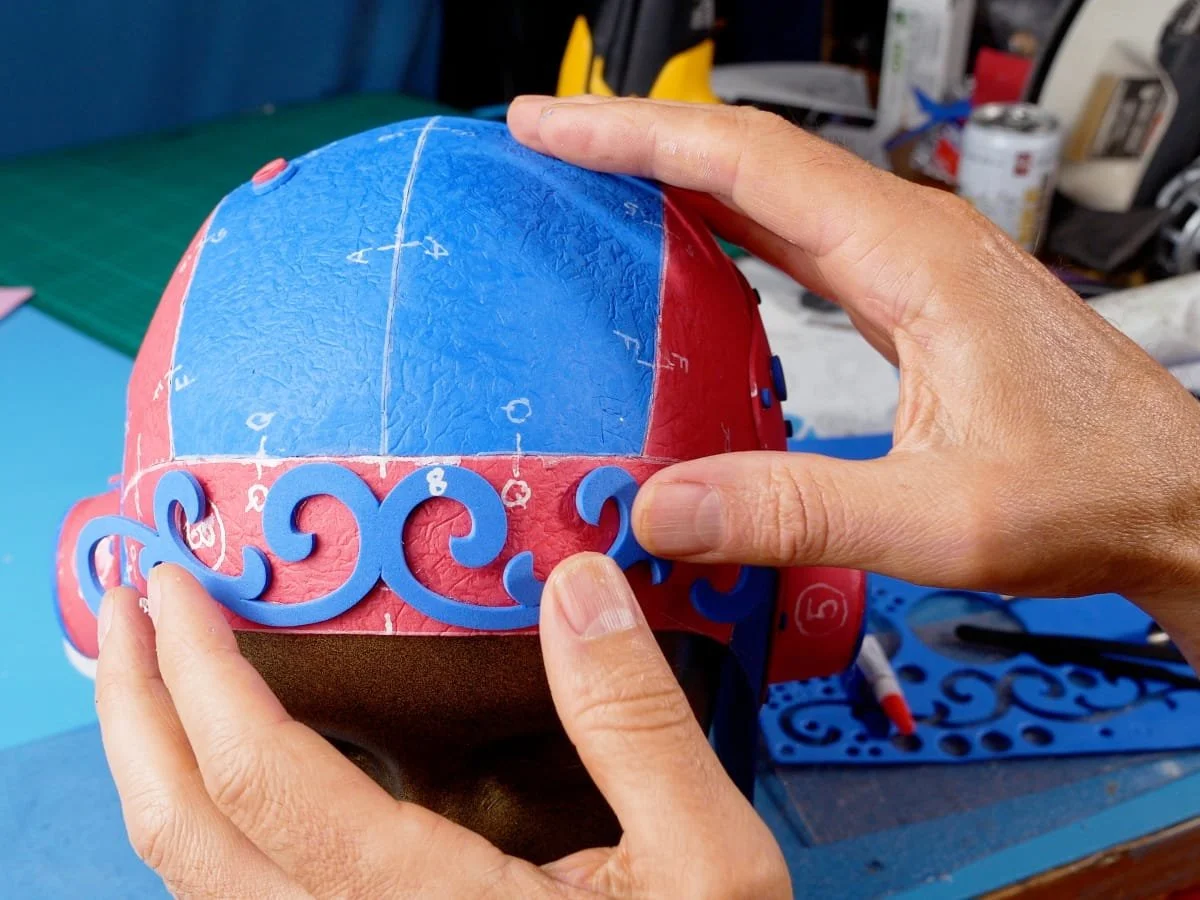
There are some extra pieces included in the pattern if you want to give your aviator hat a steampunk style.
The earpiece incorporates a truncated cone and a grill, there’s a nice swirly piece to go on the front for ornamental purposes, and of course lots of little discs to connect hoses to.
Step 10: Straps and Buckles
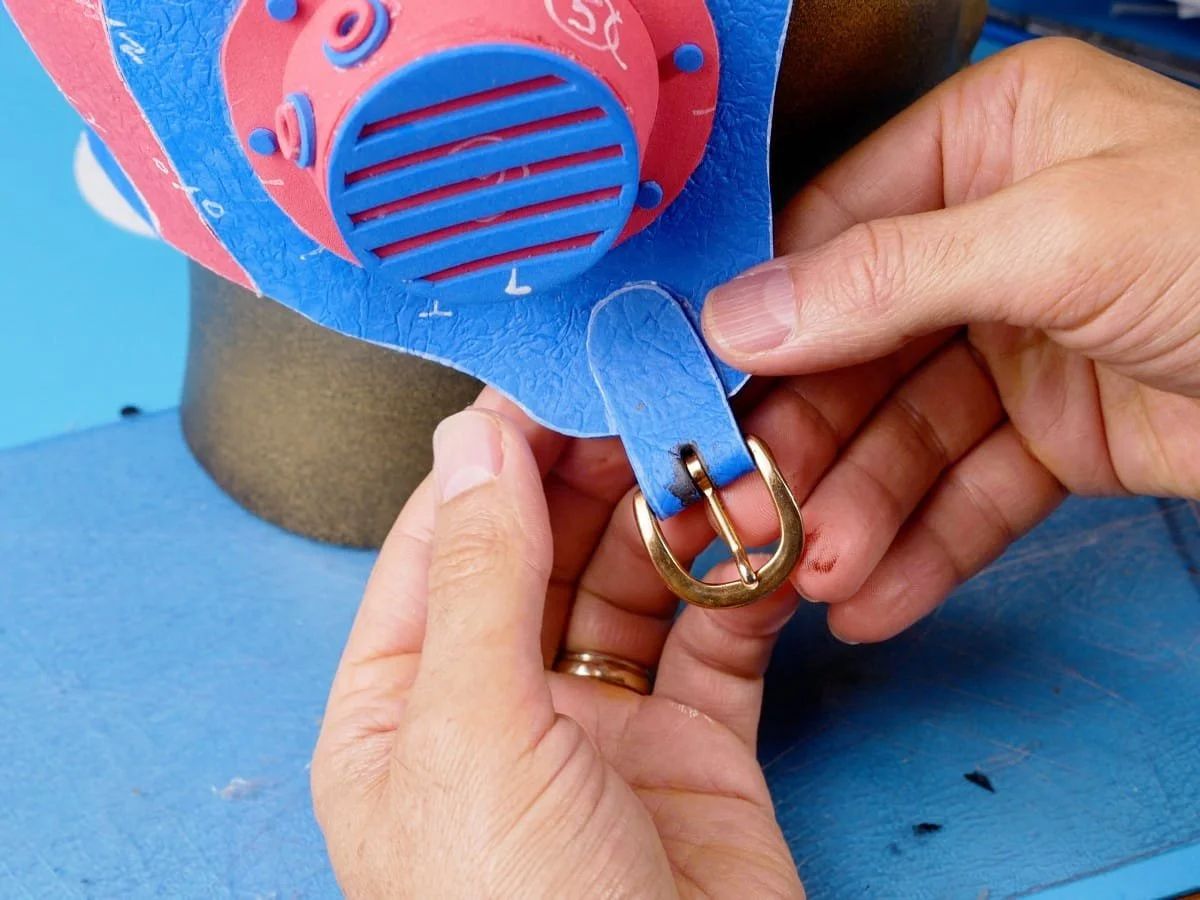
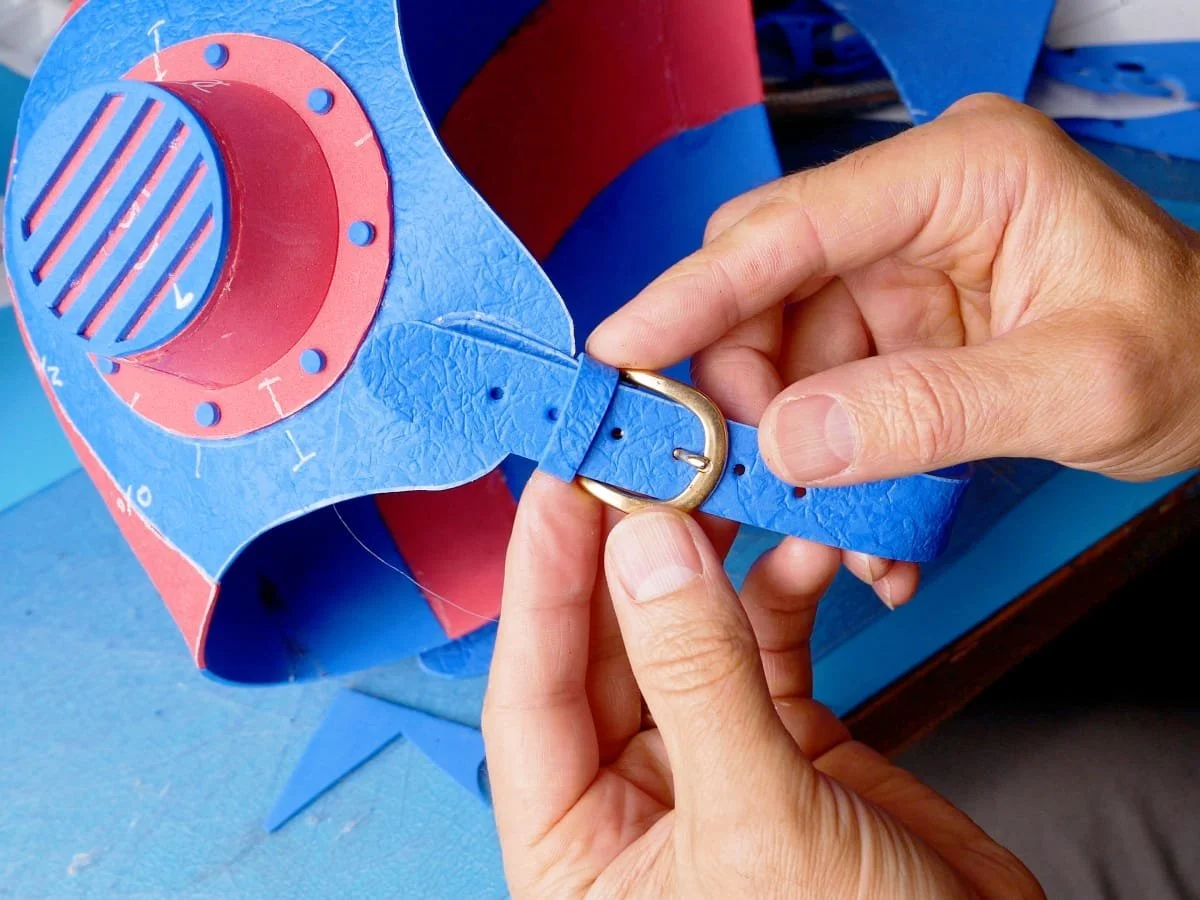
Rather than craft your own buckle, I always find it easier to source one on some second hand piece of clothing. For the small buckle needed for the chin strap, I recommend looking on shoes and sandals or even handbags.
The craft foam is strong enough to act as a strap, so it’s easy to integrate your found buckle with a strip of foam to complete the chin strap.
Step 11: Painting the “Leather”
How you paint your helmet has a huge effect on how it ends up looking. As most antique flight helmets were made of leather, that’s what we are trying to replicate.
I start by painting the entire helmet brown with some artists acrylic paints. I use artists acrylics because they have a little elasticity and therefore won’t crack as easily. Give it 2 to 3 coats.
Once the brown paint is dry, grab some black paint that is just slightly runny, and spread it on the helmet with a cloth pad. The paint will initially fill in the crevices from the leather texture, but as you continue to rub, the paint will be removed from the top surfaces, leaving the black in the lower parts.
Repeat this technique section by section.
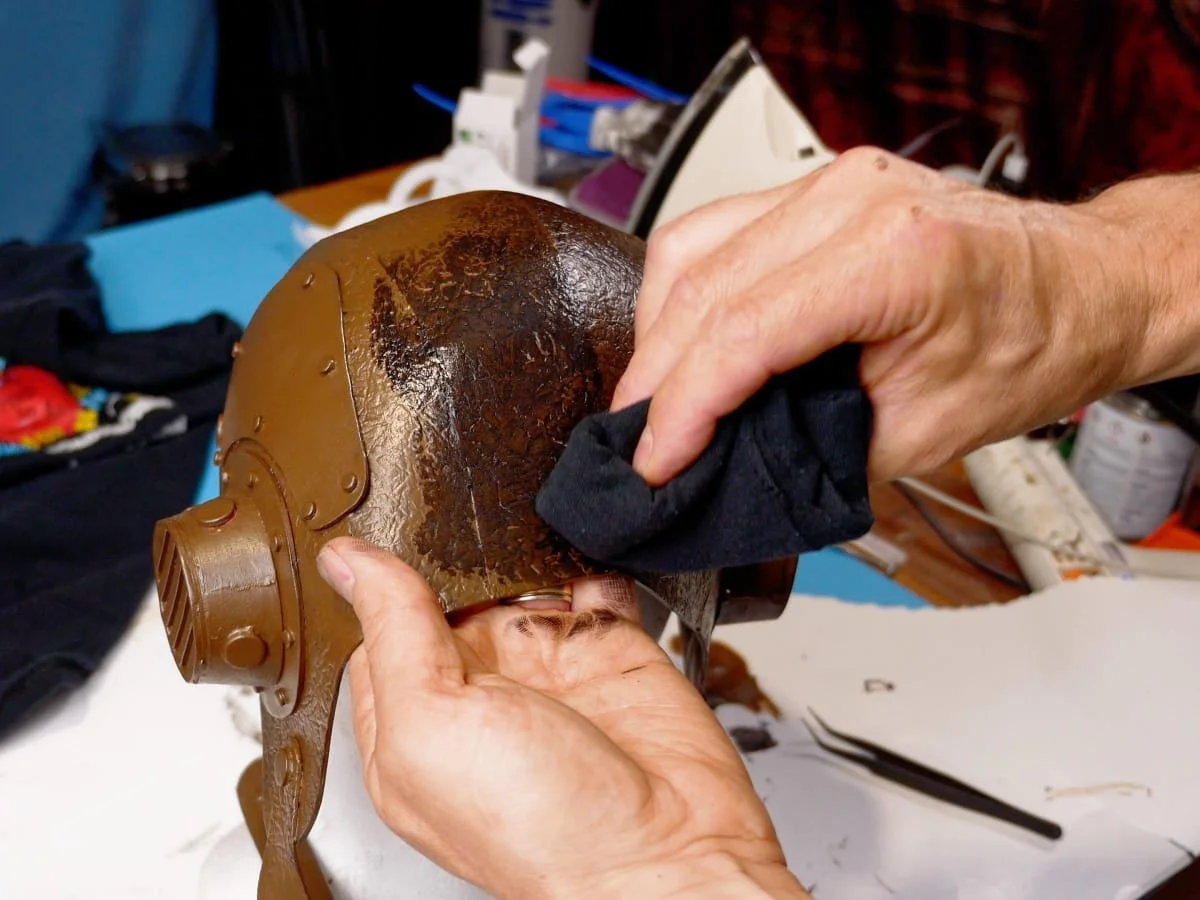
spreading black paint on after brown is dry
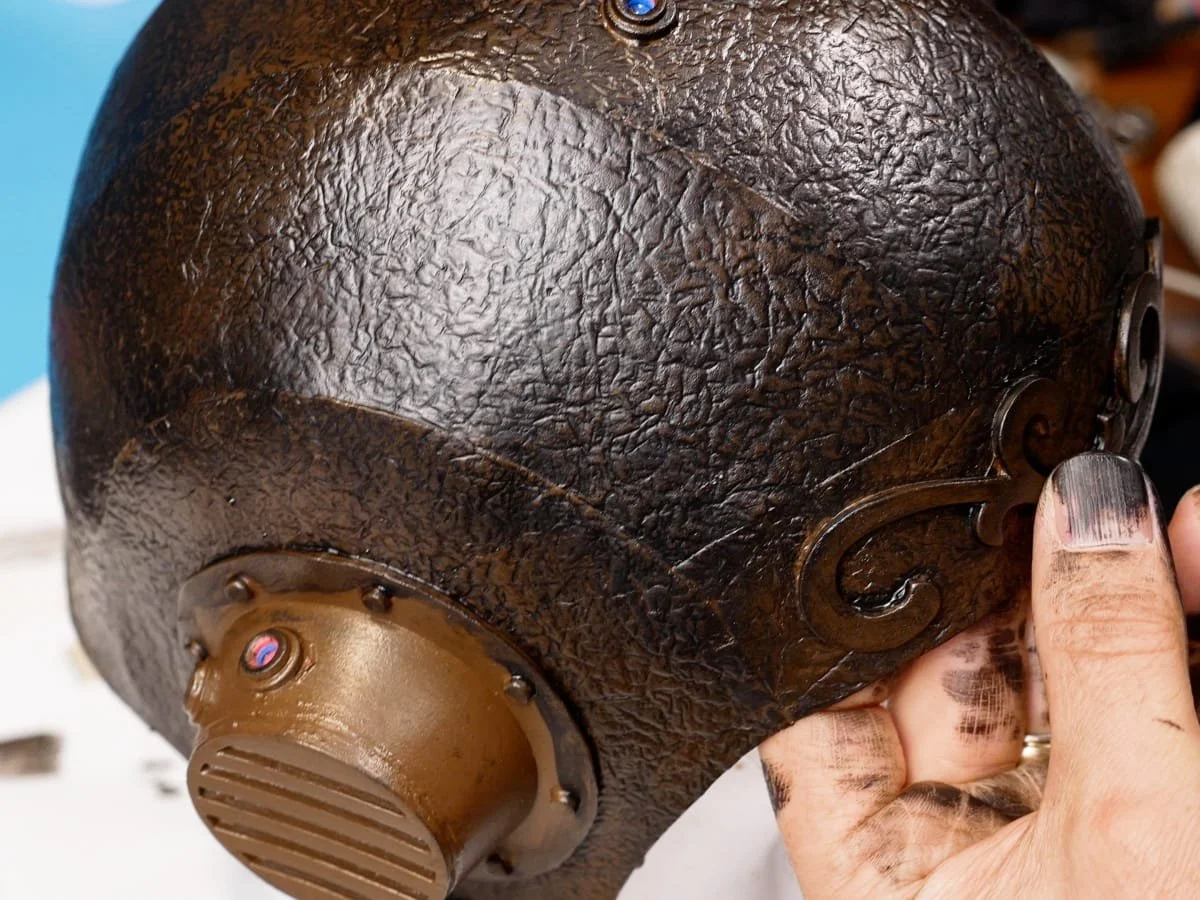
finished painting the faux leather
Step 12: Painting the “Metal” (Steampunk Version)
Any parts you want to look like antique metal will need to be painted black.
Once painted, you can apply the metallic paints with your finger. I have a video that does a really good job of covering this technique so I won’t delve into it further here.
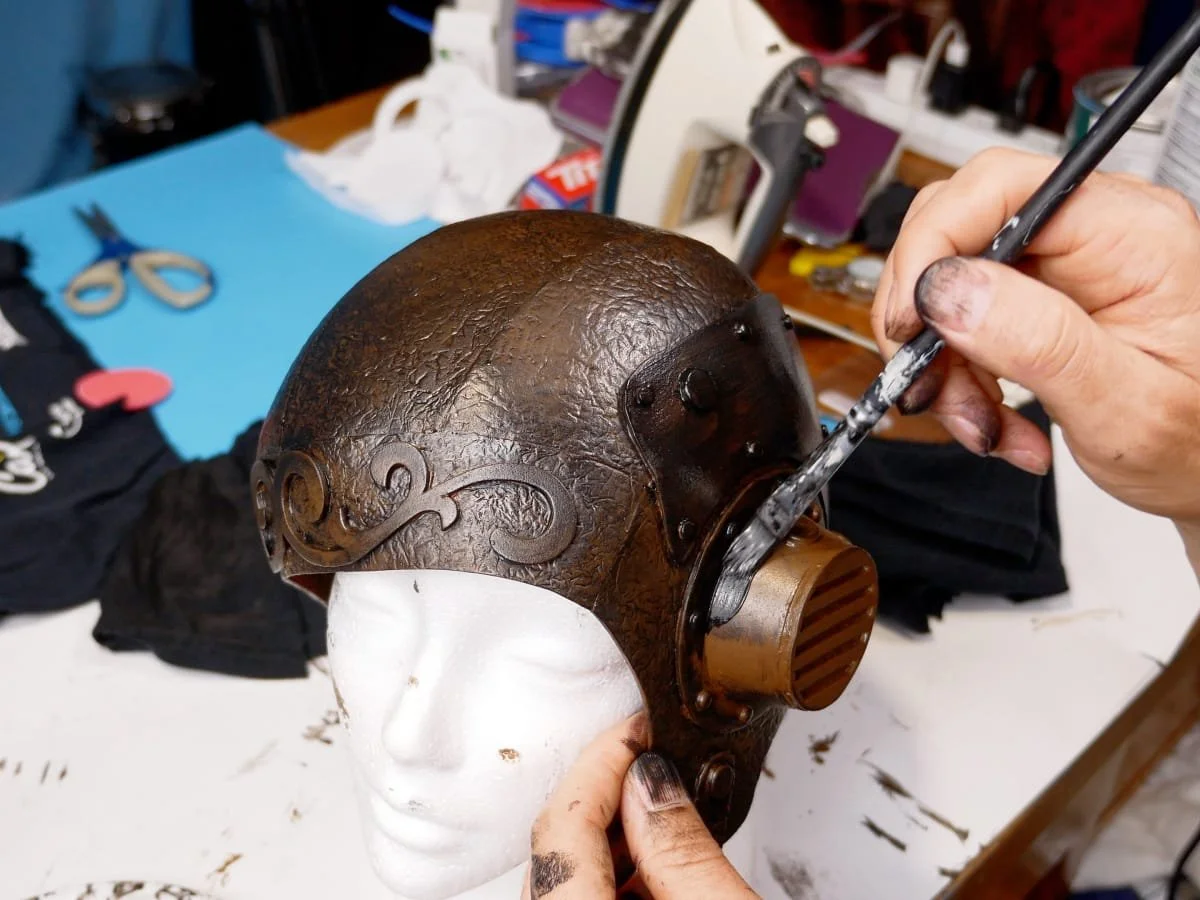
anywhere that is going to be brass needs to be painted black first
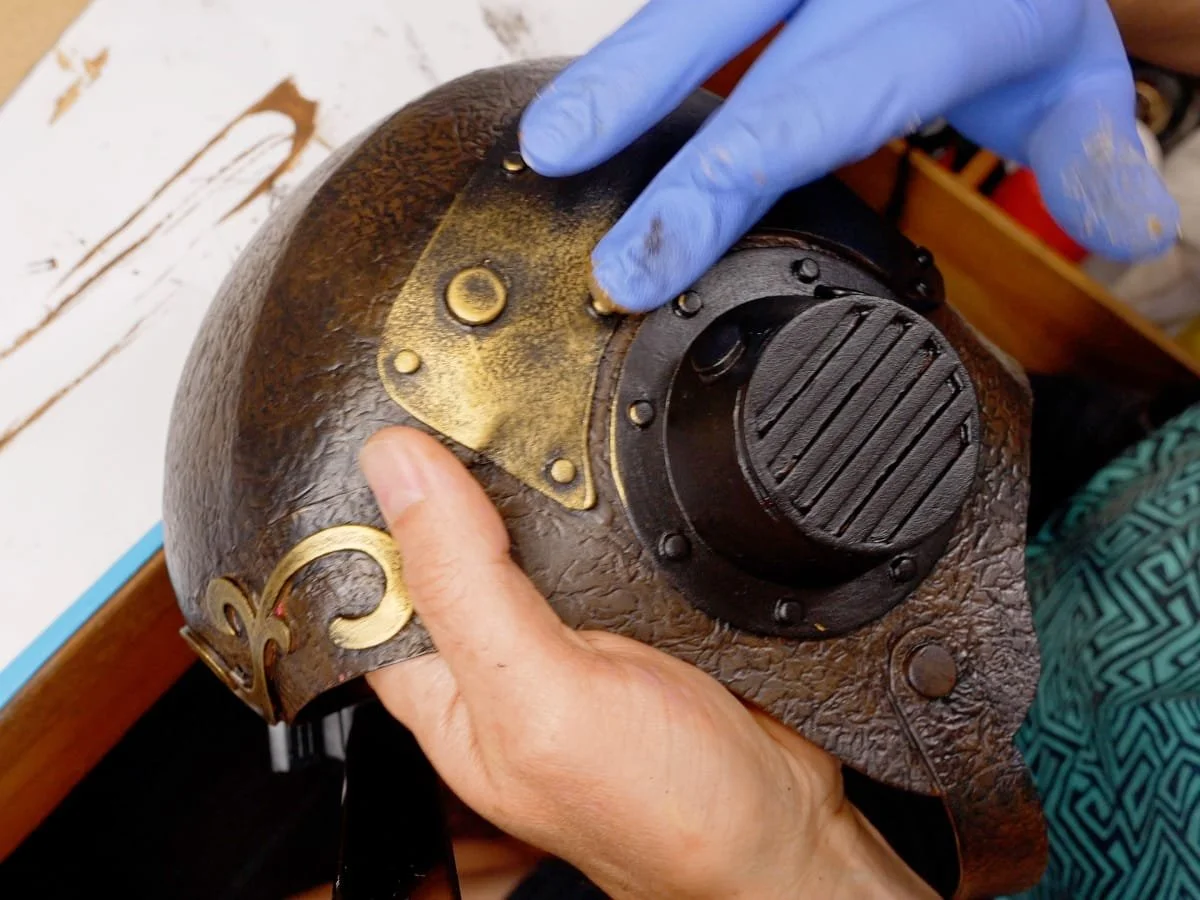
spreading the metallic paint with a finger
Step 13: Add Various Pipes and Wires
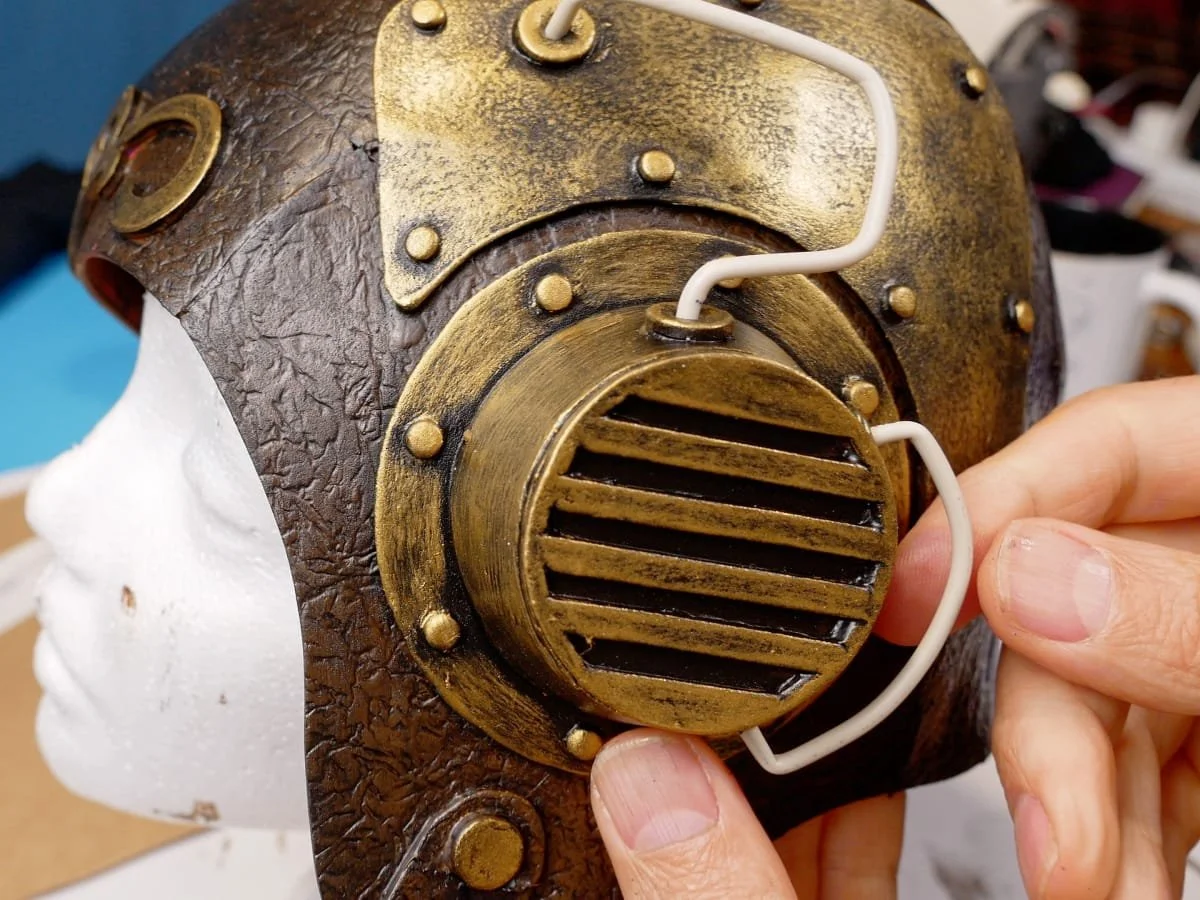
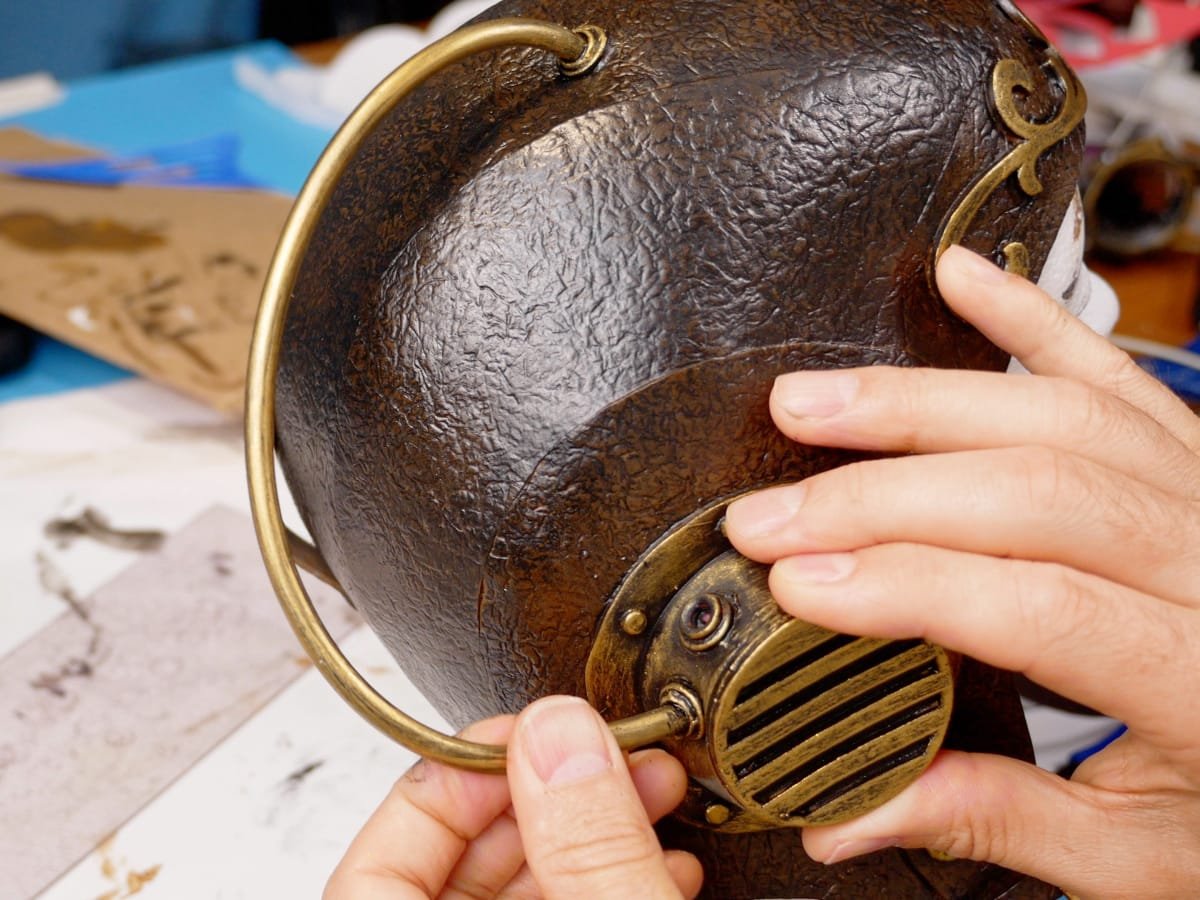
Your Steampunk flight hat needs some wires and tubes for some unknown reason! I glued some foam discs in various places earlier and now it’s time to insert these wires into those attachment points.
Fantastic, you made yourself an amazing flight helmet, good job!
Step 14: Finished!
Fantastic, you made yourself an amazing flight helmet, good job!
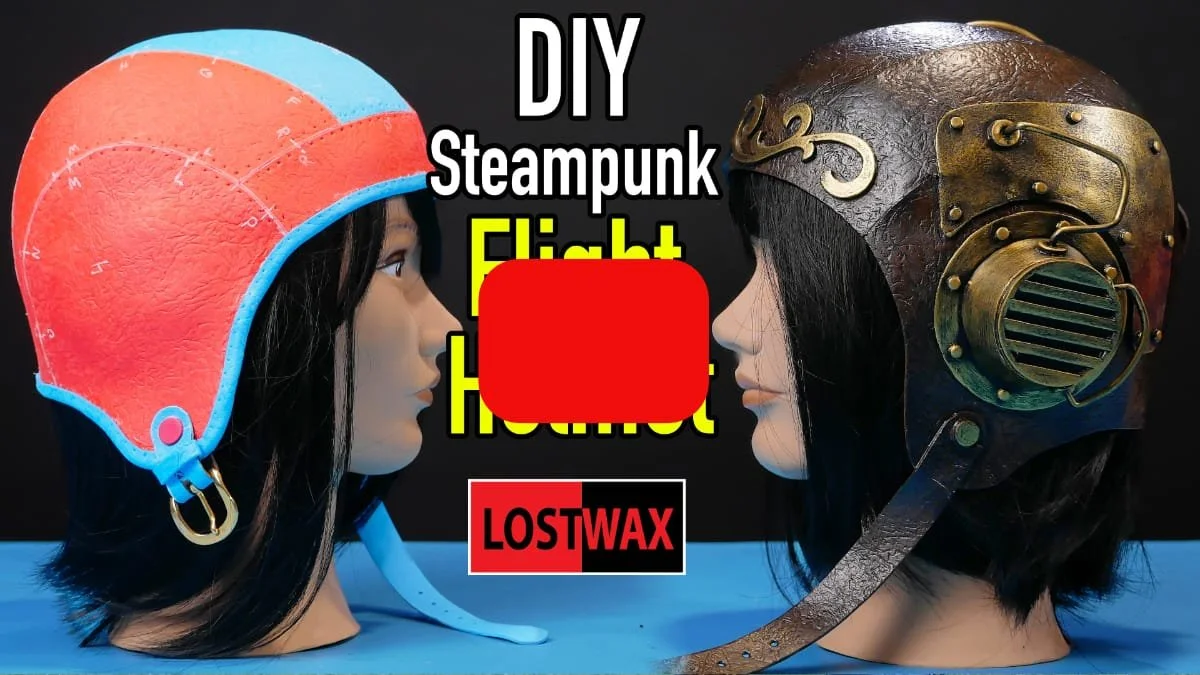
video detailing how to make a steampunk flight helmet from craft foam.