How to Make a Prop Sword Out of Foam
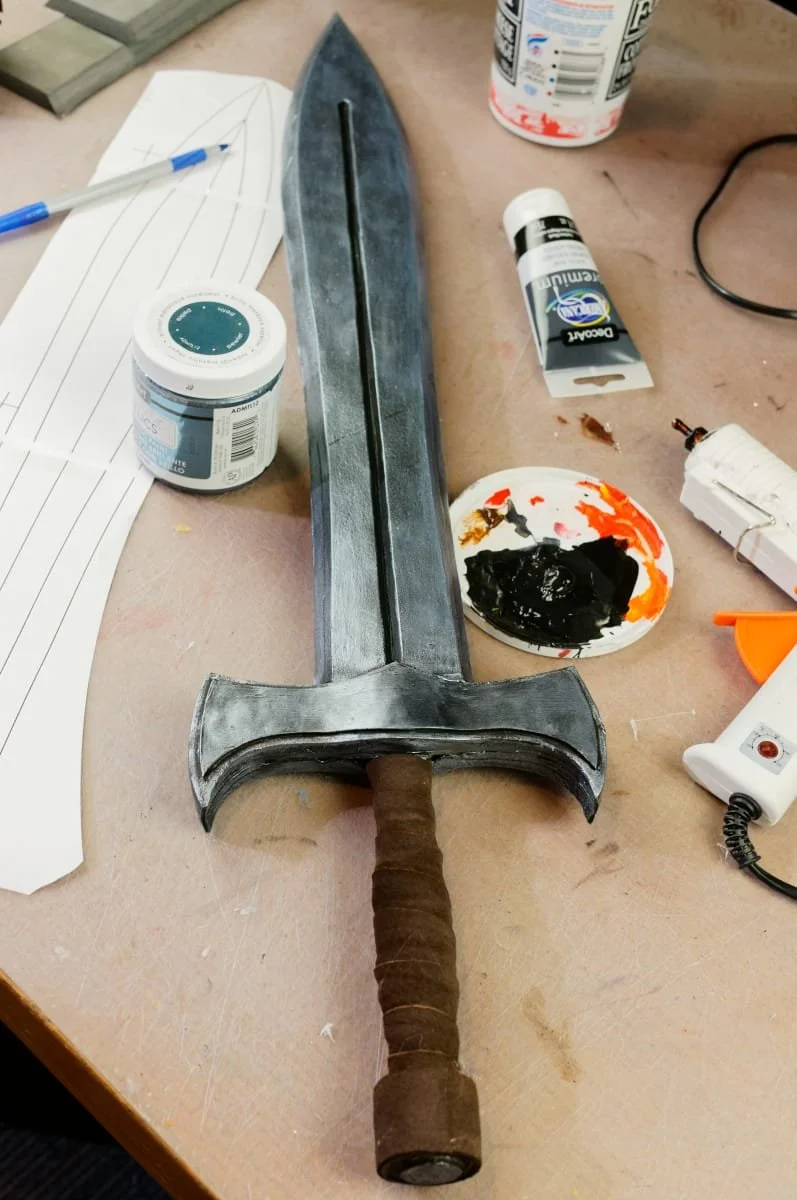
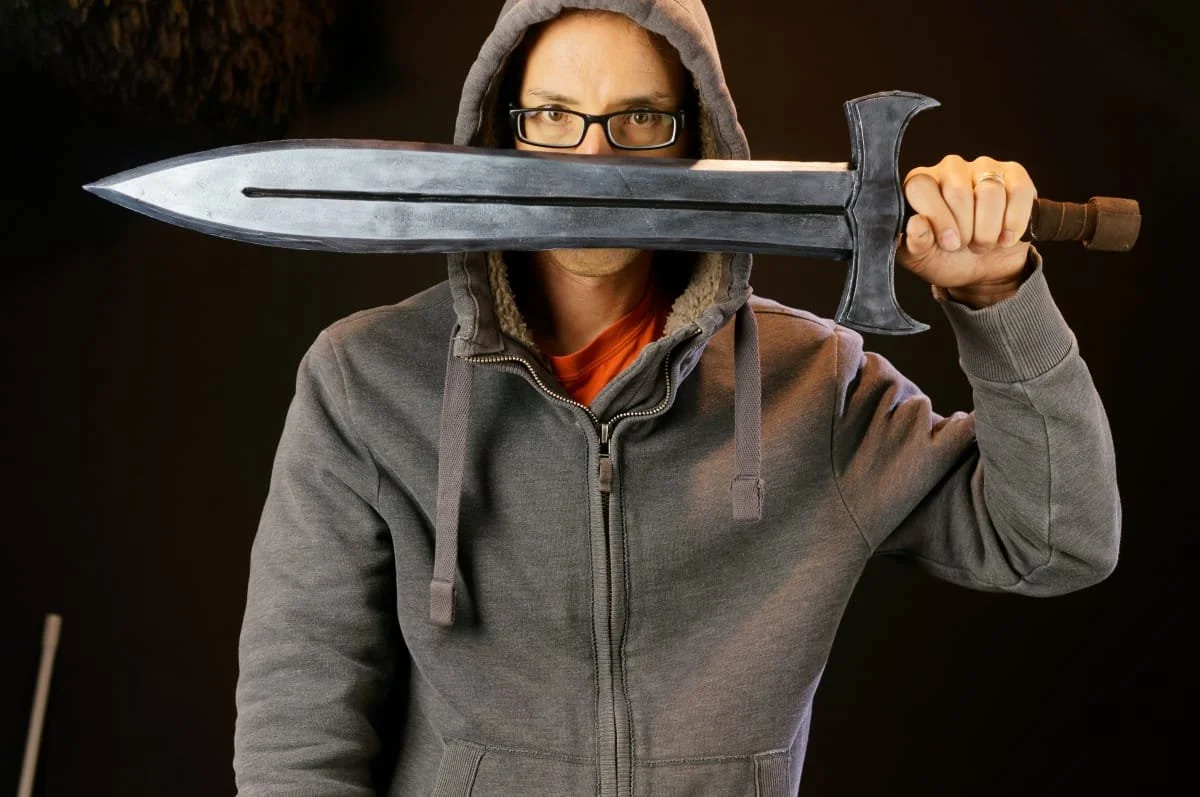
Wanting to make a costume sword that is soft enough to be safe, but still strong enough to be fun? You’ve come to the right place!
In this tutorial I will show you how to combine an easily accessible piece of pvc pipe with some EVA foam floor mats to create a fun, safe and really good looking sword.
This tutorial is an overview of the process, but I go into even more detail in the video at the end of this blog post.
Step 1: Supplies
• Pattern: You can find the pattern in the free pattern section of my website
• 10-12 mm thick EVA foam: If you can get foam that is smooth on both sides, that is best. Or you can use floor mats and sand them smooth.
• Very Sharp Knife
• Hot Glue Gun: A glue gun with adjustable temperature is the best
• 1/2” PVC Conduit: 64cm long
• 2mm EVA craft foam: One sheet
• Drill and bits: I used a 3mm bit and a 12mm bit.
• Heat Gun: Used to shape the PVC
• Clamps: Trigger clamps work best for this, but any clamps that open wide enough will work. You’ll need 4.
• 2 pieces of wood: Used on either side of the PVC to squish it flat
• Paint: I like to use artists acrylic paints. They seem to remain a bit flexible, which is important for foam. I used black.
• Metallic Paint: I mixed equal parts of DecoArt Americana Decor Metallics “Pewter” and “Silver.”
• Sandpaper: one sheet of 80 grit.
• Hockey Tape: Used to build up the handle. It is a fabric tape.
• Leather or vinyl strips: 2 strips, 3cm wide by 70 cm long.
• Rubber Glove: For applying the metallic paint.
Step 2: Make Your Foam Smooth
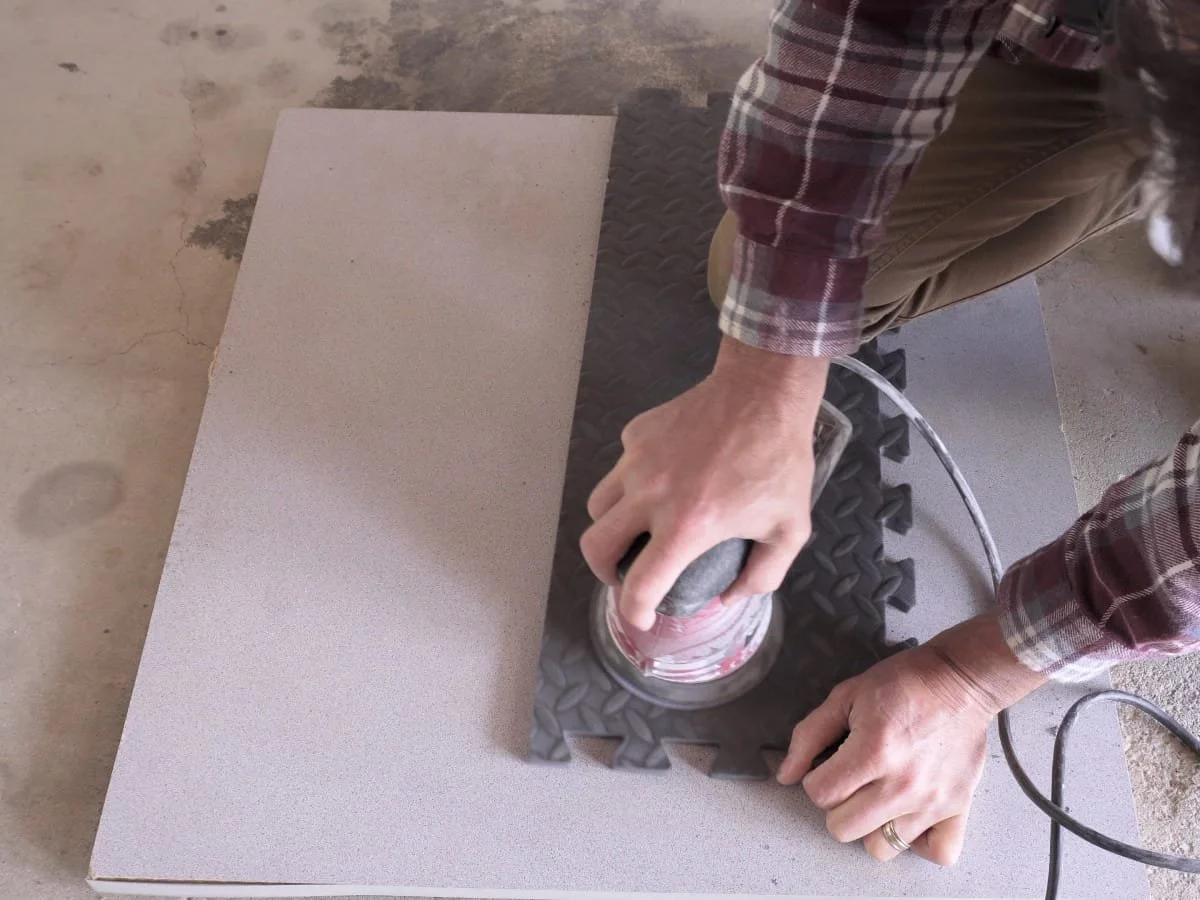
You can use an orbital sander but a belt sander is faster
The easiest and cheapest foam to get your hands on are the puzzle piece floor mats that are quite common. The only problem is that one side is usually textured. It is possible to use a power sander to smooth out the texture, just make sure to wear a respirator to protect your lungs from the dust!
An even better idea is if you can find foam that is smooth on both sides.
Step 3: Print and Cut Out the Pattern
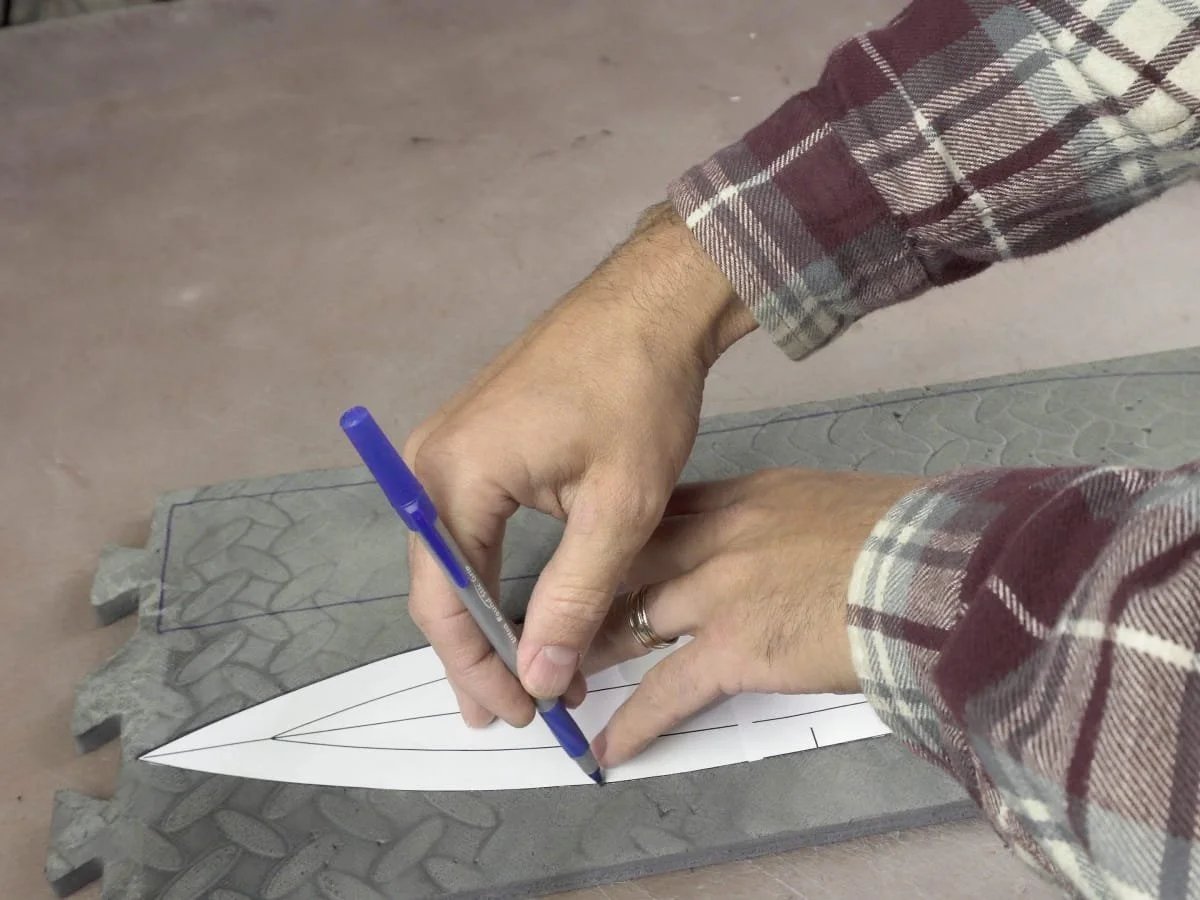
Print out the pattern and tape it together, lining up the alignment marks. Make sure you set the printer to print at 100% or actual size, otherwise your printer will scale down the pattern.
Cut out your pattern pieces and trace the sword twice on the sanded side of your foam.
Step 4: Cut Out the Blade
Grab a brand new high-quality knife blade for your knife. This is super important because unless you have a really, really sharp knife, the edge of the sword blade won’t be smooth like you want it. These are the most important cuts of the whole project, so make some practice cuts on some scrap foam until you are confident in your ability.
Cut along the lines you traced from the pattern, but instead of cutting perpendicular to the foam, you want to angle the knife blade in towards the centre of the sword. The more you angle the cut, the wider and more tapered the blade will be on the sword.
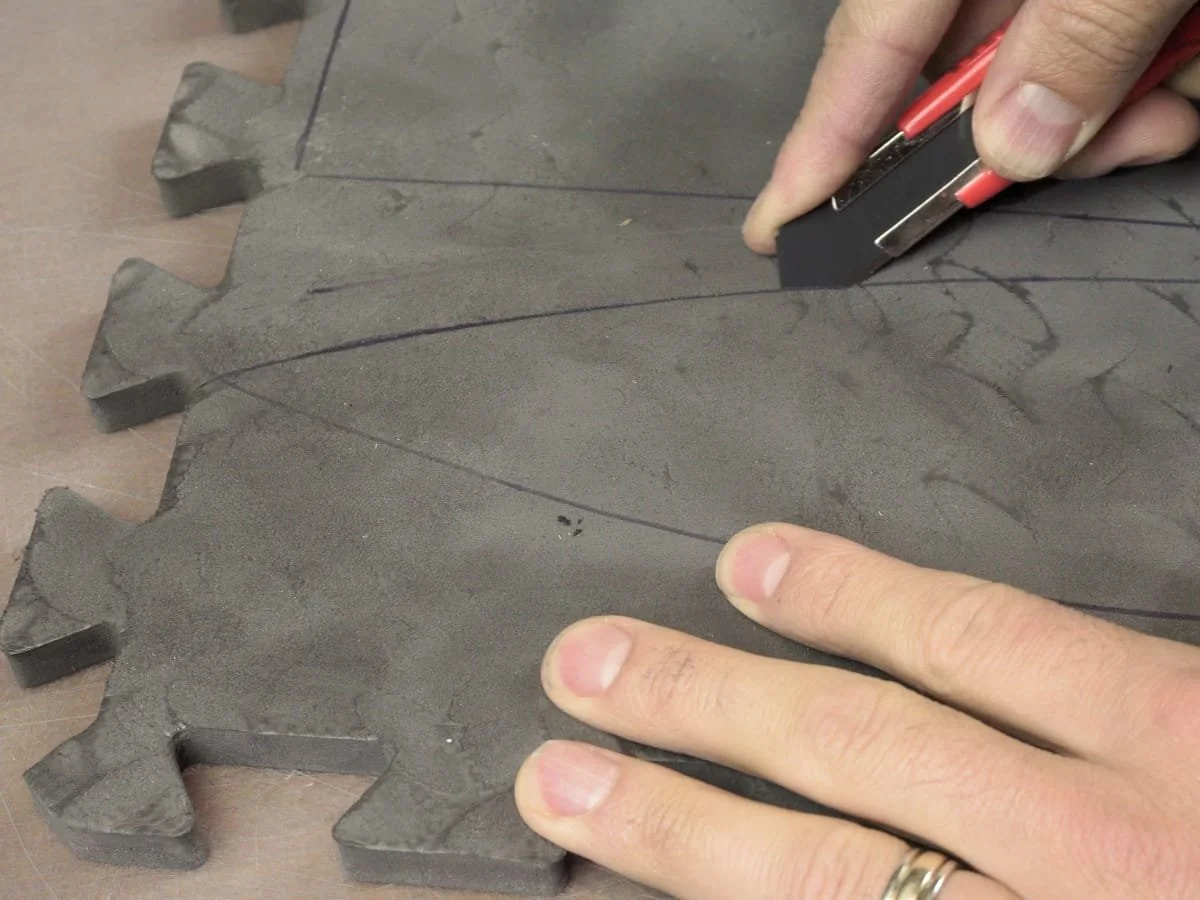
Try to keep the angle of the knife blade consistent the whole time.
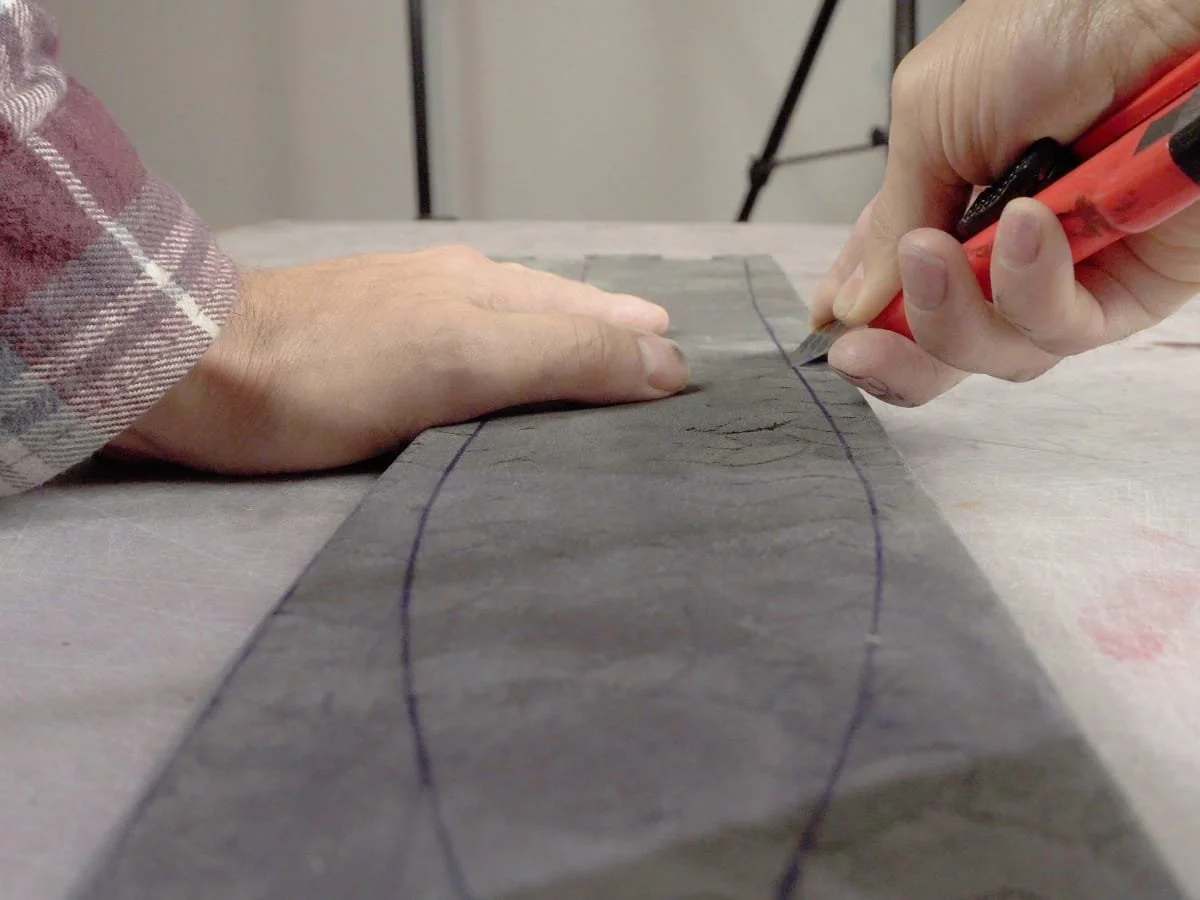
Step 5: Mark up Your PVC Pipe
Grab some 1/2” pvc pipe and cut a piece 64.5 cm long
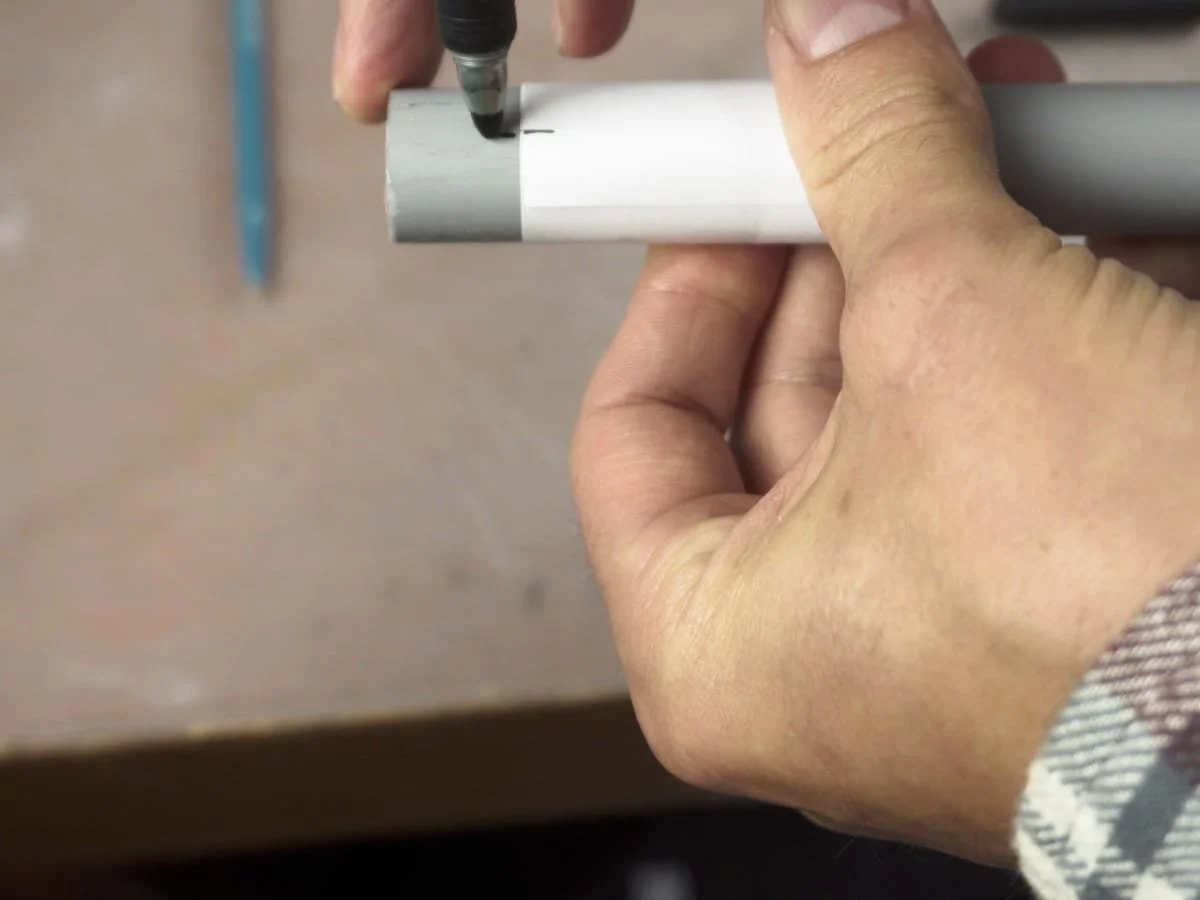
You want to make 2 lines down the pipe, on opposite sides so you know where to drill the holes. The easiest way to space the lines is by wrapping a piece of paper around the pipe and then pinching it flat. Then slide the paper tube back onto the pipe and mark where the creases are.
Make marks about 3cm apart for the holes, but stop before you reach the handle (specific measurements in the pattern)
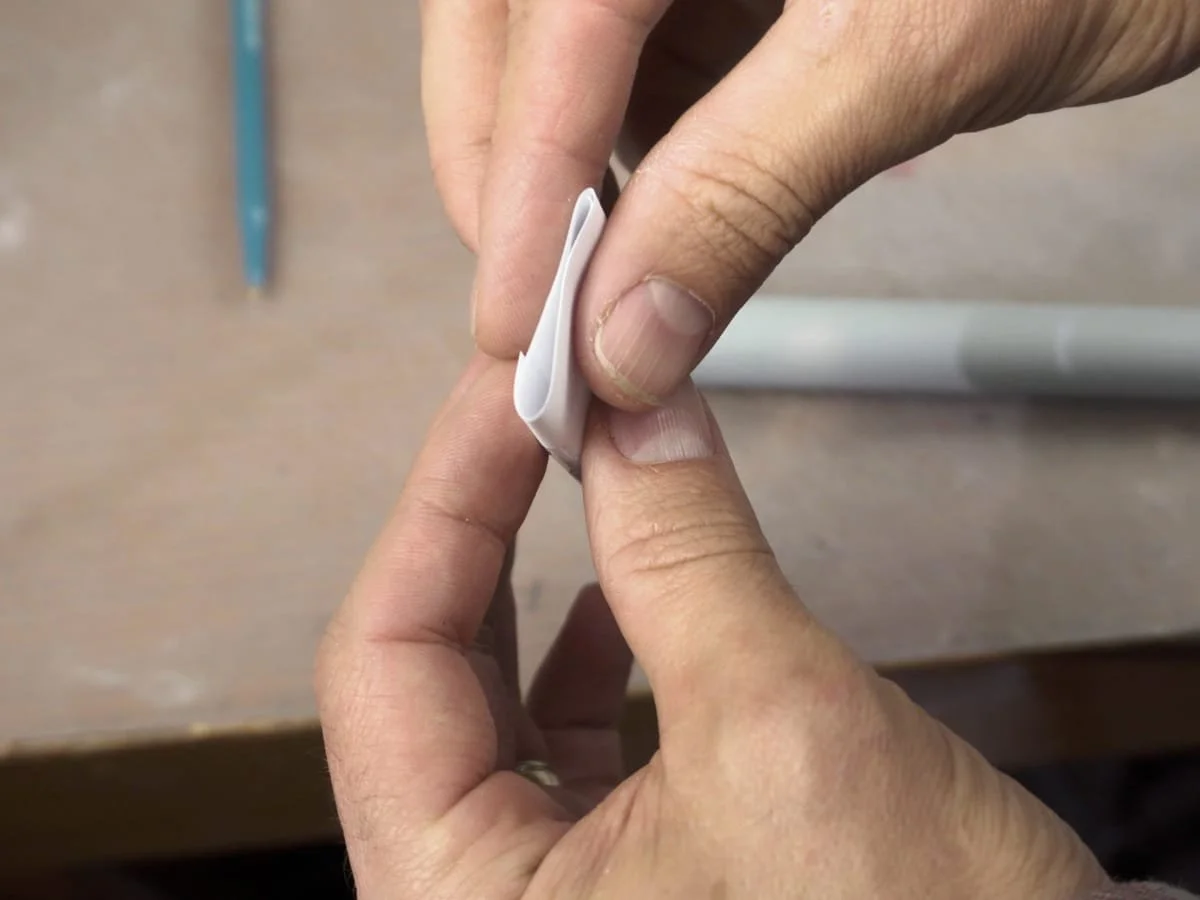
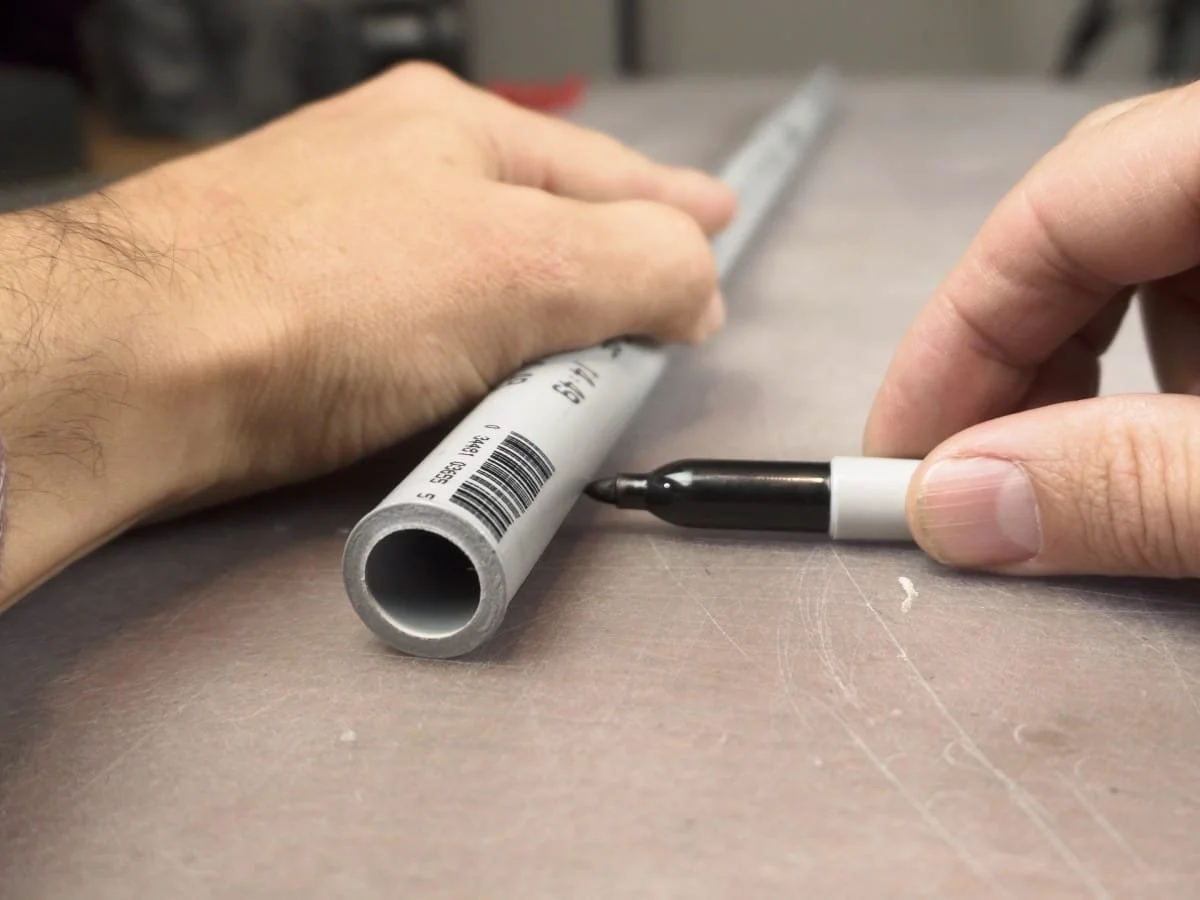
Hold the pipe steady and run a marker along the table for a straight line down the side of the PVC pipe
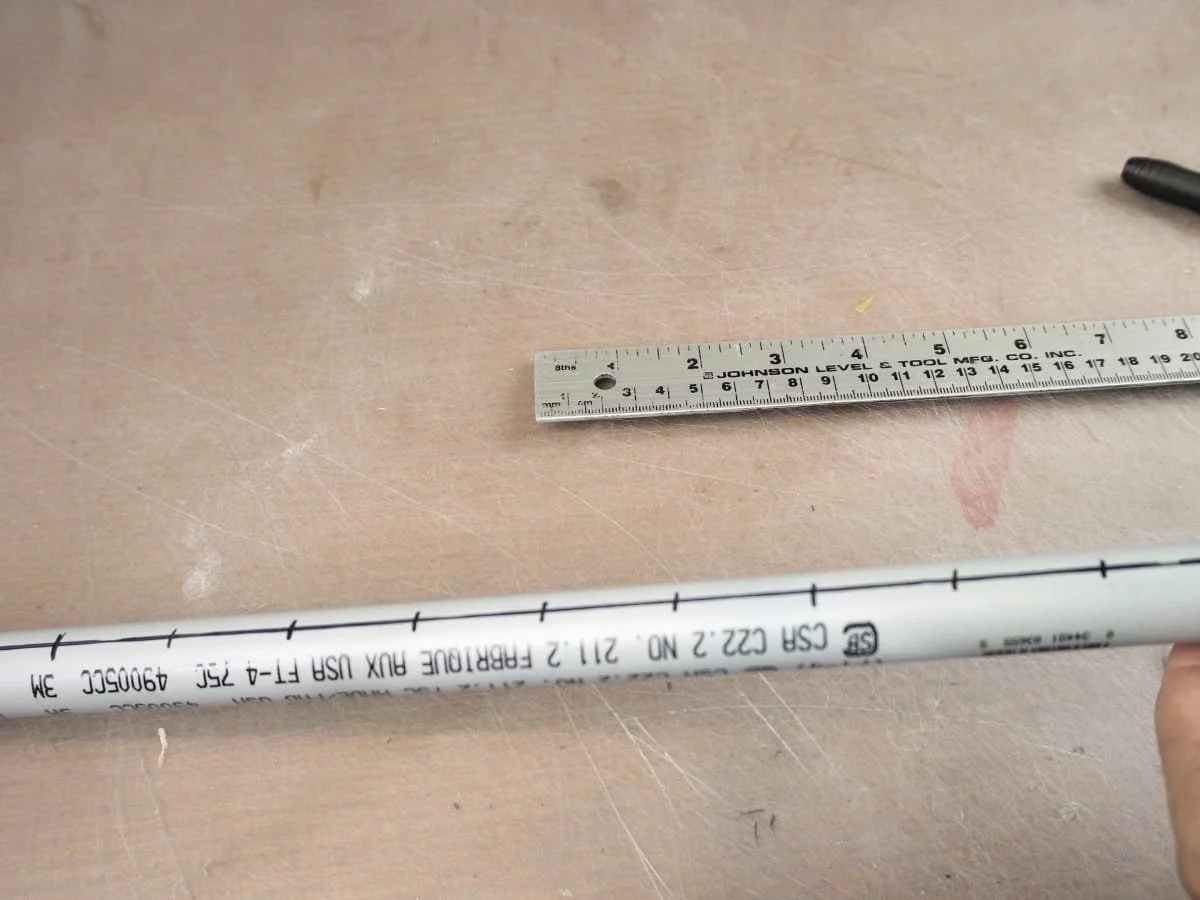
All the drill marks laid out
Step 6: Drill the Pipe
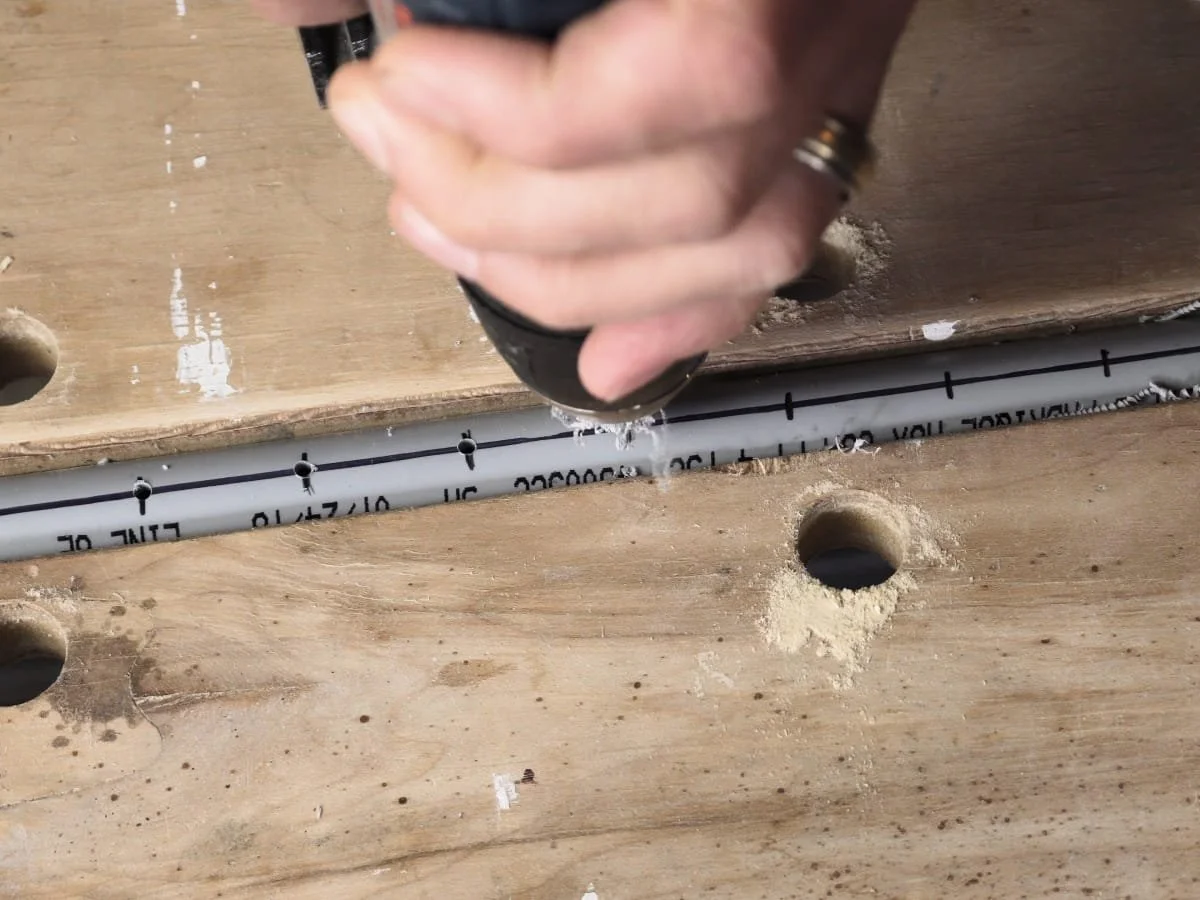
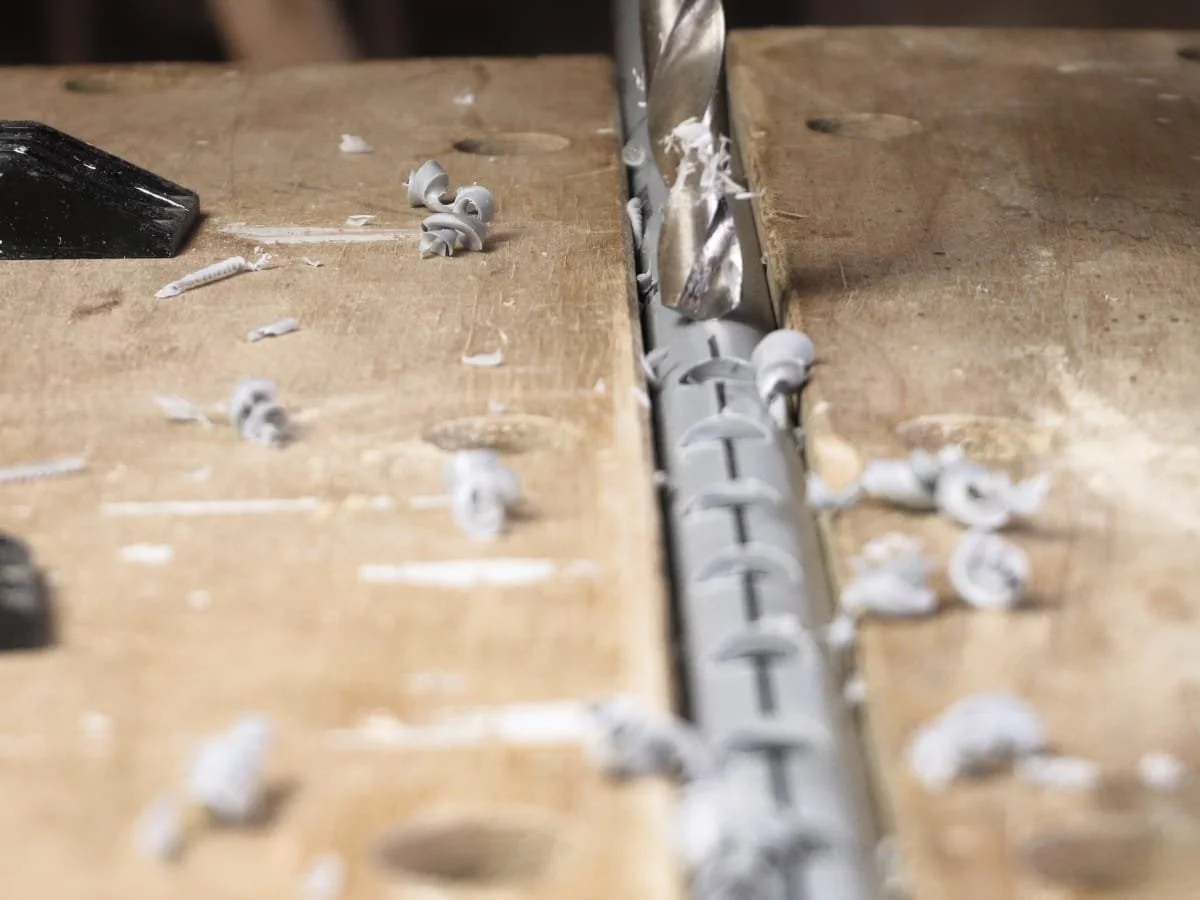
Drill a small pilot hole on each mark that you made on the pipe, then grab a large drill bit (I used 12mm) and drill all the holes to their full size.
Step 7: Heat and Flatten the PVC Pipe
The magic behind this whole project is the ability to soften PVC into a pliable state with a heat gun. Care must be taken, however, as PVC that is heated too hot or starts to burn creates poisonous gas that you definitely do not want to breathe! Wear a respirator and do this outside for your own safety.
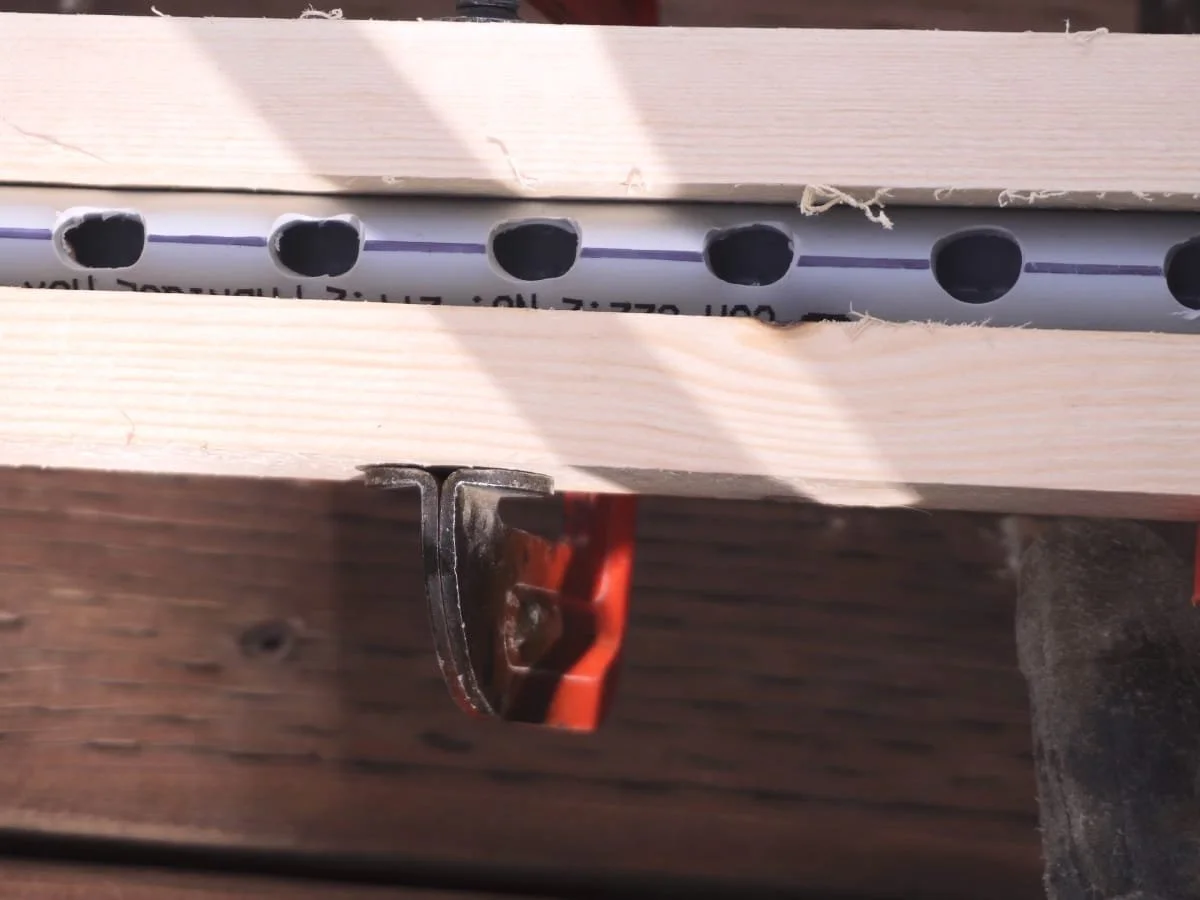
There are a couple of reasons for drilling the holes in the PVC. One is that it creates a natural seam where the PVC will want to buckle because there is less resistance. The other, more important reason, is that it allows for much more even heating of the PVC with a heatgun. Without the holes it would be hard to heat the opposite sides of the PVC pipe at the same time, and this is exactly what needs to be done in order to flatten it. Because of the holes, some of the heat enters the pipe and heats it from the inside as well as the outside, giving a better chance to evenly heat both sides.
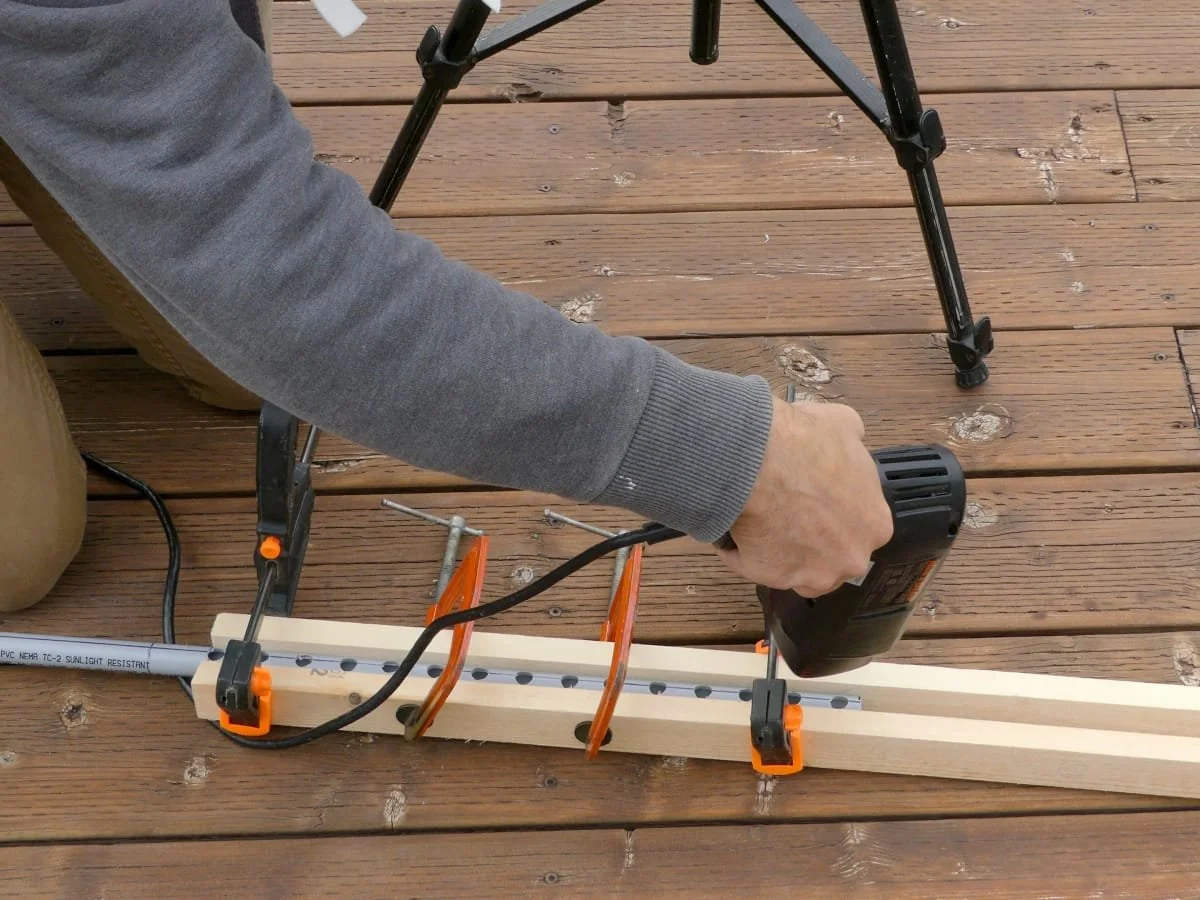
Clamp the PVC pipe between two pieces of wood with the holes facing out. You don't want to flatten the handle so the wood should only go down to where the end of the guard will be. Once you've got the clamps set up it's just a matter of slowly heating the PVC in sections, tightening up the clamps as you go and heating equally from both sides. It is a slow process so take your time.
Once it is as flat as you can get it, leave it to cool and harden.
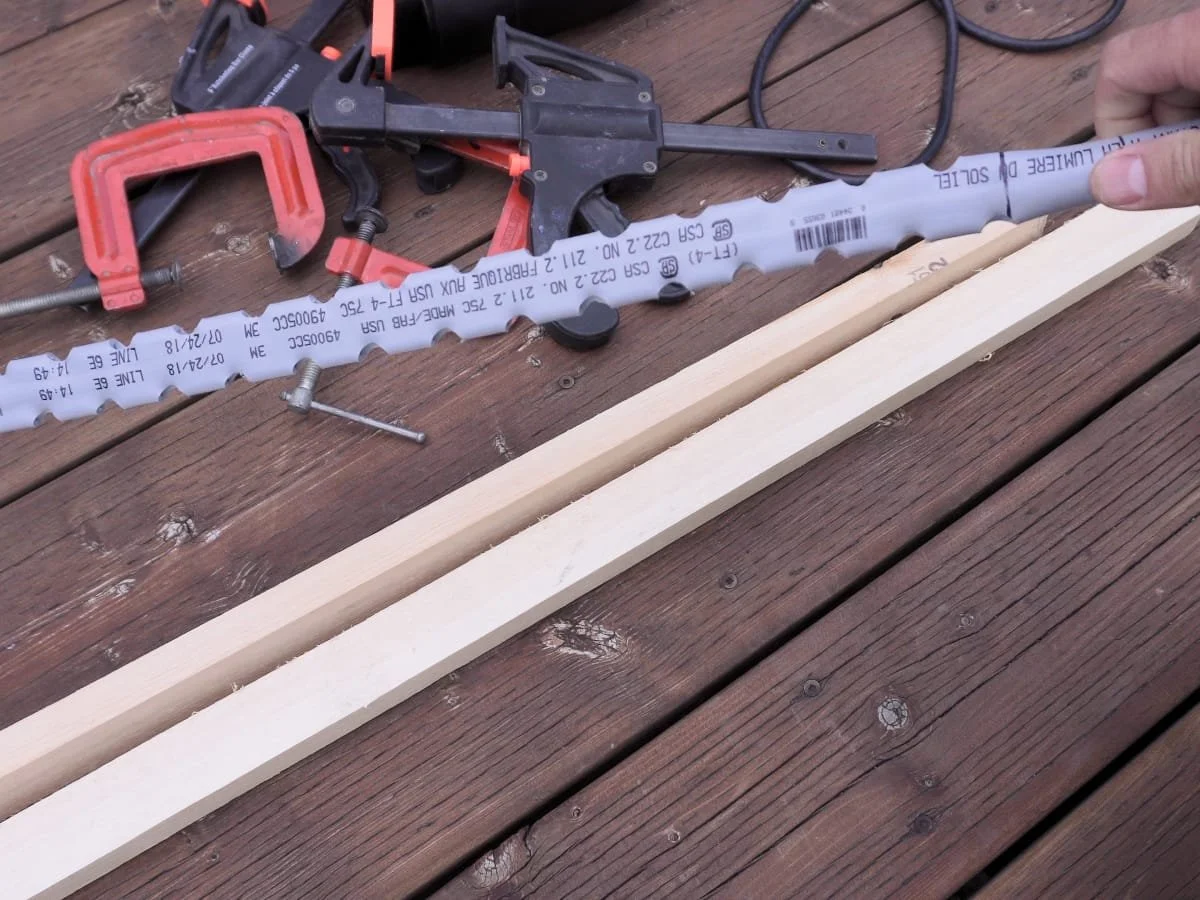
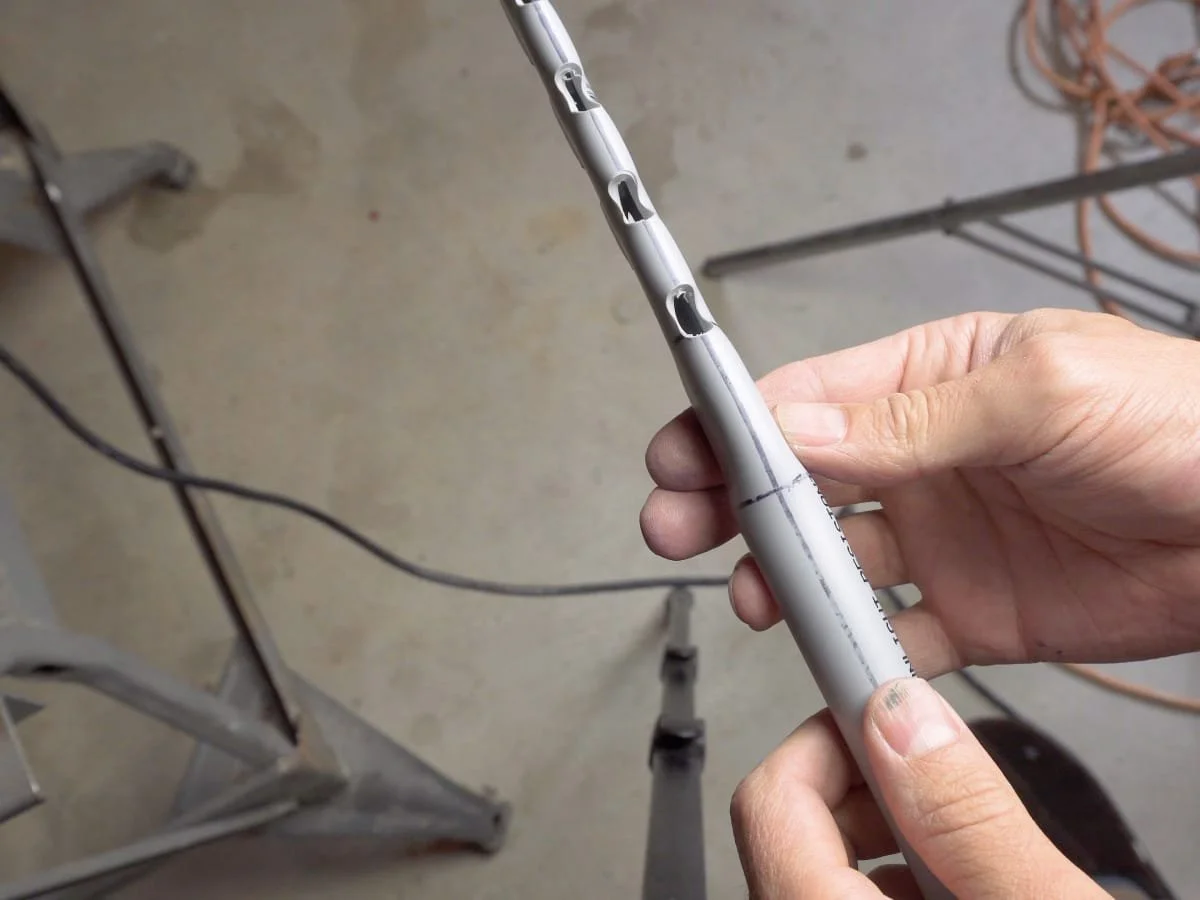
Flattened PVC. Notice the taper from round to flat section, adding strength
Step 8: Cut a Space For the Flattened Pipe
Trace the outline of the flattened PVC onto the inside of the foam sword halves.
The flattened PVC pipe needs to be able to be inserted in between the two halves of the foam blade. This means we need to cut some sort of slot down the middle of the blade without going all the way through.
Set your knife so that just 5 mm of blade is protruding from the handle so that your cuts are limited in depth. Make multiple cut lines side by side where you need to make the slot.
Once all the vertical cuts are made, angle the knife and cut each strip out seperately. You may need to cut along the same strip again at the opposite angle to remove as much foam from the slot as possible.
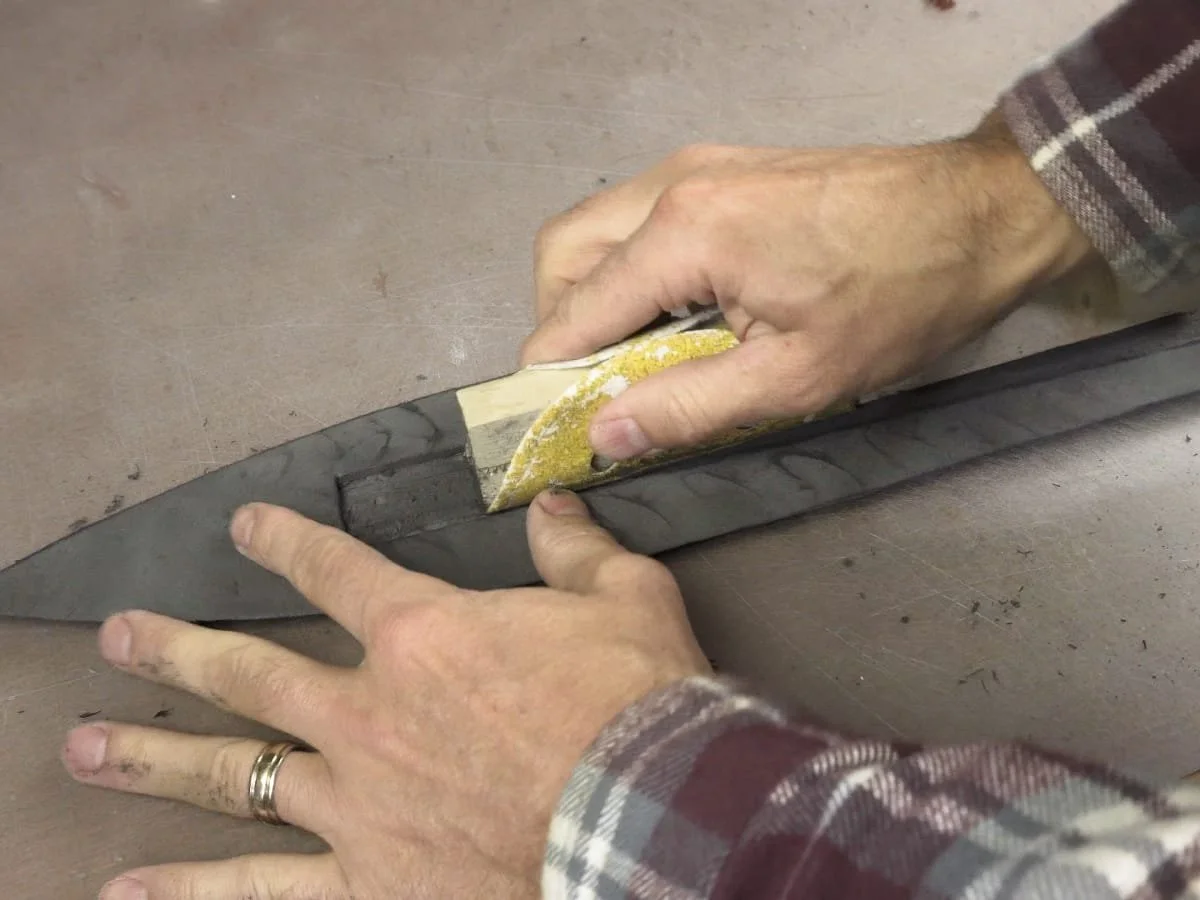
Finally use some coarse sandpaper to get the slot somewhat smooth.
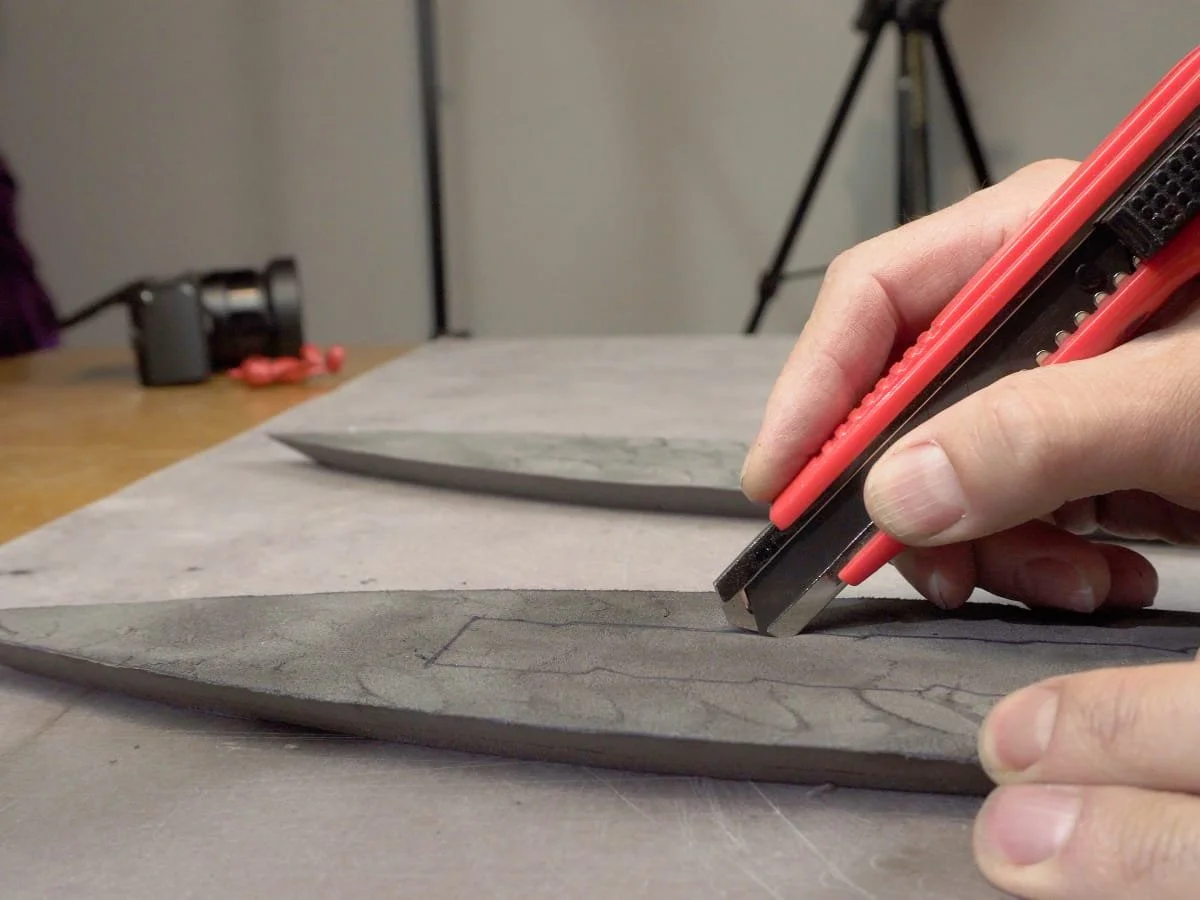
Making cuts that are limited in depth by the knife handle
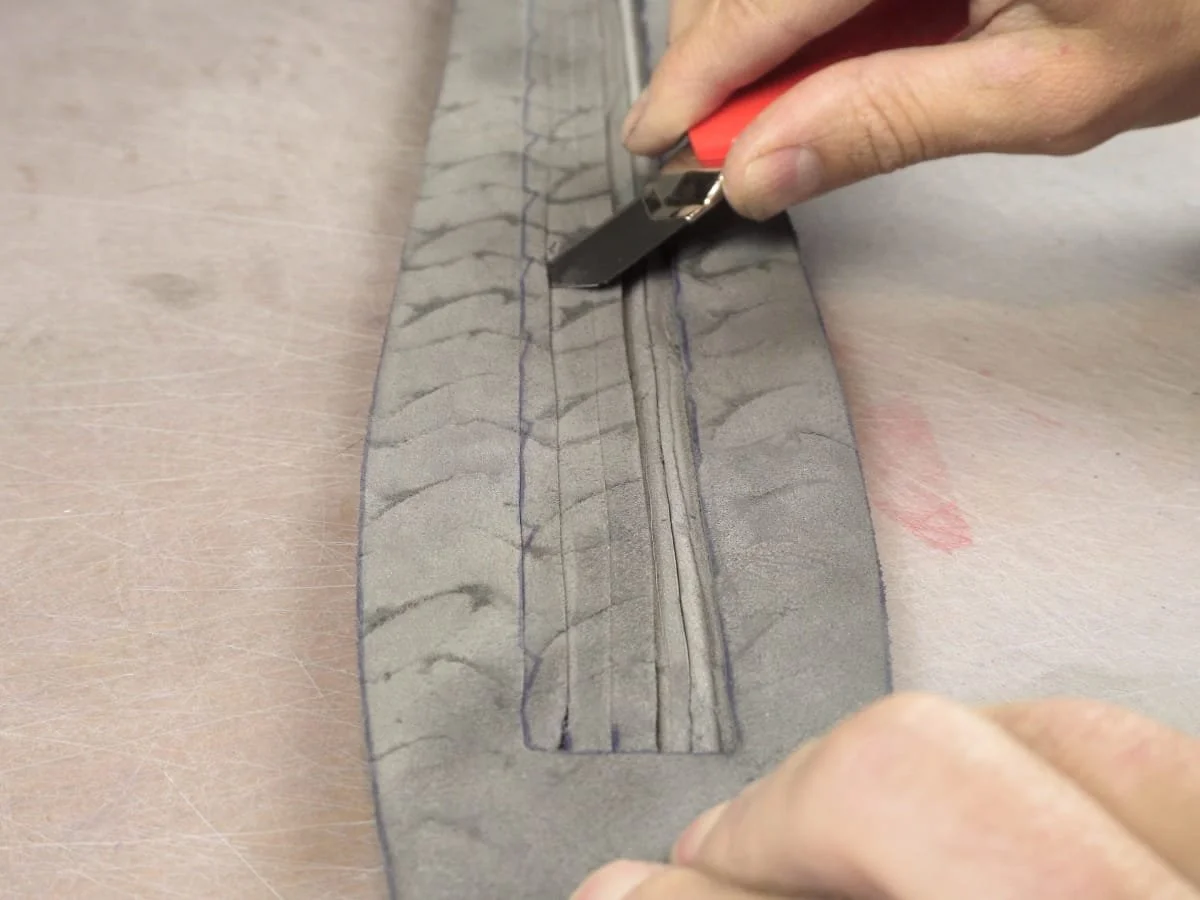
Once the vertical cuts are made, angle the knife as much as possible to get those strips out
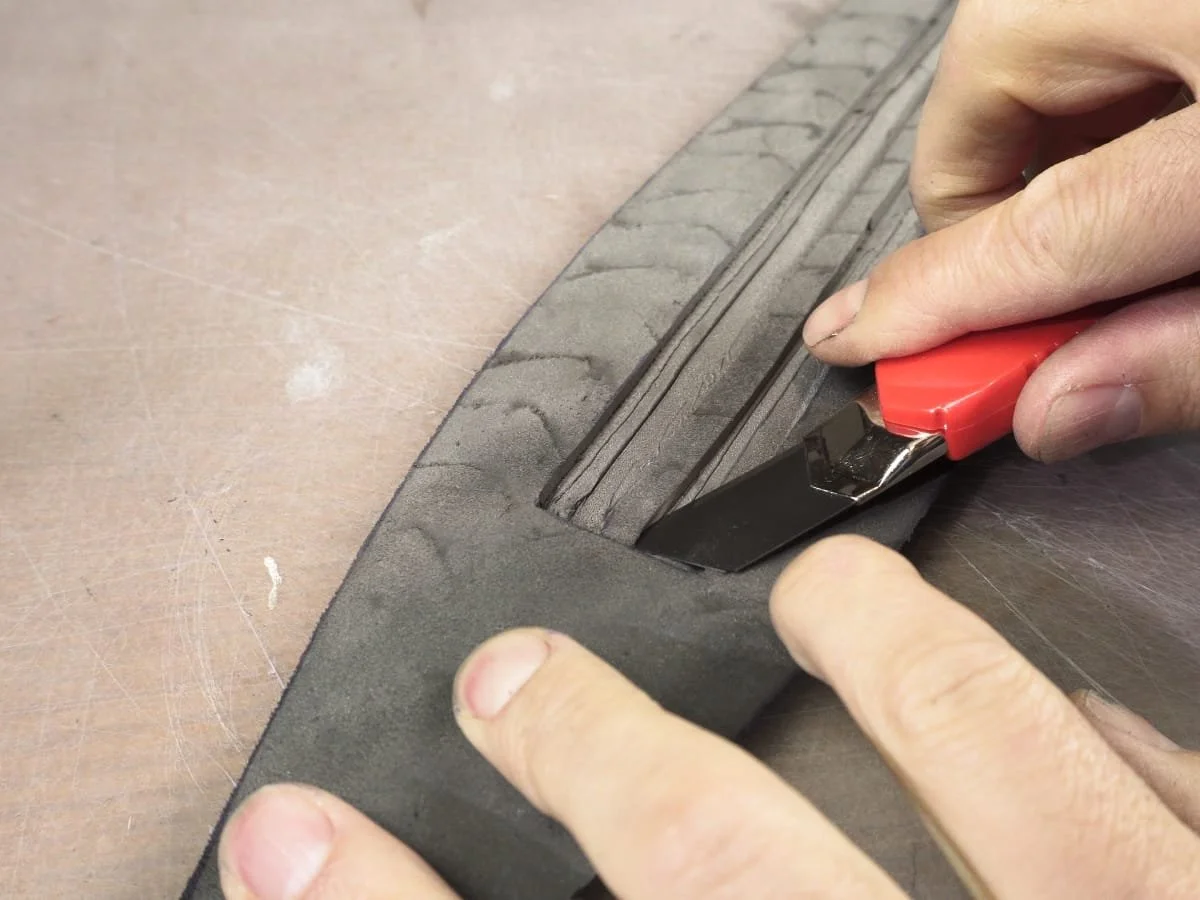
Step 9: Glue the Pipe into the Blade
I use hot glue for this build, you can also use contact cement, but if you do, make sure you are working in a well ventilated area and have a proper respirator for lung protection.
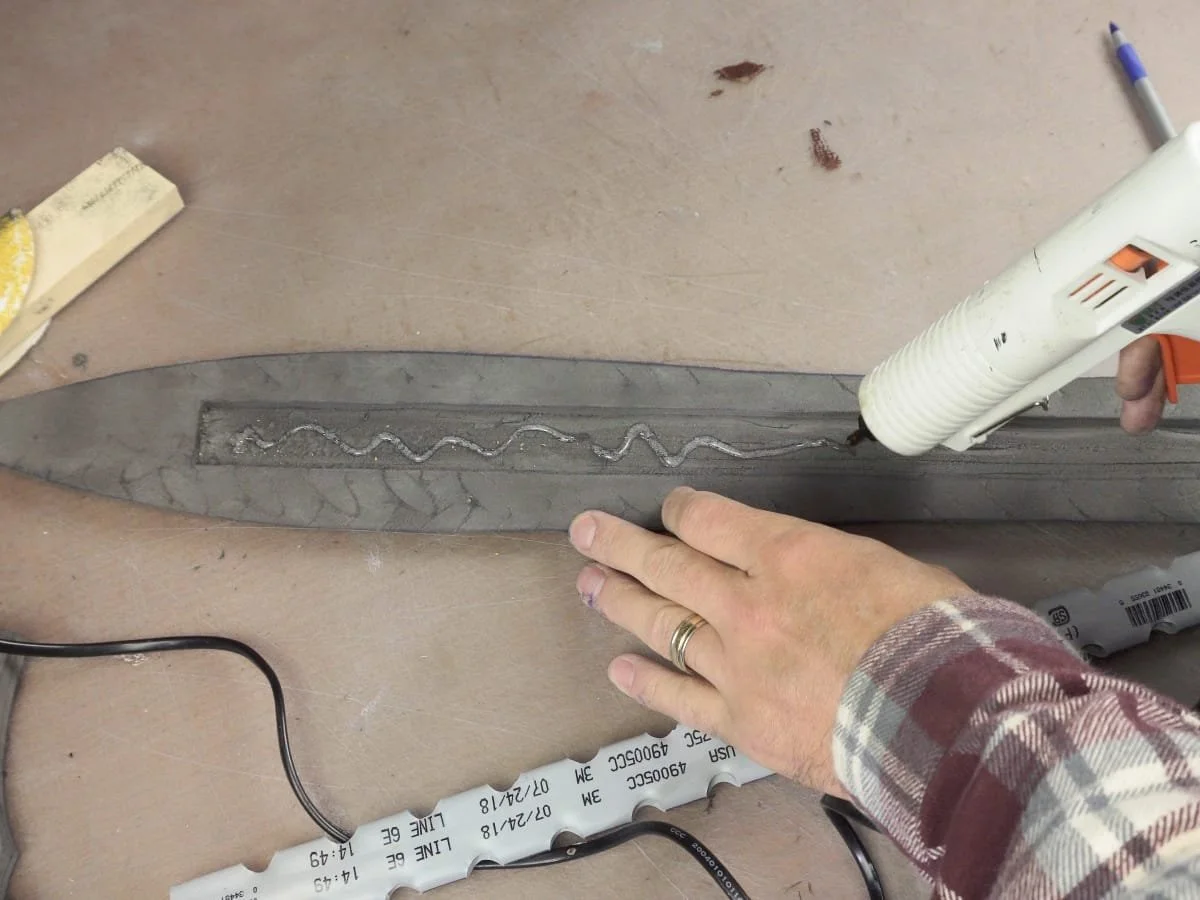
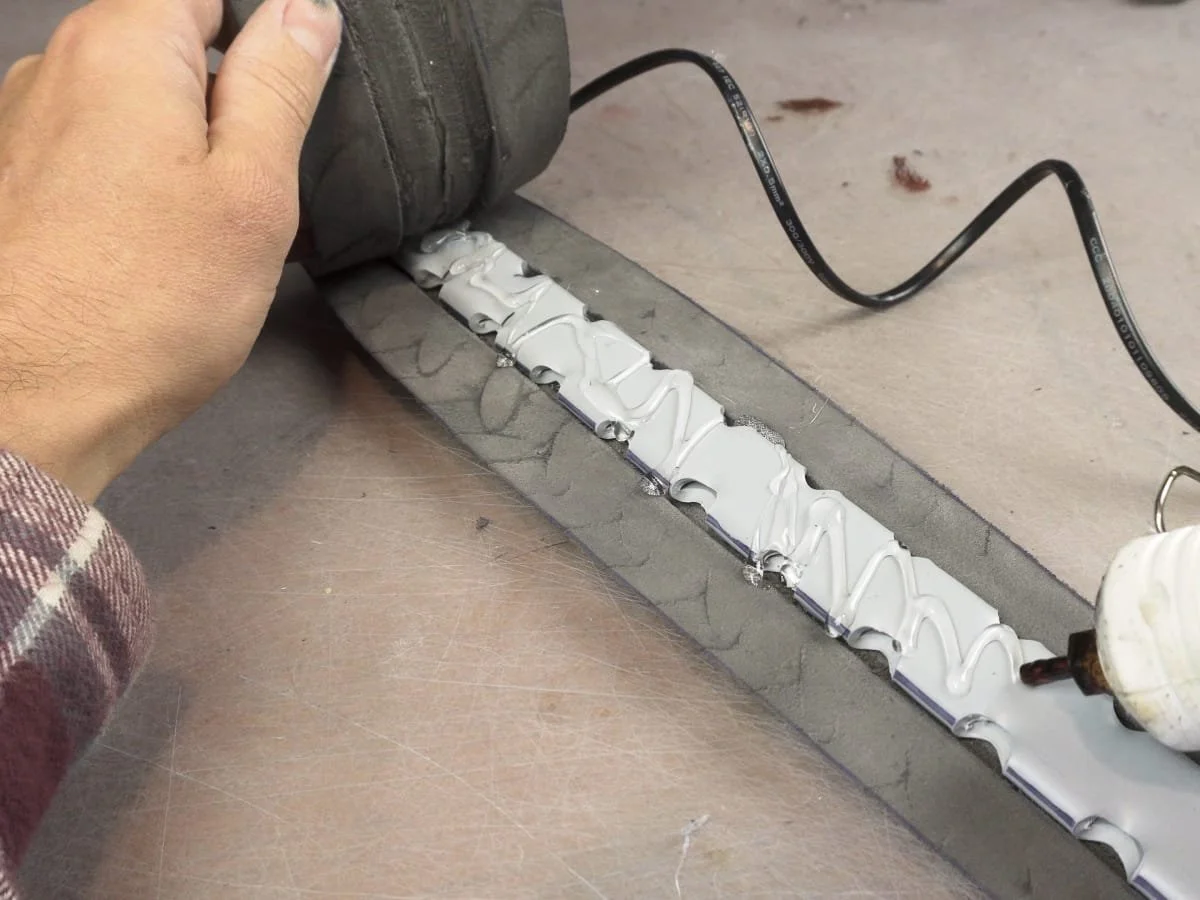
Glue the flattened PVC pipe into one of the cutouts in the blade. Be generous with your glue.
Glue the tips of the two foam blade halves together, making sure the two blade halves align.
Glue the other side of the blade to the flattened PVC.
Go around the edges of the foam blade and glue them together a little bit at a time, lining up the thin edges.
Step 9: Make the Hand Guard
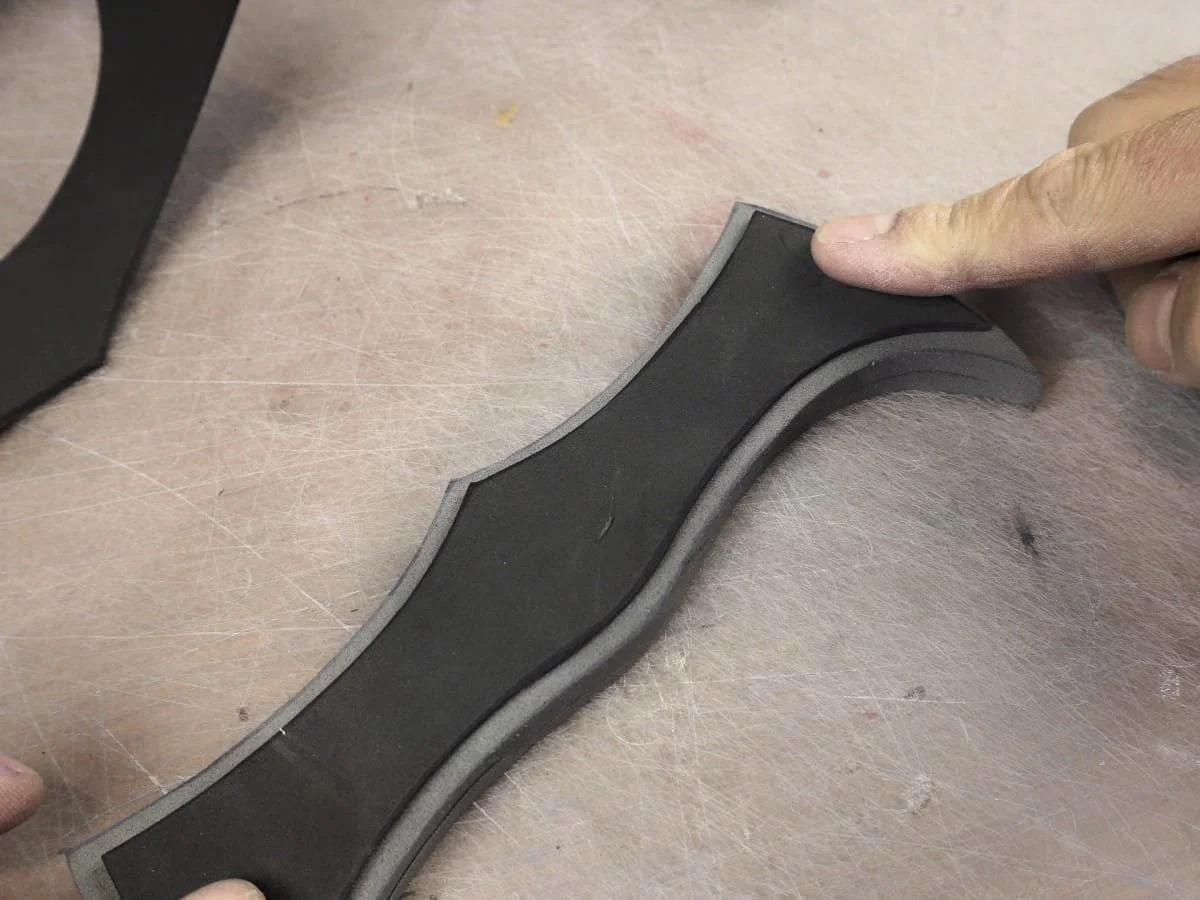
Cut two hand guard pieces from 10mm foam. Cut two of the hand guard detail pieces from 2mm foam.
Glue each detail piece on each hand guard piece.
Glue the two completed hand guard pieces together but only on the ends.
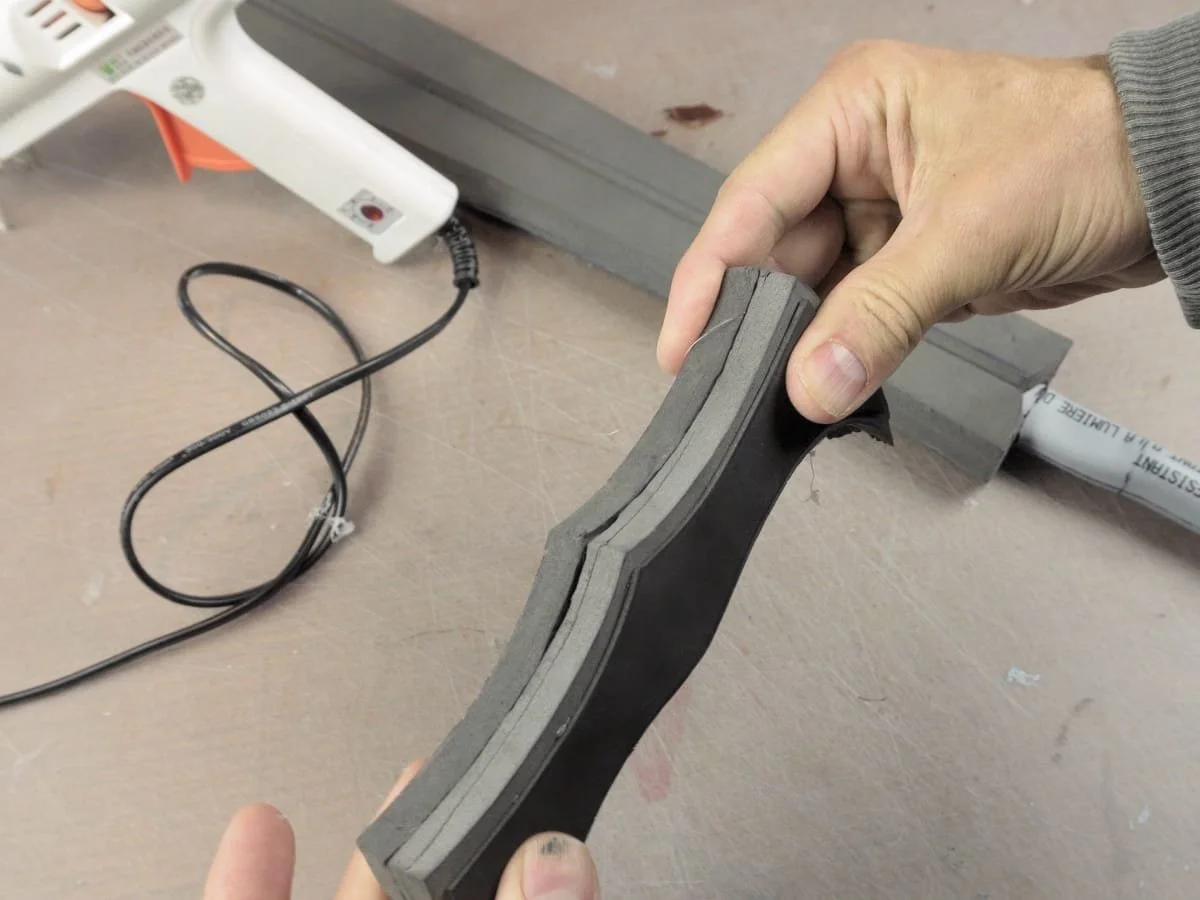
Step 10: Add the Hand Guard
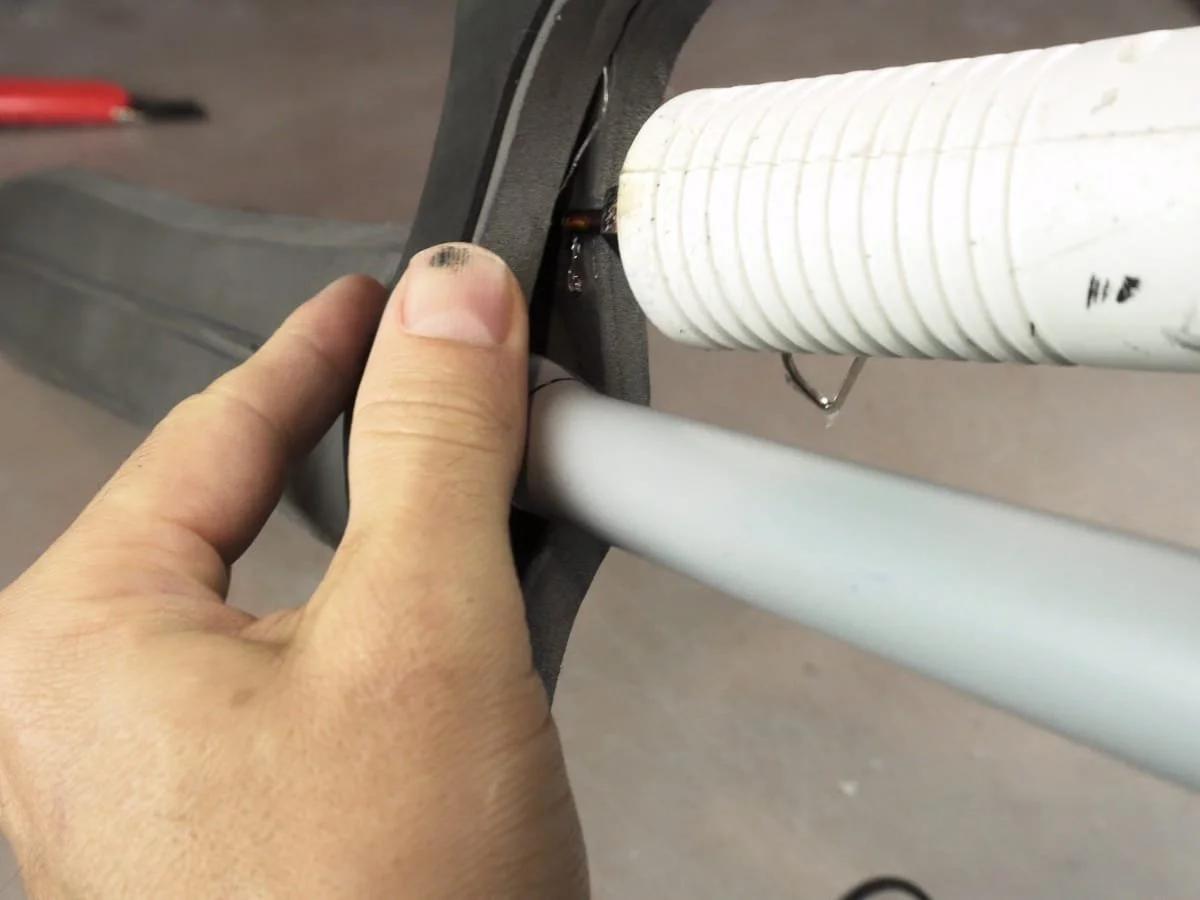
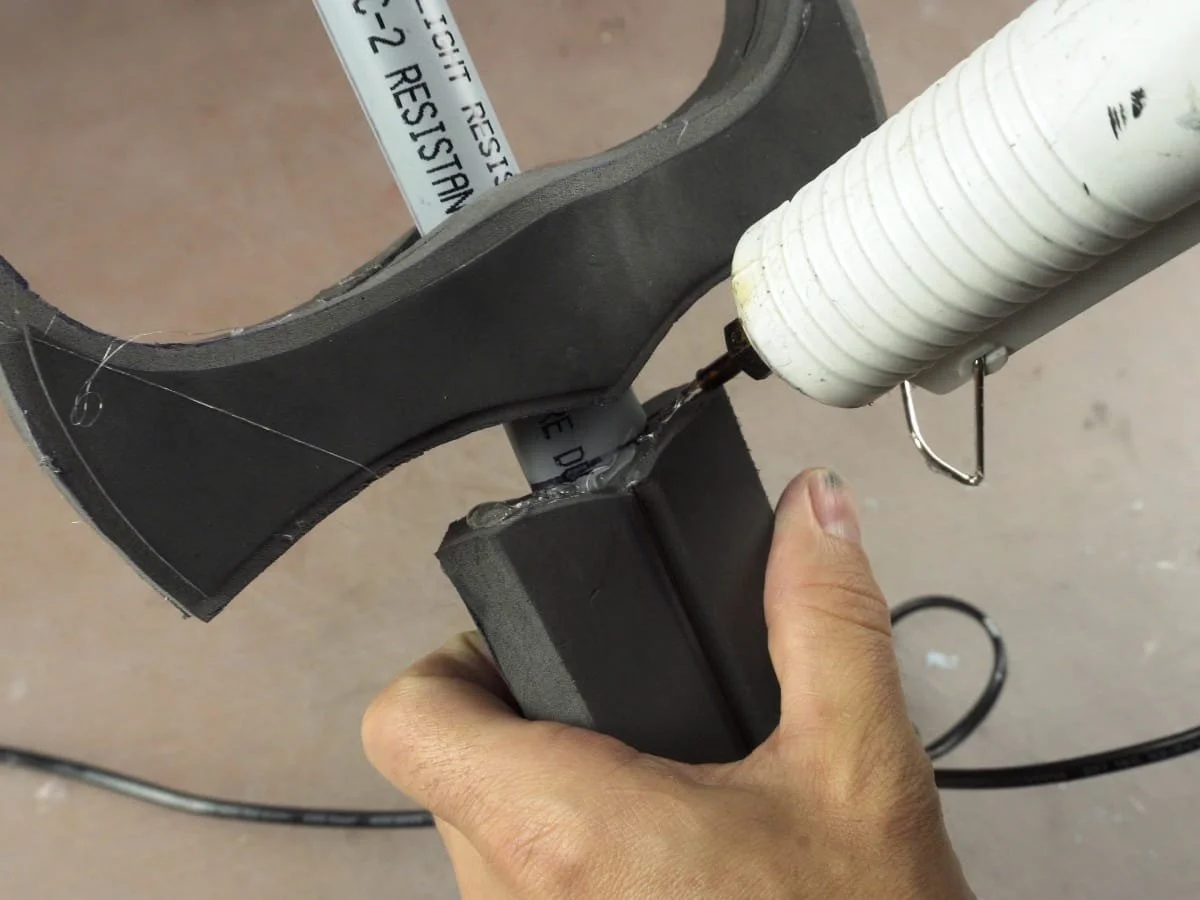
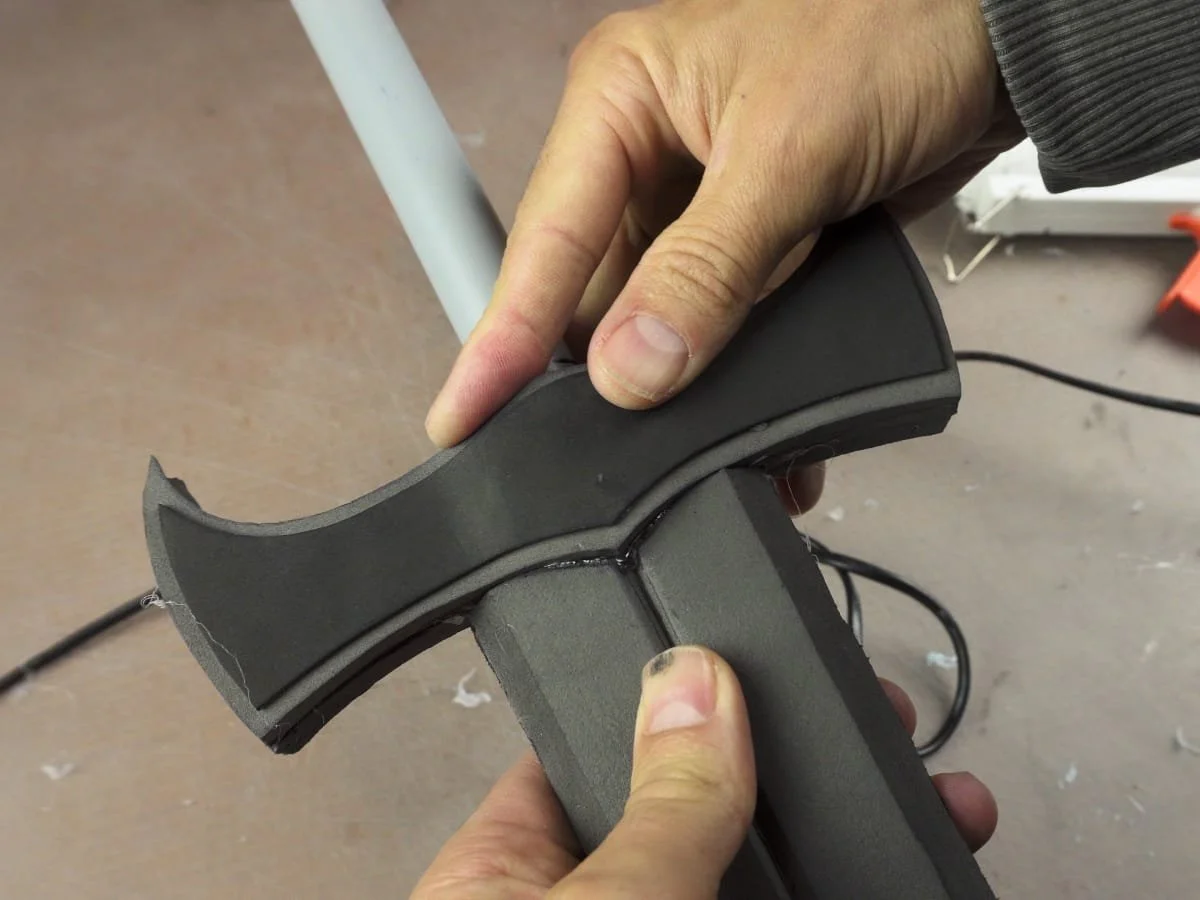
Slide the Guard onto the sword through the unglued section of the guard.
Add some more glue on each side of the guard and hold it tightly together until it the glue cools.
Slide it back a little, apply glue in the space between the guard and the handle and then slide it back into place'.
Step 11: Paint it
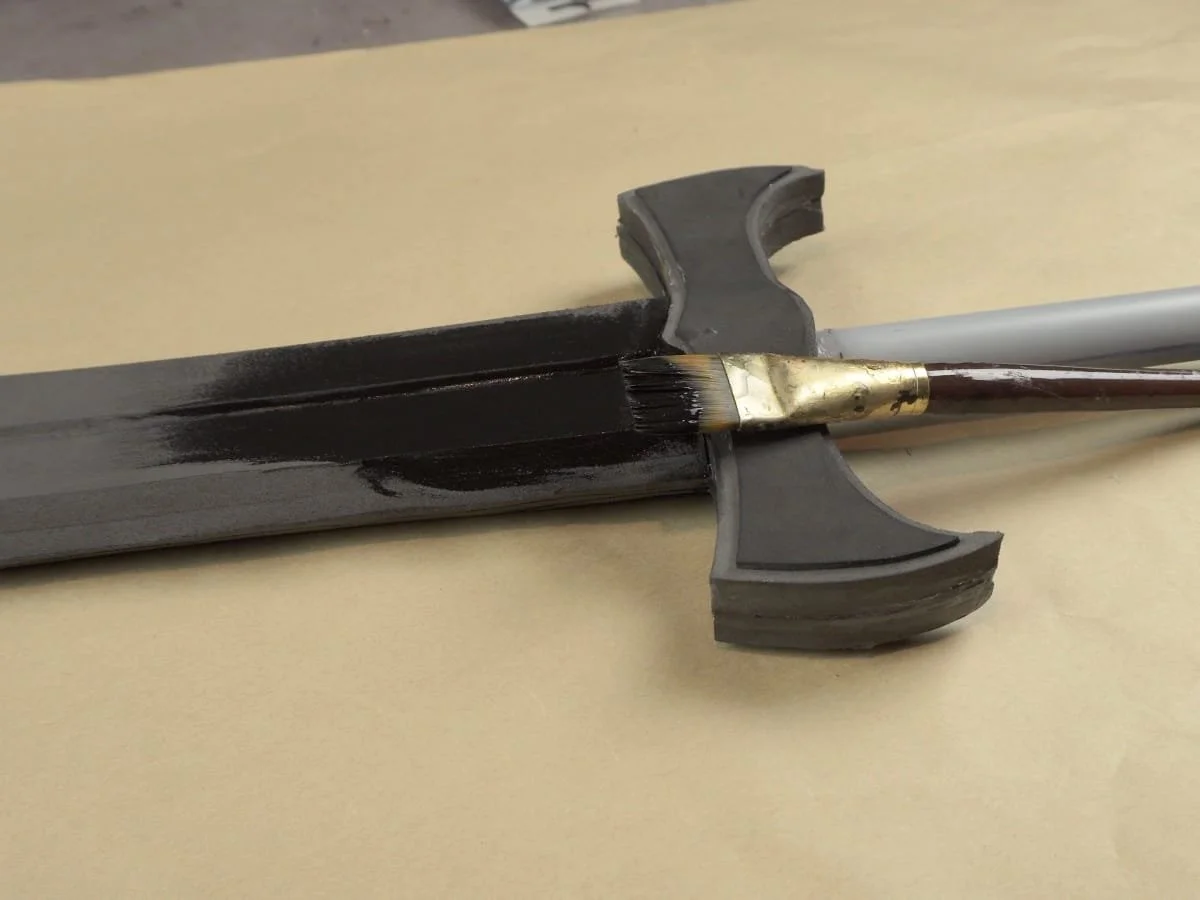
Start by giving the blade three coats of artists acrylic paints.
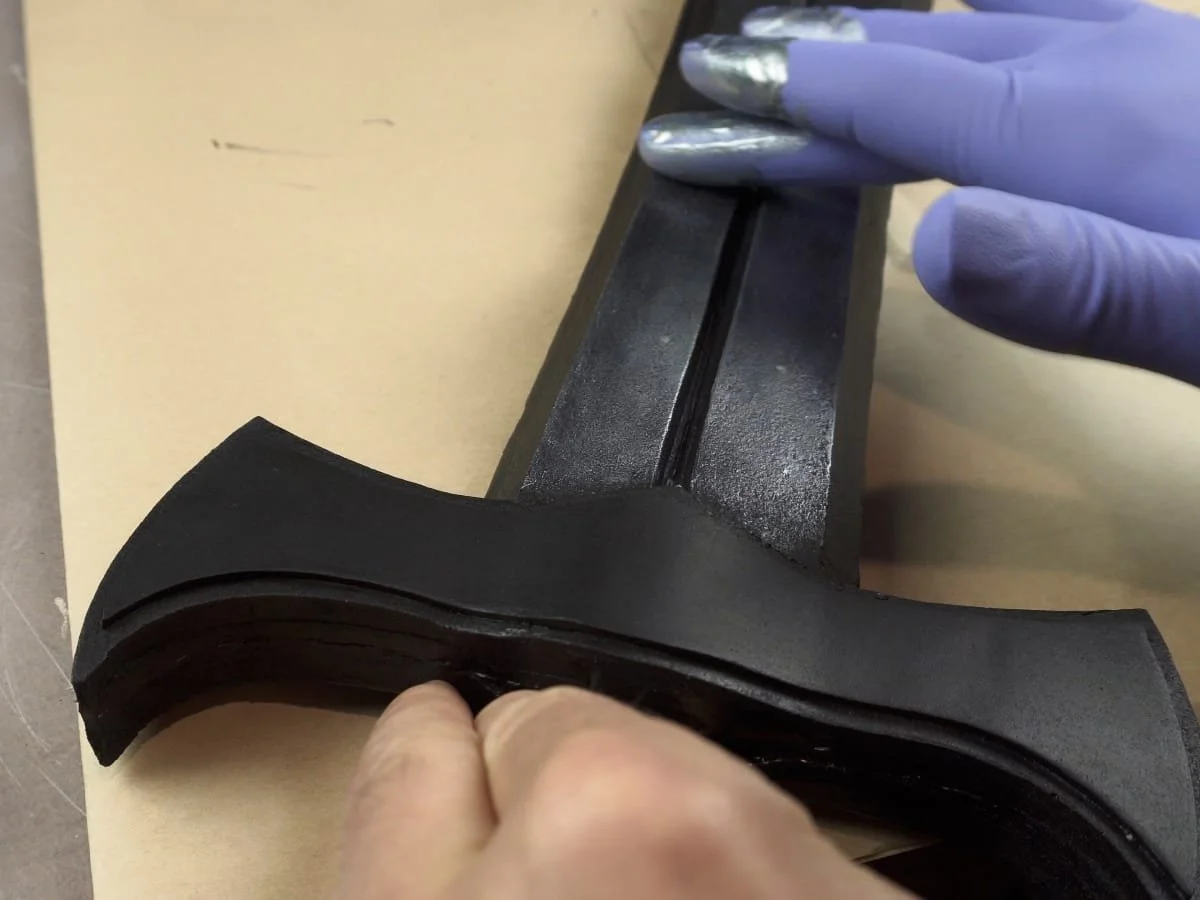
Once it is dry you can add metallic paints. I have a great painting video here, so I won’t go into much detail. But it basically involves slowly rubbing the metallic paint onto the foam with the tip of a gloved finger.
Step 12: The Handle
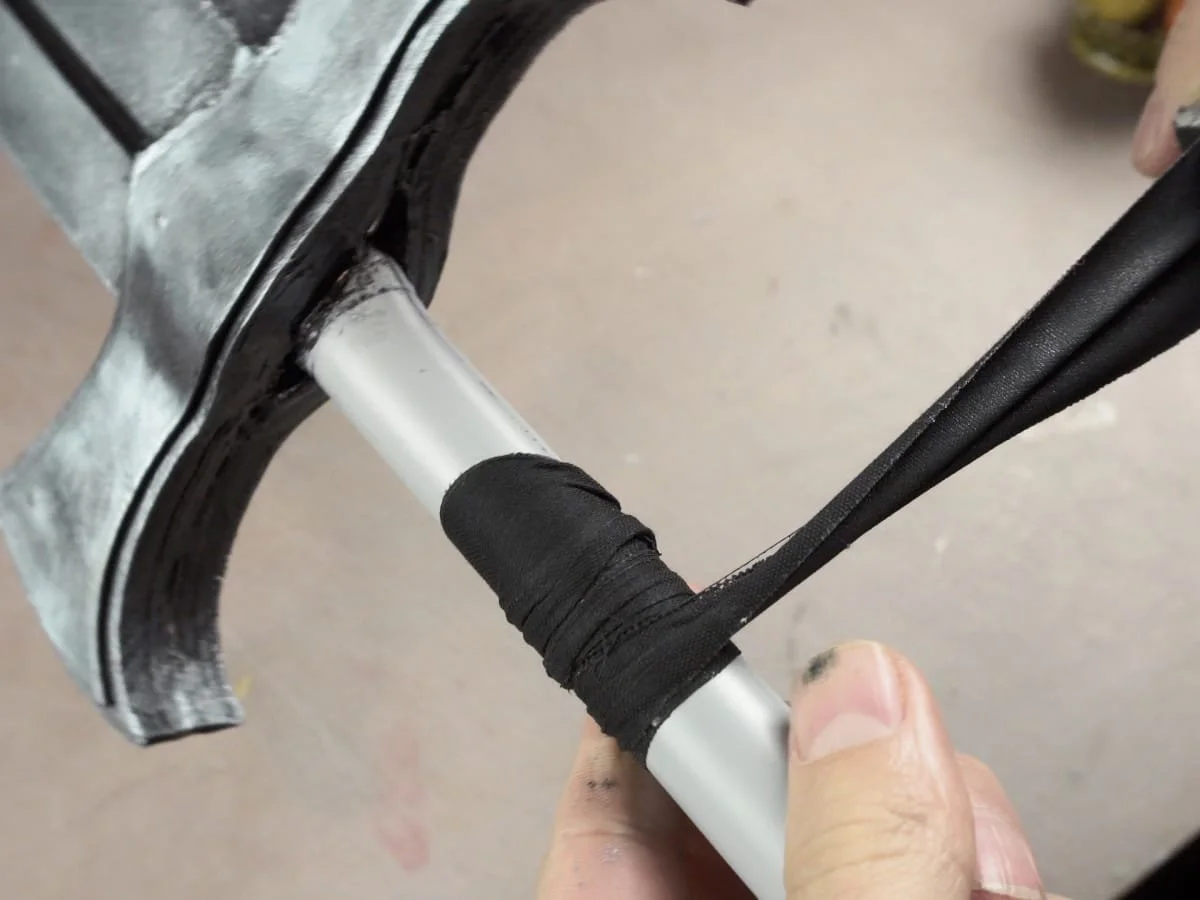
The handle is first given shape by wrapping it with some hockey tape. As you wrap, if you twist the tape a little, that will add bulk and allow you to build up the table quicker than if you were just doing flat wraps. I like to build it up so that the handle is thicker in the centre and tapers out on each end.
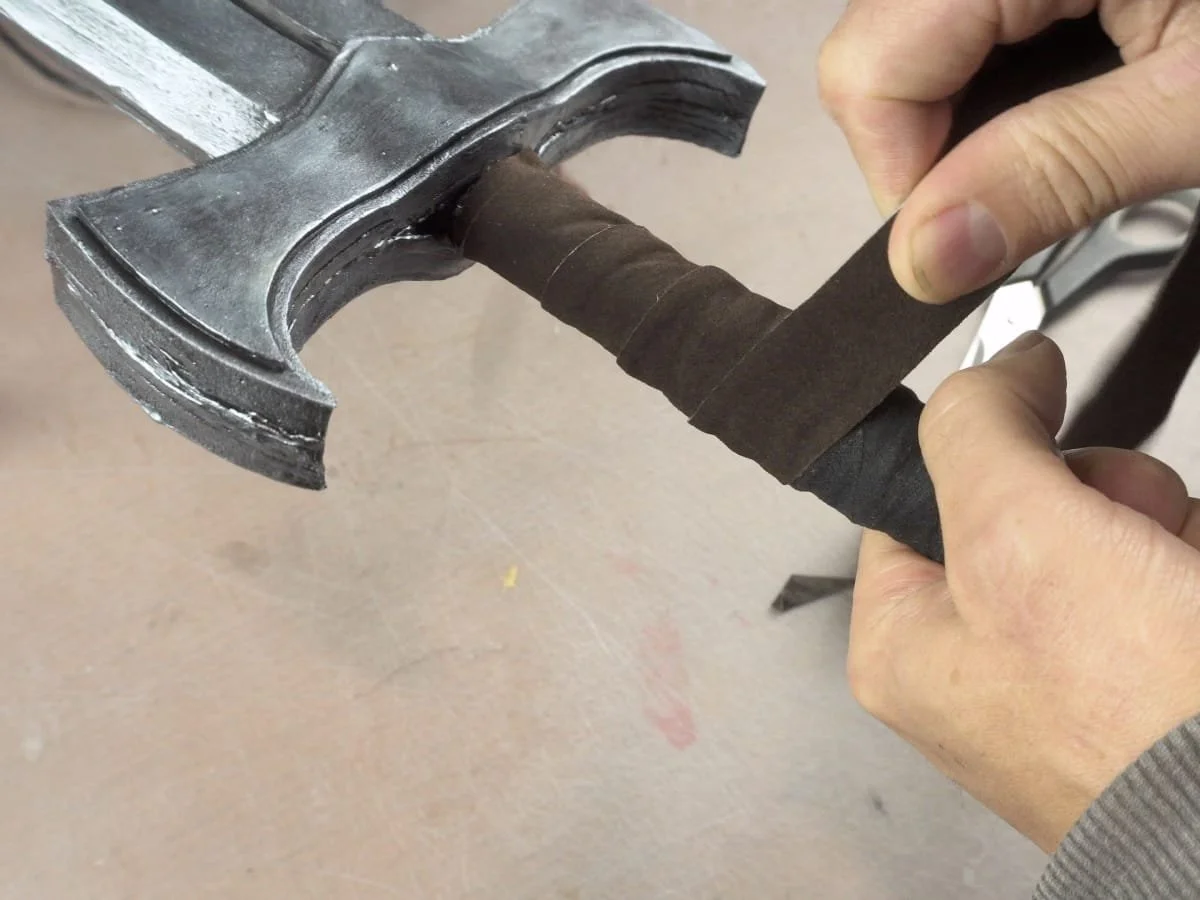
Now cut a strip of leather and wrap it over the tape, overlapping itself as you go. Glue it down with a little super glue or hot glue at the start and end of the wrap.
Use another strip and wind it over and over itself at the very end of the sword to create a pommel. Glue it every so often so that it does not unravel.
Step 13: You Made a Sword!
You did it! You now have a fun and fantastic looking cosplay sword. Perfect for all kinds of adventures.