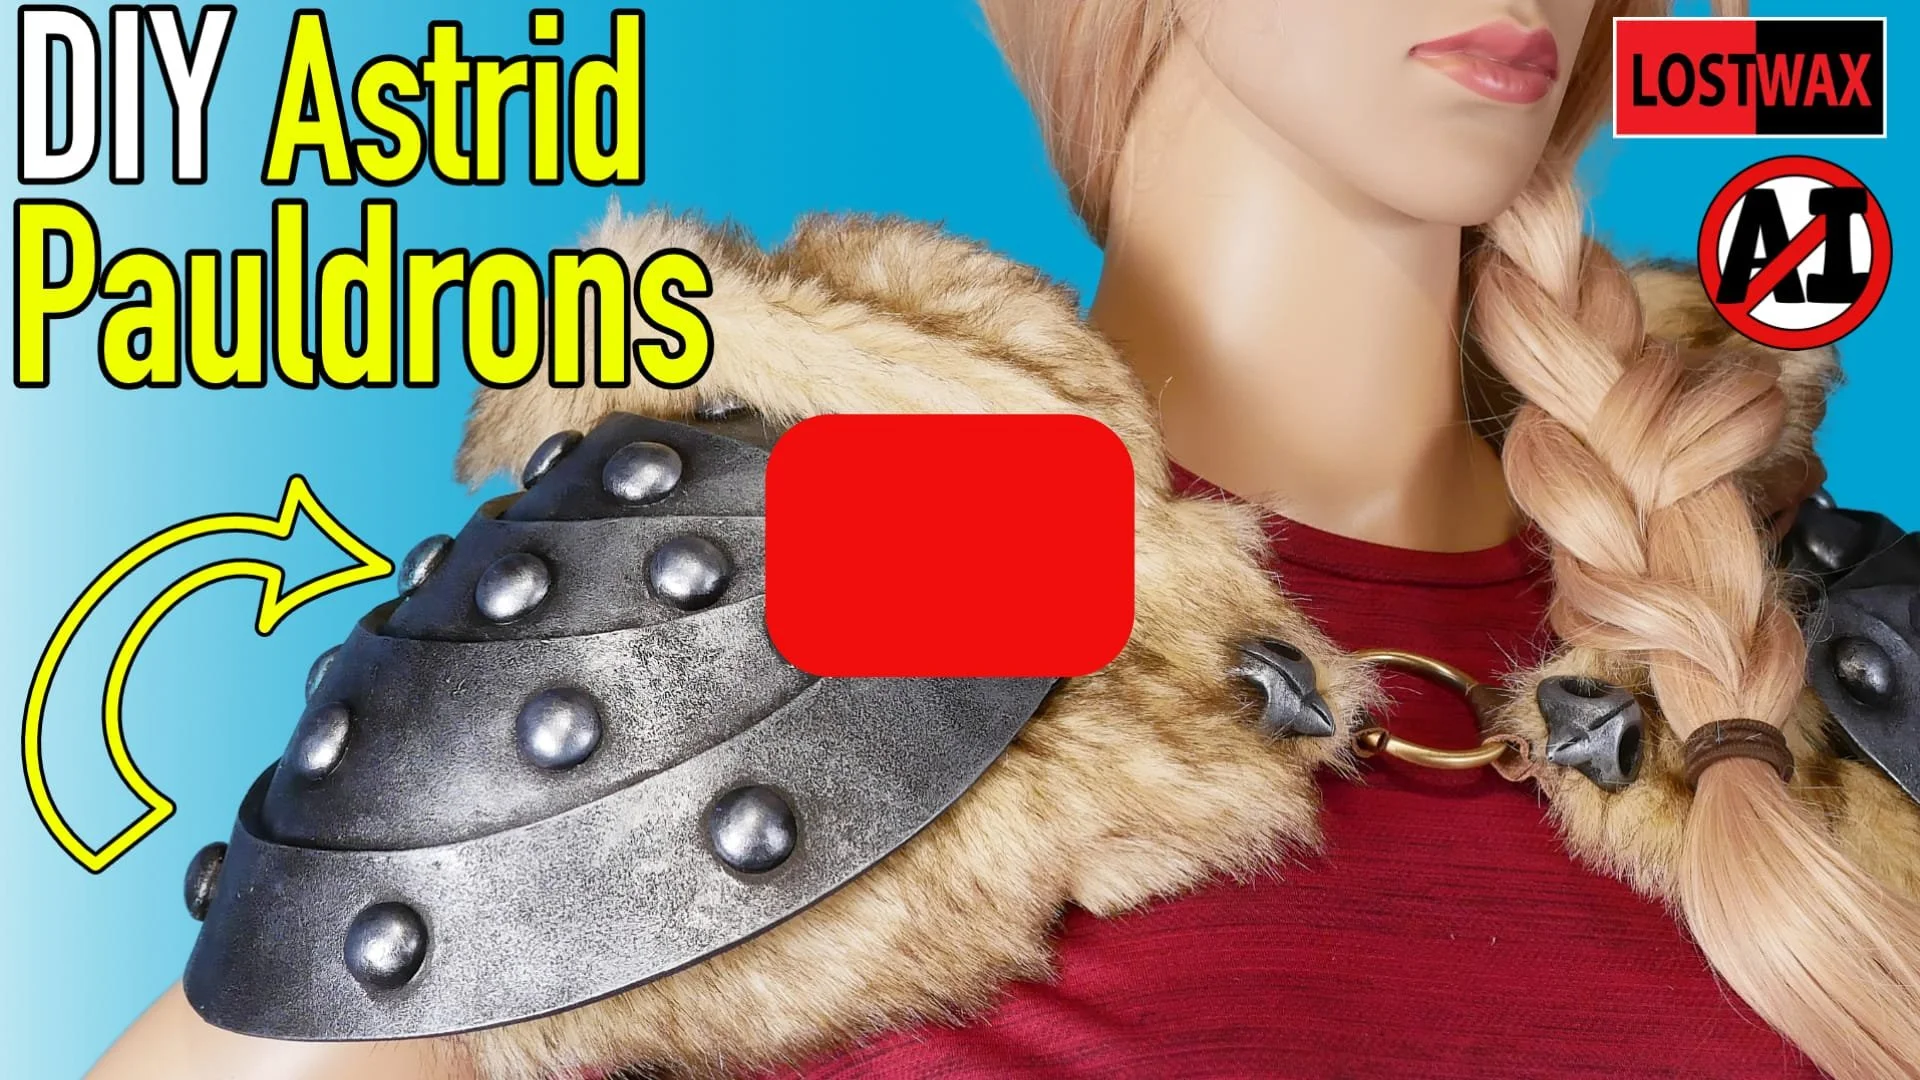
How to Make a Banded Pauldron (like I used for my Astrid Cosplay)
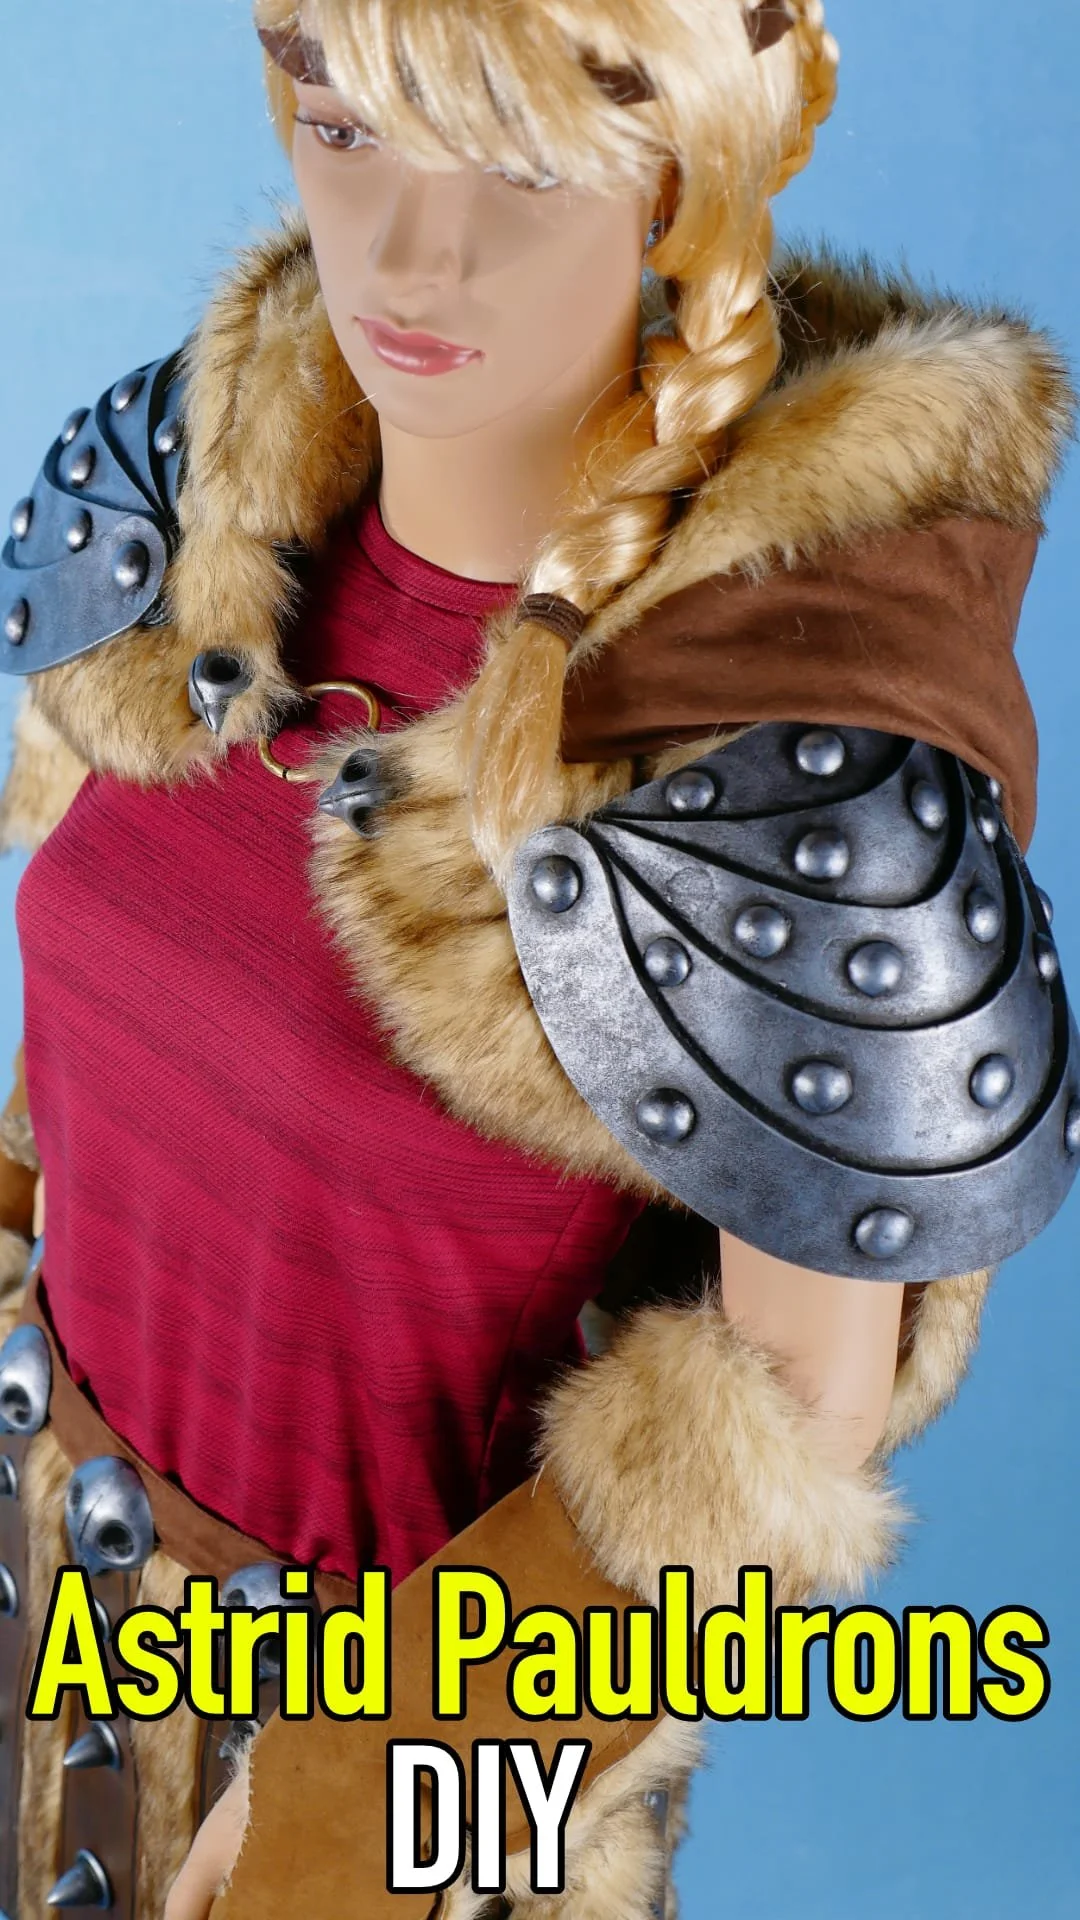
If you want to know how to make a pauldron that looks like it is made from overlapping metal strips, kinda like the ones Astrid wears in How to Train Your Dragon, you’re in the right place! These pauldrons are fairly easy to make from some 5mm thick EVA foam, and they’re great for using up leftover scraps! This post will be a bit of an overview, but there are complete step by step instructions included with the template.
Step 1: Supplies
Patterns: You can find the pattern in my Pattern Shop
Very Sharp Knife: If it is not really sharp you will have a terrible time when you are cutting the foam.I use a utility knife with a brand new blade. Have extra blades (or know how to sharpen them) as they will get dull as you go.
Hot Glue Gun: I highly suggest a glue gun that has adjustable temperature. If you use a temperature just a little bit higher than the melting point of the glue, you will have fewer burnt fingers, and not have to hold pieces together as long while they cool.
SuperGlue: Used for attaching the large rivets to the pauldron.
5mm Thick Eva Foam: It should be a medium density foam- If you buy foam made for cosplay it’ll be dense enough.
Polymer Clay: I used Fimo brand, but any should work. Used for making the oversized rivets.
Skewer : Helps to align the bands as you are gluing.
Heat Gun or Blowdryer (optional) : Used for heating and forming the foam.
Step 2: Figure Out Your Size
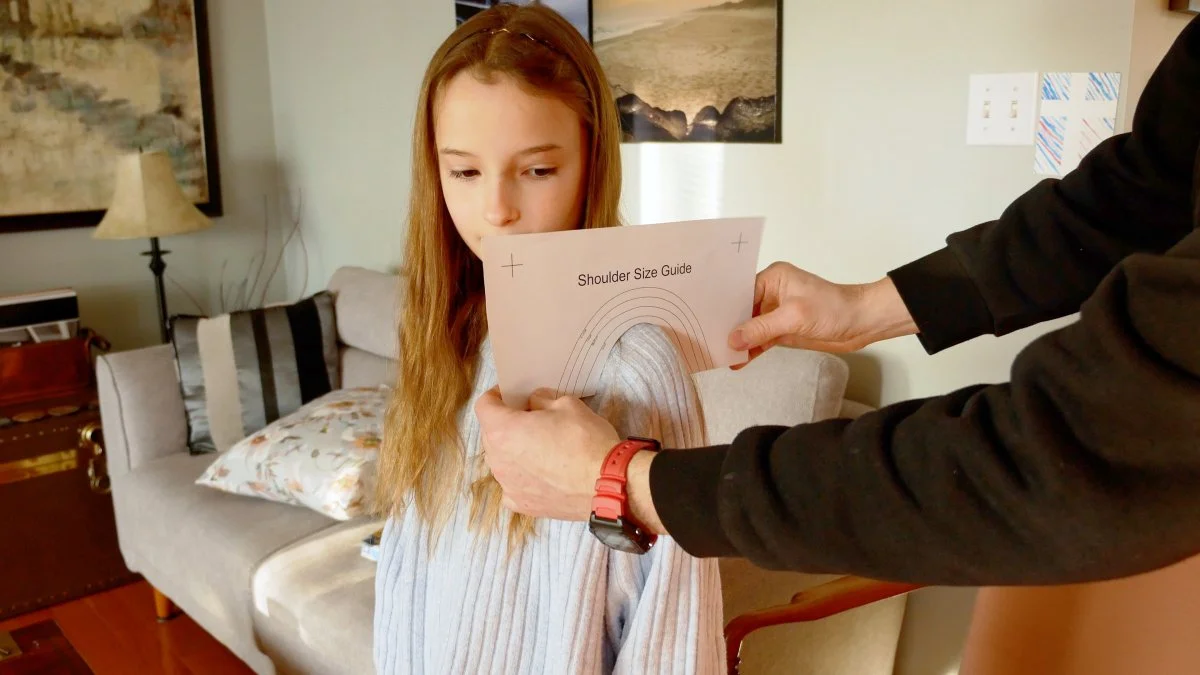
This pattern includes multiple sizes to fit most people, children to adults. There is a shoulder size guide that looks like a rainbow, but is a little more useful, because that is going to tell you what size to make!
Step 3: Print and Assemble the Pattern
I make my patterns so that they can be printed at home on either U.S. letter or A4 size paper. This means that you have to make sure that they are being printed at actual size otherwise your printer might want to scale them down a bit. If you need a program to print from, I find Adobe Acrobat Reader DC works well, and is free.
The pattern pieces are made from more than one sheet of paper, so overlap the sheets on a window or light table, line up the alignment crosses, and tape the papers together.
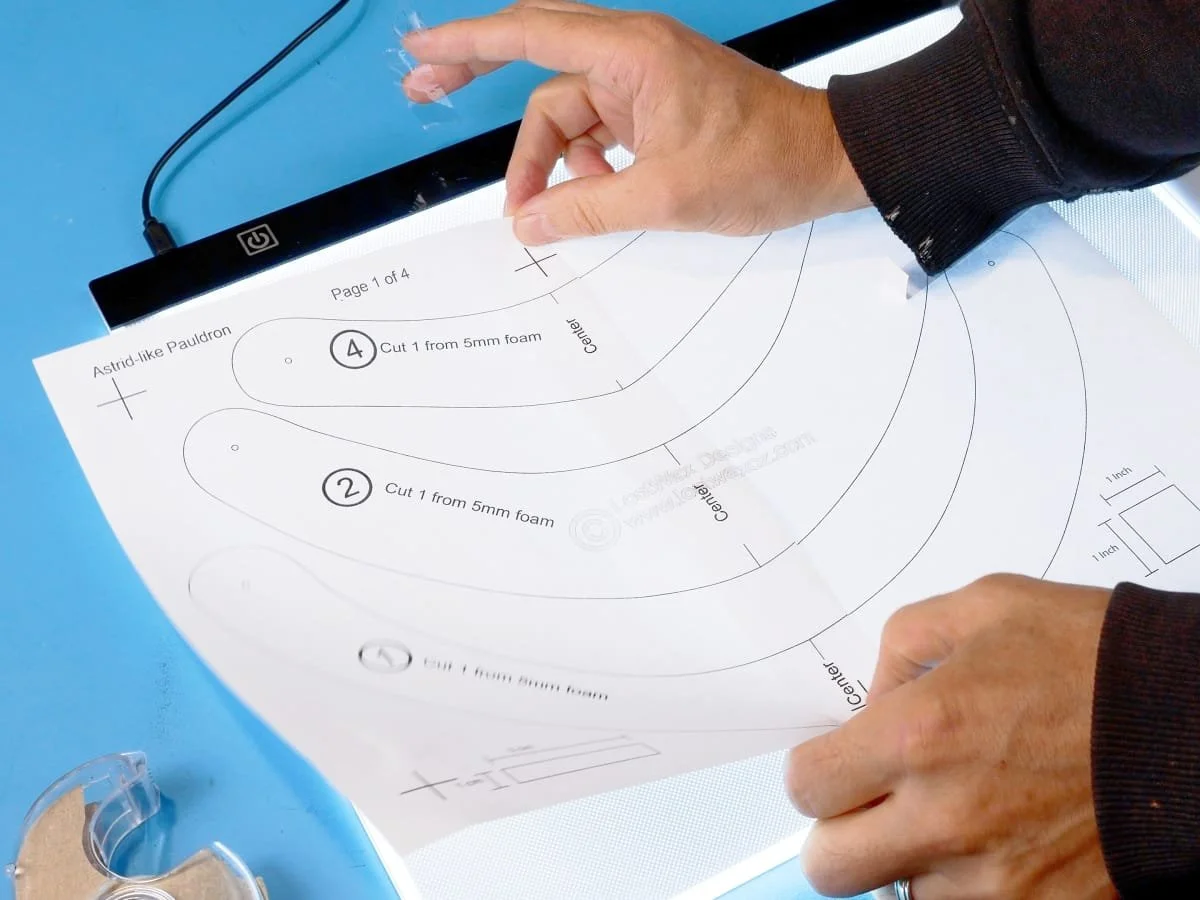
Taping the pattern together on a light table
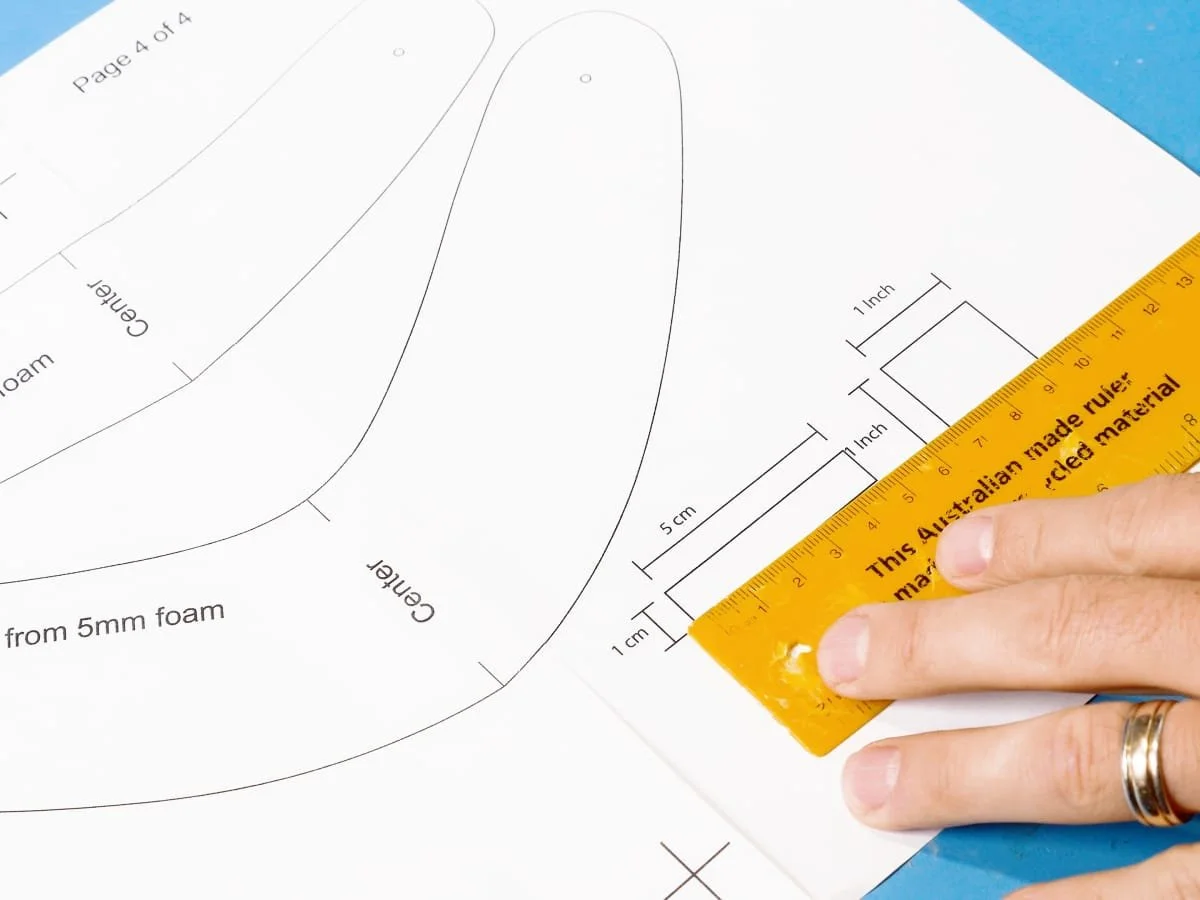
Make sure to measure the print guides for proper scaling
Step 4: Trace and Cut
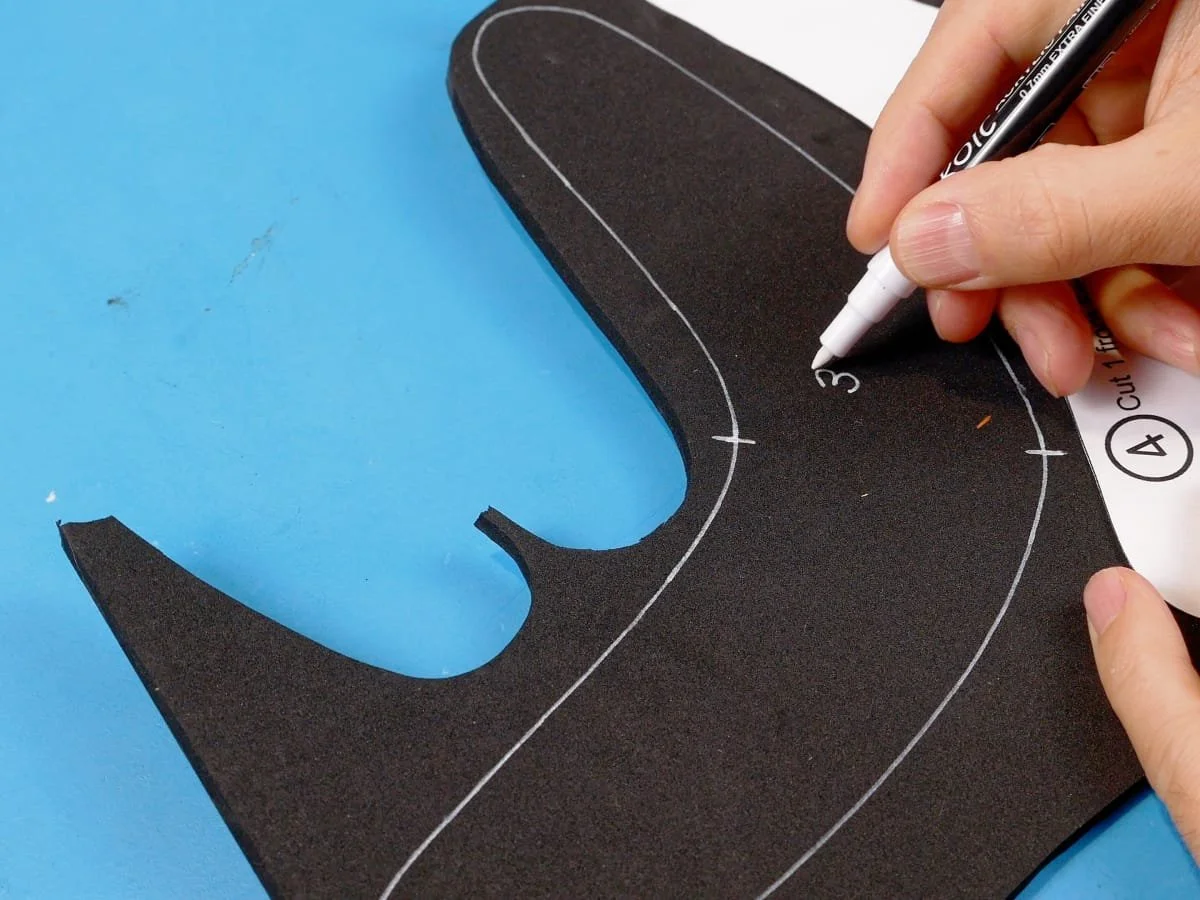
Trace all the pattern pieces onto your 5mm thick sheet of EVA foam- I like to use a paint pen or gel pen so that the ink won’t bleed through the paint at the end.
Make sure to mark the centre alignment points as well as number each band so you don’t get them mixed up later.
Cut all the pieces out with your really sharp knife.
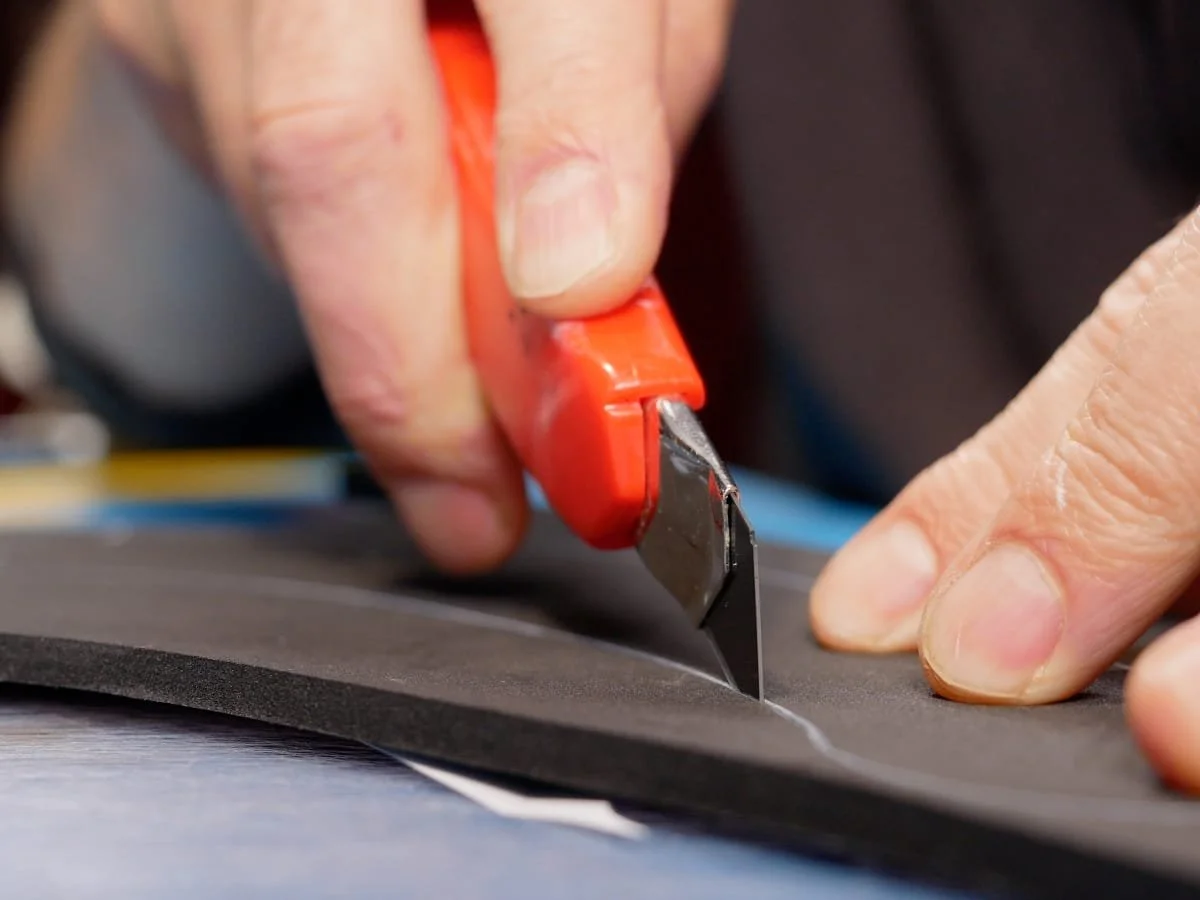
Step 5: Taper the Foam Bands
The look of these pauldrons is that of overlapping bands. At the pivot point, there will be the full thickness of all the foam layers, and that is going to be a bit too bulky, so we need to thin the foam out in those areas.
It’s also a good idea to remove some of the foam from the edge that will be on the underside of the pauldron.
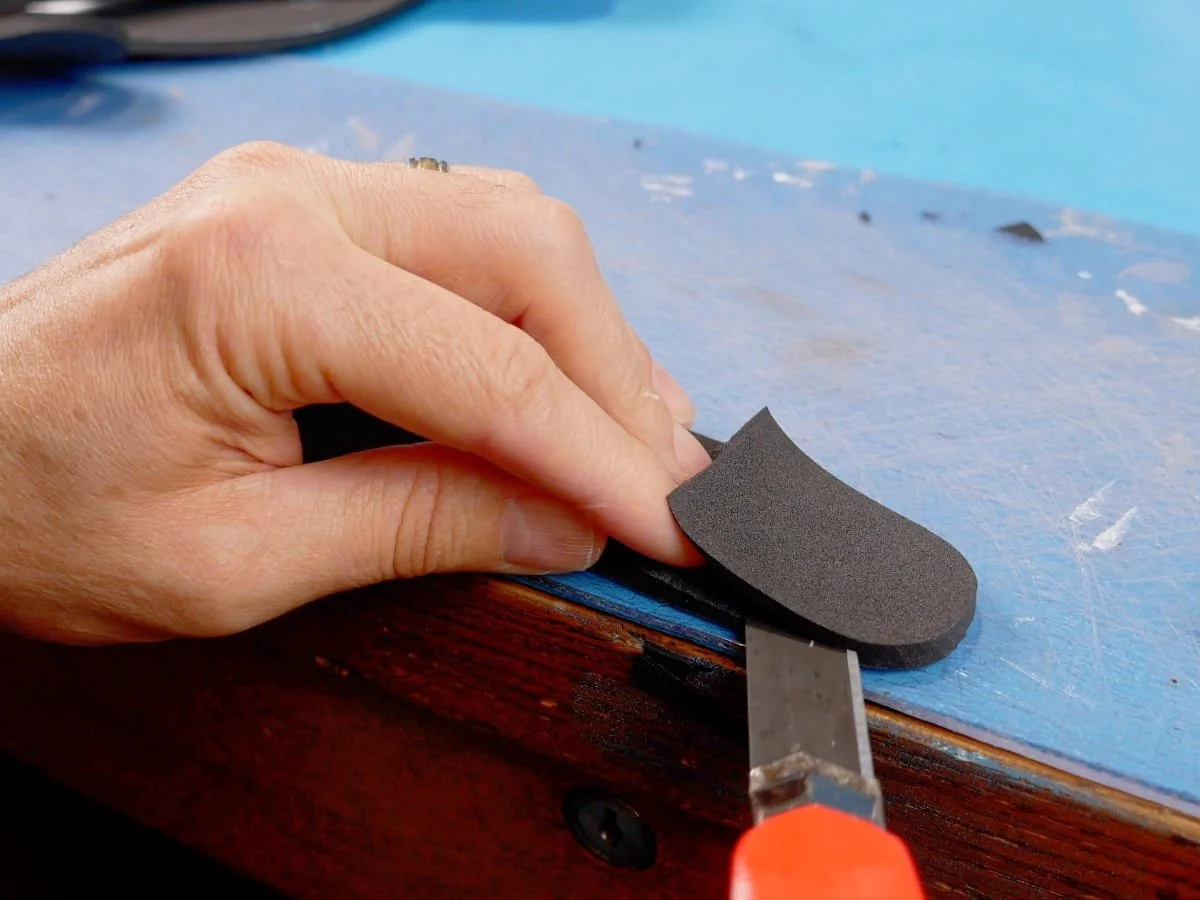
Taper each end of each band. You need a very sharp knife
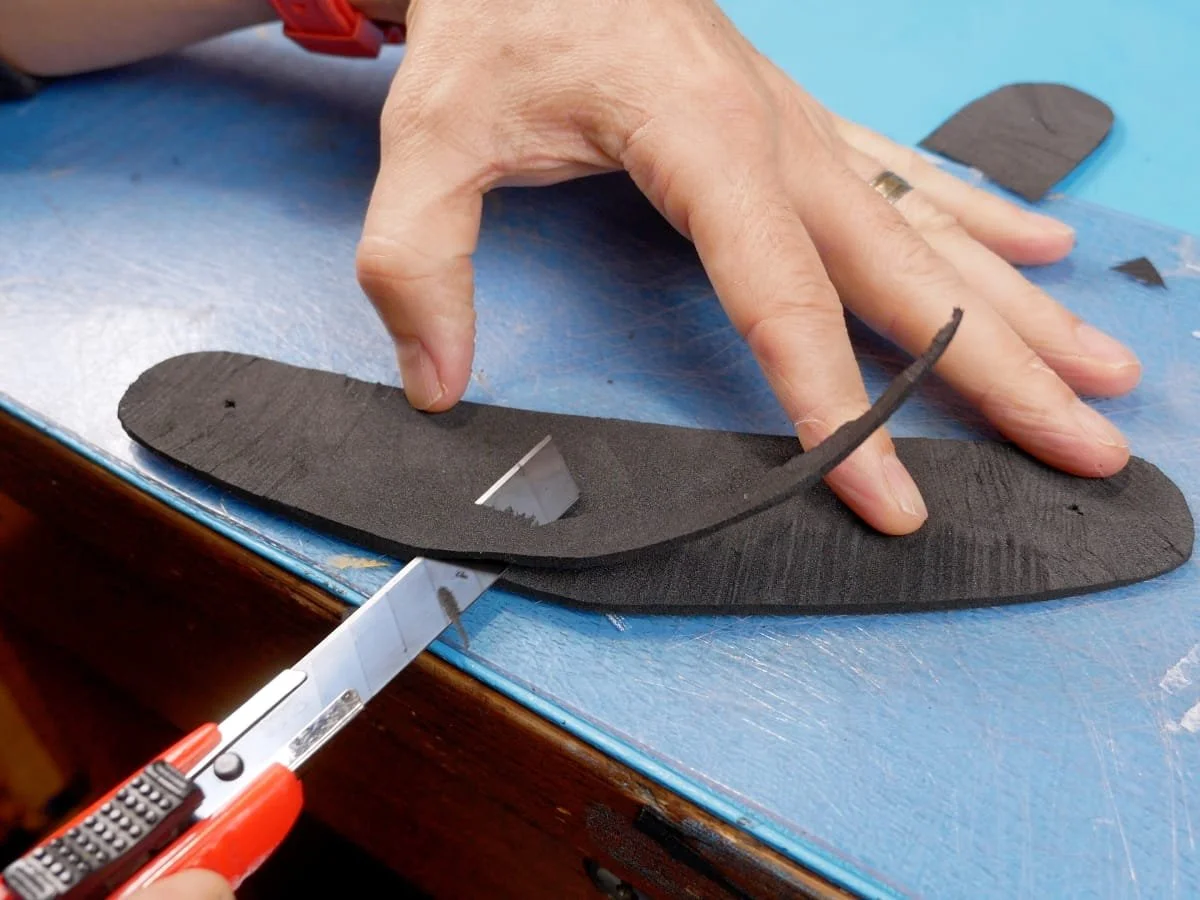
Tapering off the bottom edges (only pieces 2-5)
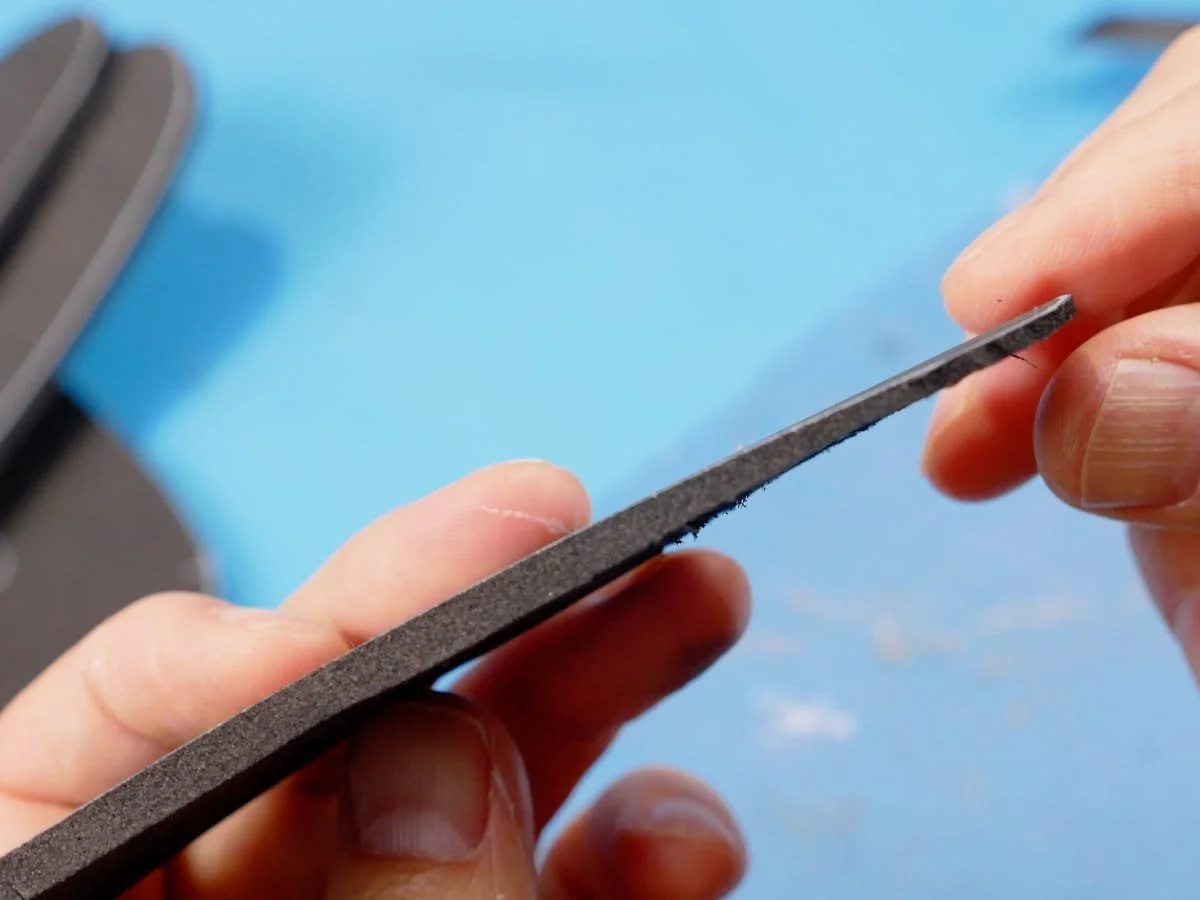
Side view of band after tapering
Step 6: Skewer the Bands
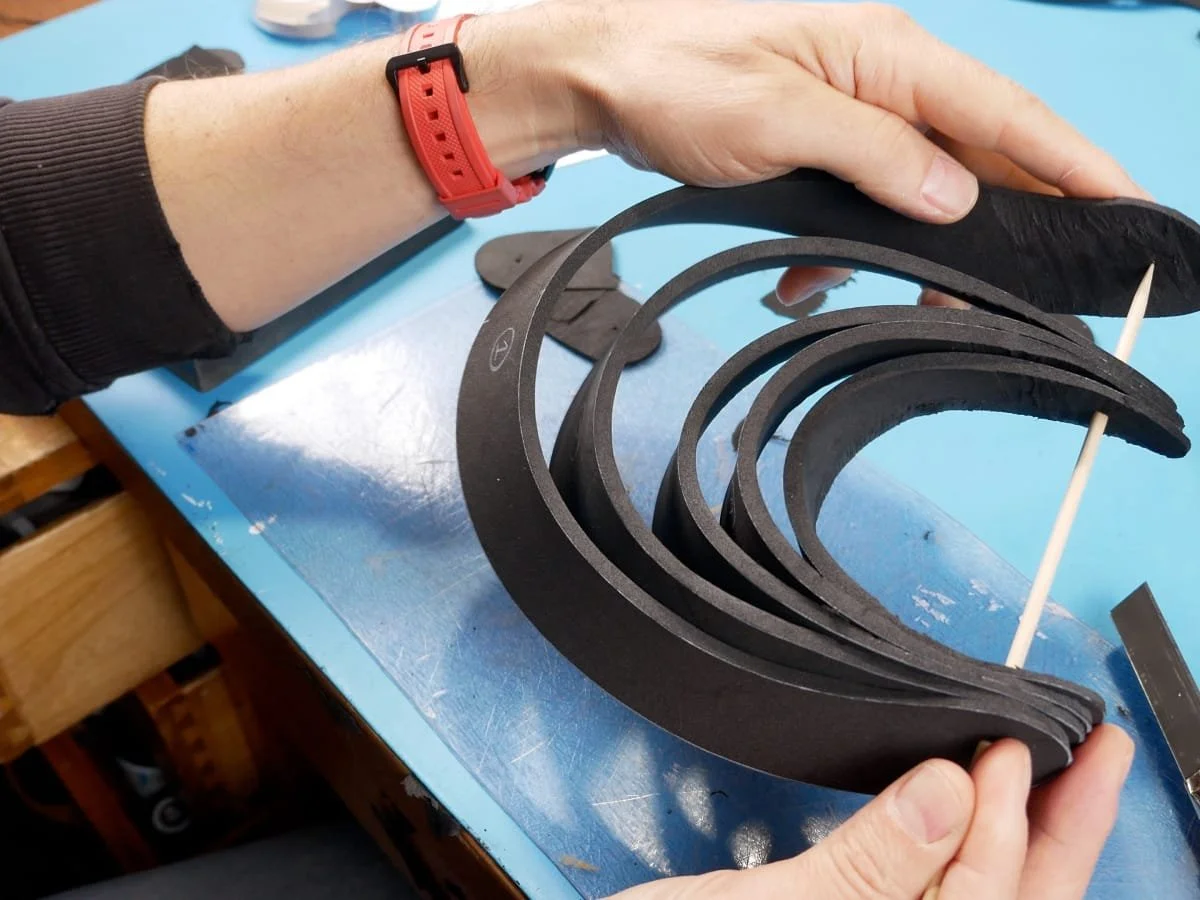
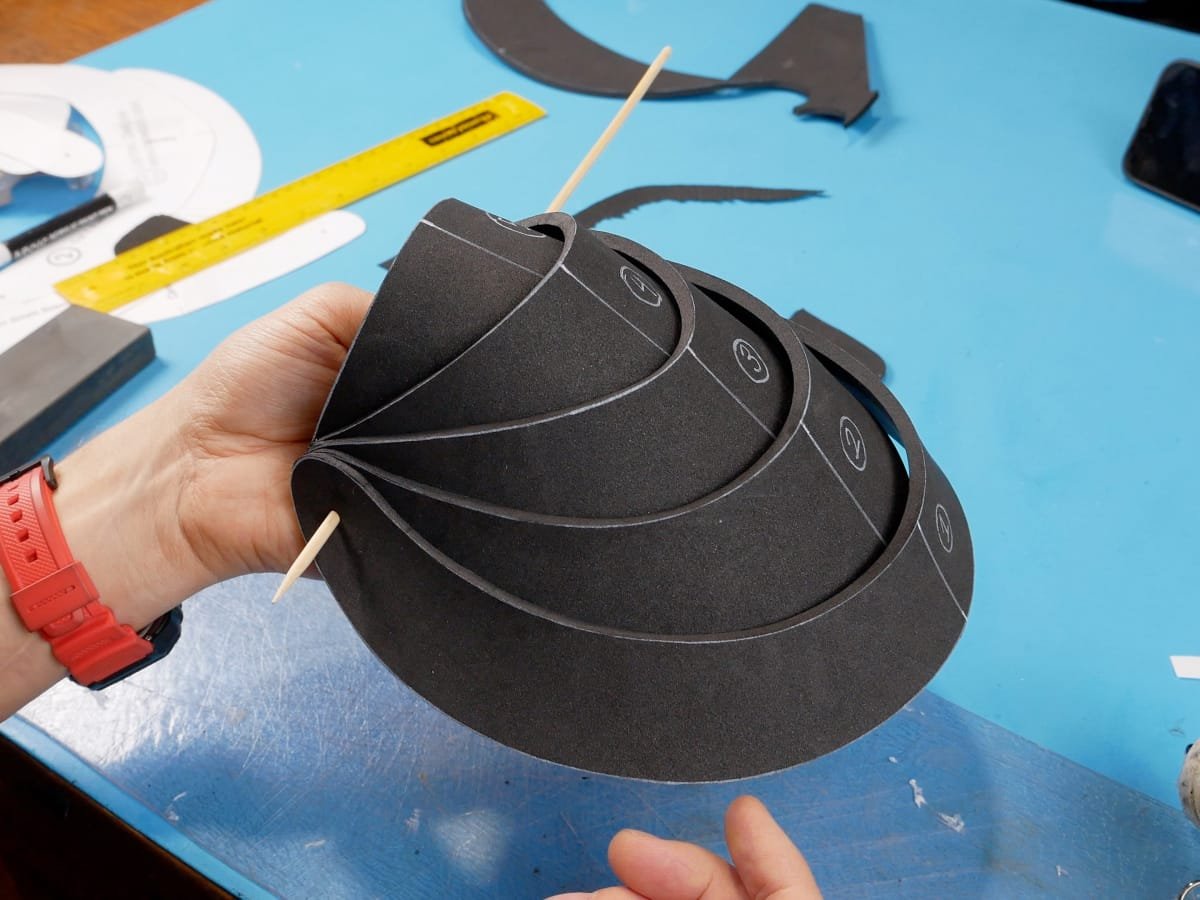
Stack one side of each band on a skewer, through the pivot point, from piece #1 to piece #5. Then fold piece 5 and push the other pivot point back over the the skewer so that the band creates a “U” shape. Repeat for all the rest of the bands.
Now you can rotate the bands on the pivot to open up the pauldron. The bottom edge of each band should rest against the top edge of the band below it (and be behind it).
Step 7: Choose Your Glue
For the last ten years, I have mainly used hot glue for all my projects. I choose it because it releases less toxic fumes than contact cement and I have to work indoors. The one limitation of hot glue is that if your costume is going to be used in a very hot climate, there is the possibility of the glue overheating, softening and the costume falling apart. In these circumstances, I would recommend using contact cement, but make sure to use a respirator and have good ventilation. You only have one set of lungs!
Step 8: Use Your Glue
Now it’s time to start gluing the bands in place. Tack them in the centre so they stay lined up and then work your way around each band until everything is solid.
You can clean up extra hot glue that has squeezed out by rubbing vigorously with a piece of scrap foam.
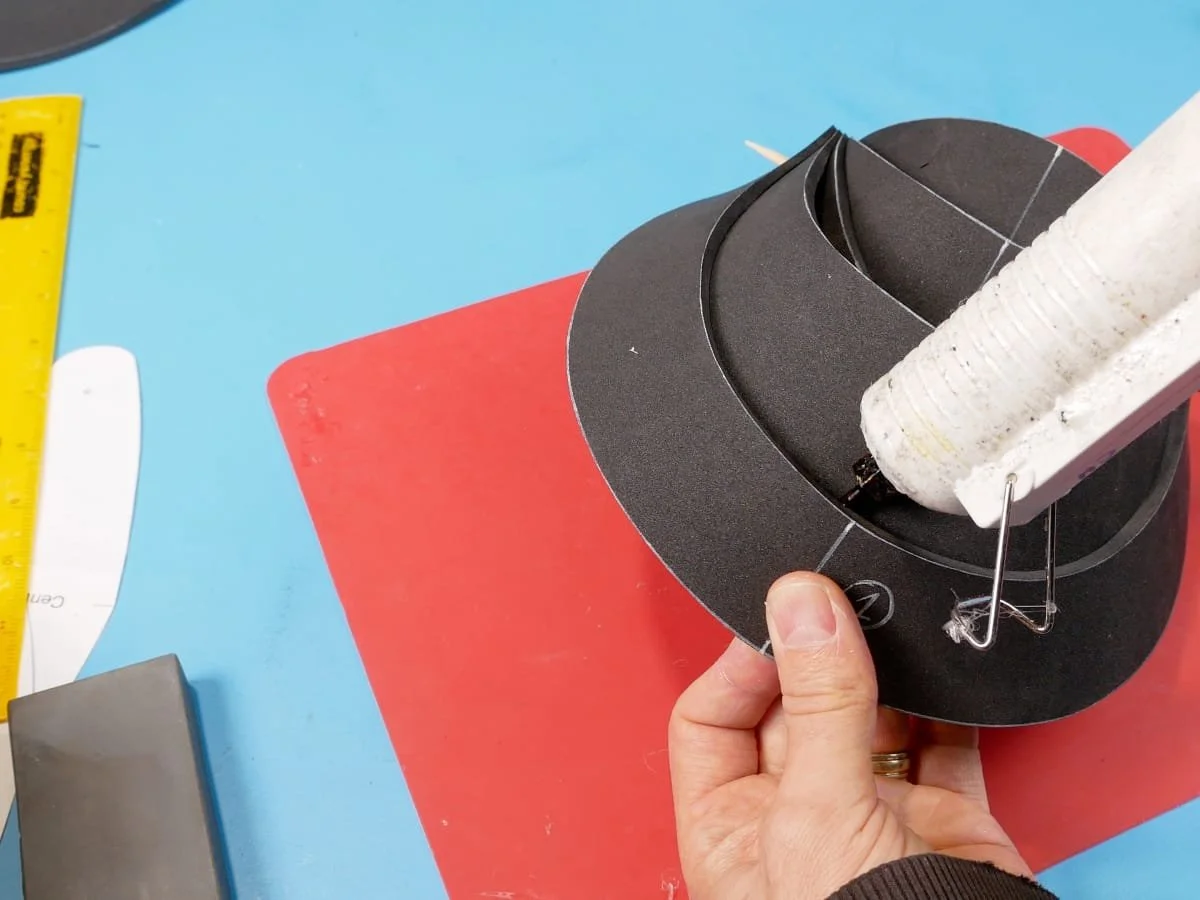
Gluing the bands where they overlap
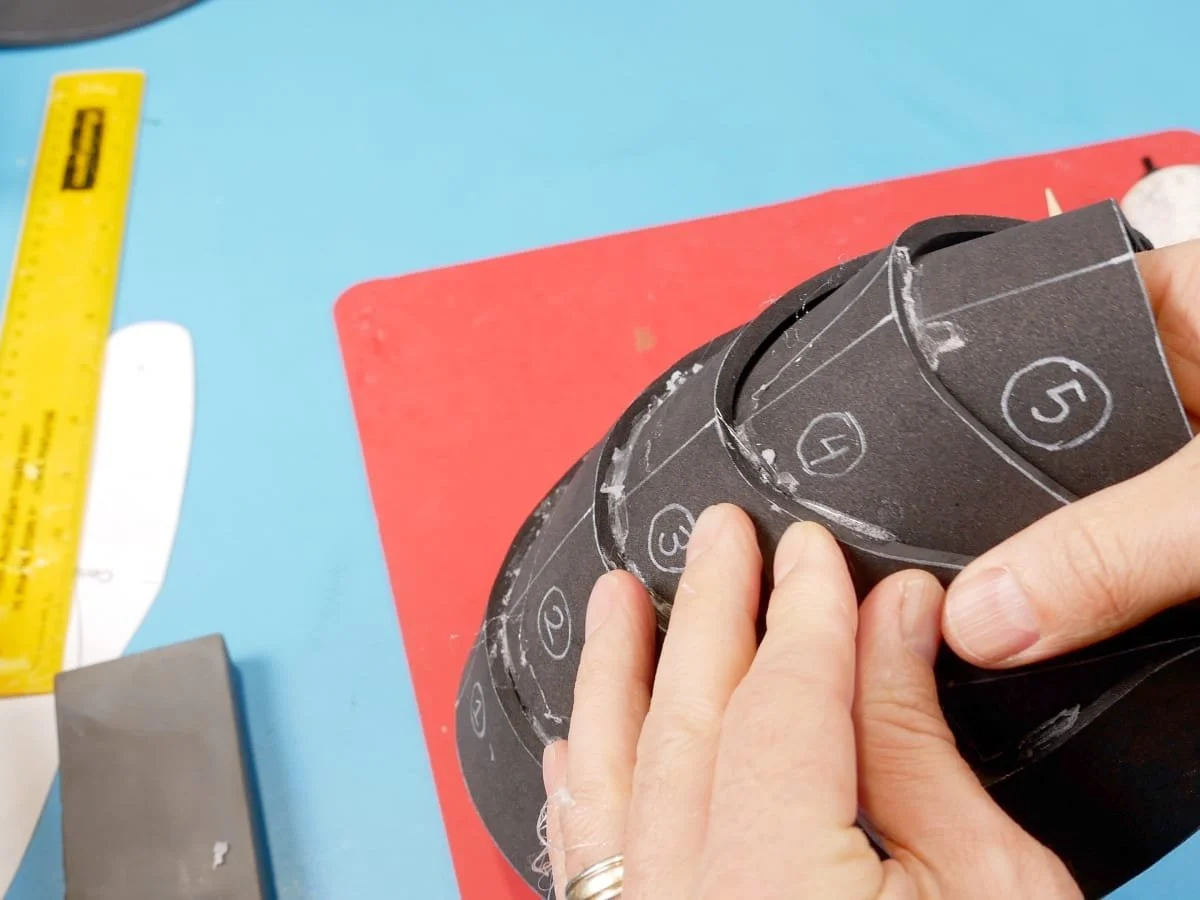
Continue around the rest of the band. Here you can see the hot glue squeezing out
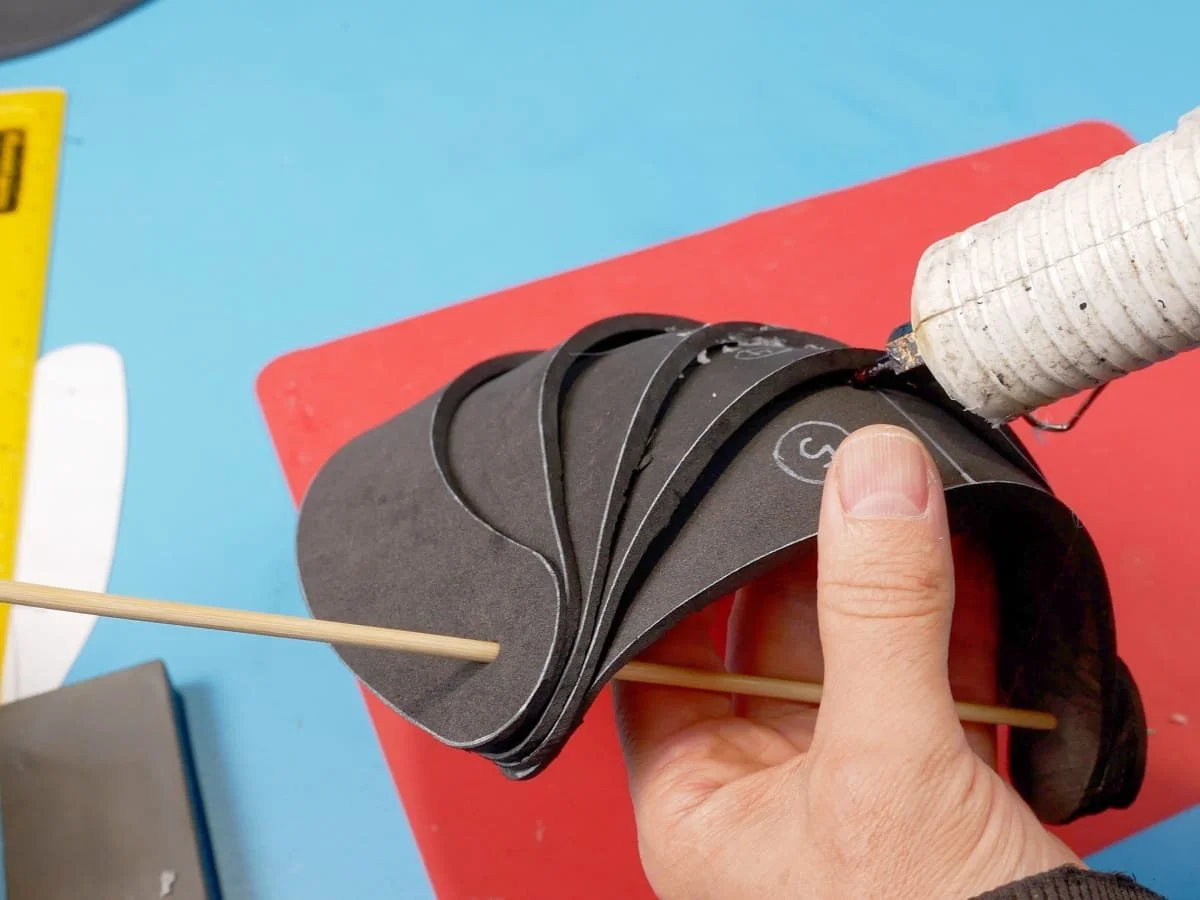
Make sure to line up the centre lines as you go
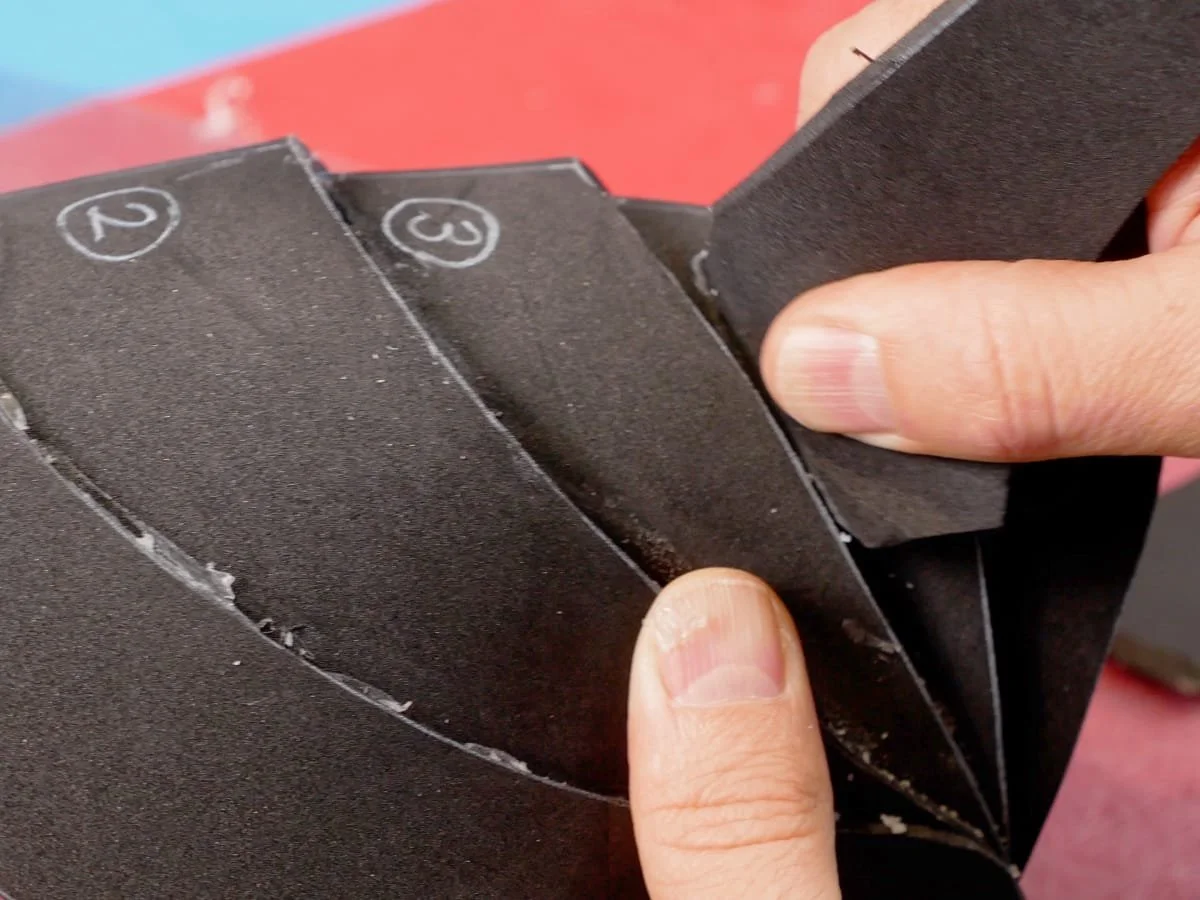
Clean up the excess hot glue by rubbing with some scrap foam
After it is cleaned up, you can make it even smoother by hitting it with a quick blast from a heat gun- just make sure it’s not too long or the hot glue will come apart!
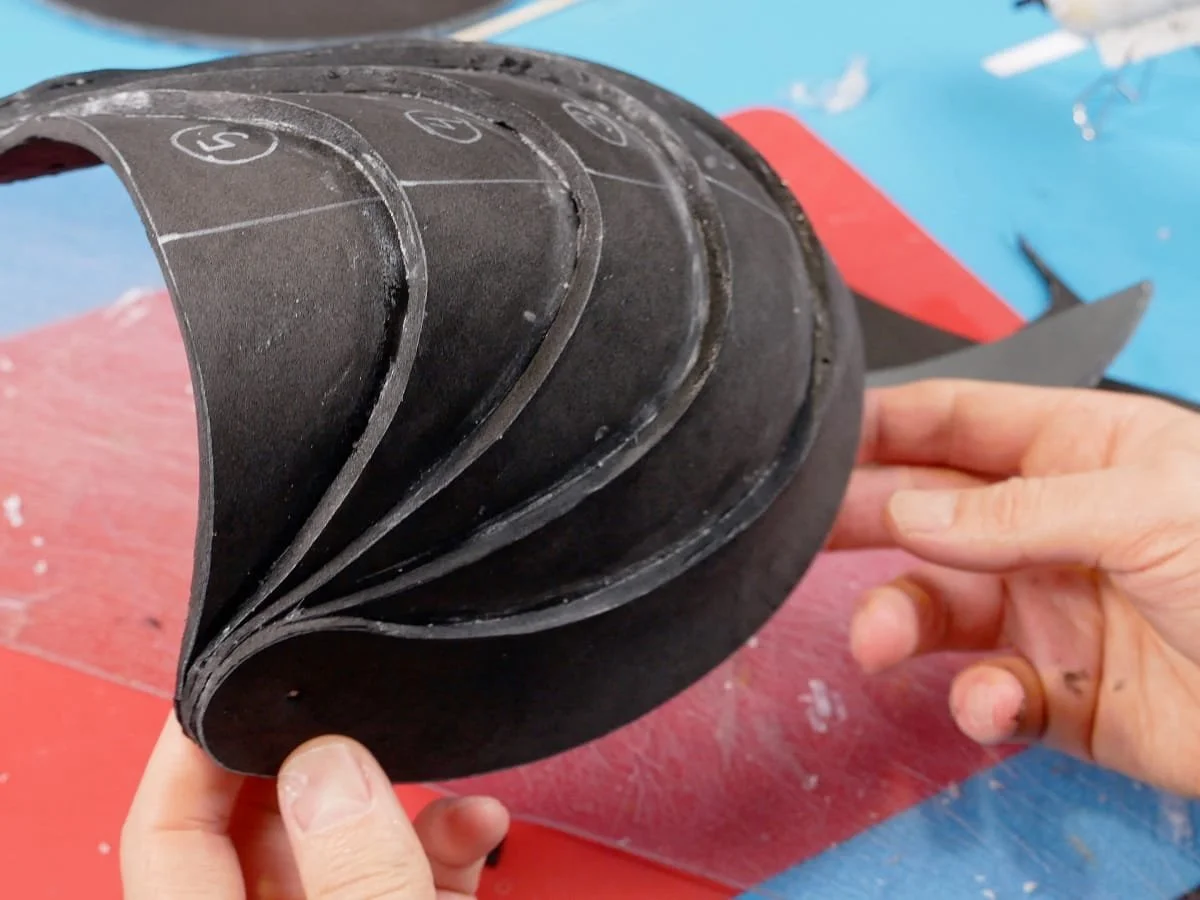
Pauldron after cleanup with scrap foam
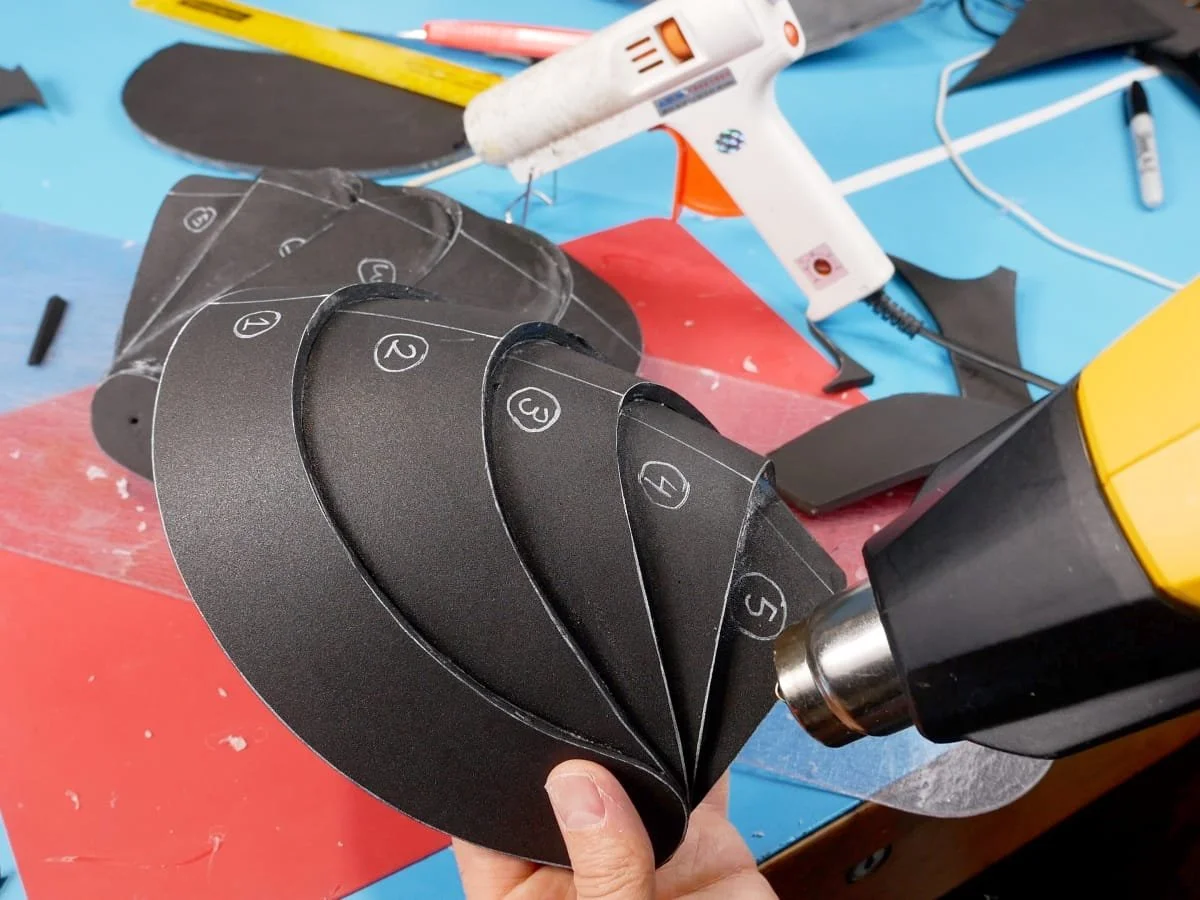
Pauldron after heating with heat gun. Much smoother.
Step 9: Make Some Fake Rivets
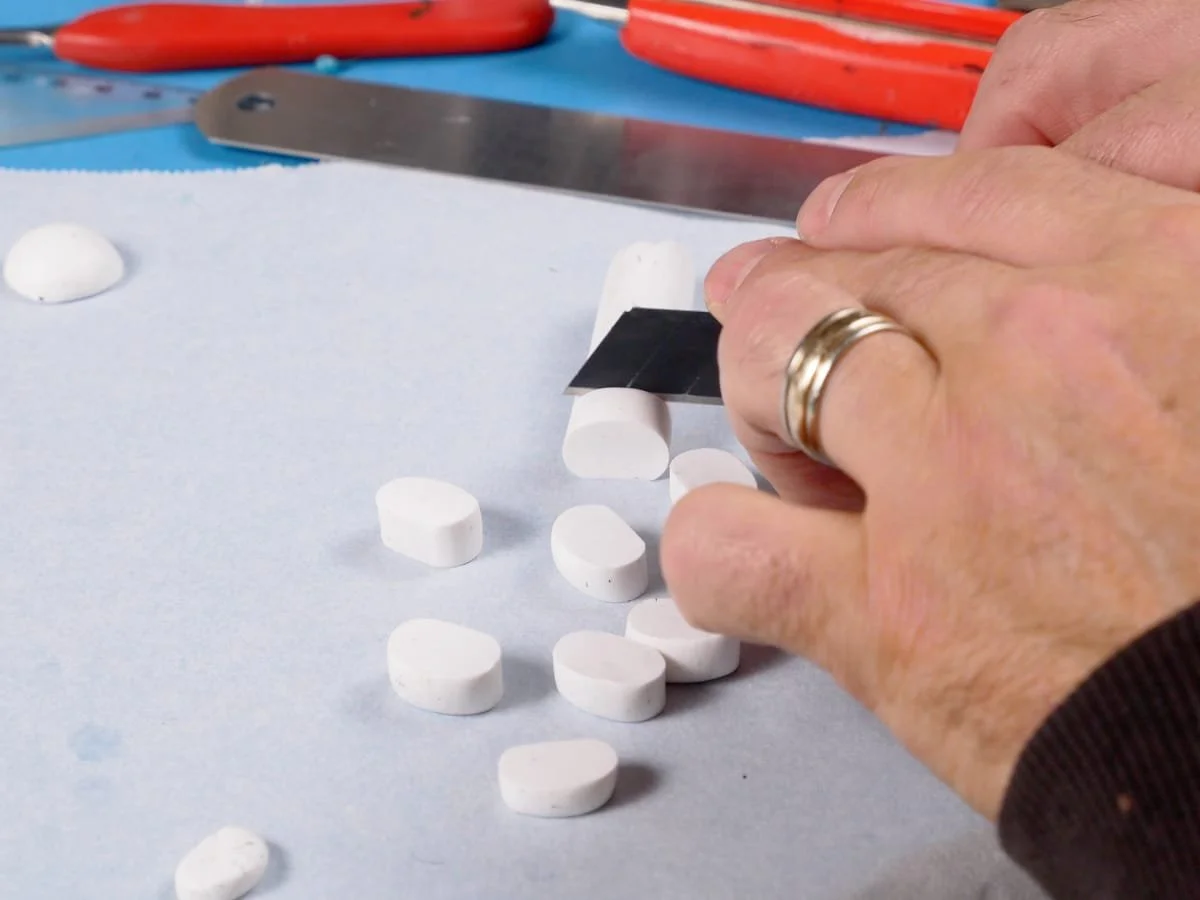
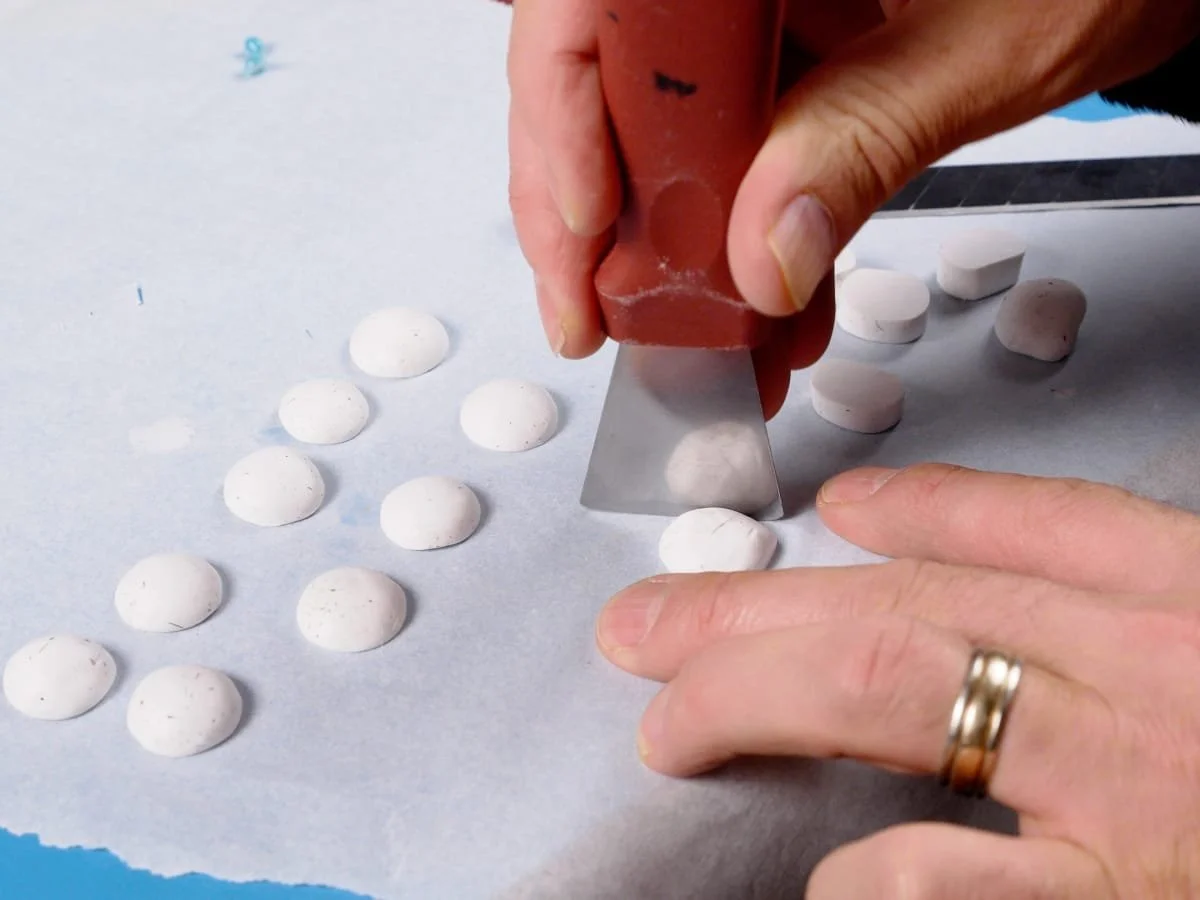
Now it is time to make some comically large rivets! I found polymer clay worked the best for this.
Make a snake from the clay, cut it into little flat discs, and shape each of those into a smooth dome.
Step 10: Rivet that Pauldron
Glue the fake rivets in place on the pauldrons.
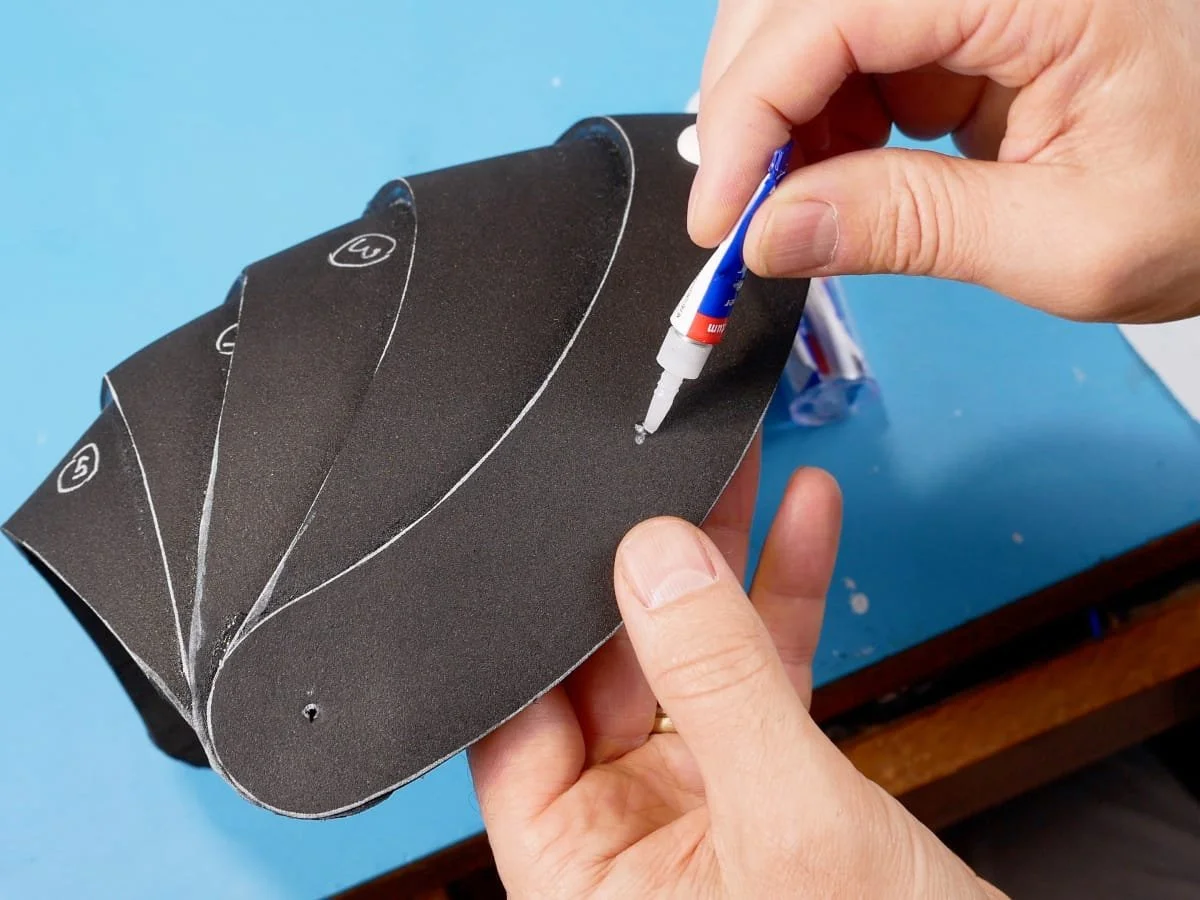
Applying a dot of super glue where the rivet will go
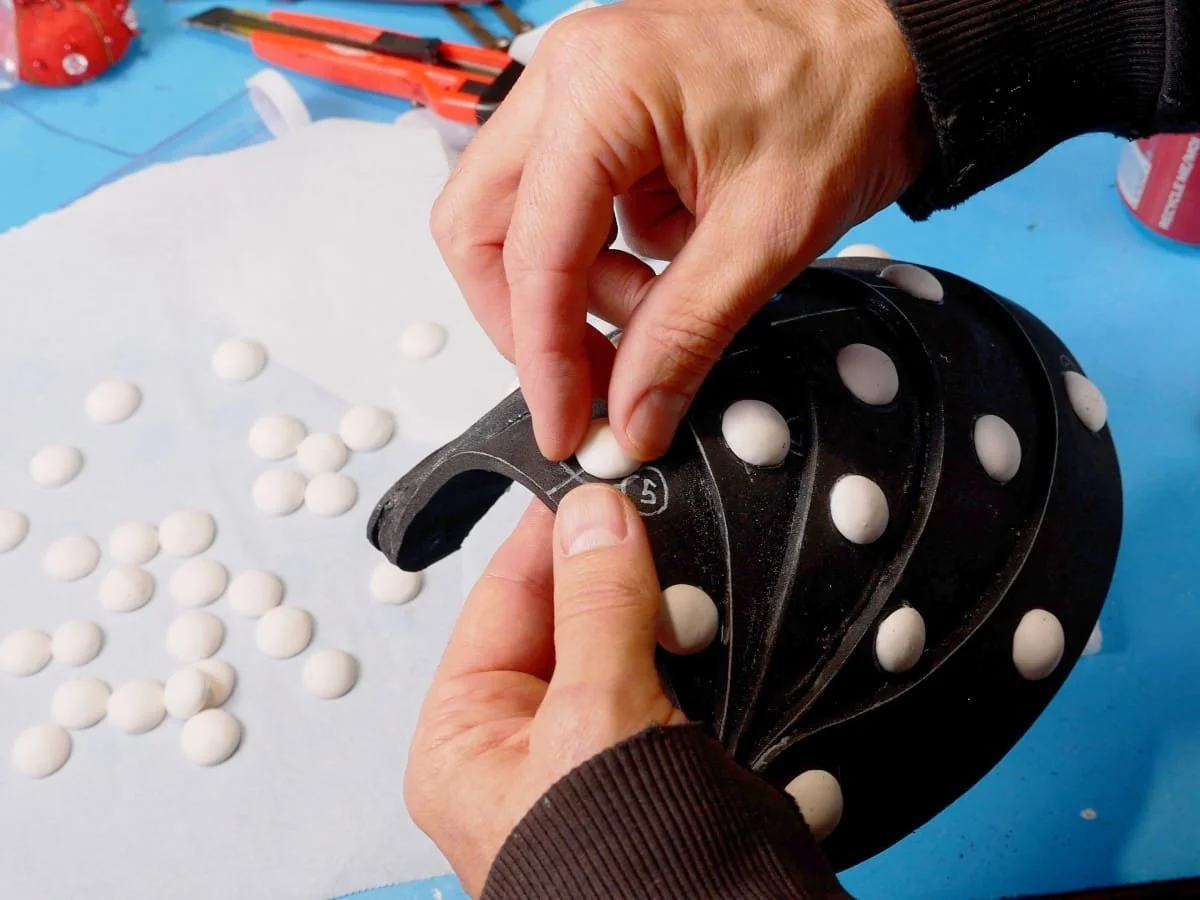
Press the rivet in place
Step 11: Paint them Up
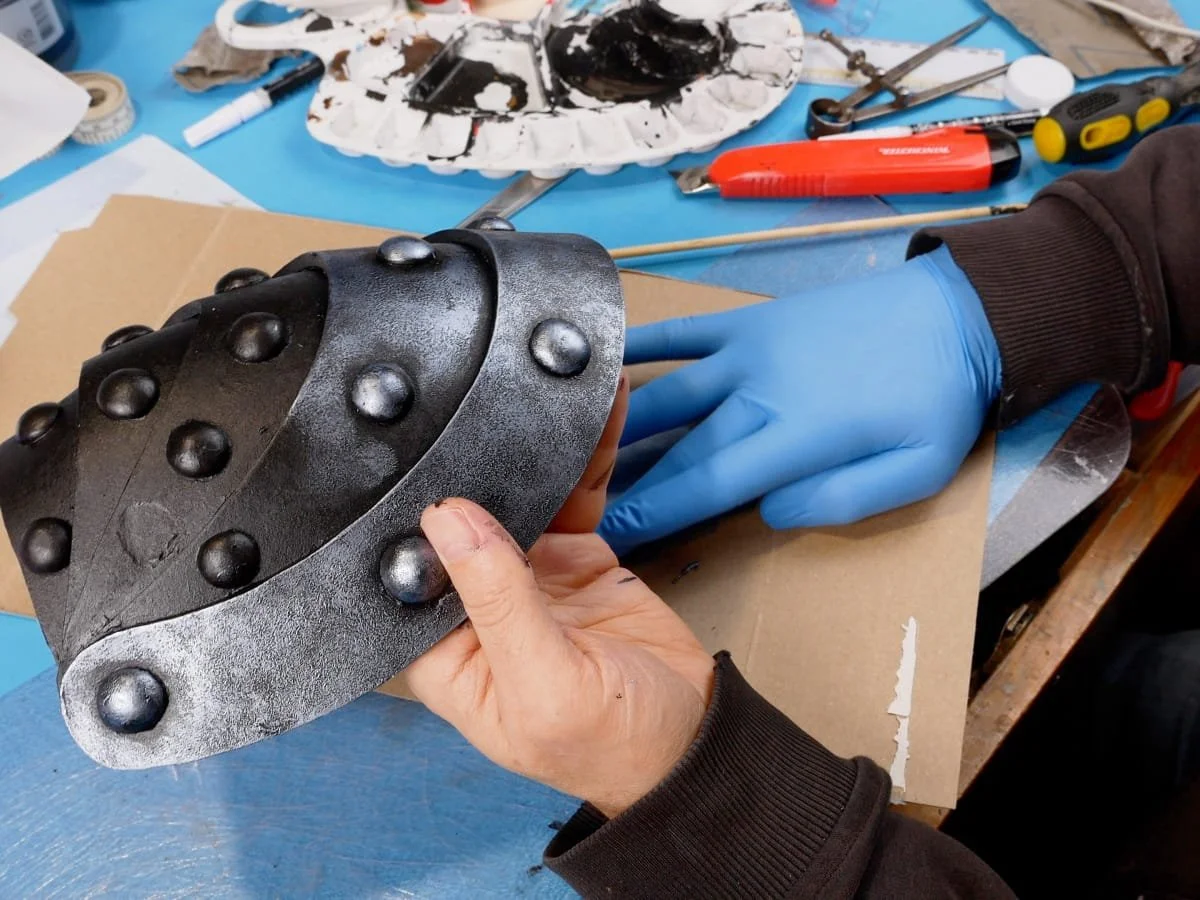
My painting technique is to first lay down a fairly thick layer of black artists acrylic paints- they are a little more flexible than cheap latex paints. Make sure to give 3 good coats, letting it try between coats.
After you have a good black layer you can use a little silver paint on a piece of cardboard, rub your finger in it and then gently apply it over top of the black.
I have a really good video that goes into much more detail and I’d recommend watching that so you can get a perfect result! : Painting Video
Step 12: Done!
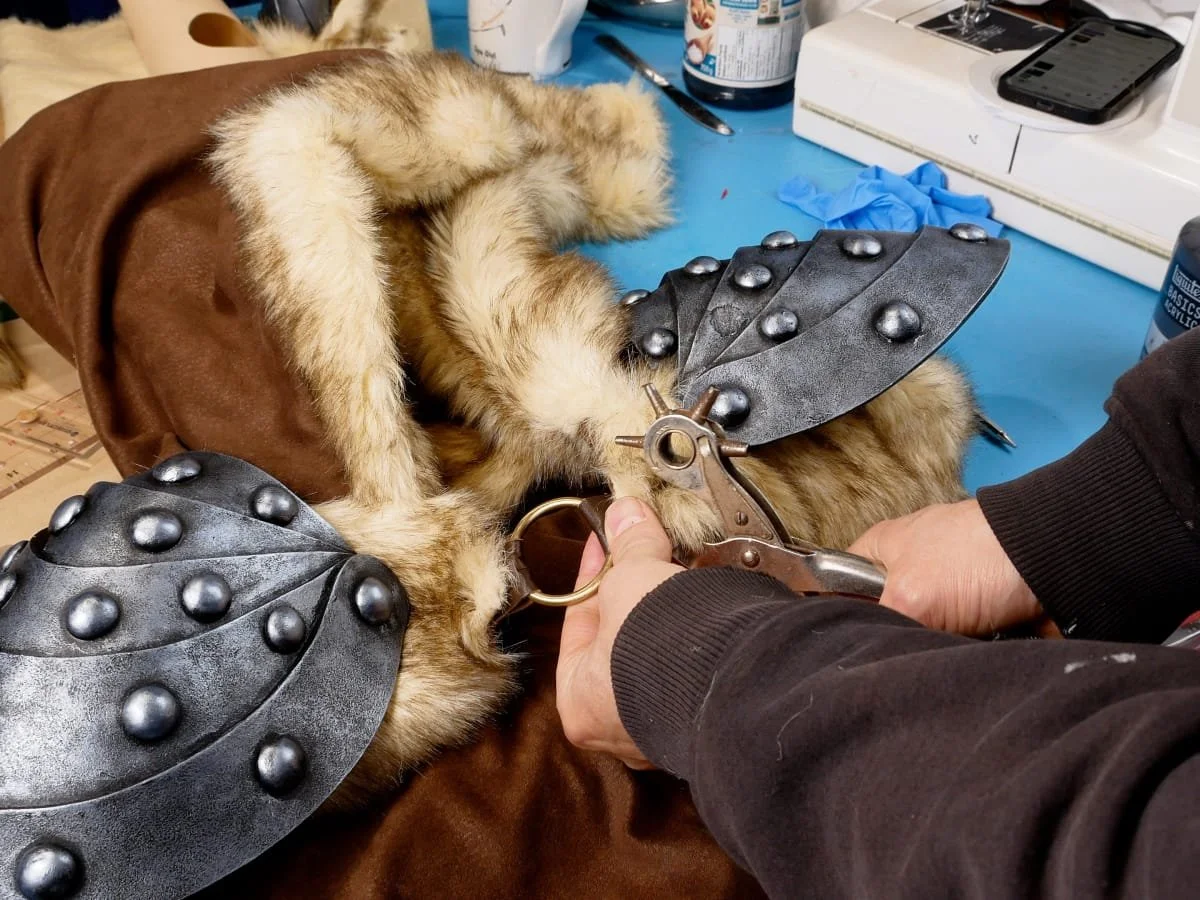
Nice work, you’ve finished your pauldrons! I have a video where I show how I attach them to the hood for my Astrid costume. You could also watch my knight video here to see how I mount my pauldrons for the knight armour.