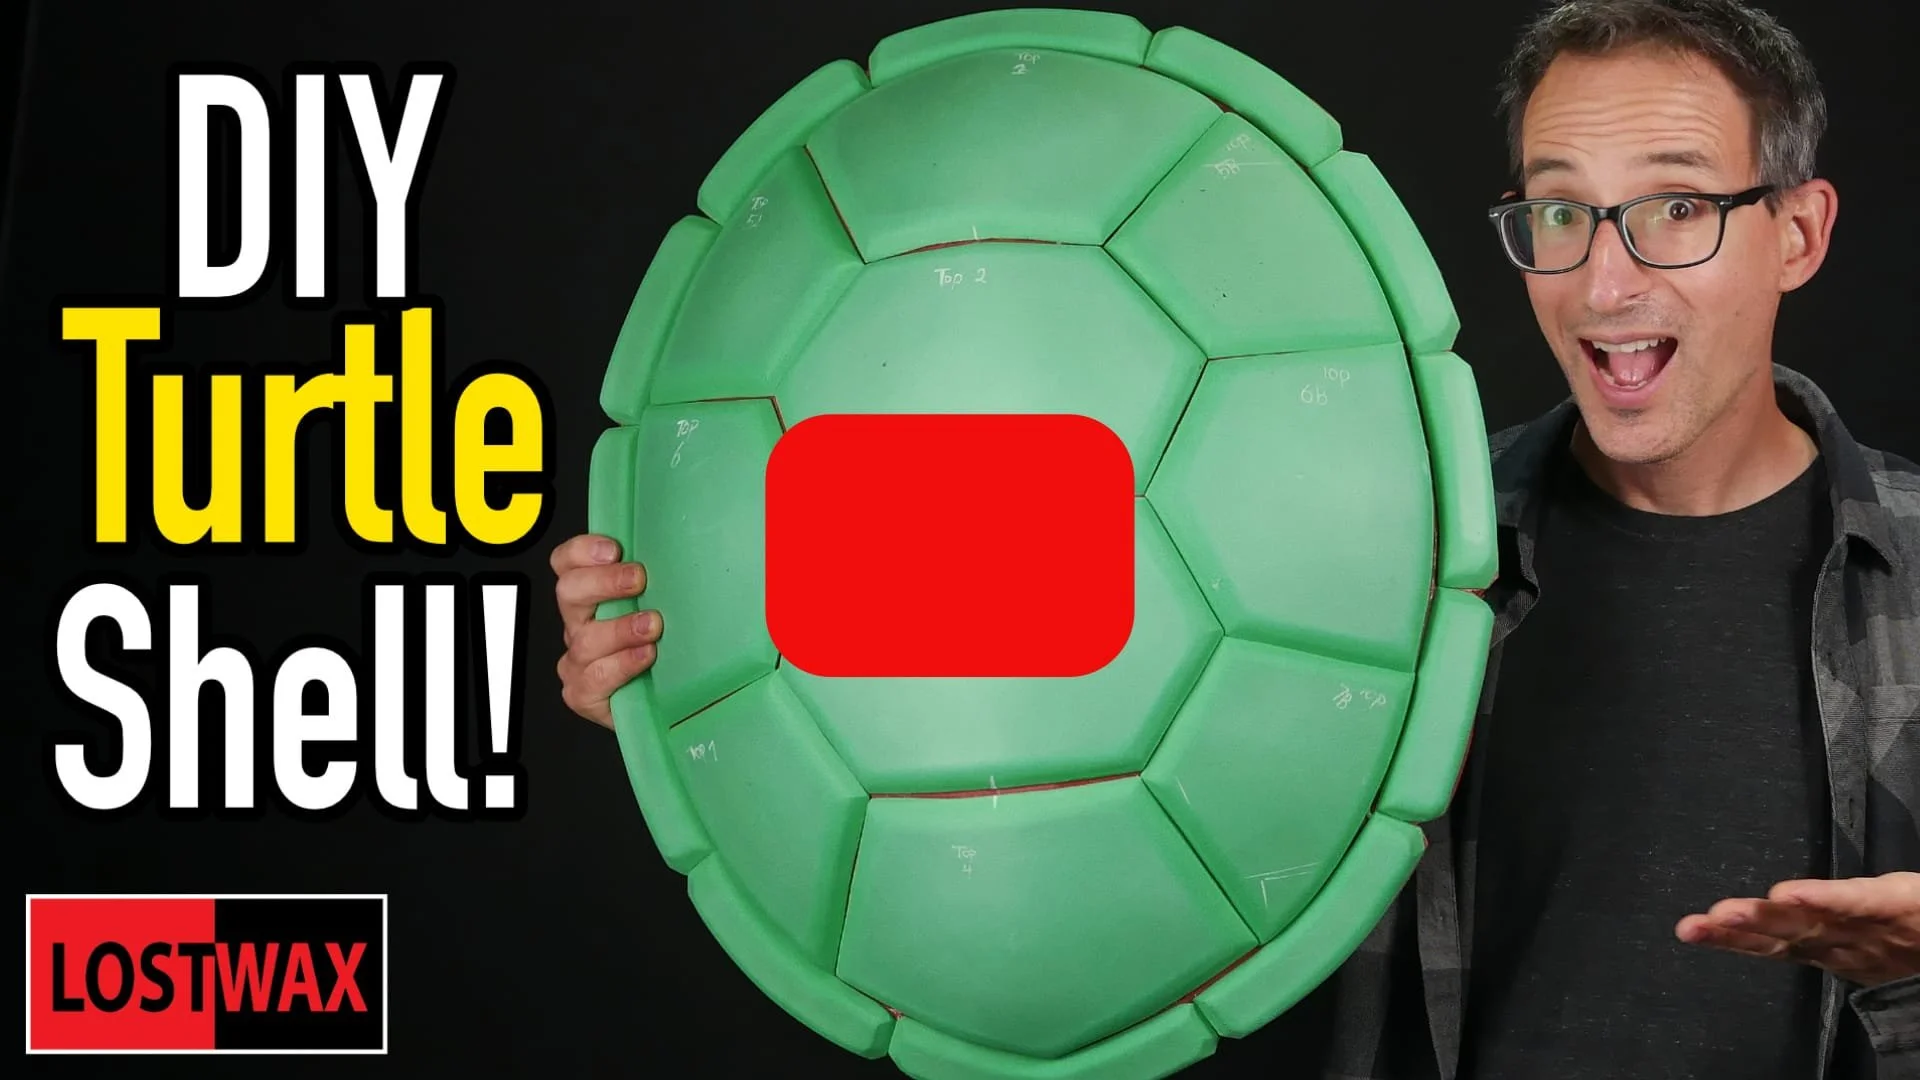
DIY Ninja Turtle Shell From a Foam Mat!

When I started designing this turtle shell costume, I had no idea how many turtle characters there are! You’ve got the Teenage Mutant Ninja Turtles, Bowser, Bowsette, Koopas, Squirtle, and finally, just a regular, normal, happy little turtle. It's a simple but impactful costume piece that can be used in so many different ways.
In this tutorial I'm going to show an overview of how to transform a couple of puzzle piece EVA foam mats into a stunning turtle shell that will get tons of comments from pretty much everyone who sees it! If you want to get more in depth information, there are 3 videos that cover it all in detail. I’ll post them at the end of this tutorial.
The templates I use in this instructable are available from my website and they include 4 shell sizes as well as 5 plastron sizes -yep, that's the front part of the turtle shell.
Supplies
Pattern: You can find it on my website Pattern Shop. When you print it, measure against the print guides to know the scale is correct. ** When printing, make sure scale is set to ACTUAL SIZE** Because I make my patterns to work on both A4 and U.S. letter paper, often Adobe Acrobat will try and shrink the pages a little bit.
Silver Gel Pen or Paint Pen: Used for any markings on the foam. If you use a ballpoint pen or sharpie and then try to paint over it with a light colour, the pen ink will migrate through the paint and you will never be able to cover the lines!
Scissors
Ruler
Very Sharp Knife: If it is not really sharp you will have a terrible time when you are cutting the foam. I use a utility knife for this project. Use a brand new blade.
Cutting Surface: Somewhere to cut where you won’t be destroying anything.
24” Square EVA foam Interlocking Mat: Shell- size extra small and small will require 2 mats, medium will require 3, large requires 4. Plastron- one mat is enough for each size
Glue: I used both contact cement and hot glue in the video, and I think this works great, however you can use either type of glue exclusively if you’d like. They both have plusses and minuses, - I will go over that in the instructions.
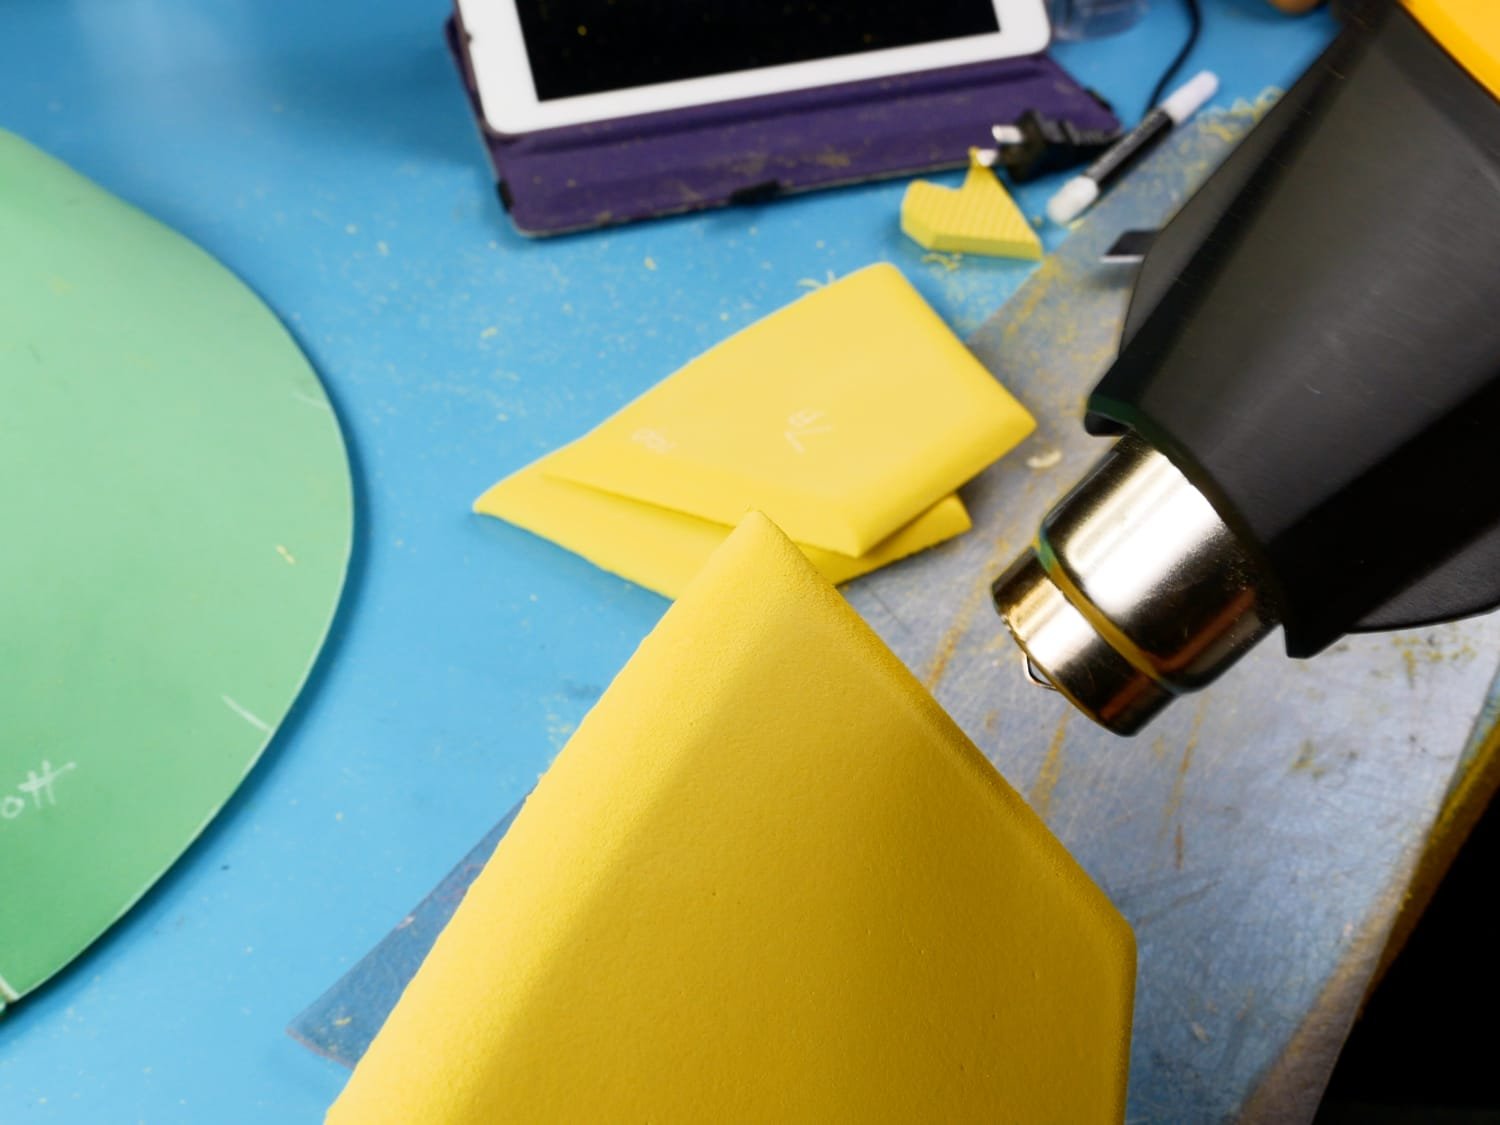
Heat Gun or really hot Blowdryer: Used for heating and forming the foam.
Gluing Surface: A surface that you don’t mind getting glue on. A silicone baking sheet is great because hot glue doesn’t stick to it.
Paint: Artists acrylics work reasonable well, though they can crack over time. If you want a really durable, long lasting finish, I would suggest using a flexible paint, such as Plaid FX paints.
Rubber Gloves: To wear while applying the contact cement or paint.
150 grit Sandpaper: Used for rounding off the edges of the foam pieces.
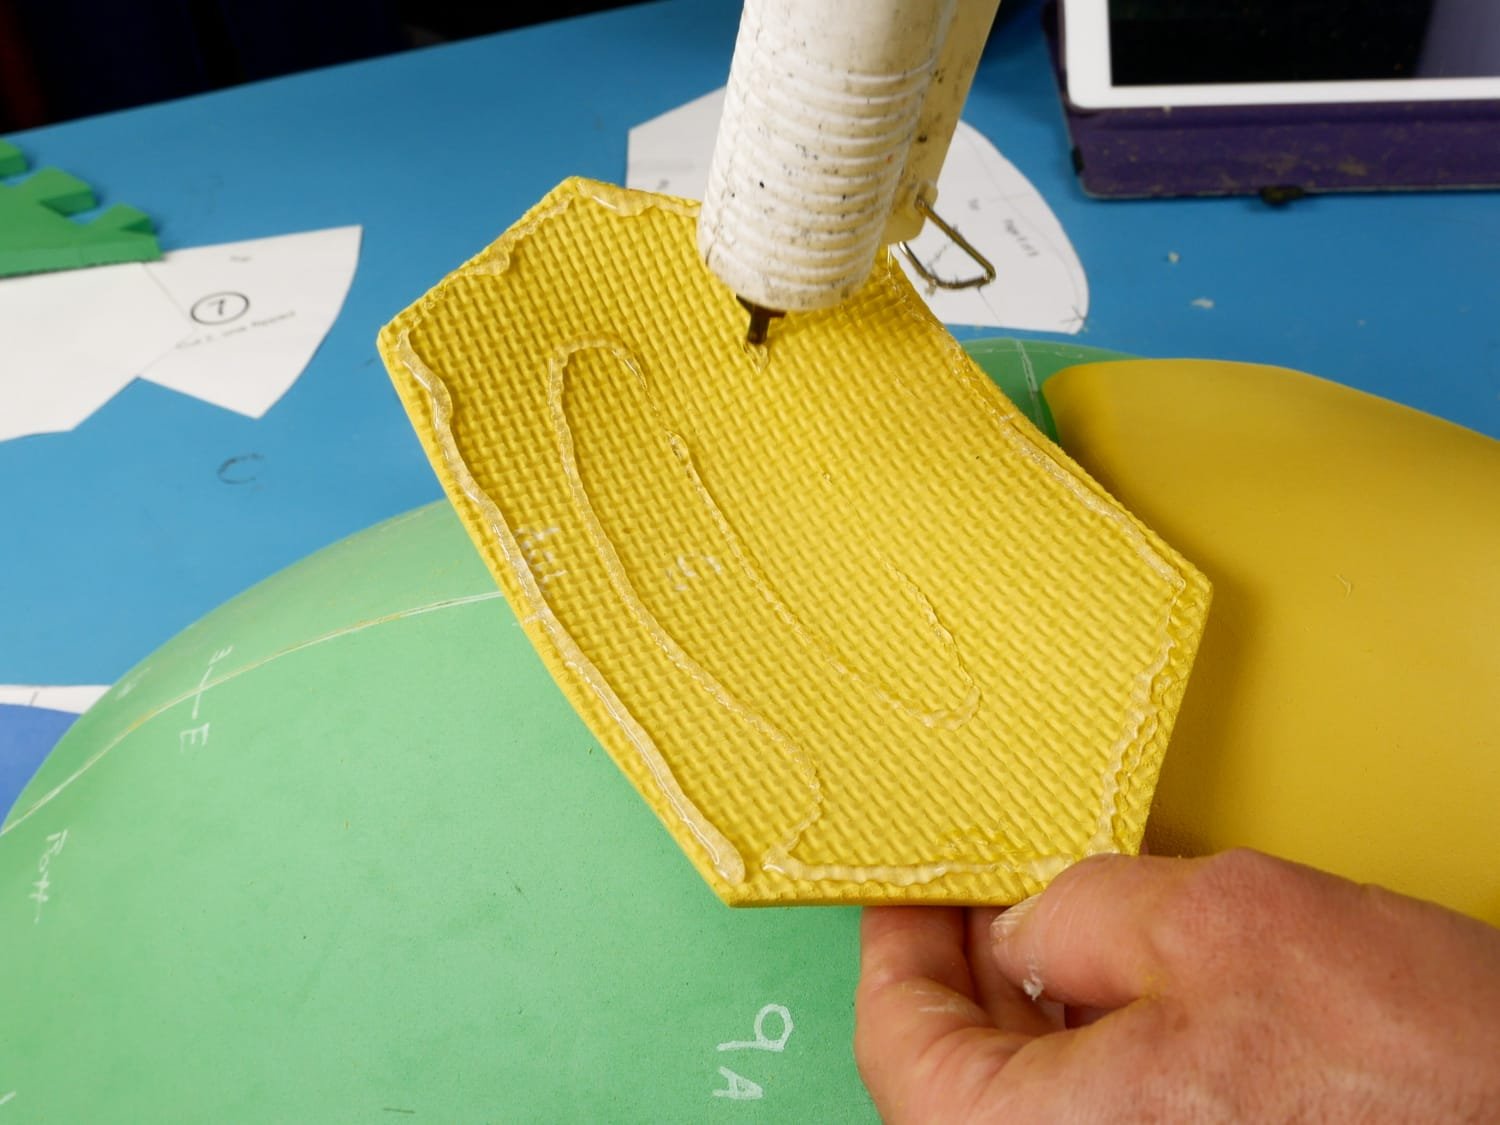
Latex Caulk (optional): Used for adding texture to the shell plates
Wire (optional): Used for texturing plates. The wire I used was 2.5mm diameter telephone wire.
Find Some Foam
The main ingredient to make your turtle shell is going to be a couple of those puzzle piece floor mats. You’ve most likely seen them at a gym or kids play space or possibly in the corner of your basement somewhere:) They are typically made from EVA foam, have a texture on one side, and are somewhere around 2 feet wide and 10mm thick. I tend to keep my eyes out for them at thrift stores, where I can usually get them for under $1 a piece.
Put Together the Pattern

Taping the pattern together on the window
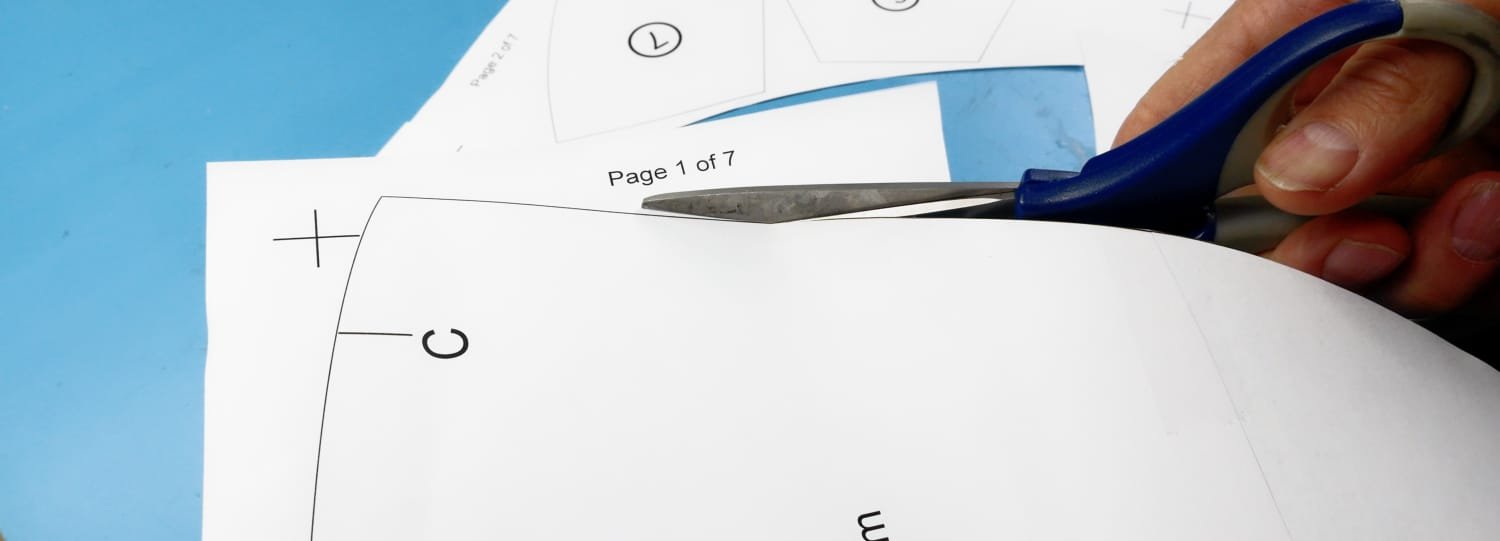
You can print the pattern at home on your printer, Just make sure it is set to print at actual size. Once the pages are printed out, you need to tape them together. I have put handy crosses on the corner of each page, so just overlap the pages until the crosses line up and then tape the pages together. I like to do this on a large window so that I can see through the pages easily, but you can also use a glass table with a light under it, or even a large computer monitor with a bright white screen.
Once you’ve taped the pattern together, you can cut out the pattern pieces.
Trace and Cut the Shell Base

The next step is to trace the shell base pattern pieces onto your foam mats. I like to use a fine tipped white paint pen, because if you use a sharpie or ballpoint pen, the ink will bleed through whatever paint you paint over it with.
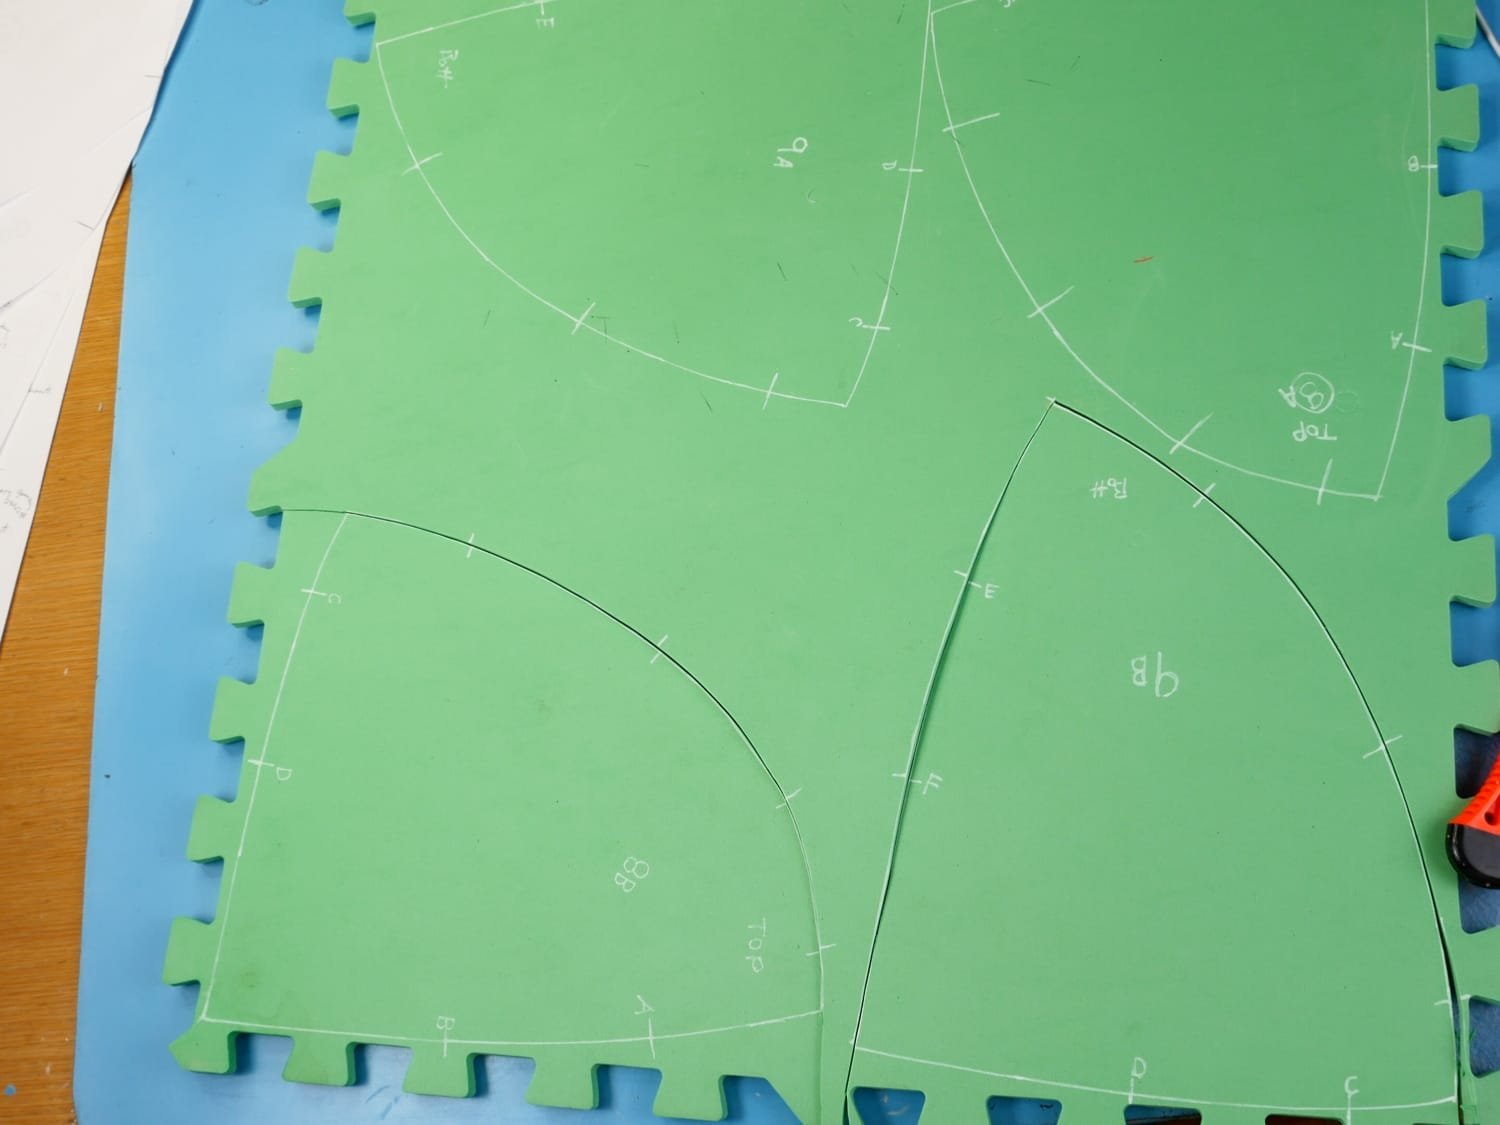
The shell base consists of two pattern pieces, but you will trace each one twice- once right side up and once flipped over. Make sure to do a test fit of the pattern pieces on your foam mat to determine the most efficient layout.
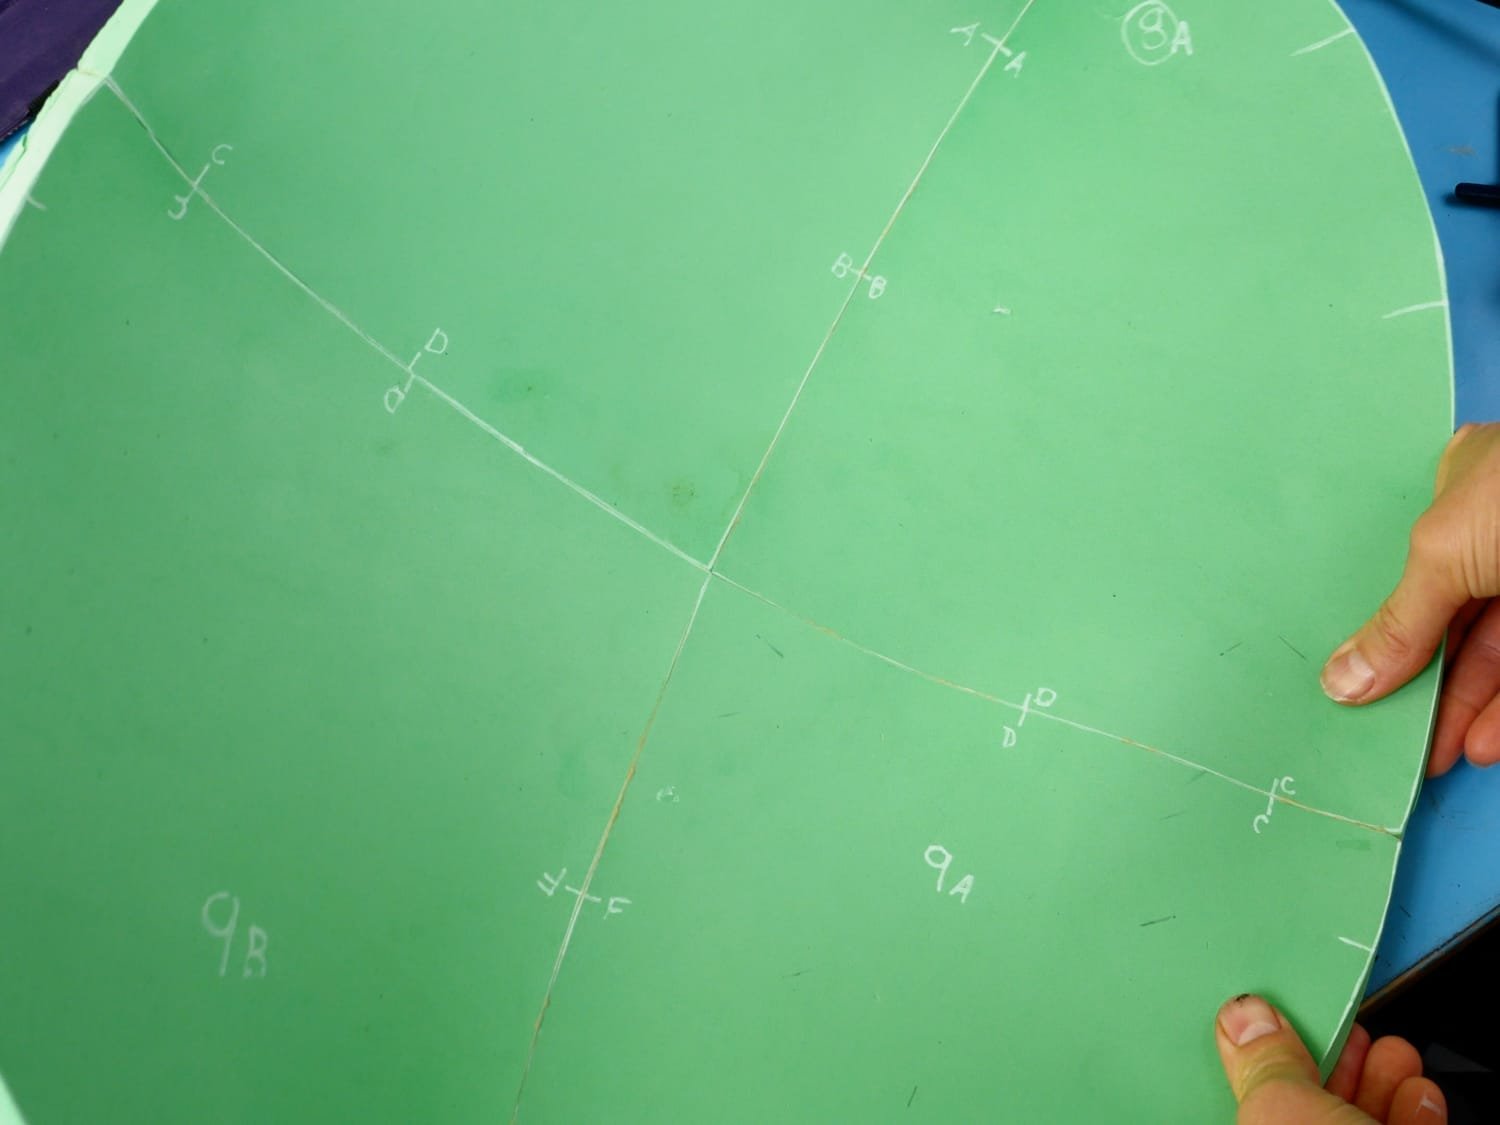
Now you can trace around the pattern pieces, making sure to mark all the handy little alignment lines, and then extending them inside the outline when you remove the paper pattern piece.
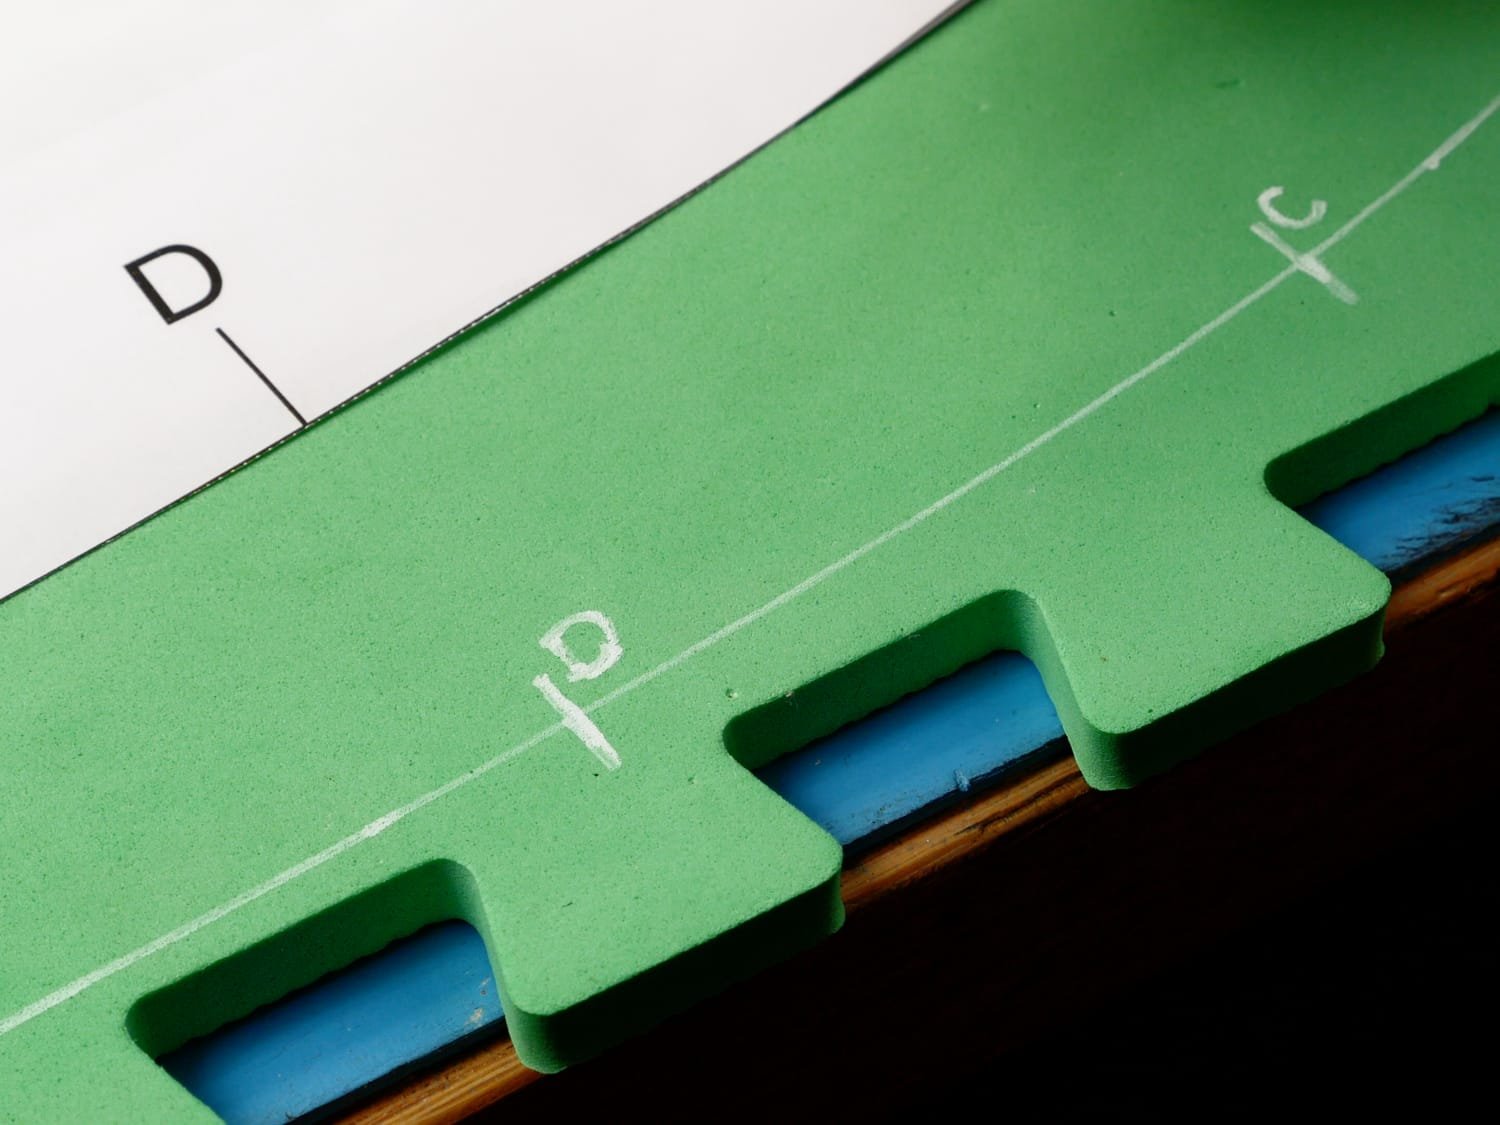
Make sure to extend those alignment marks!
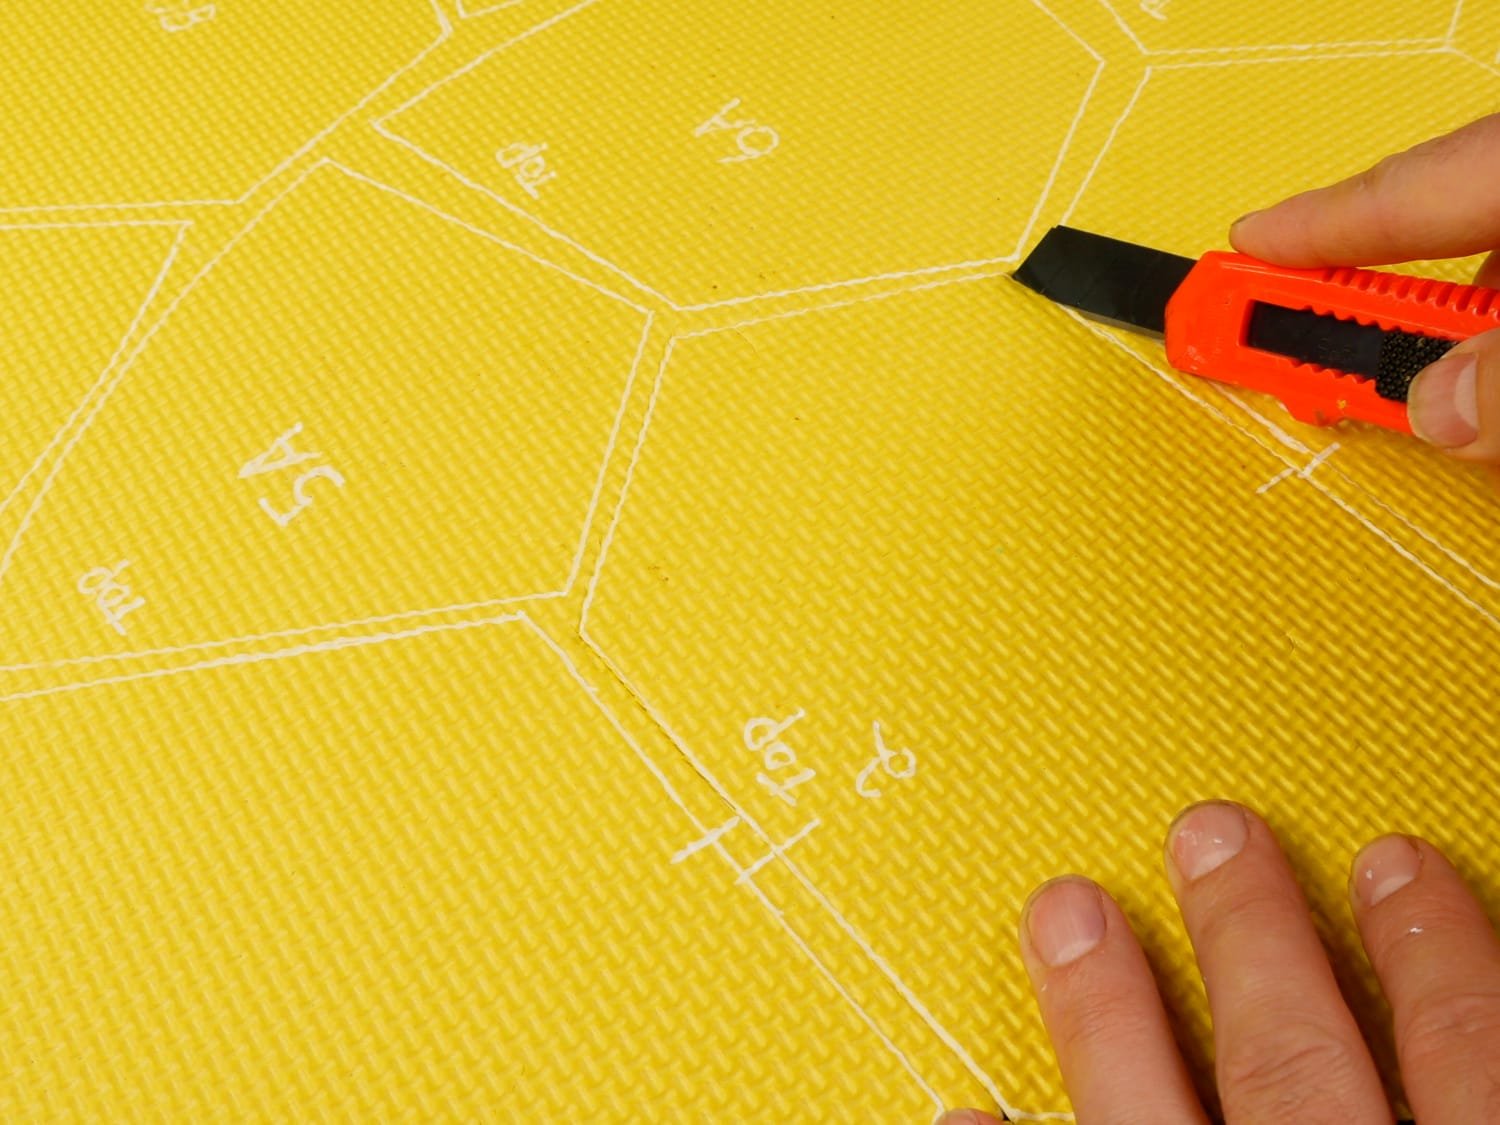
It’s Cutting Time!

Cut directly on the lines you marked
Okay, I know you just want to start cutting, but take a moment to contemplate the sharpness or lack thereof of the knife you are about to use. If you have a slightly dull knife blade and love frustration and ugly turtle shells, by all means, go ahead. If, however you want to have an enjoyable time making your ninja turtle shell, I would advise getting a brand new blade or learning how to sharpen the one you have. Trust me, it’s worth it!
With your super sharp knife in hand, cut all the shell base pieces out, cutting directly on the traced line. It often works better to do a couple shallower cuts along the same line rather than trying to force your way through the thick foam in one cut.
The shell base for size small and extra small fit on one mat.

Gluing is So Much Fun
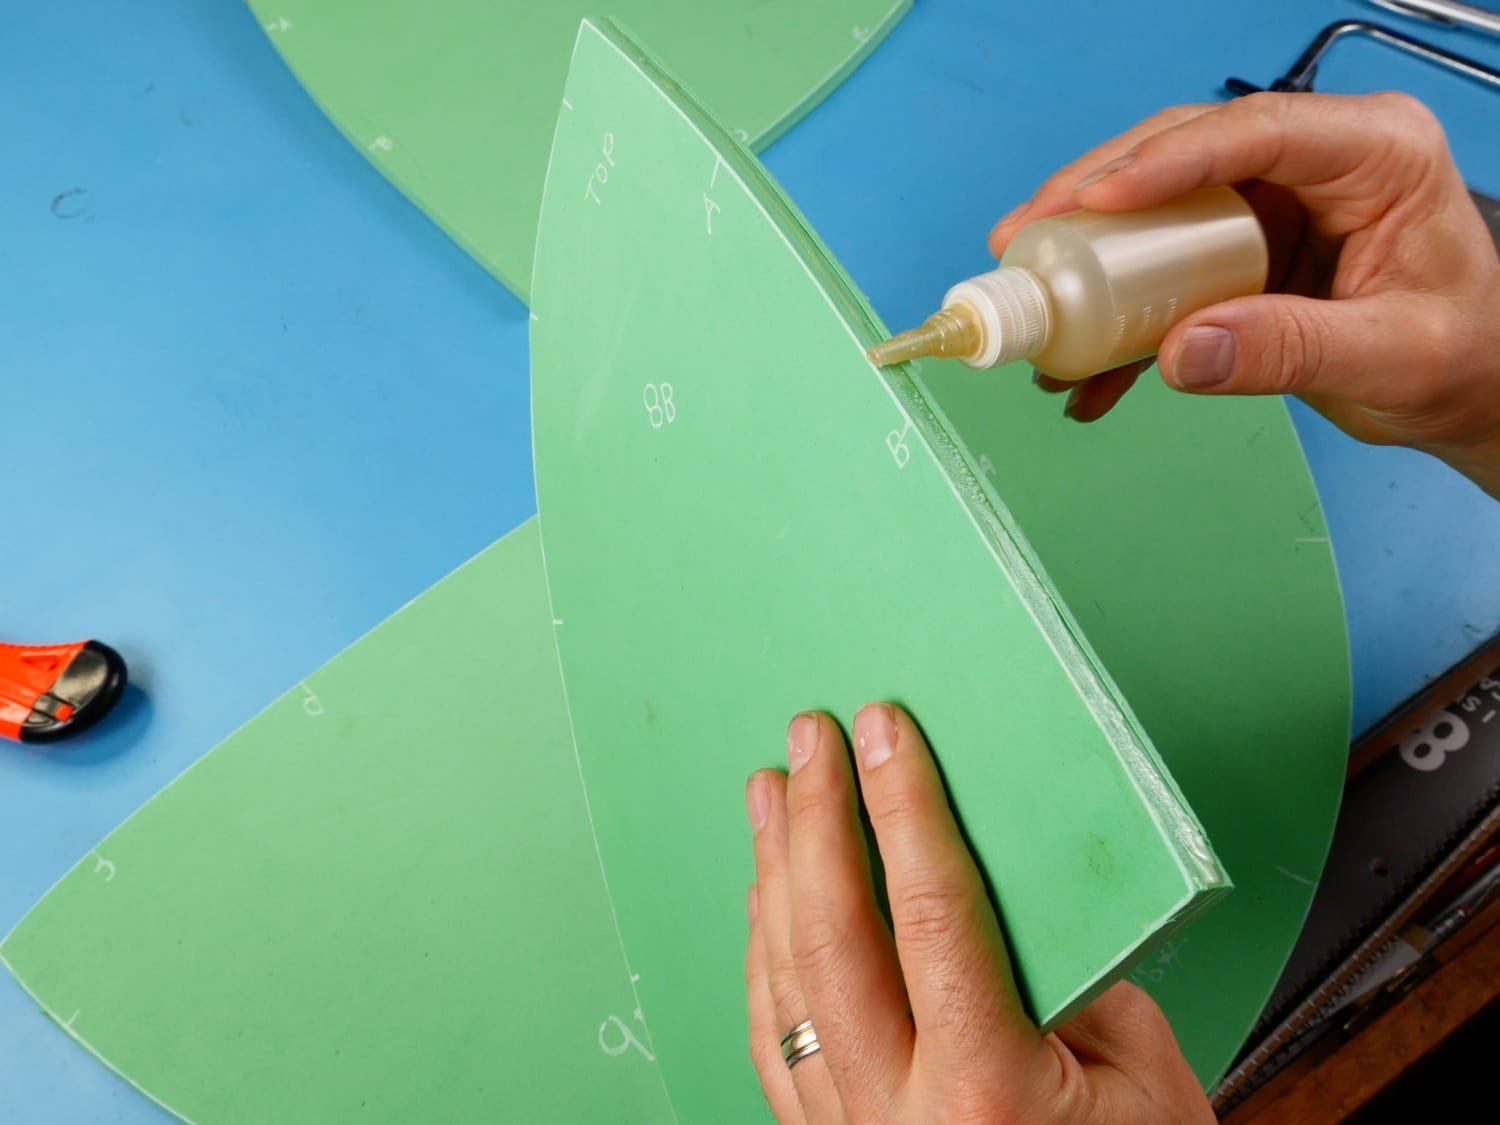
Applying contact cement to edges
I won’t go into the intricacies of the different types of glues you may want to use, as I cover that in the instructions. Basically it is your choice between using a more toxic but faster and slightly better glue (contact cement) or a slightly harder to use but easily accessible and more enviromentally and health friendly glue (hot glue)
Whichever you choose, it is now time to glue the four shell base pieces together to make the….Shell Base!!
Line up those handy alignment marks (you did mark them right?) and start gluing. Pretty soon you’ll have a nice, bowl shaped chunk of foam.

Let’s Make Some Plates
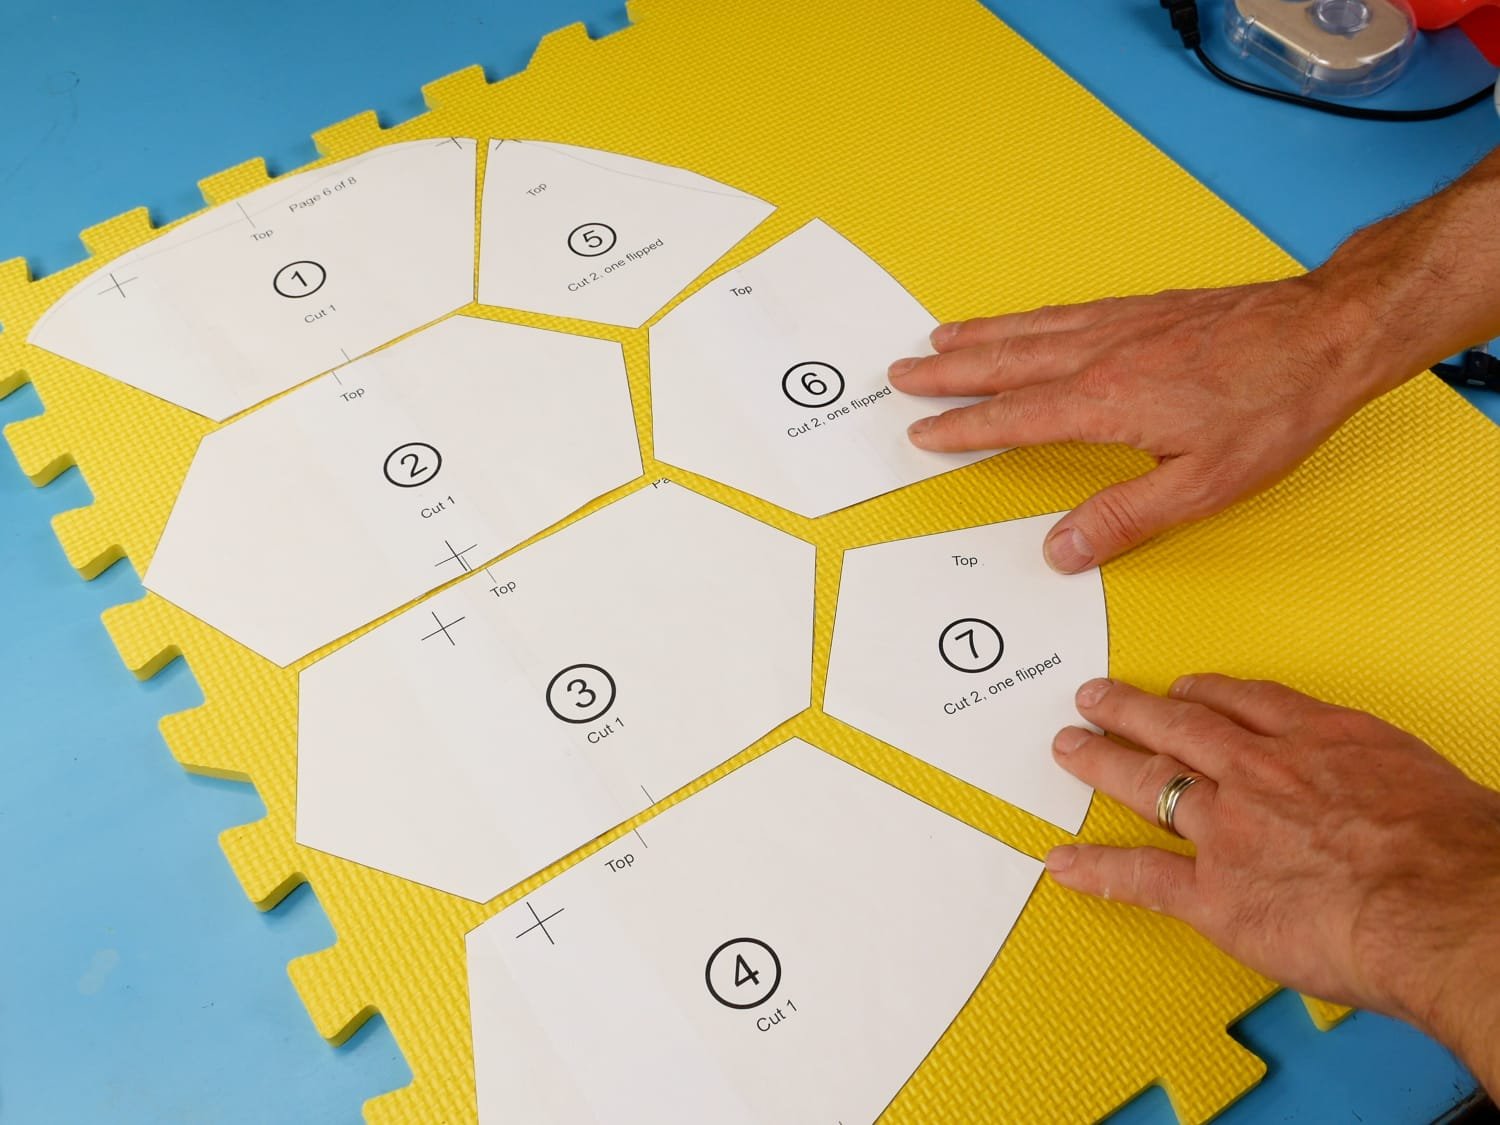
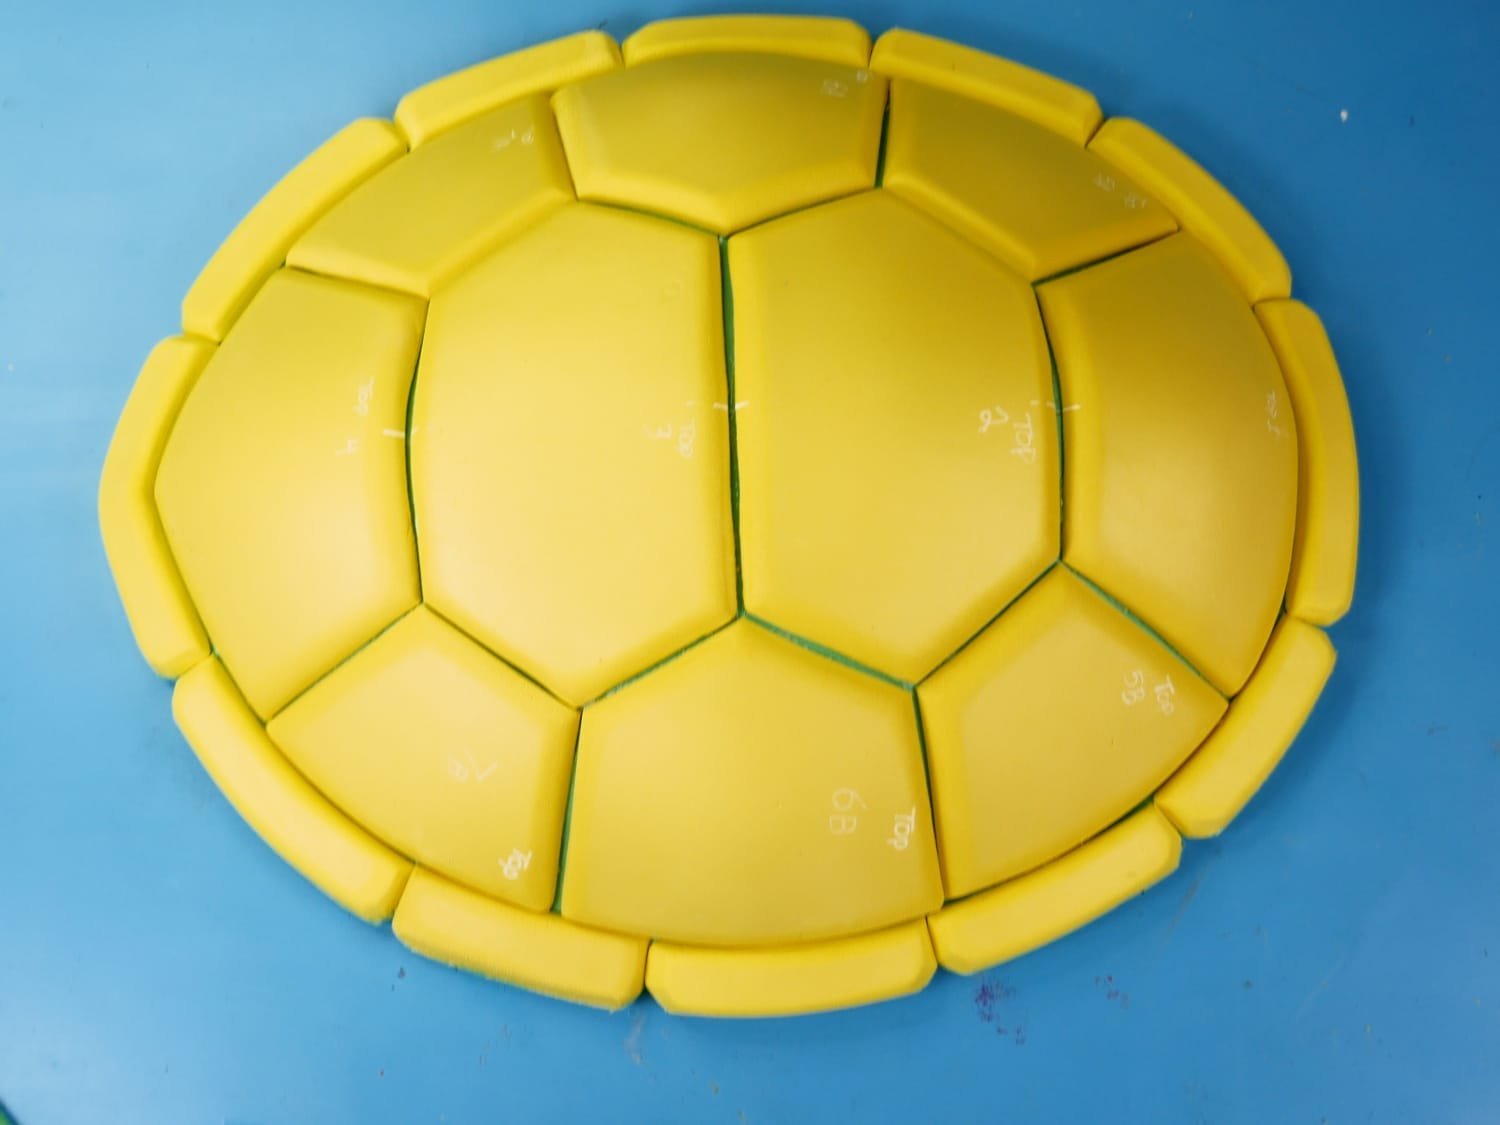
Plate layout. Notice it is on the textured side.
Now it’s time to make the plates that will go on top of the shell base. Grab a floor mat and lay out the plate patterns on the textured side of the mat. It’ll be a little harder to trace over all that texture, but it’s important if you want everything to work! Three of the plates need to be flipped over and traced a second time, so make sure to leave room for them.
The reason for tracing the plates on the back side of the foam is that when you cut them out, you will angle the knife blade so that the cut creates an inward leaning bevel on the plate once it is flipped right side up.

Sanding…It’s the Worst.

Maybe some people like sanding things. I have done it enough in my life that it seems to have lost its magic. I do, however, love the magic of beautiful rounded edges and smooth curves. In this case, I’m gonna take the hit and spend some time sanding all the edges of the plates to round them off. This step is completely optional, and both shell styles have their own look.
You can use some 150 grit sandpaper on a wood block and just start sanding those edges. I will say, if your foam is not dense enough, perhaps you are using a cheap camping mat, then the sanding thing is not going to work for you, you’ll just end up with a mess, and messes aren’t that fun. at least not as much fun as….sanding!!
Smoothing edge with heat gun
After sanding, I use a heat gun along the edges to smooth out some of the sanding roughness and then, while still hot, I will form the plates over my knee to give them a slight concave shape.
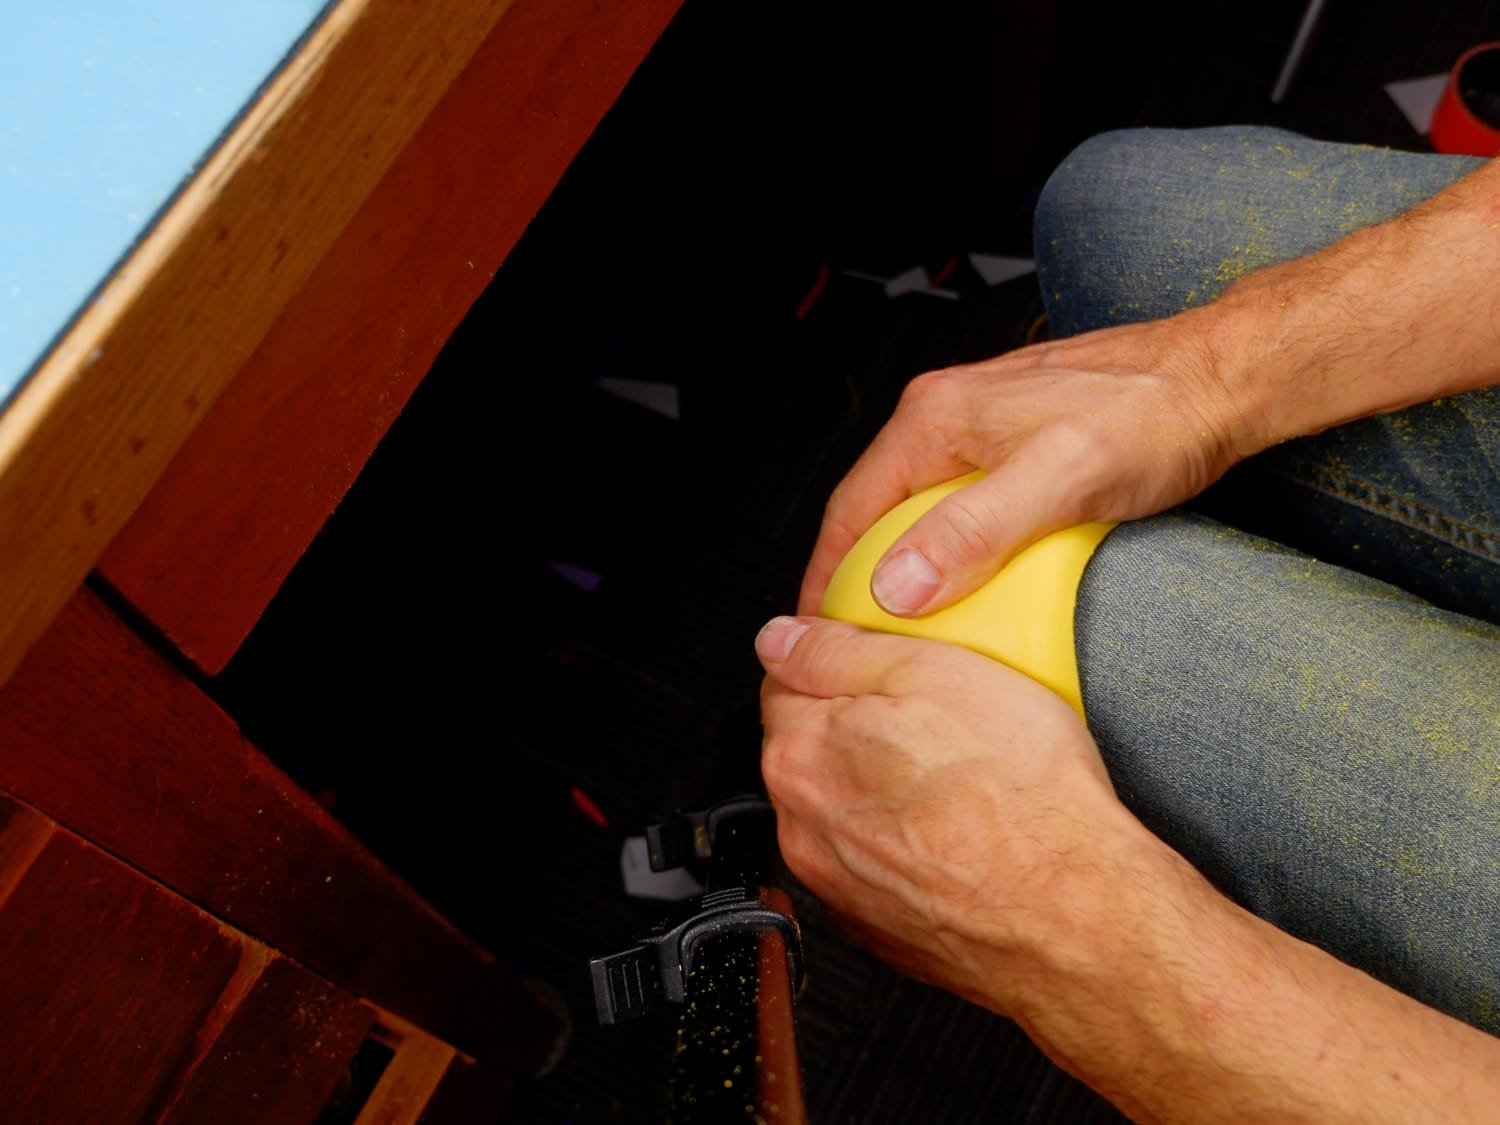
Doming the shell plate with my knee
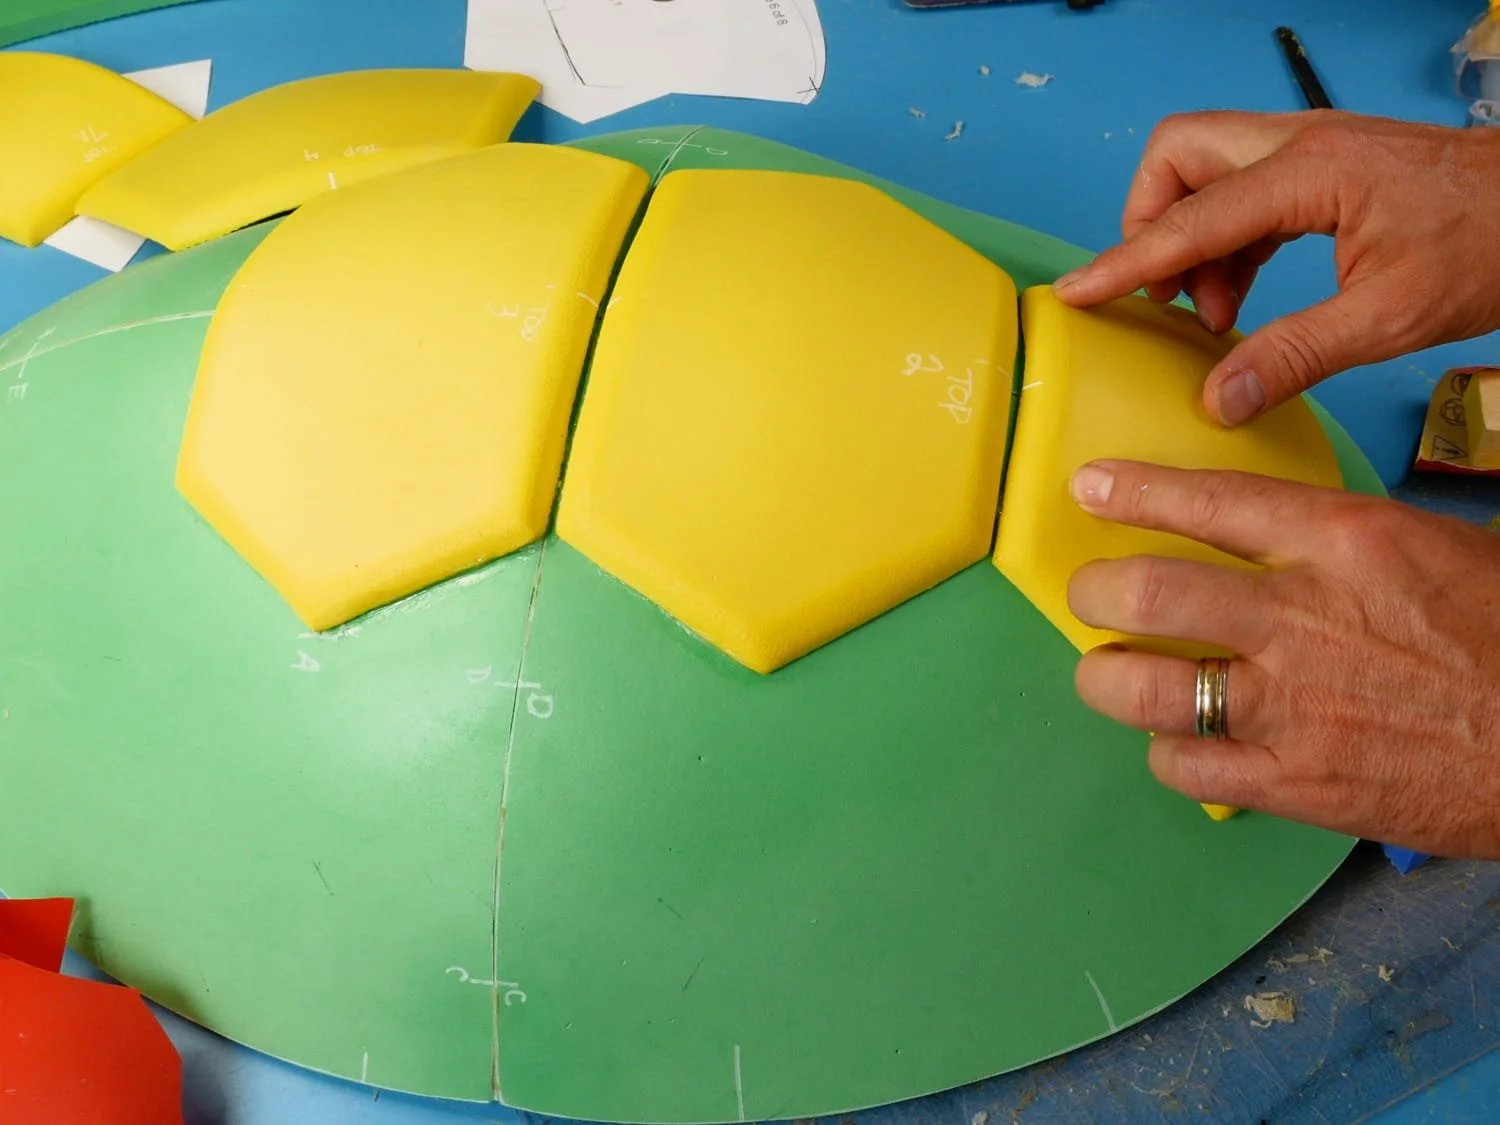
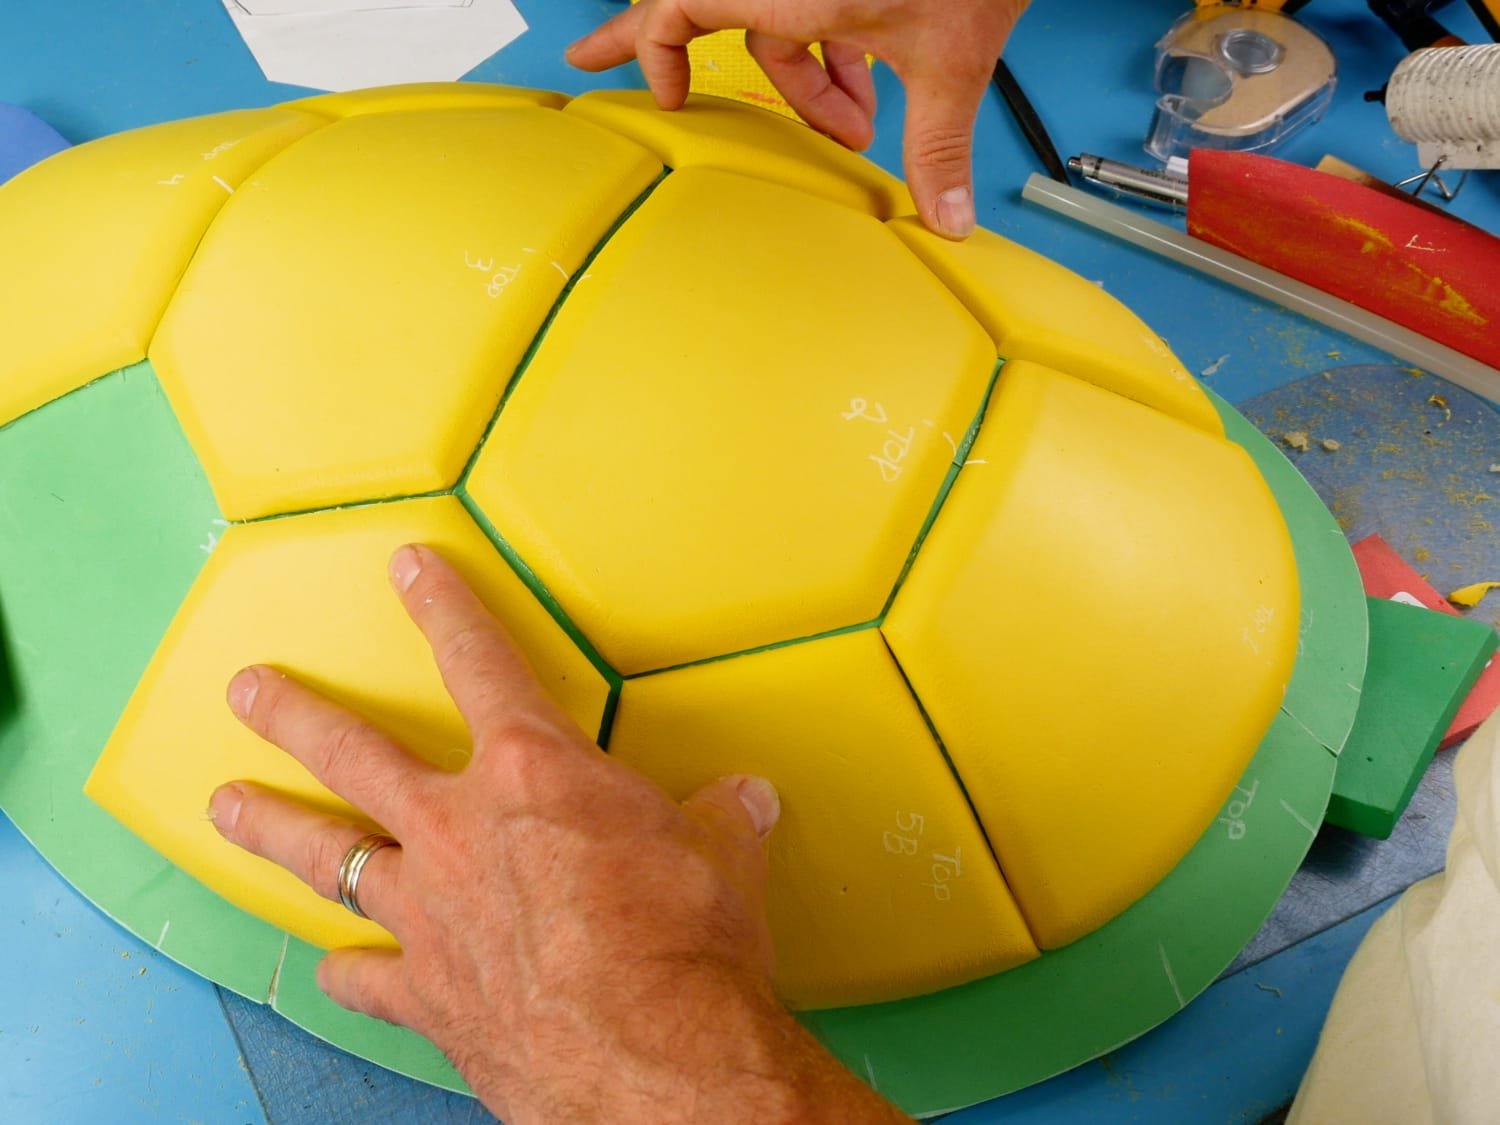
Glue the Plates to the Base
Make sure glue is right near the edge of the plate
Arrange the plates temporarily on the base just to make sure they are all going to fit properly. Then start gluing them down, starting with the two centre plates, and working your way out. I like to use hot glue to glue the plates down. It’s pretty quick, and if I make a mistake I can re-heat the plate, pull it off and reposition it. Make sure the glue is right near the edges and that you hold the plate in place until the glue completely cools.
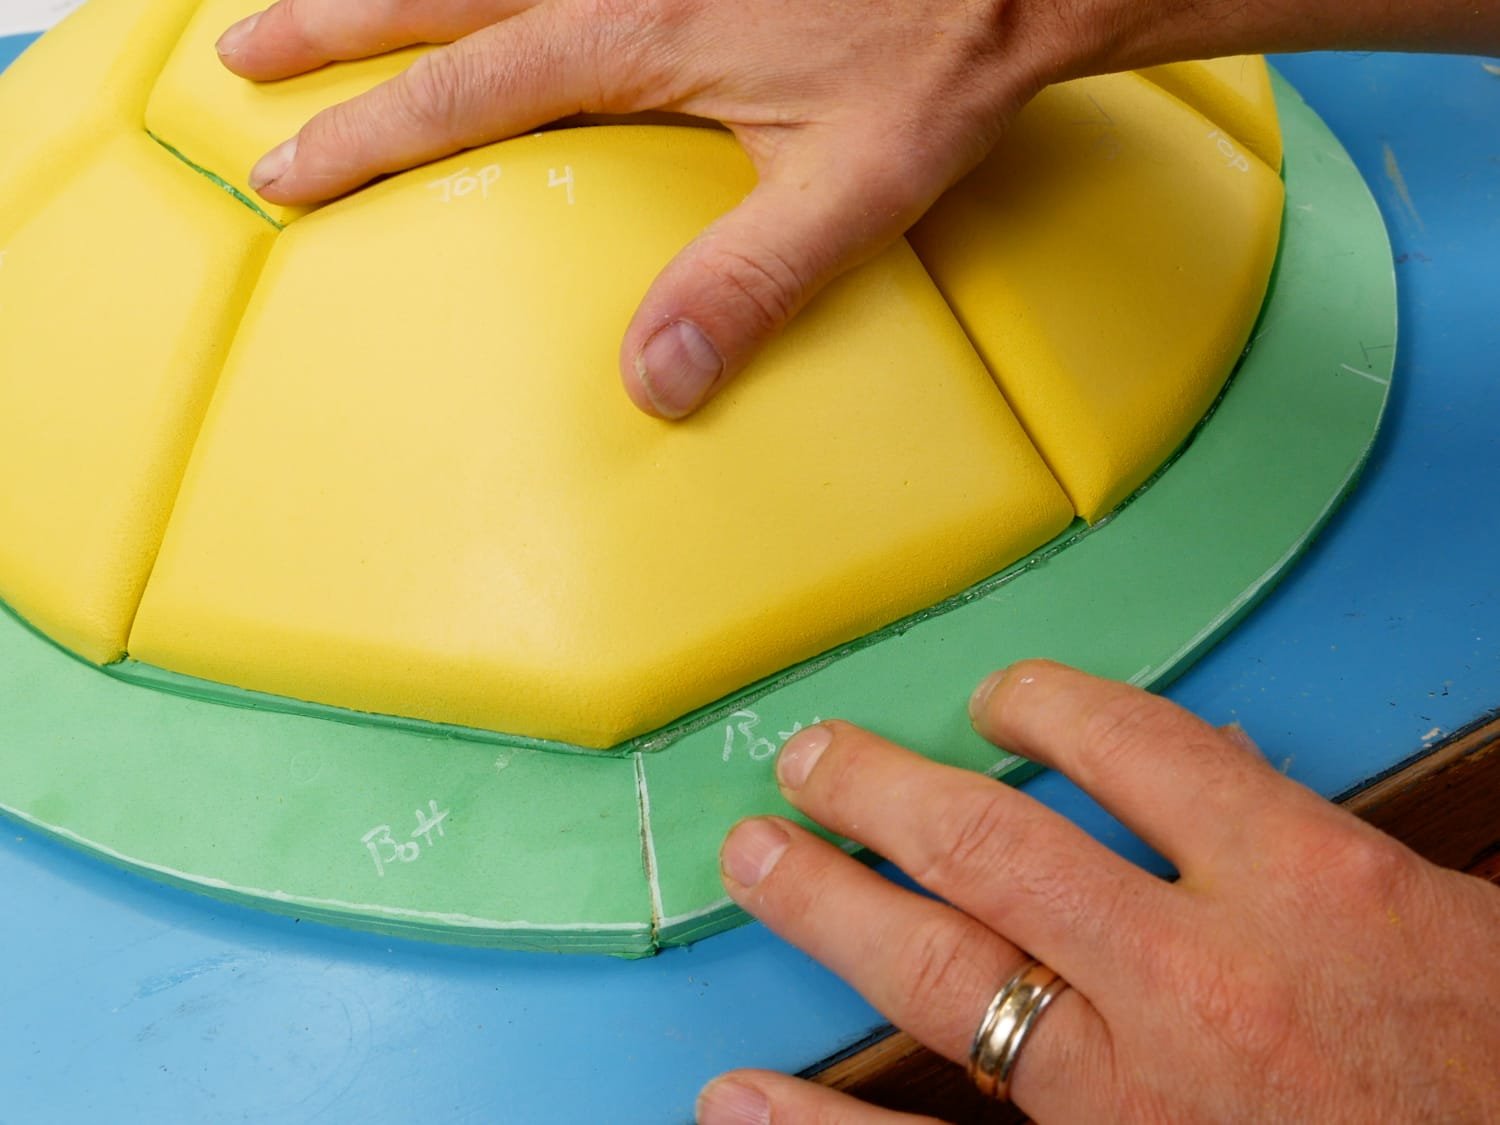
Flare the Rim
You will notice that the plates don’t reach all the way to the edges of the shell base. That’s because we are going to add some long, thin plates around the outside. Before that happens though, let’s change the angle of the shell as it reaches these last plates.
Cut a “V” groove all the way around the shell base, directly under the edge of the shell plates you glued in the previous step.
Apply glue in the groove and then press down on the shell to flare that rim out. Make sure to keep pressure on the shell until the glue has completely cooled.

V cut around the shell
Pressing down on the shell to flare out the rim

You can see the change in the edge of the shell from the V cut and glue procedure
Add Plates to the Rim
Now it’s time to add plates all the way around the rim of the shell. It works best to cut some long strips the right width, and then sand them before you cut them into shorter lengths. Glue those plates all the way around the shell.
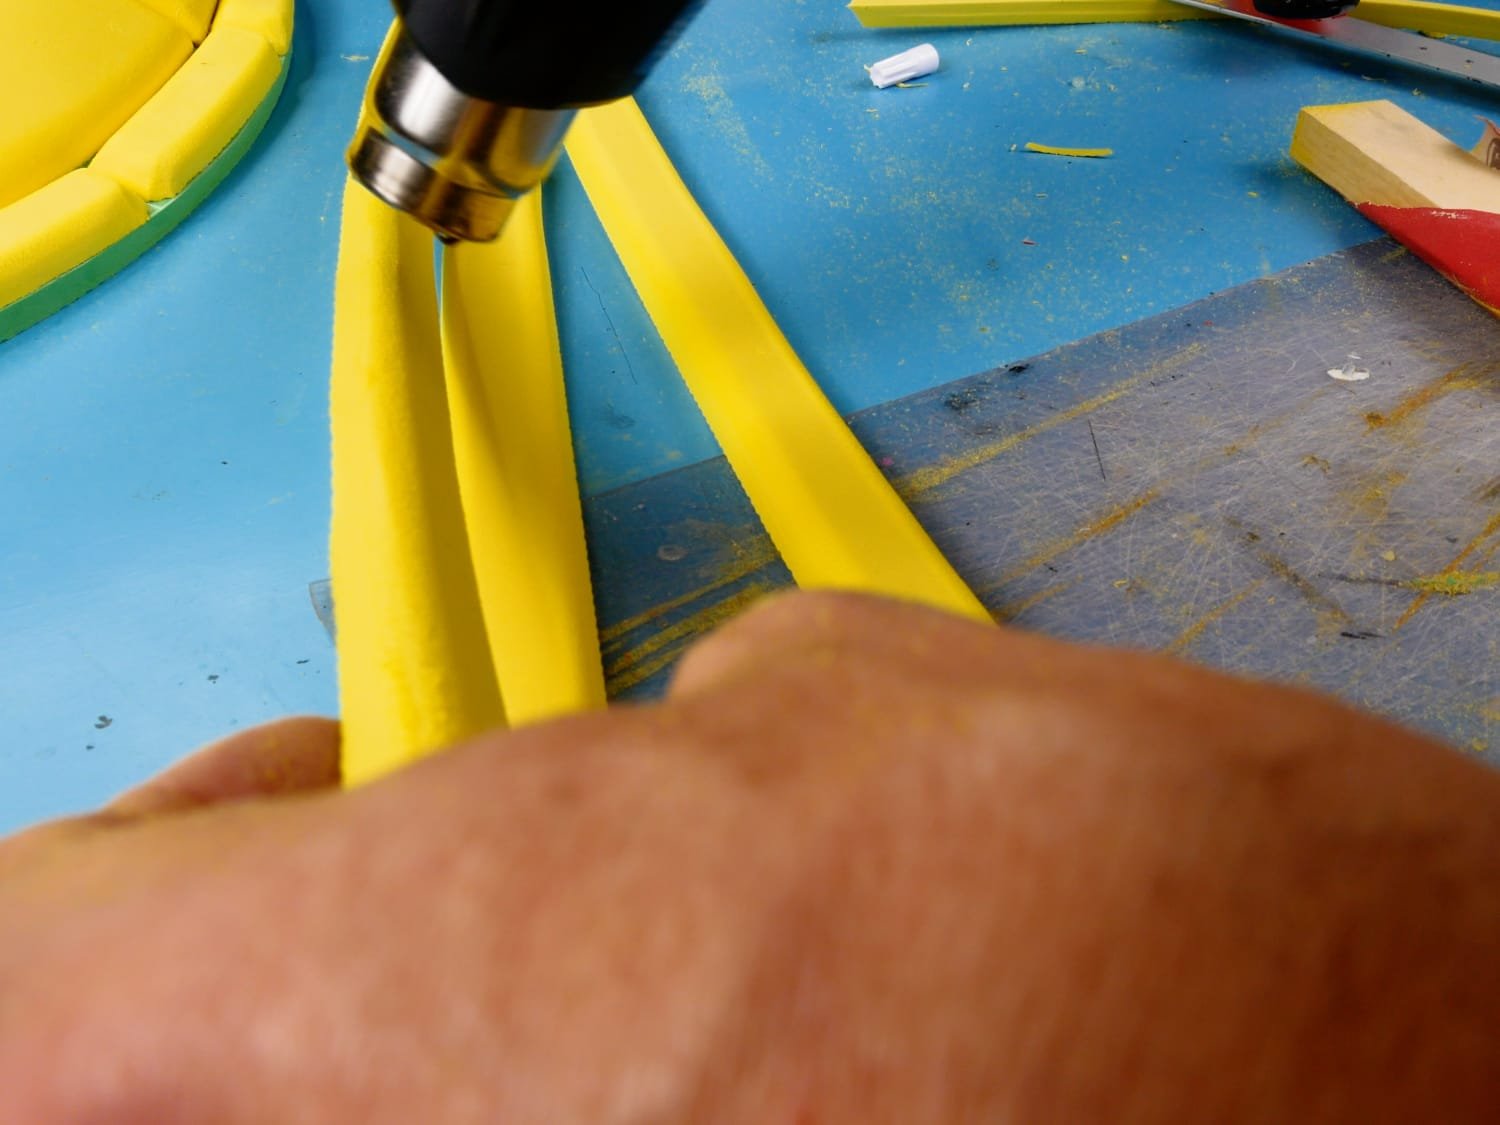
Foam strips, sanded, being smoothed with heat gun

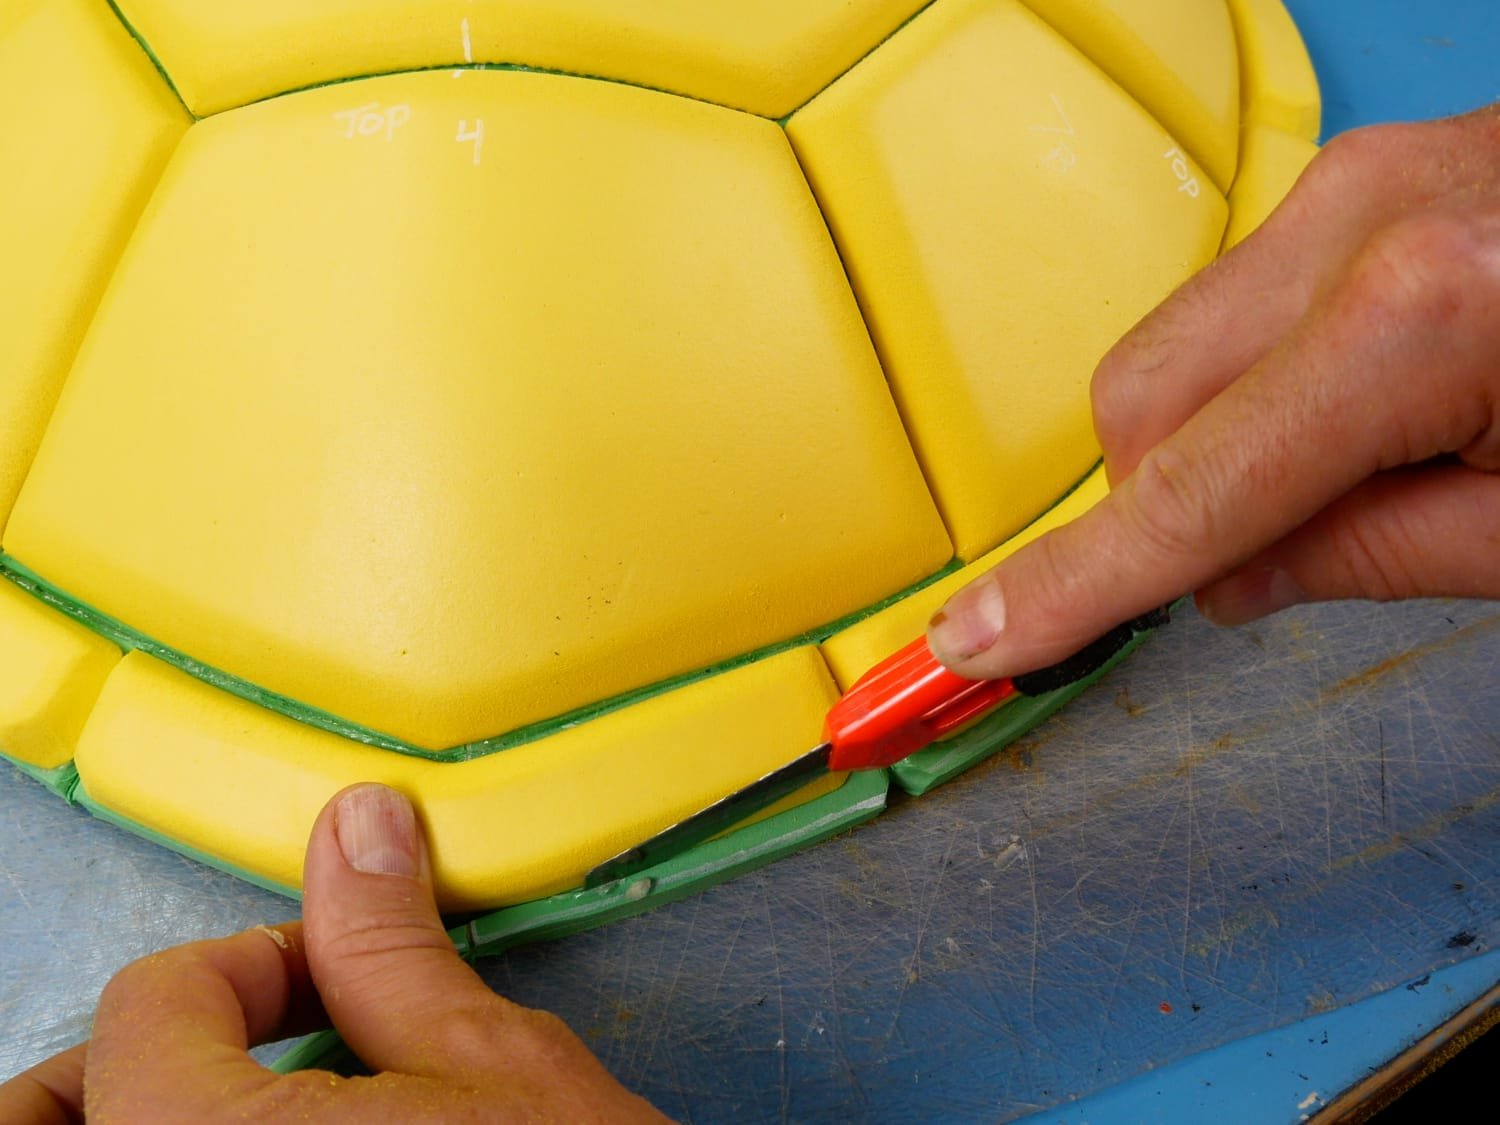
Marking segments to cut

Final Trim
After the edge plates are all added, go around and tim any of the shell base that is still protruding past the plates. You will also want to add V cuts between each rim plate.

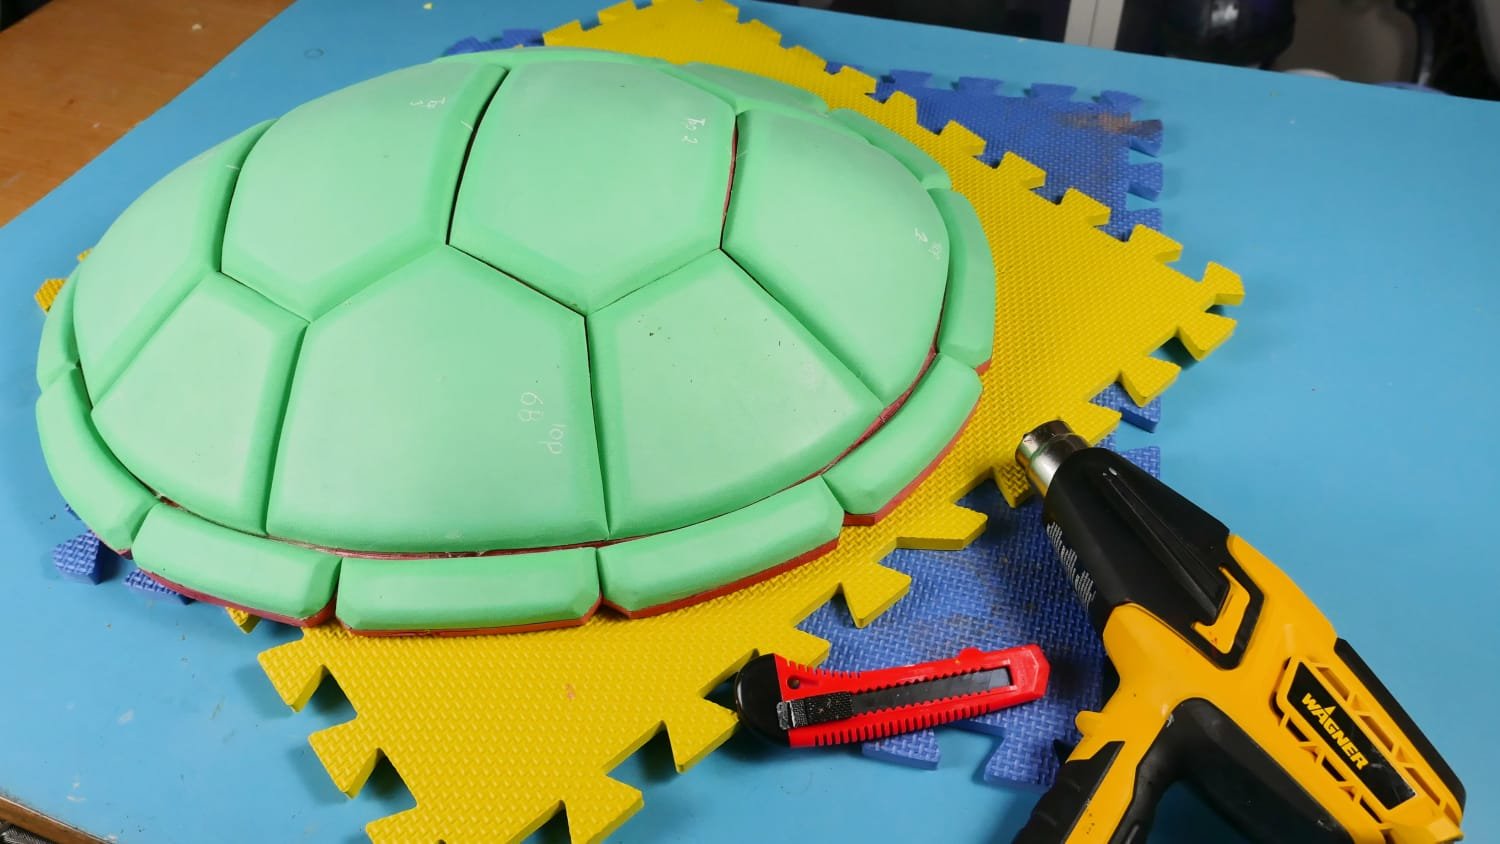
Be Very Proud
That’s it! You just made yourself a shell…. probably in less time than it took me to type this blog post! (I really need to practice my typing)
I will make another blog post showing how I textured and painted the shells very soon, as well as one detailing making the plastron and attaching straps.
Have fun with your turtle shell!
Boom. It’s all done. Nice Shell.

For size reference, this is size small turtle shell on my 7 tear old
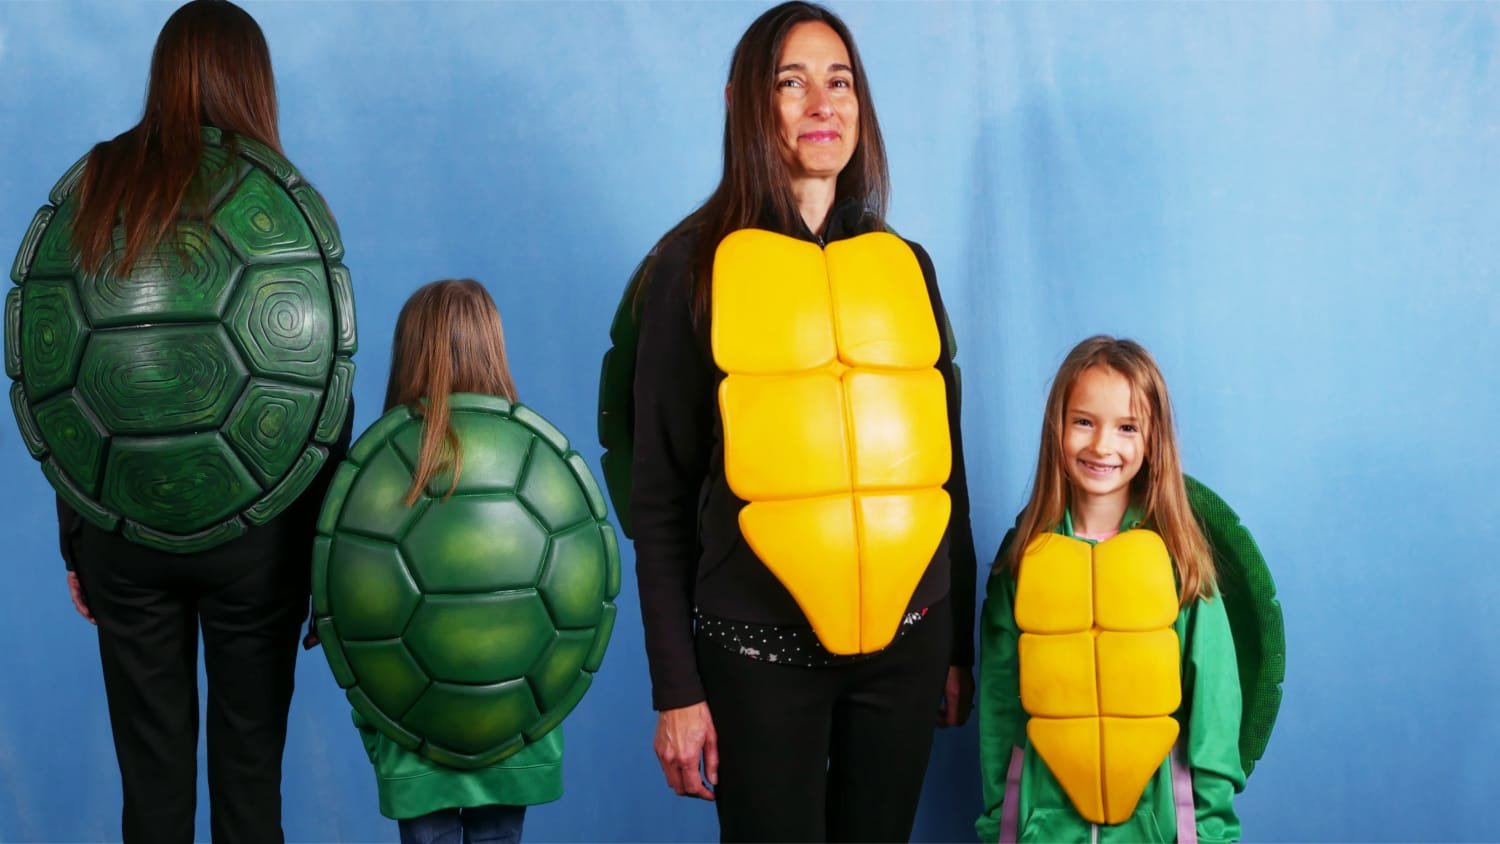
Sample of turtle shells after adding straps and plastron.

If you'd like to see more of my projects you can find me here:
Subscribe to my YouTube Channel
Follow me on Instagram
Check out my pattern shop