DIY Plague Doctor Hat Template and Tutorial
Note: There may be Amazon links in the following content and as an Amazon Associate I earn from qualifying purchases.
I made a plague doctor mask pattern a while ago, and I have had lots of requests to make a plague doctor hat template to go along with it. The identifying features of the classic plague hat are the wide, flat brim, and flat top. Normally I use cheap 6 mm EVA floor mat foam from my local big box hardware store, but it has a texture on one side which will look a bit silly on the underside of the brim. The other thing I have sometimes used is an EVA foam camping mat, but those are generally not as dense as the floor mat, and so wouldn’t be stiff enough for the wide brim. For this project I ended up using foam from Cosplay Apprentice, which is smooth on both sides and way stiffer than anything I have ever used. The stiffness makes it slightly less comfortable on your head, but the brim is nice and flat.
My tutorial video below gives a really good idea of the process.

Here are the supplies I used:
Pen, scissors, sharp knife, and ruler
6-8 mm EVA foam: For this build, I used “What the Foam” from Cosplay Apprentice. This is fantastic foam that is denser than the foam I usually use. In fact, you can use their 4 mm foam and it is still stiff enough for the brim. Just make sure to get the roll, as the flat sheets aren’t large enough for this pattern.
2 mm EVA Craft Foam
Hot Glue Gun (I prefer one with an adjustable temperature)
Paint: The best is artists acrylic paint. I used Liquitex Basics “Mars Black” (Amazon link)
For the steampunk details, I also used a leather punch, super glue and some metallic paint. I really like DecoArt American Decor Metallics (Amazon link)

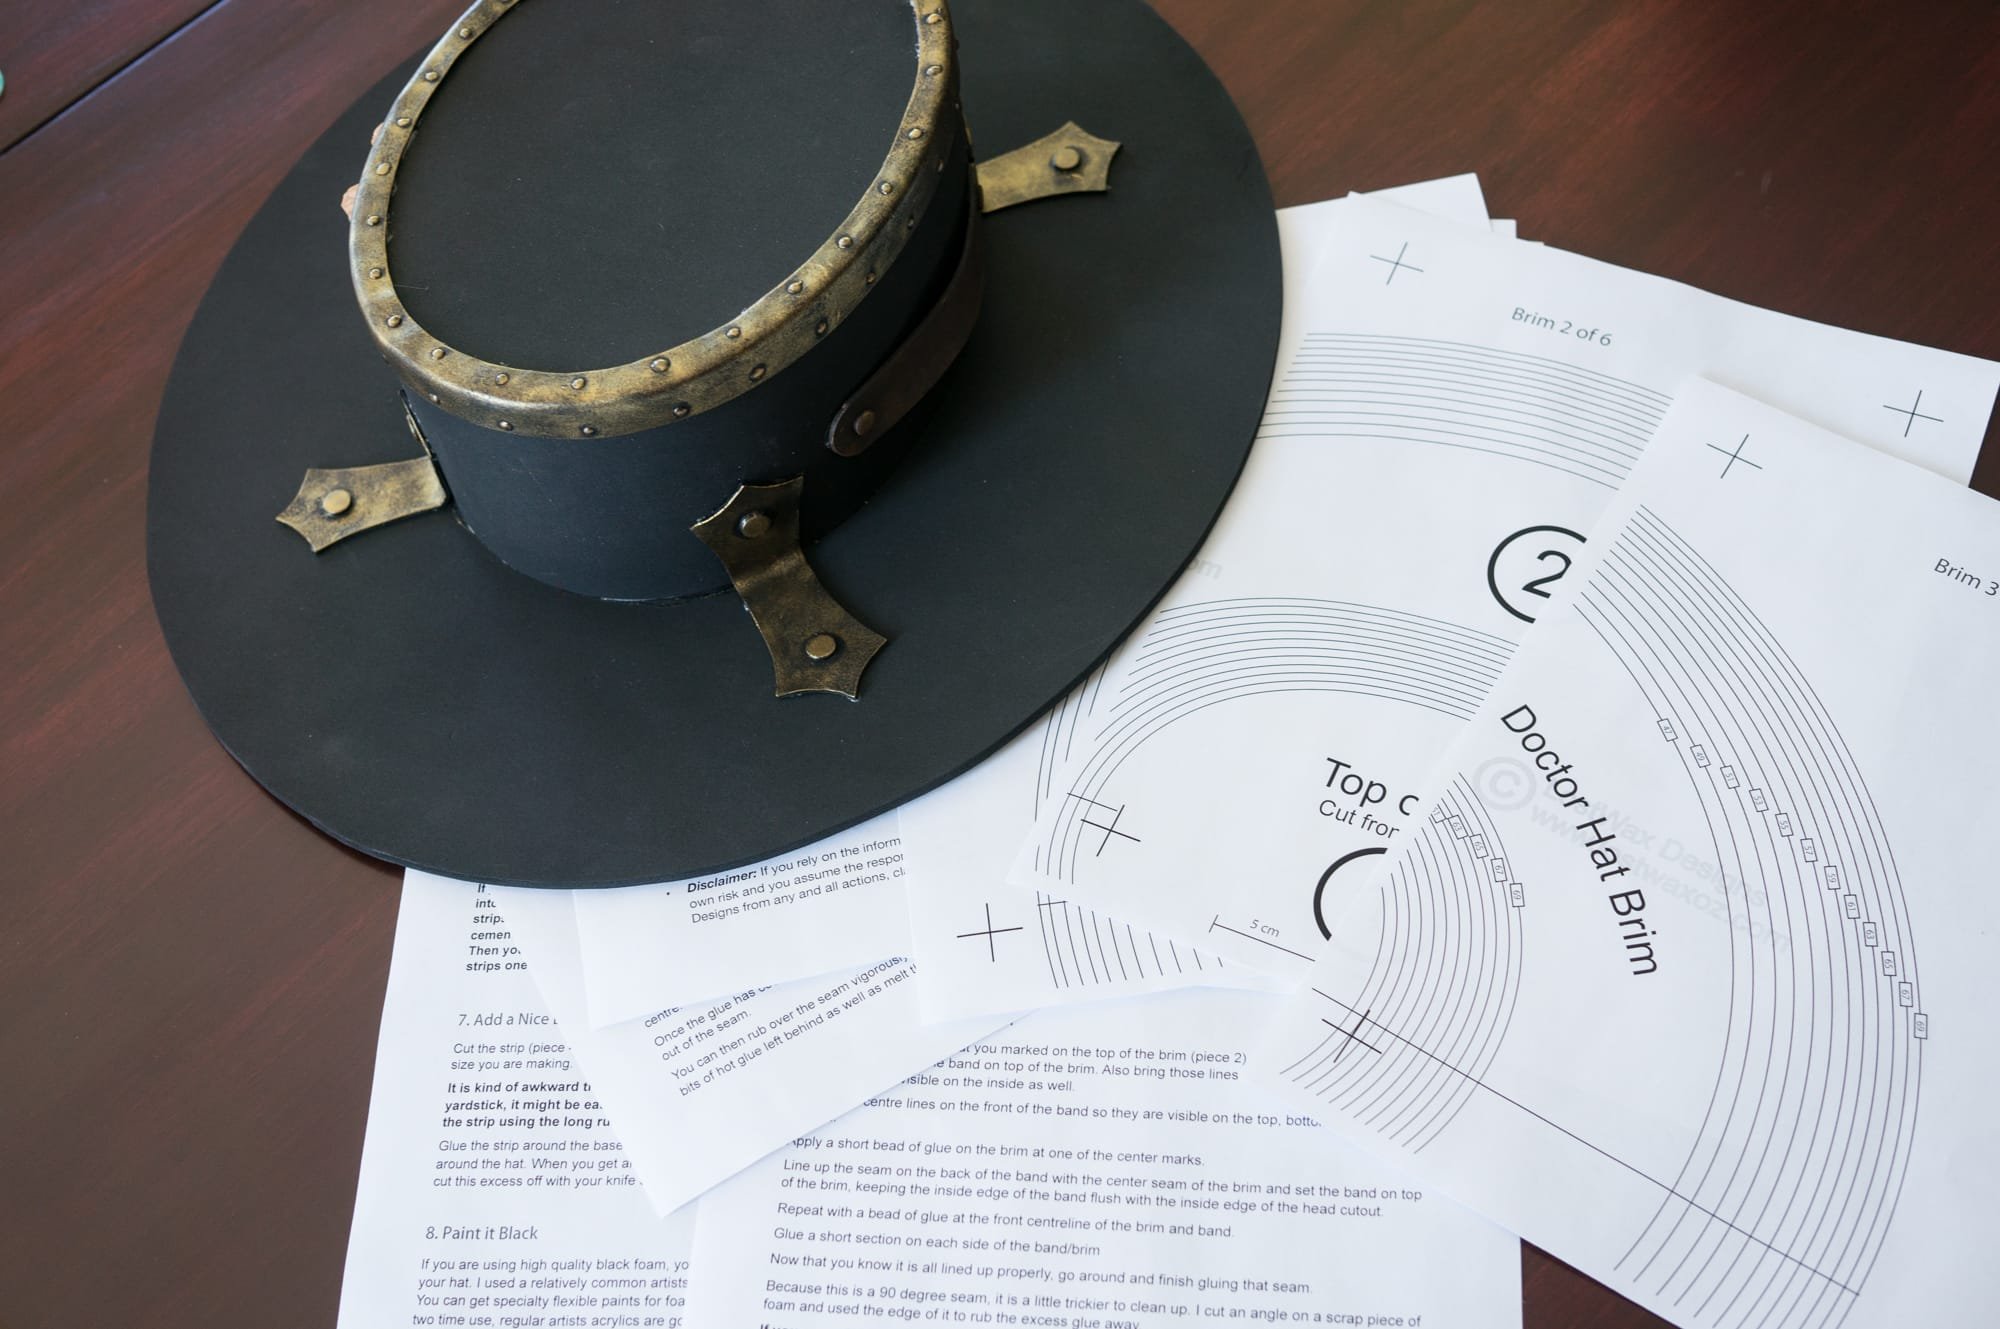
The plague doctor hat pattern is designed to work with both US Letter and A4 sized paper. I printed it, taped the pieces together and it was quickly ready to go. There are multiple sizes to choose from so if you’re using the template you’ll need to measure your head and cut out the size that is right for you. I traced my size onto the EVA foam and started cutting. It’s really important to have a sharp knife to keep the cuts clean and smooth. I like to use a surgical scalpel. It also works really well to cut through the foam in multiple passes rather than trying to do it in one cut. You get much nicer cuts and retain more control over your knife.
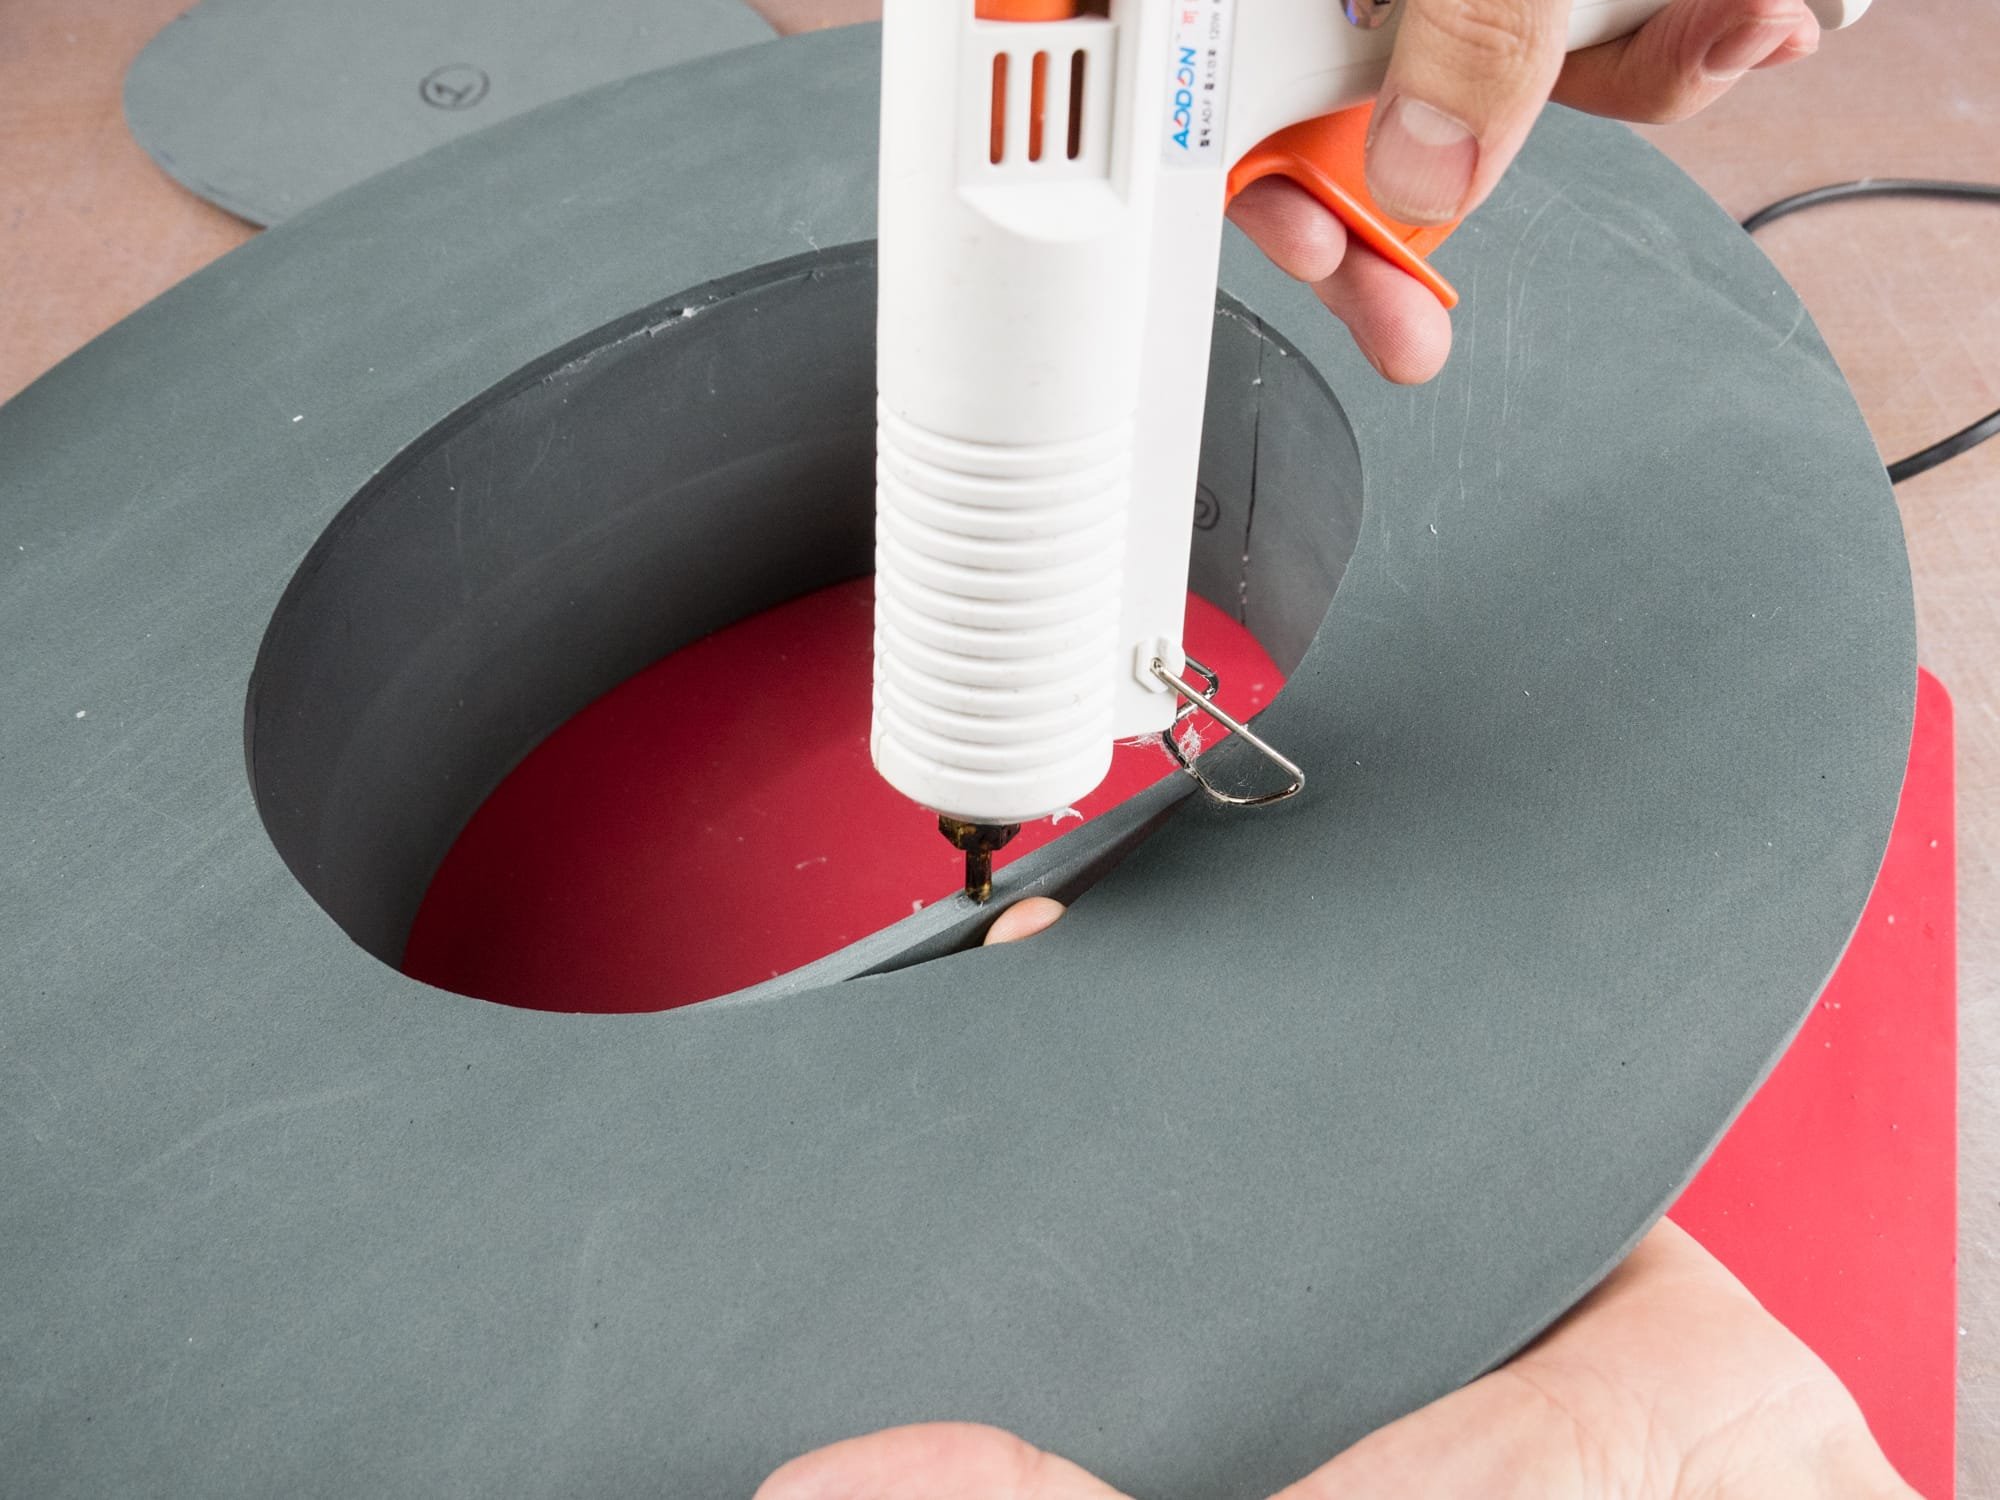
I made the basic plague doctor hat by gluing the band together, attaching the brim and carefully gluing on the top. The hat can be assembled with either contact cement or hot glue. I prefer to use hot glue for my EVA foam projects now, as I am a bit leery of breathing the fumes that go along with contact cement. It takes a little more practice, but you can still get really good results.
The one downside to using hot glue is the fact that the glue can melt again if exposed to hot temperatures like the inside of a car in the hot sun. Due to the fact that this hat is black, I think there might be a chance of it getting too hot on a really sunny day, so it’s worth thinking about where and when you’ll be wearing your hat before choosing your glue.

Plague Doctor hat - Add the band
To keep the plague doctor hat plain, all you need to do is add a strip of foam around the base of the brim and paint the whole thing black.
I chose to make a version with a slightly steampunk vibe. Not over the top, but just enough to be tasty. Instead of gluing the strip around the bottom edge of the band, I glued it around the top of the band, but with half of it protruding above the top. Once it was glued like that, I folded the protruding part over 90 degrees so that it rested flat against the top and then glued it in place section by section. The extra bonus with this technique is that it covered the top glue seam.

I then used the 2 mm EVA craft foam to create some pieces around the base of the brim, some pockets to hold small vials, and a strap to attach to the side of the hat. And then I added lots of rivets.
Now I just needed to finish it off with a nice paint job. I painted the pieces around the top and bottom of the band with bronze metallic paint, and the side straps with brown acrylic paint to give them a leathery look.
Now it’s time to do some plague doctoring!

How to Make a Plague Doctor Cosplay
If you'd like to see more of my projects you can find me here:
Subscribe to my YouTube Channel
Follow me on Instagram
Check out my pattern shop