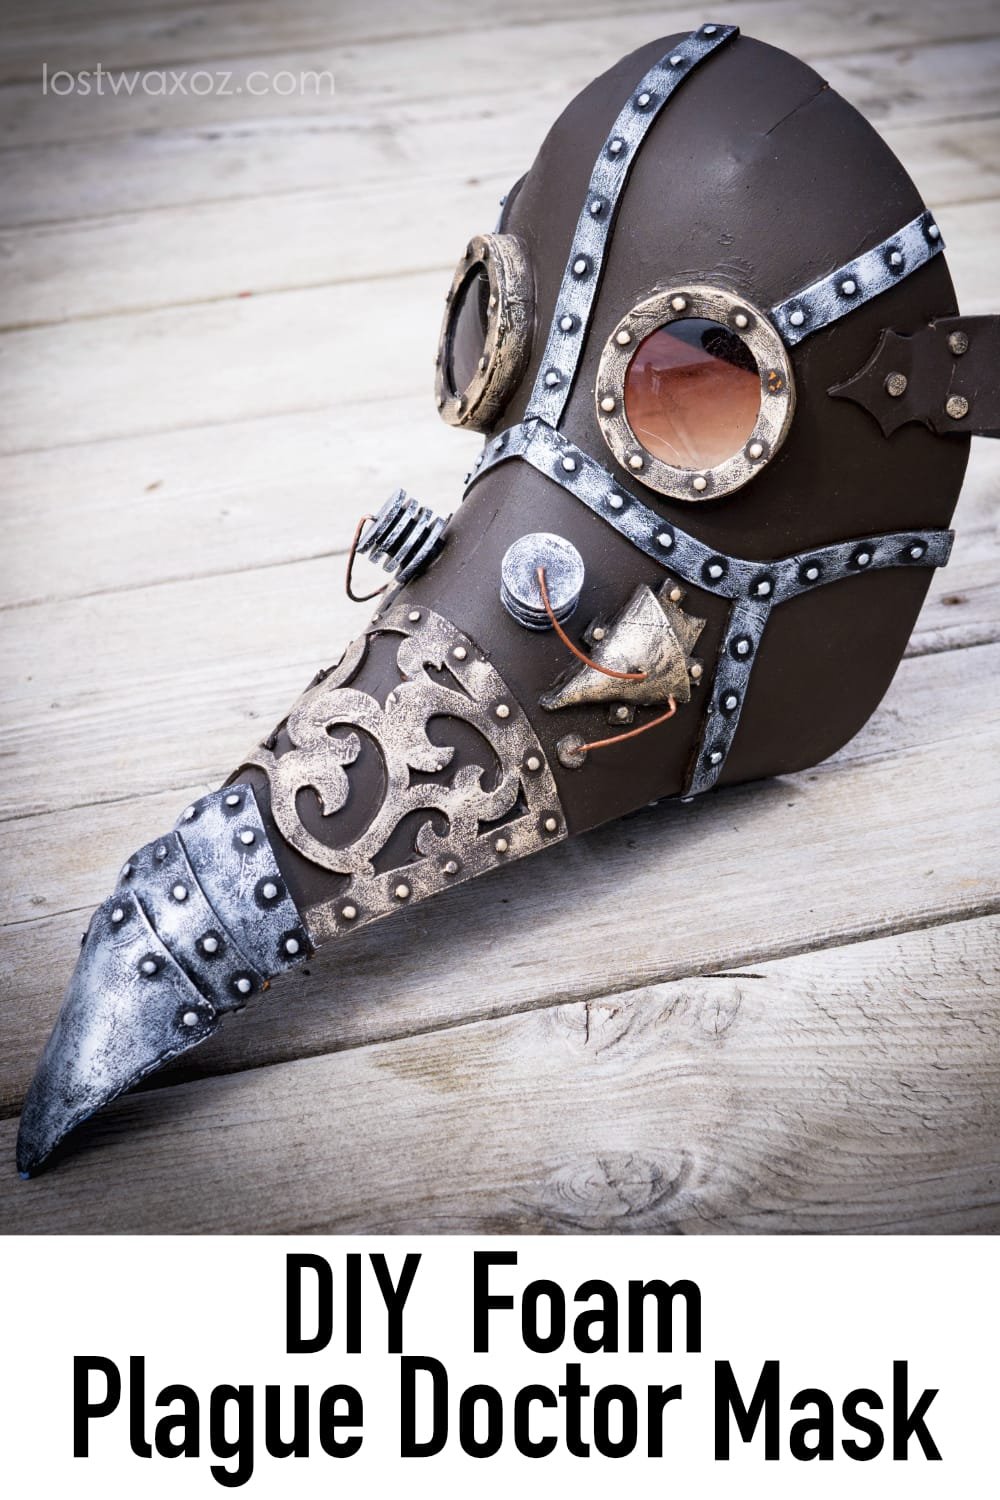
How to Make a (Steampunk) Plague Doctor Mask
Looking for a plague doctor mask that will blow away everyone at the party, but don’t want to drop a ton of cash to make it happen? You’ve come to the right place!

This plague doctor mask is made primarily with EVA craft foam and hot glue, so it is cheap to make, but once you have painted it up, it looks like a professional Hollywood prop. There are 3 different sizes in the pattern, to fit most heads. You can print the pattern on your home printer on either A4 or U.S. letter sized paper. You can use the pattern as a foundation for your own plague doctor cosplay, or add all the included extra pieces to make a steampunk plague doctor mask.
If for any reason you aren’t happy, I will gladly refund your hard earned cash with my 30 day-no questions asked guarantee! Check it out in my pattern shop.
Here’s a quick summary of the build process:
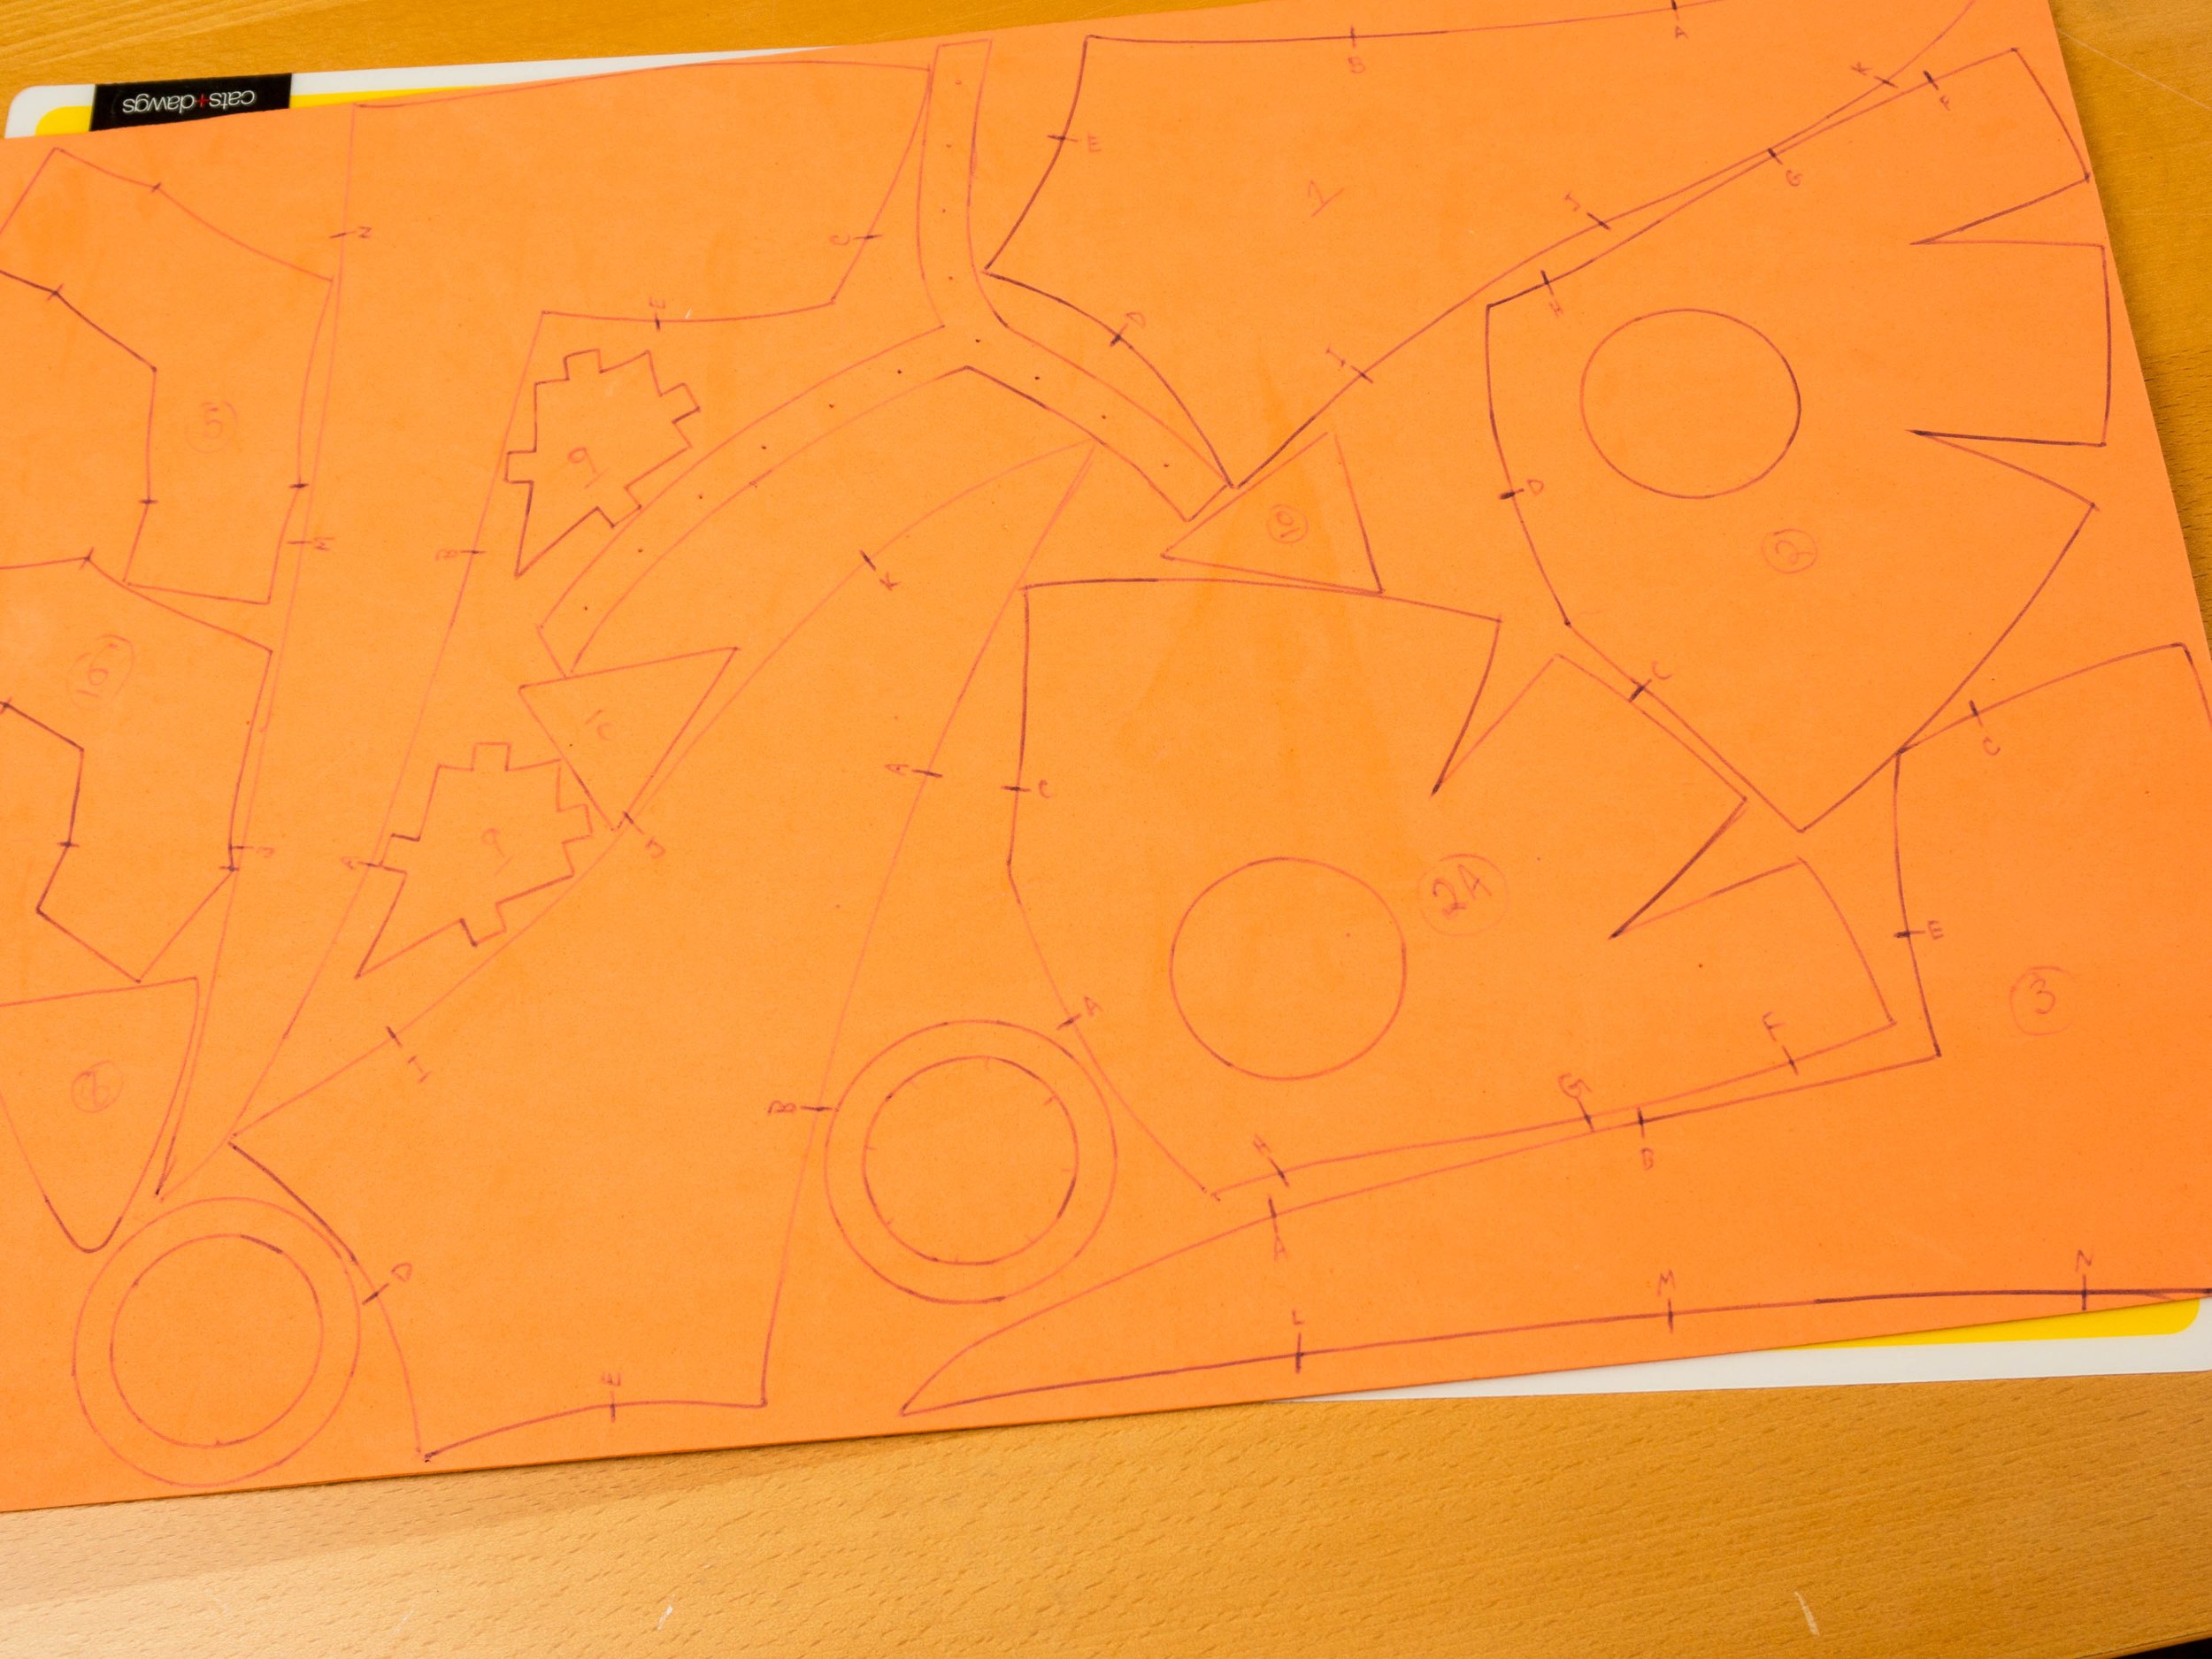
Pattern traced onto the foam sheet
Print the plague doctor mask pattern, cut it out and trace it onto 2 mm EVA craft foam. Cut out all the pieces with a sharp knife.
Start gluing the main mask pieces together. My secret for gluing thin foam sheets edge to edge is to use a silicone baking sheet so the glue doesn’t stick to it. When gluing, apply the glue directly to the edge in 2-4 cm (0.5”-1.5”) sections, holding the glued edge together while pressing it down on the baking sheet. This minimizes blobs of glue on the outside of your seam, and supports the foam for so that it lines up properly. When your seams are complete, you can come back and use the side of your glue gun’s tip to remelt the glue on the surface and smooth it out.
Glue the eye cups together and attach them to the mask.
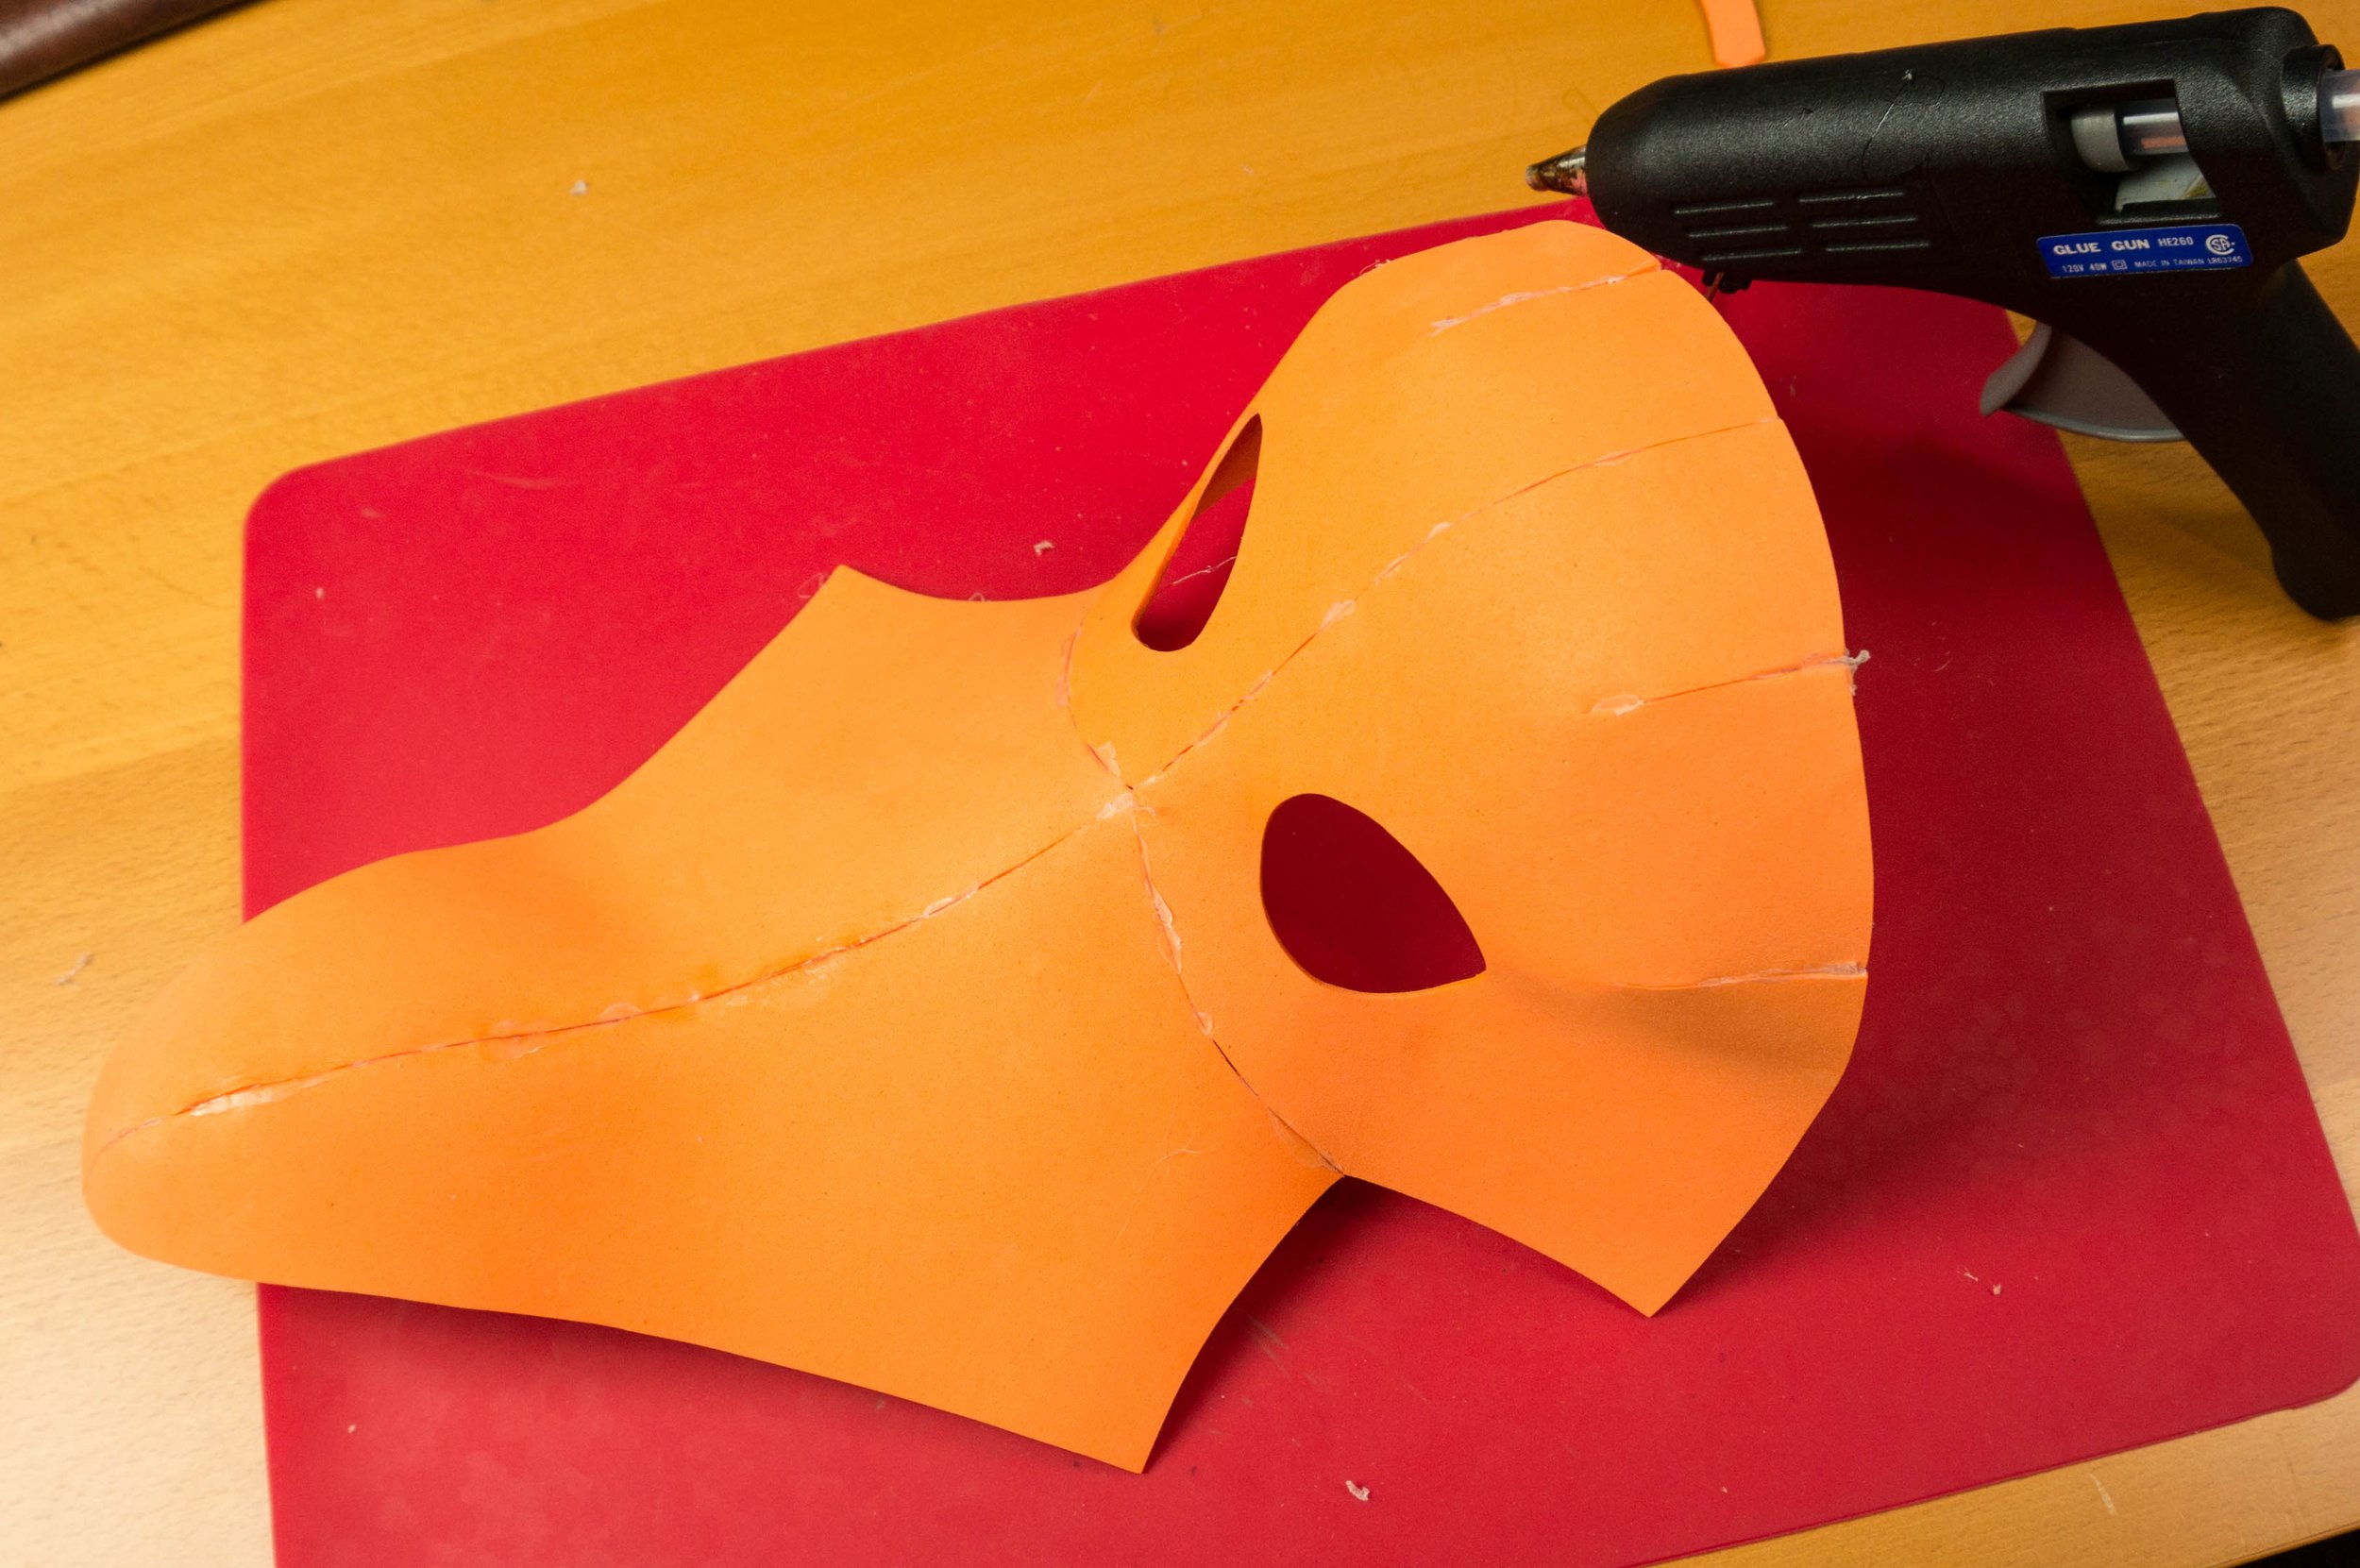
Start gluing the plague doctor mask together.
Measure around the back of your head to find the length of the band. I found that 30 cm (12”) was perfect for me.
In order to make the clasp for the band, you need a piece of plastic that’s not too thin, not too thick and not too stiff. I have found that plastic jar lids seem to work quite well for me.

Making the clasp for the band.
Cut out the plastic with some strong scissors. You will cut two slits so that you can bend the little piece in the centre up to right angles. This is where you find out if your plastic is too brittle, so take it slowly and try not to break off that centre tab.
Sandwich the plastic piece between two of band pattern pieces and wrap the foam around to create a gap where the attaching band will fit when you put on the mask. Glue both ends of the band to the mask and make a series of slots so that the band will stay in place on the plastic tab.

You can never go wrong with adding a few well placed swirls.
At this point, you could keep it plain and just paint it up. Or you could add your own embellishments. Or, if you want a steampunk vibe, keep going with the pattern…
I always like to cover the glue seams in my patterns to give it a more authentic look. Cover each seam with a strip of foam.
Create the nose scales and glue them on to the nose of the mask, then add the swirly piece and the funnel shaped pieces.
Glue together two alternating stacks of disks and glue these two stacks on both sides of the nose, above the funnel piece. You’ll also add some of the smaller disks to the mask wherever you’ll have wires connecting…more on that in a moment.

Adding lots of rivets to the plague doctor mask.
Now it’s time to add a whole bunch of rivets. There are several ways to create rivets - you can watch some of my other videos to see different techniques - but for this project I used small foam circles. Punch them out of the foam using a leather punch then superglue them onto the mask.
Remember those disks we added earlier? We’re going to wire them up. Heat and bend some line trimmer wire and attach it to the mask between the foam disks and the funnel.
Now it’s time to transform all that EVA foam into a leather and metal plague doctor mask with a bit of paint.

Use a really light touch when applying the metallic paint!
I used brown as an undercoat for most of the mask, and a black undercoat for all the places that would become silver. To give parts of the mask a metallic look, rub a very thin layer of metallic wax paste on your finger, then apply the paste to the painted surface of the mask in a circular rubbing motion. I used DecoArt Metallic Lustre “Silver Spark” and “Champagne Ice” on my mask.
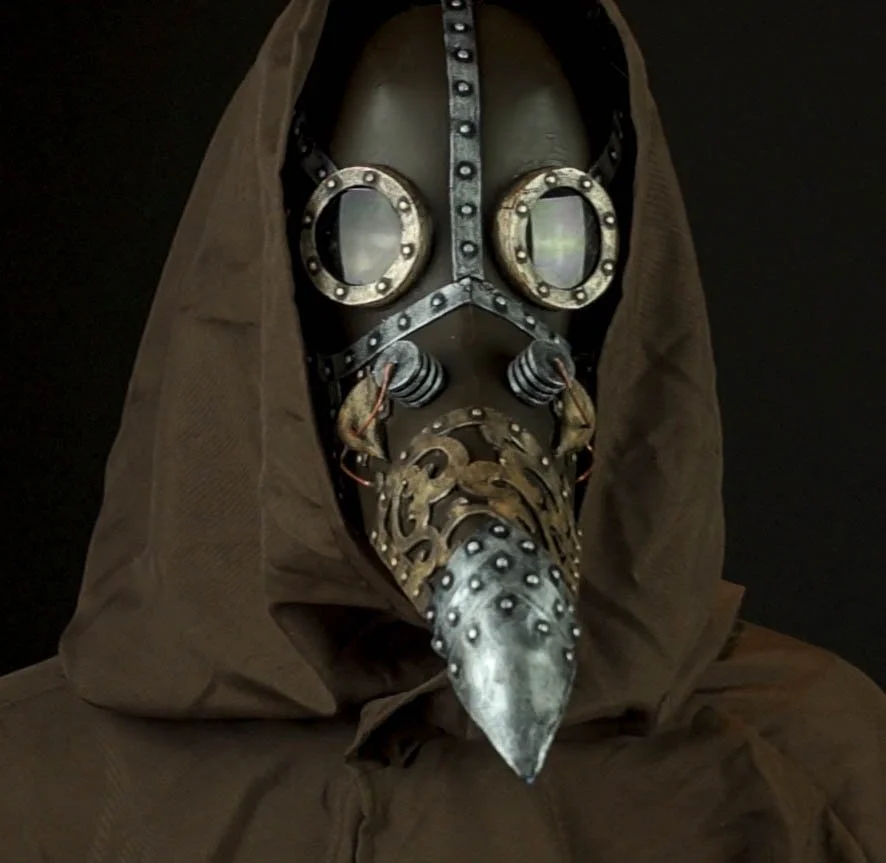
Add some lenses. I cut some sunglass lenses down to size, but you could also find some other clear or tinted plastic to use, such as a binder cover or similar item.
And that’s it! Add a brown hooded cloak and a hat and you’ve got a sweet plague doctor costume that you made yourself.
When you purchase this pattern you get:
21 page downloadable PDF with all the pattern pieces marked out, ready to print.
Printable pattern pieces for 3 different sizes of masks
Complete written instructions to go along with the instructional video
Patterns are made to be printed on a standard home printer on either A4 or U.S. letter size paper
30-day, no questions asked, money back guarantee