How to Make Knight Armor ...From Foam
Note: There may be Amazon links in the following content and as an Amazon Associate I earn from qualifying purchases.
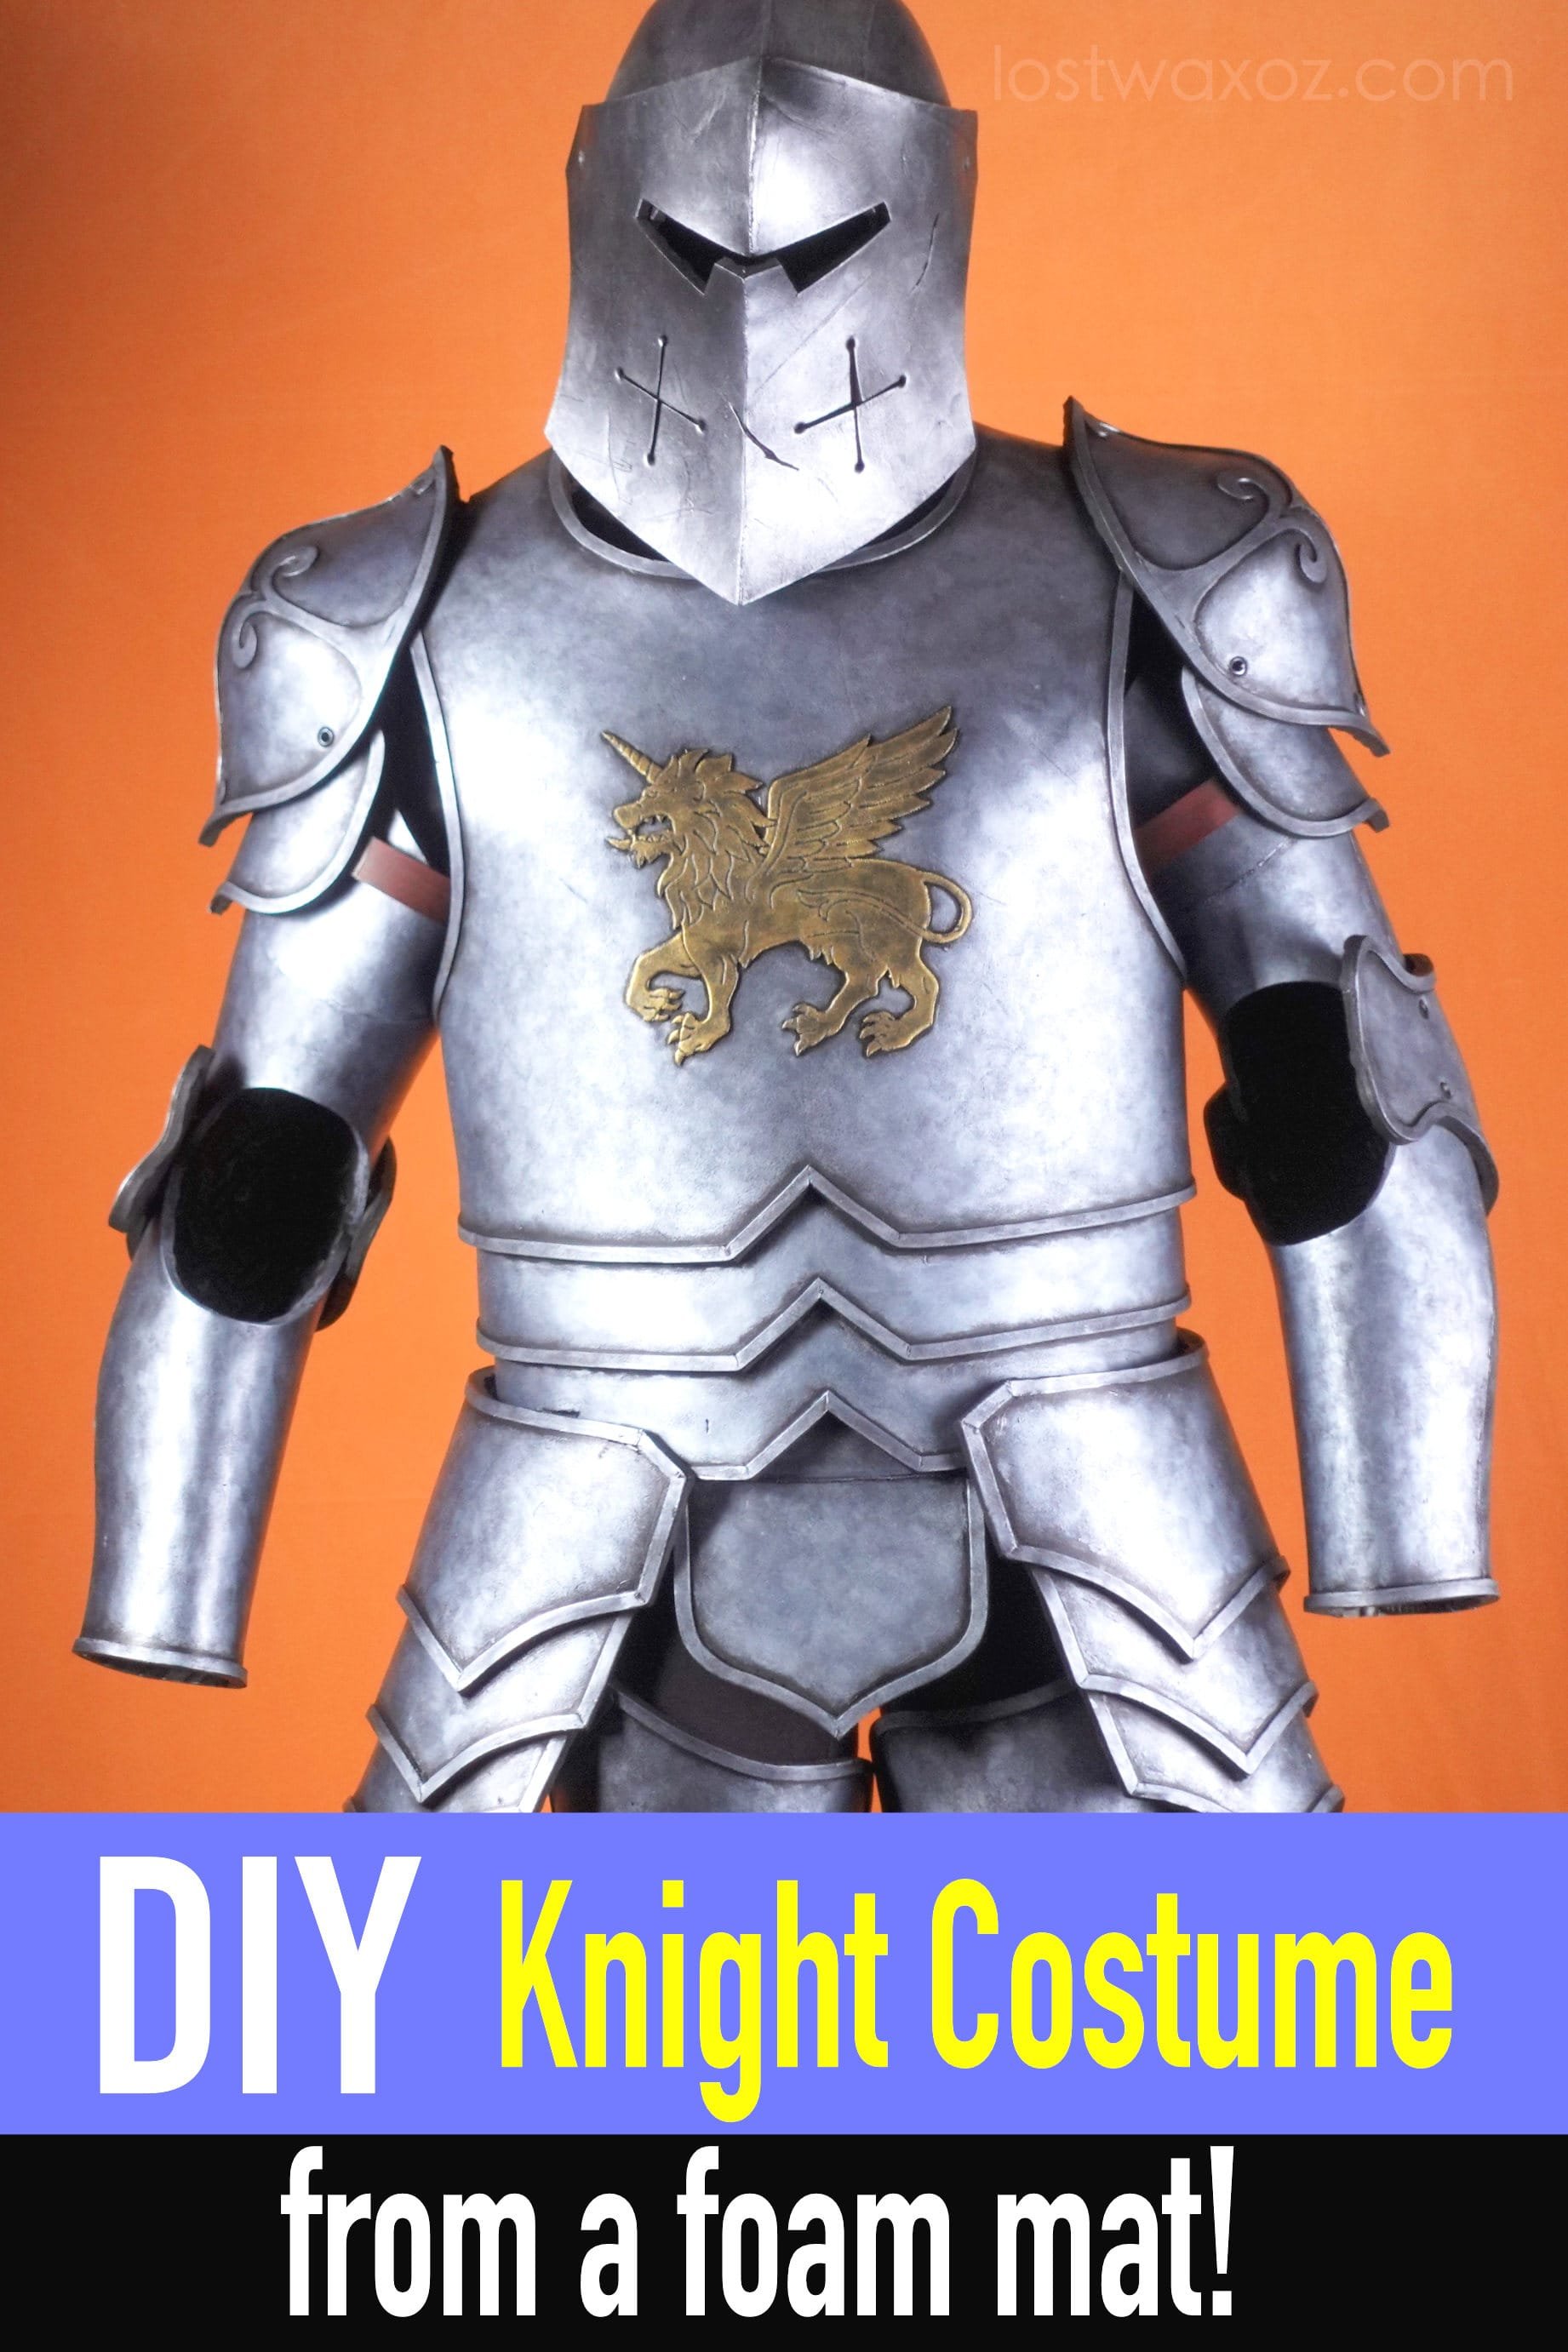
Years ago, I made a Halloween knight costume for my son and have since had a lot of requests for the pattern. I made the knight helmet pattern but the full armor has been on the back burner for ages. Finally it was time to get ‘er done!
I designed this pattern to be really adjustable and modular. A lot of the pieces attach together with velcro, making it easy to size up or down, or even just remove the piece if you don’t need it.
Here’s a quick overview of how to construct the different pieces. If you’re looking for more detail, be sure to watch the build process video and refer to the instructions on the downloadable pattern.
Update: I now have two children’s sizes as well as the adult size in this pattern!
Foam and Pattern
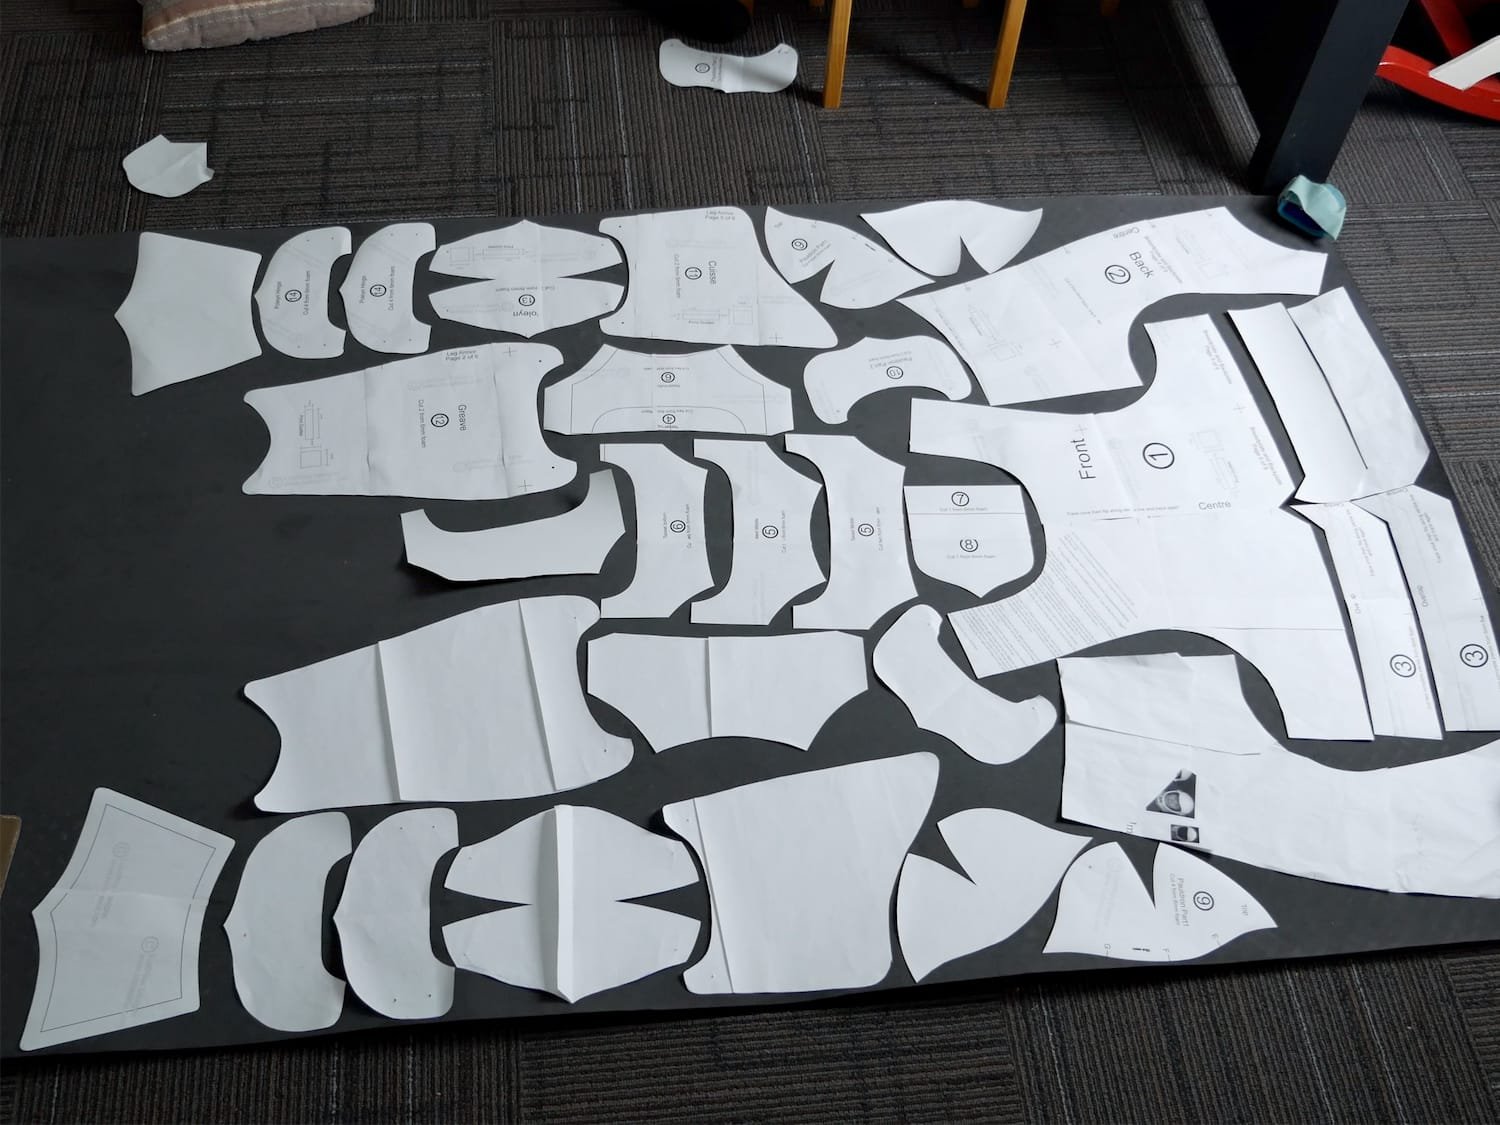
Knight costume pattern pieces laid out, ready to trace.
I used a 6mm thick EVA foam floor mat (Amazon link) for all the main parts of the knight armor pattern. It’s often sold in a roll as anti-fatigue matting that is smooth on one side and patterned on the other, and it’s a really inexpensive way to find cosplay foam. Lay out all the pattern pieces on the foam to find the most efficient way to fit them all in, then trace them to the foam. Gel pens or paint pens work best for this step - ball-point pens can be really difficult to cover with paint.
The Breastplate
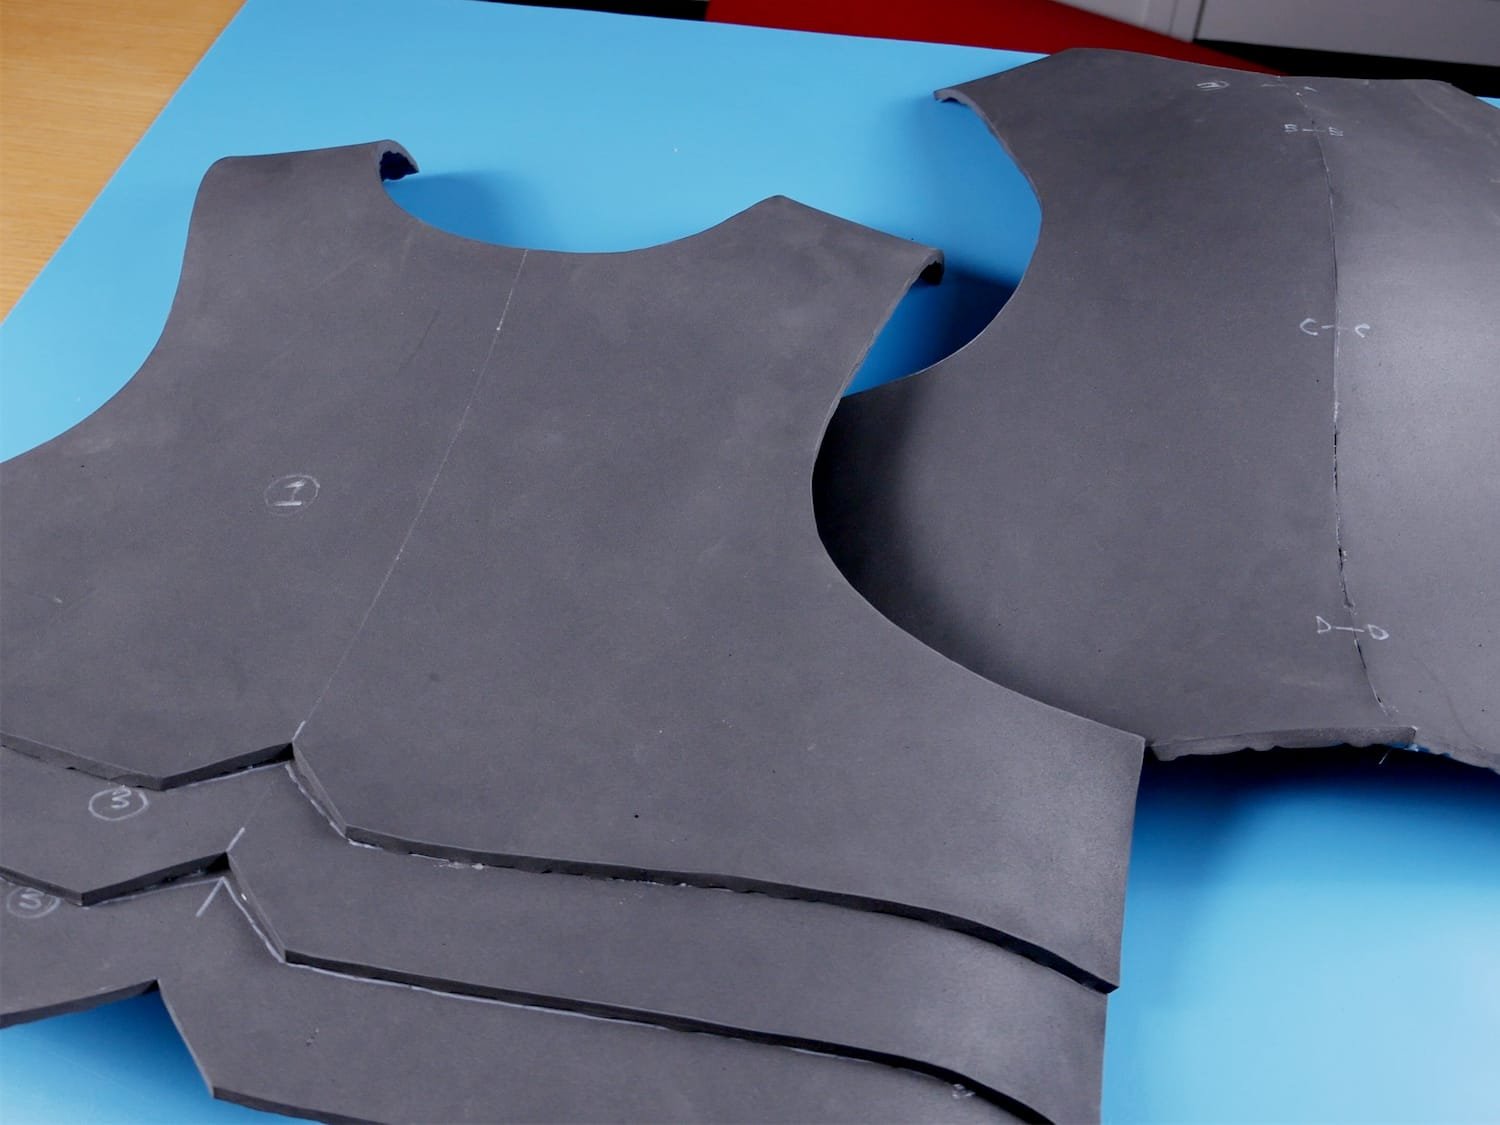
The breastplate is made from five pieces. Glue the back two together along the long seam to create the backplate, and glue the strips along the bottom of the front piece. Next, use a blowdryer or heat gun to form the foam. I added some curve to the sides of the backplate and the shoulders of both halves.
For all the extra details of the foam knight armor I used thin EVA foam - the kind you can easily find at a craft store. It’s commonly sold in sheets, but it’s extra handy if you can find a roll (Amazon link) because you can cut nice long strips. I added strips along the bottom pieces and around the arm and head holes.
I used velcro to attach the two halves of the breastplate together. This makes it super easy to put on and capable of fitting multiple sizes.
Oh, and don’t forget to add your own version of a fierce knightly emblem on the front. I chose a lion. With a horn. And wings.
Pauldrons
Completed pauldrons
Glue together the two halves of the pauldron, then heat and curve the flappy bit that goes below. Add the fancy details and then it’s time to attach the pieces together. The bottom flappy bit needs to be able to…well…flap, so you need to make some simple hinge rivets out of cheap clear vinyl tubing. I have a video demonstrating this technique, which I encourage you to watch here. It does take some practice, but you end up with some really nice pivoting rivets!
Add some straps for your arms and some velcro to attach the pauldrons to the breastplate and you’re good to go.
More Breastplate Bits
Ok, back to the breastplate. Now it’s time to make the tassets, which are the parts that hang down from the breastplate and cover your upper thighs. Also the front piece, which I don’t know what it’s called, but it adds some protection to where you want it most. The front piece gets a little fabric hinge to allow for sitting, then all the pieces are attached with more velcro.
Legs
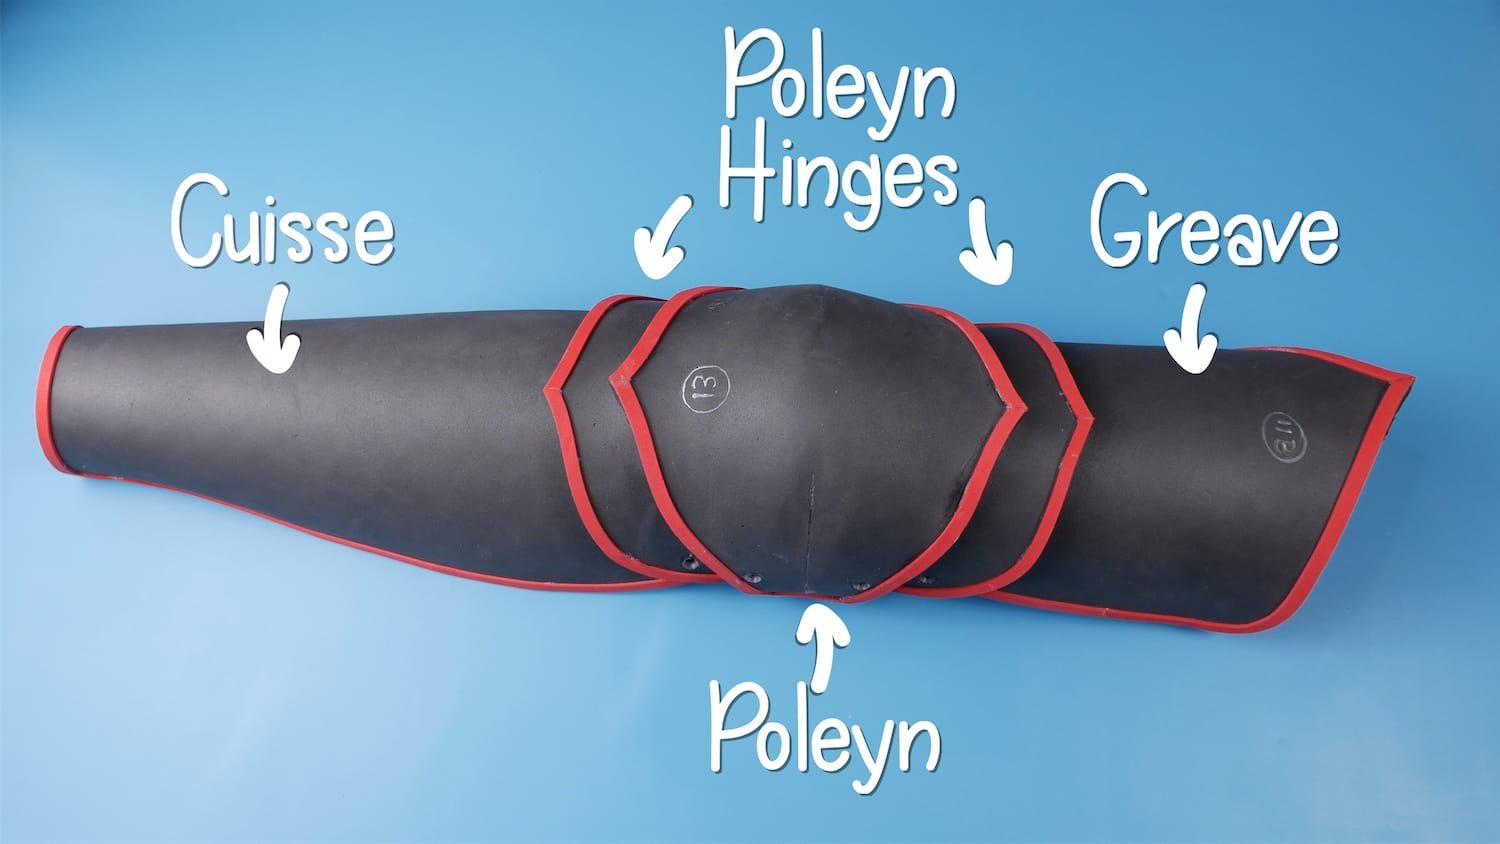
The leg armor is made of 5 pieces: the cuisse (lower leg), greave (upper leg), poleyn (knee), and two hinge pieces that go on either side of the poleyn.
Heat and form the leg pieces, glue the darts on the knee, then stack them all up and attach them together using tubing to make rivets, just like for the pauldron. The pivoting rivets work so well for keeping the pieces together while still allowing movement. Again I used velcro to keep them on my legs, plus a bit of elastic at the ankle.
Arms
You’ve got two options here: bracers or full arm armor. I’ve included both in the downloadable knight armor pattern. The bracer is fairly simple - just curl the foam, add some decoration, and a bit of elastic to go across the opening.
The arm armor is made of the couter (elbow), rerebrace (upper arm), and vambrace (lower arm). Glue the individual pieces together and assemble the arm using pivoting rivets. To keep the arm from falling down, it’s a good idea to add a strap that runs from the top of the arm to the shoulder of the breastplate.
Paint it
Now it’s time to make your foam armor look like metal! For mine, I painted the whole thing black, then rubbed on DecoArt Americana Decor Silver (Amazon link) for an aged metallic look. For fancier armor you could do all the edges in gold, or keep it black and red for a more fantasy theme. The choice is yours.
Have fun making!
If you'd like to see more of my projects you can find me here:
Subscribe to my YouTube Channel
Follow me on Instagram
Check out my pattern shop


