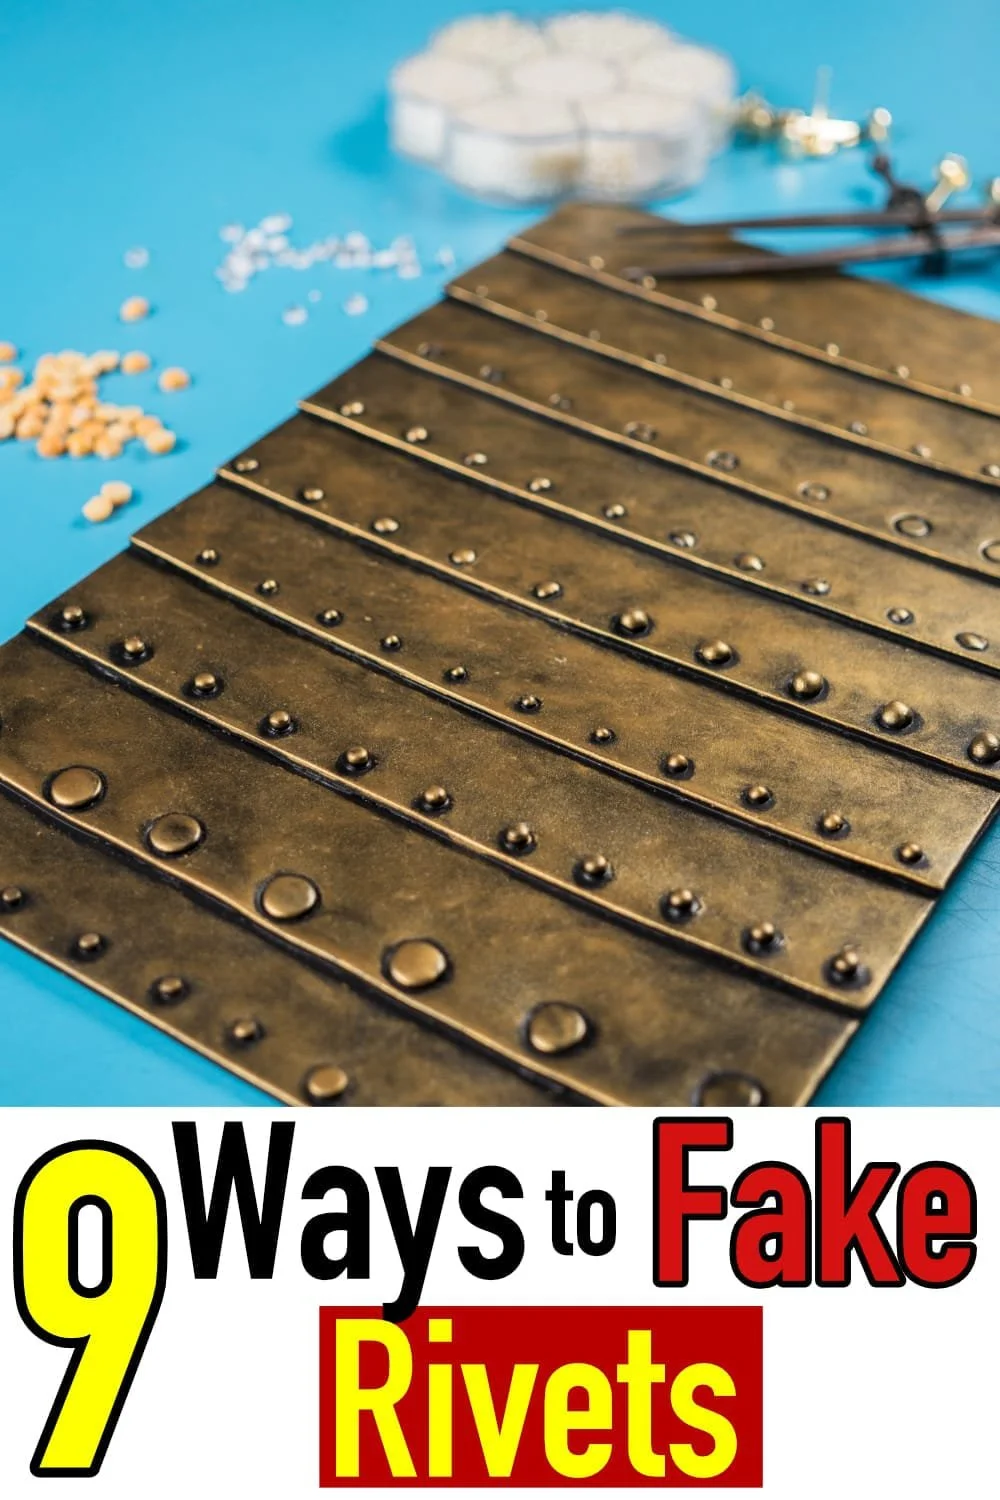
9 Ways to Make Fake Rivets for Costumes

Steampunk costumes always look better with rivets!
The key to making head turning costumes is always in the details. Seeing as most of my templates are either steampunk costumes or some sort of EVA foam armour, a lot of those details end up being rivets! From far away, most ornamental rivets look pretty much the same, but when that admirer of your cosplay comes to have a closer look, it’s nice to be able to wow them with your mad faux rivet making skills. I tested 9 fake rivet techniques to see how they stacked up…..

Riveted heart pendant with clockwork insides I made when I was still making jewellery. The parts are held together with silver rivets.
Before I started making costumes, I made jewellery, and at the end of my jewellery making career, I was making mostly steampunk jewellery. Lots of it was held together with real metal rivets, so I got a pretty good idea of what a fake rivet should be trying to imitate. If you watch the beginning of the video above, you can see how I use rivets to hold two sheets of copper together. There are three main takeaways from my experience.
Rivets are generally located along an edge where two plates of metal would overlap
Rivets have a domed shape
Rivets are not identical
I’m going to stress the “not identical” bit here, though it does depend on the look you are going for. If you are trying to create a costume from an era where hand tools are the norm, then consider your rivets like snowflakes where no two are exactly the same. If your costume is something that would have been made by a machine, having identical rivets would make sense.
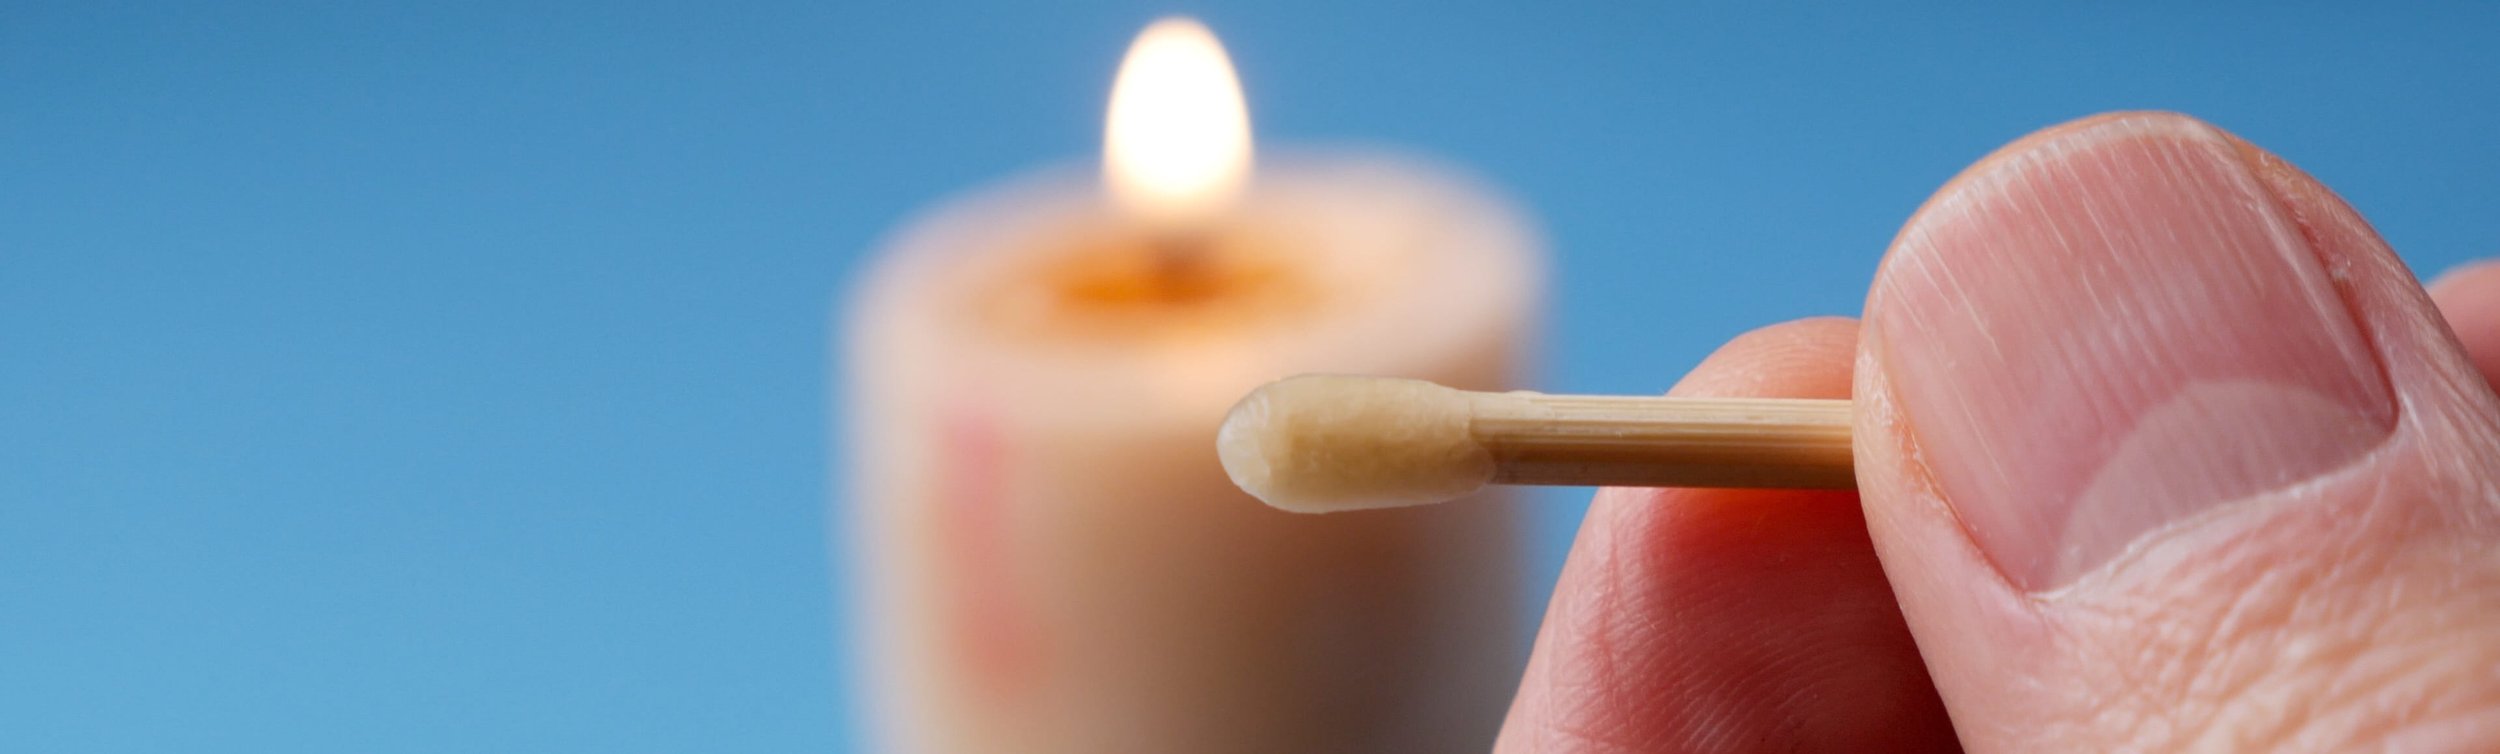
A small blob of beeswax on the end of a stick- used to pick up and place the rivets.
A lot of the different riveting options listed below involve gluing some sort of object to the costume, and it’s really handy to have a reliable way to pick up and place the rivets. You could try using your fingers, but they are going to be clumsy and end up covered with glue. You need something that will easily pick up the rivets but will also easily let go of them once they are in contact with the glue. As a jeweller, we would often pick up gemstones with a stick that had a little blob of beeswax on the tip, and I have found this simple tool also works incredibly well with all the different items I tried as faux rivets. Other options include a little blob of blu-tak or a pair of fine tweezers.
Alright, let’s have a look at the different ways you can make some sweet looking rivets on your cosplays!
1. Foam Discs

💲Cost: Minimal
⏰ Time: High
💡Skill level: Low
🛠 Materials: Scrap foam, disc cutter, super glue
The basic idea is this: cut some discs from scrap craft foam and glue them to your project. You can use a hole punch, or if you want the ability to make more varied sizes of rivets, you can buy a set of leather punches to cut the discs. I find that if you use a poor quality hole punch you will end up with rivets that are not cut out cleanly. If you use the leather punches, the key to a nice clean cut is to have a plastic surface underneath your foam to use as a cutting mat. Push down firmly on the punch while rotating it. Your cutter will go through the foam and into the plastic as it cuts. Once all your discs are cut out, mark out the spacing on your costume, apply a little drop of super glue at each mark and then place the discs on the glue.
Pros: cheap, easy to get different sizes of rivets, easy to apply, always available
Cons: takes time to cut, rivets are soft and therefore more prone to damage on the costume, rivets have a flat top rather than a domed look, rivets look identical
2: Round Head Fasteners

💲Cost: High
⏰ Time: Low
💡Skill level: Low
🛠 Material: Fasteners
When I was a kid, these things were like gold. If you got your hands on a few of these, you could make any number of paper creatures with moveable arms and legs. As an adult, I was not really sure what these fasteners were actually used for……until now. Rivets. These have to be the simplest of anything I tried. Push the legs through the foam (assuming your project is made from foam) and spread them apart on the other side. Boom. Too easy. Of course, ease comes at a cost: you now have to deal with a bunch of metal flaps on the backside of your costume.
Pros: fast and easy, nice shape
Cons: scratchy metal backs, expensive, identical, limited size range, only work on soft materials
3: Googly Eyes

💲Cost: Medium
⏰ Time: Low
💡Skill level: Low
🛠 Materials: Googly eyes, super glue
This is an old standard, and many people love them. You can get googly eyes in lots of different sizes, and they are a nice domed shape for fake rivets. They are applied the same way as the foam discs. Put a dot of super glue down and set the eye down on top. One characteristic- love it or hate it- of the old googly eye technique is that your costume is going to rattle when it moves, thanks to all those eyes jiggling around inside their little plastic shells. Personally, it drives me a little bit crazy! Another problem some people have is the back separating from the clear cap, so test each batch out first before committing a whole cosplay.
Pros: quick and easy to apply, nice shape, make a comforting jingly sound when you move
Cons: can be hard to find in a pinch, they are identical, possible for rivets to be knocked off, make an annoying jingly sound when you move
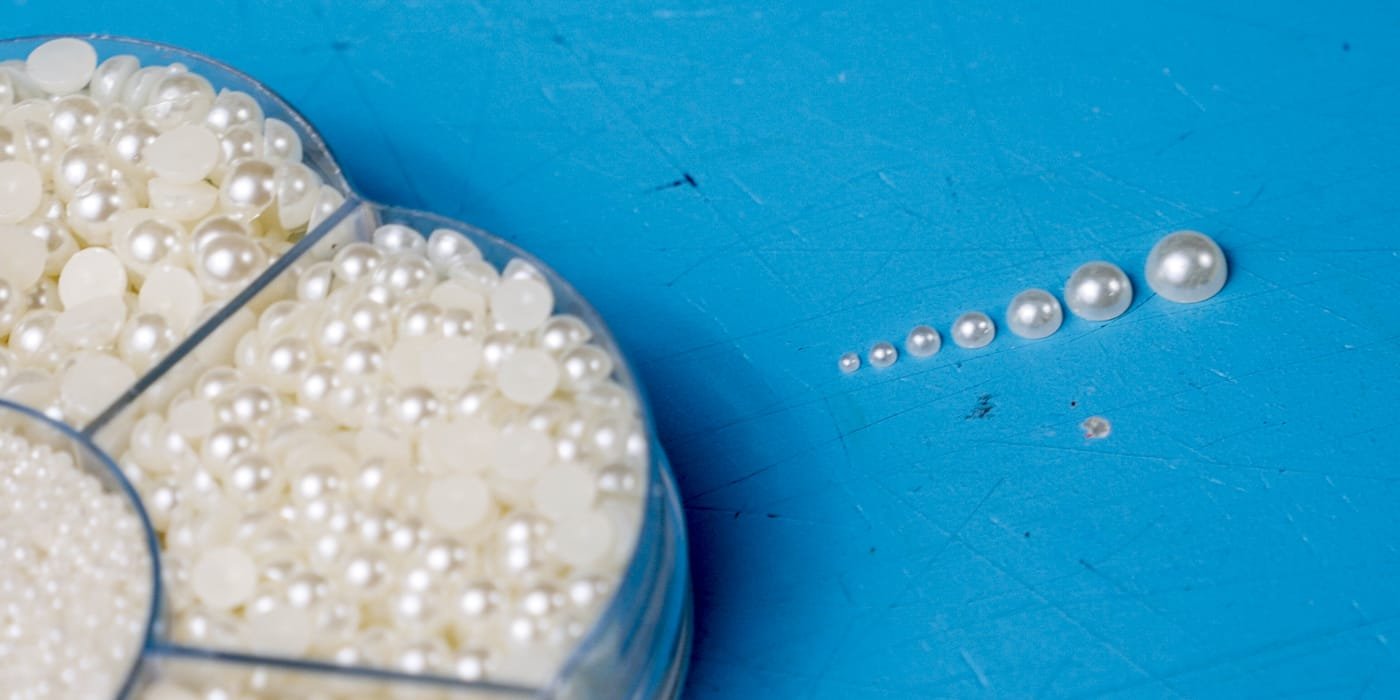
4: Decorative Half Pearls
💲Cost: Medium
⏰ Time: Low
💡Skill level: Low
🛠 Materials: Half pearls, super glue
Another easy to glue item, decorative half pearls are a quick way to get some rivets down. They do require some forward planning as they are a little harder to source than some of the other rivet substitutes. The shape is really nice, and they tend to come in a multi-size assortment.
Pros: quick and easy, multiple sizes available
Cons: sometimes hard to source, they all look identical, possible for rivets to be knocked off
5: Split peas or lentils

💲Cost: Super Low
⏰ Time: Low
💡Skill level: Low
🛠 Materials: Lentils/peas, super glue
Who knew the mighty legume could be used both in soups and costume making? I’ve got to admit, these little wonders took me by surprise the first time I used them! I love them because they are ultra thrifty, easy to use, biodegradable, and produce rivets that vary in size and shape. I would suggest sealing them well once they are attached, to make sure they don’t absorb moisture and degrade over time.
Pros: cheap, accessible, variation in shape
Cons: possible degrading over time, possible for rivets to be knocked off
6: Hot Glue

💲Cost: Low (hot glue gun needed)
⏰ Time: Medium
💡Skill level: High
🛠 Materials: Hot glue gun, hot glue sticks
All you need is a hot glue gun for this one. For this technique, you’ll want your hot glue gun as hot as it goes so make sure to be careful and not burn yourself! Apply a small drop of glue from the glue gun where you want the rivet to be, and then as you pull the glue gun away with its inevitable string, kind of wind it around the glue blob until the string is gone. It’s a simple technique, but it does take practice and good glue gun control to make nice clean rivets. One other thing to remember is that hot glue will re-melt if heated up too much, so if you live in a really warm climate or need to leave your costume in a hot car, it is best to avoid hot glue. The nice thing about hot glue rivets compared to the previous styles is you don’t have to worry about them being knocked off your costume. Once cooled down, they are there for good.
Pros: cheap, accessible, rivets won’t get knocked off, variation in size and shape
Cons: hot glue will soften if exposed to heat, tricky to get nice clean rivets, sometimes too much variation in size and shape.
7: Pen Backs

💲Cost: Free
⏰ Time: Low
💡Skill level: Low
🛠 Materials: A pen
This is hands-down the fastest, easiest, no mess, no hassle method to make fake rivets! Just find a type of pen that has a little plug in the back and pull out the plug, leaving the pen tube open. Then press the back of the pen down on your foam and twist it. When you remove the pen, you will leave a depressed ring, making the center of the ring your fake rivet. One caution, if you plan to heat seal the foam, make sure to do it before making the rivets, otherwise the heat will cause the foam to expand back to its original pre-riveted state. Although this is a quick riveting technique, I feel like the rivets produced are the least realistic of all the methods I use.
Pros: cheap, accessible,fast
Cons: unrealistic, only works on EVA foam projects
8: Puff Paint

💲Cost: Medium
⏰ Time: High
💡Skill level: High
🛠 Materials: Puff Paint
I’ll start off by saying that this is my least favourite method of all, however, if it’s what you have in your craft supplies cupboard, it’ll work… kinda. Puff paint is a paint/glue that keeps its 3-dimensional form once it is dry, which, in theory, should enable you to make some nice blobs of paint and have them dry into nicely formed rivets. In my experience, however, I have found the puff paint to be slightly too thick, so it never really settles into a nice shaped blob. The best way to apply puff paint rivets is the same as the hot glue- squeeze a little blob on your project, and then remove the tip of the puff paint bottle from the blob in a circular motion, so that you don’t leave a peak on top of the rivet. (this is a lot easier to explain in a video, so have a look at the video at the start if this doesn’t make sense:) Once you have a few rivets on your project, you need to be really careful not to touch the ones you have already made. Sometimes the only way to finish the rivets is to leave one set to dry before continuing. Of course, puff paint can take multiple hours to dry, which really can slow down your costume.
Pros: None
Cons: hard to use, creates weird-shaped rivets, takes a long time to dry, generally leaves you feeling grumpy.
9: Two-Part Epoxy
💲Cost: Medium
⏰ Time: High
💡Skill level: High
🛠 Materials: 5-minute two-part epoxy, a match
This is the first technique I ever used and I still really like it. It requires a moderate level of skill and time, but can create some fantastic results! Practice is the key. Squeeze out equal parts from the two tubes of epoxy. It’s important that the two epoxy blobs are close to equal, otherwise the epoxy may never cure, leaving you with a bunch of sticky blobs all over your costume. Mix the two blobs together thoroughly- again, if you skip this step- yep, sticky blobs. Once you’ve mixed the epoxy really well, dip the head of a match in the epoxy and touch it against the foam where you want your rivet. You can usually get two or three rivets made before needing to dip the match head in the epoxy again. Once the epoxy starts getting stringy, it’s time to mix up a new batch. It will take a while to figure out how much epoxy you can get made into rivets before it goes off, so start with very small amounts and work your way up. You also need to watch that you don’t touch any rivets that have yet to harden while you are adding other rivets.
Pros: fabulous looking rivets, rivets are very secure- won’t be bumped off
Cons: time consuming, takes practice for good results

At the end of the day, there is no absolute best technique for making fake rivets, it all depends on what is available to you, and what resources you are willing to put into it. Really, any of these technigues will look fabulous with a good paint job over top. My personal favourites are the lentils and the two-part epoxy.