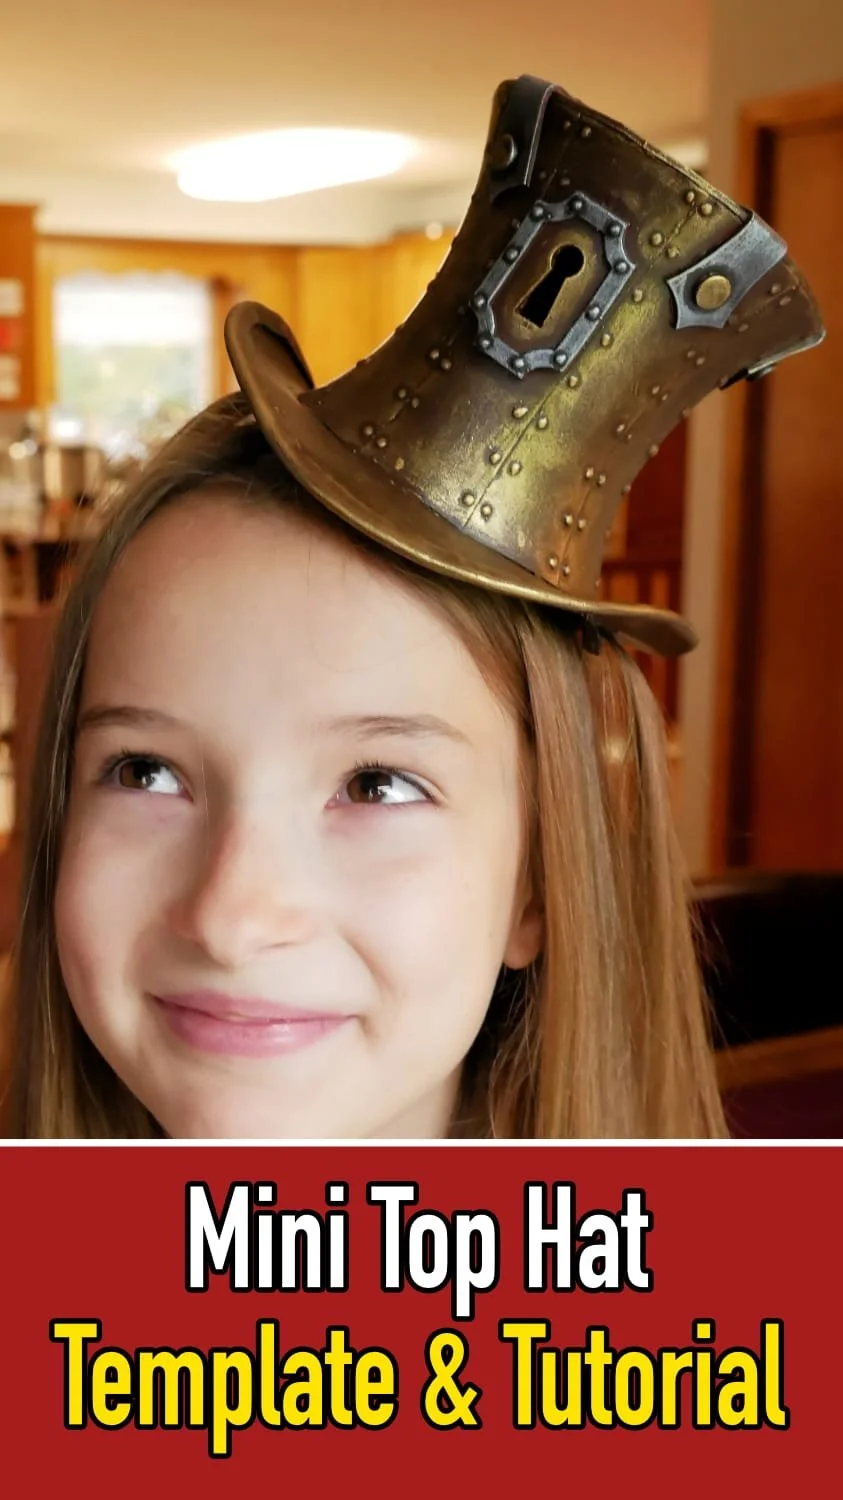
You can make your own professional looking mini top hat quickly and easily with just a few crafty supplies, so grab your knife, some glue and let’s get down to crafting!
This blog post is an overview of the whole process, but there are complete instructions included with the pattern, and you can also watch the process on my YouTube video at the end of this post.
Step 1: Find Your Supplies
Pattern: You can buy it in my pattern shop
Very Sharp Knife:
Ballpoint Pen
Scissors
5 Minute 2 Part Epoxy
Contact Cement or Hot Glue
Paint:
2 Craft Foam Sheets
Metallic Paints
Step 2: Print and Cut the Pattern
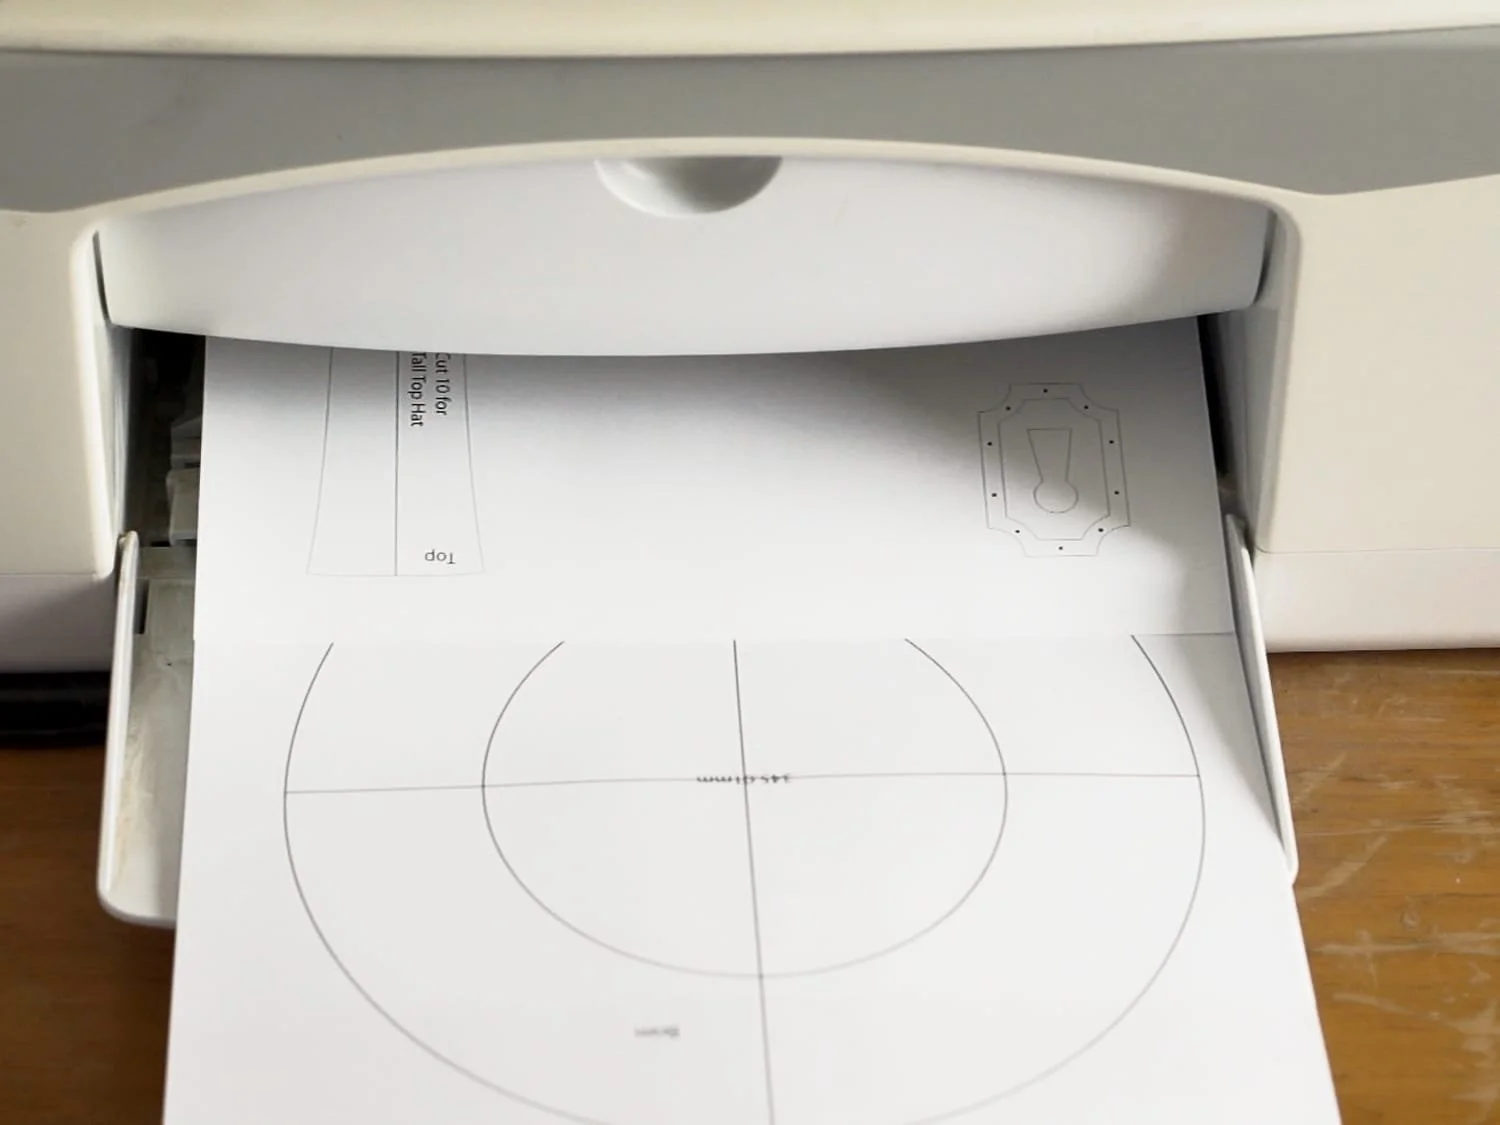
Make sure that the pattern prints at actual size or 100%
At this time I haven’t found any phone apps that allow you to specify actual size so I suggest printing from a laptop or desktop computer. (If you need a program to print from, I find Adobe Acrobat Reader DC works well, and is free)
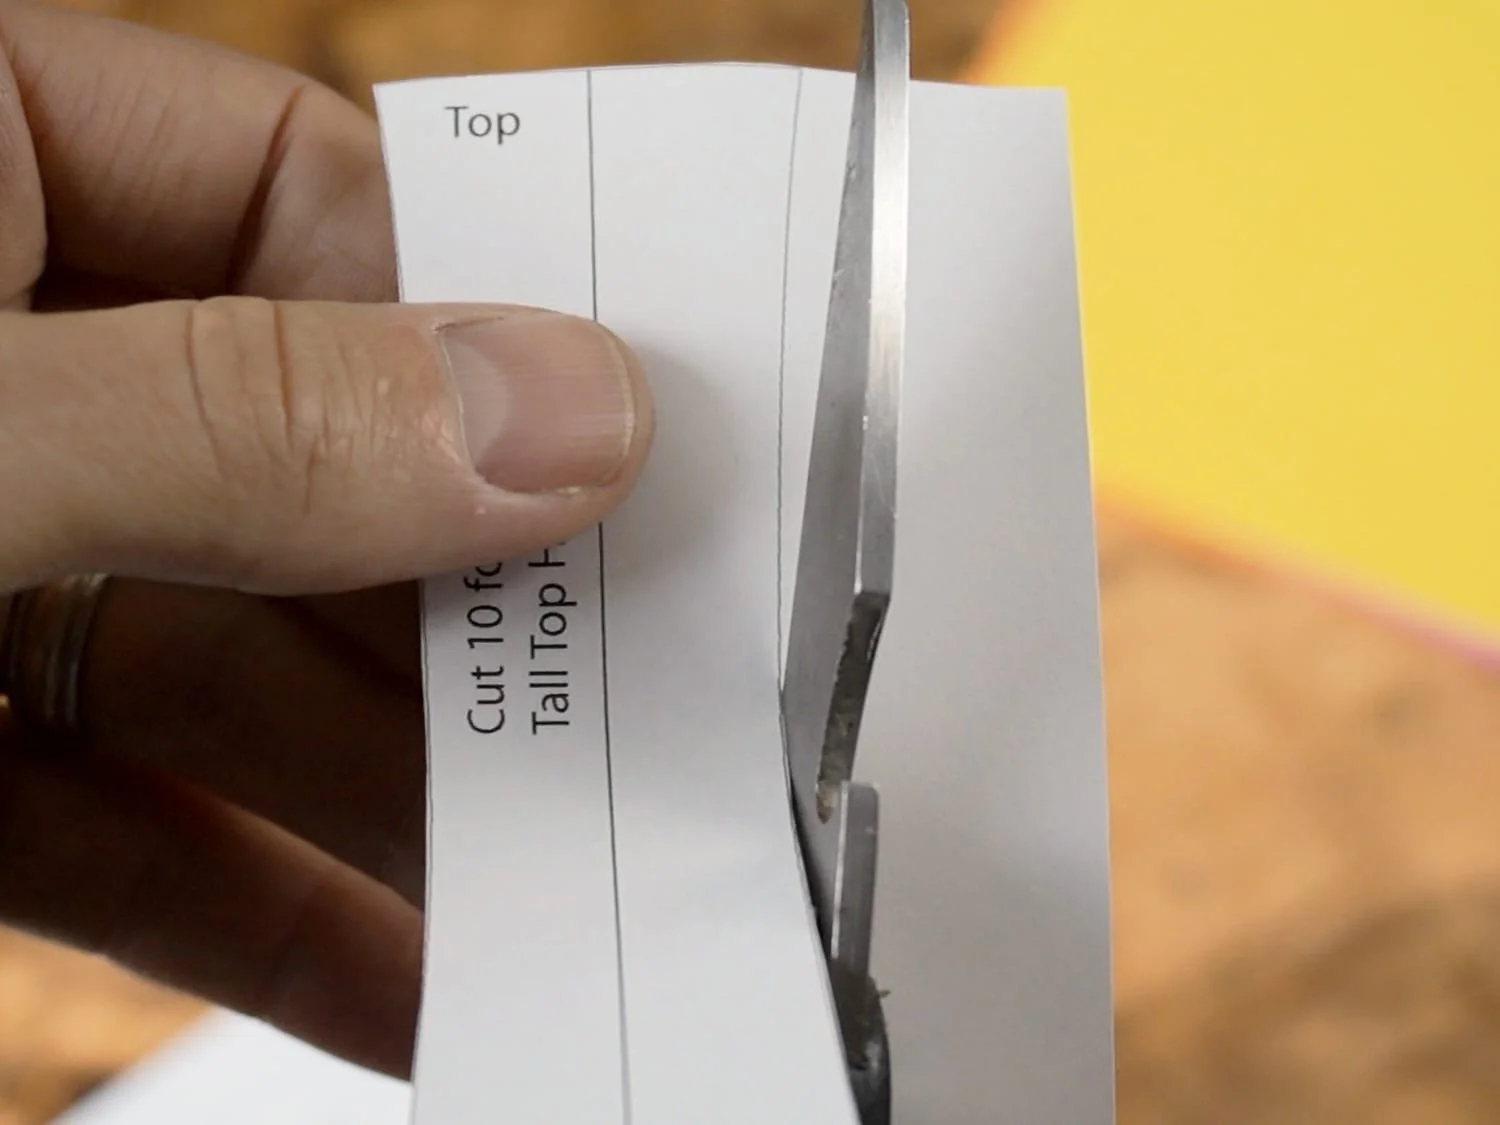
Cut the pattern pieces out with scissors, cutting as close to the line as possible.
Step 3: Trace and Cut the Foam
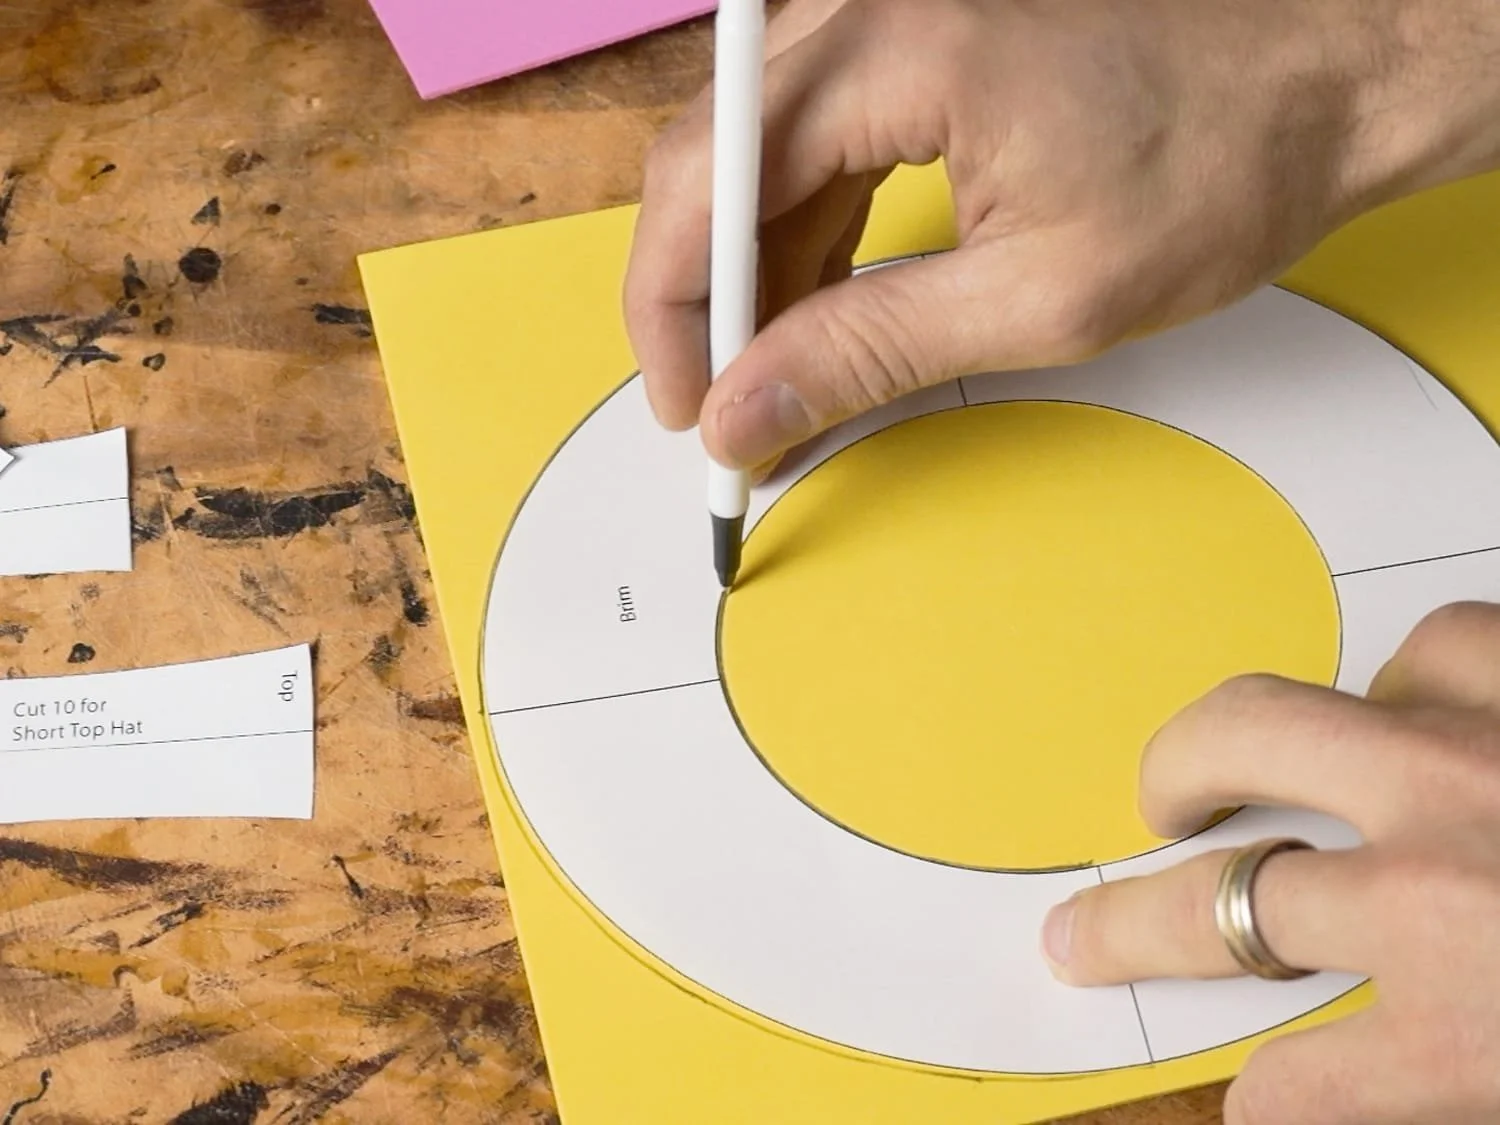
Trace the pattern pieces onto your craft foam using a paint pen or gel pen. You don’t want to use a ballpoint or sharpie because they can bleed through the paint at the end.
There are two different options for the height of hat you want, so only use the “Band 1” pattern piece or the “Band 2” piece.
Trace 10 of each Band piece and one of all the other pattern pieces.
Make sure to mark the centre lines on the Brim piece as well as the Top piece.
Using your knife, cut all the pieces from the foam, cutting directly on the lines.
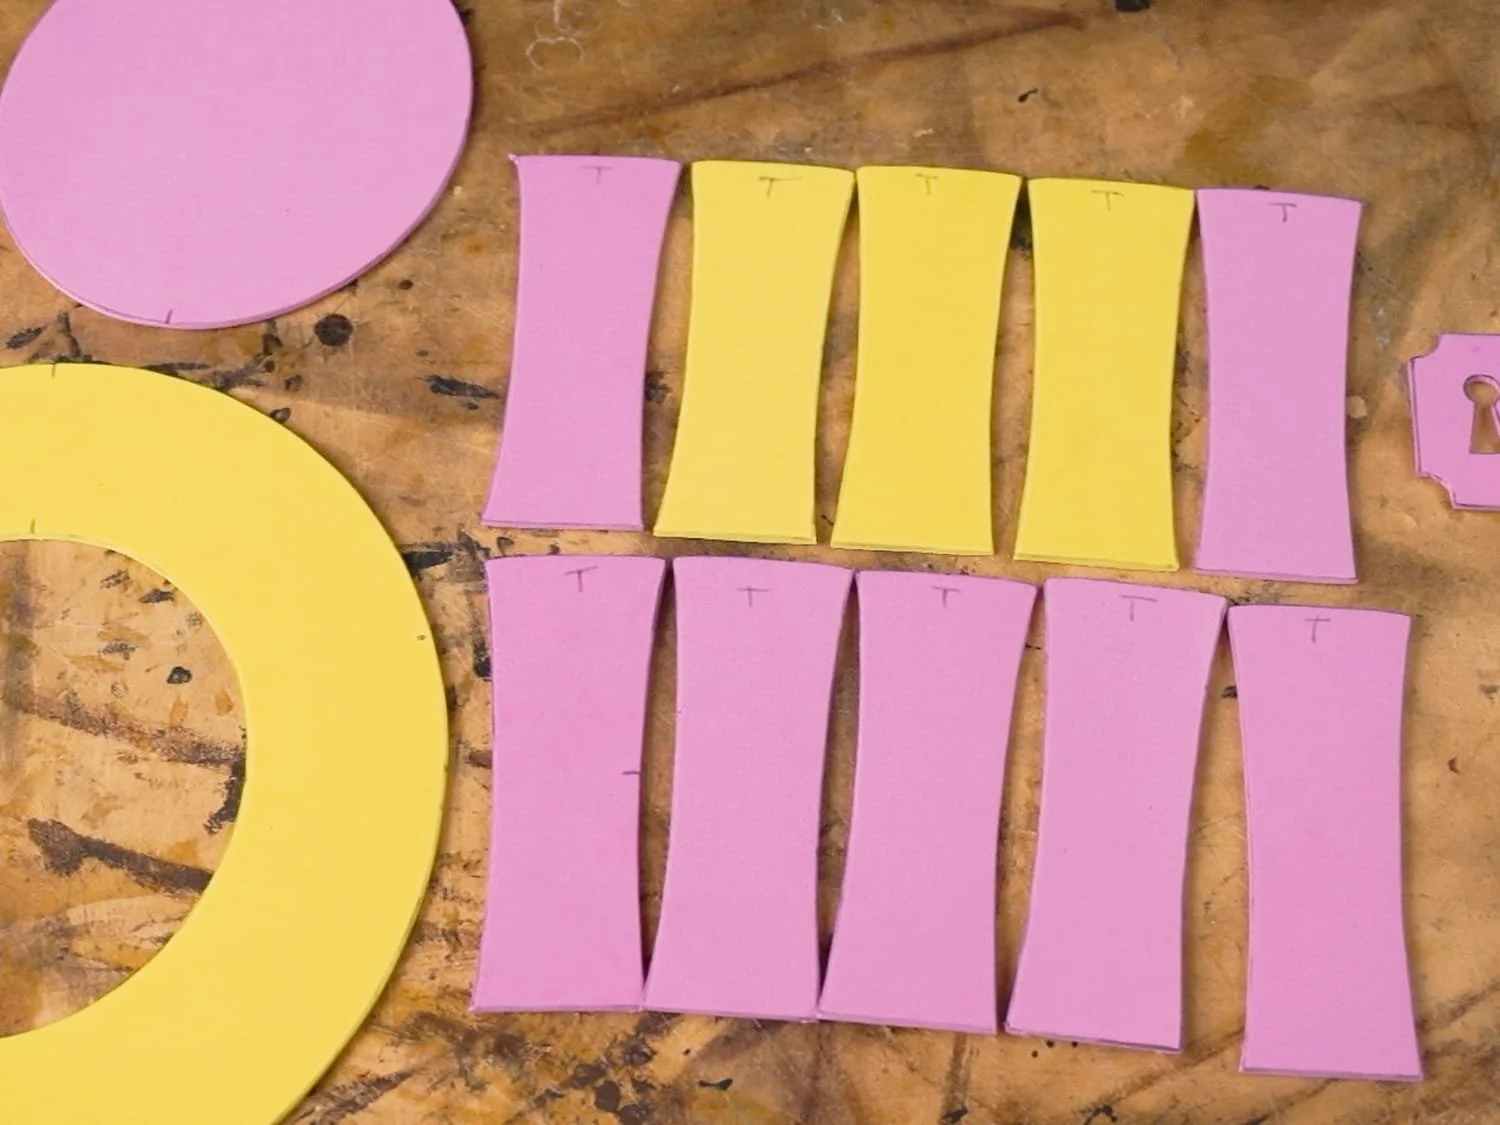
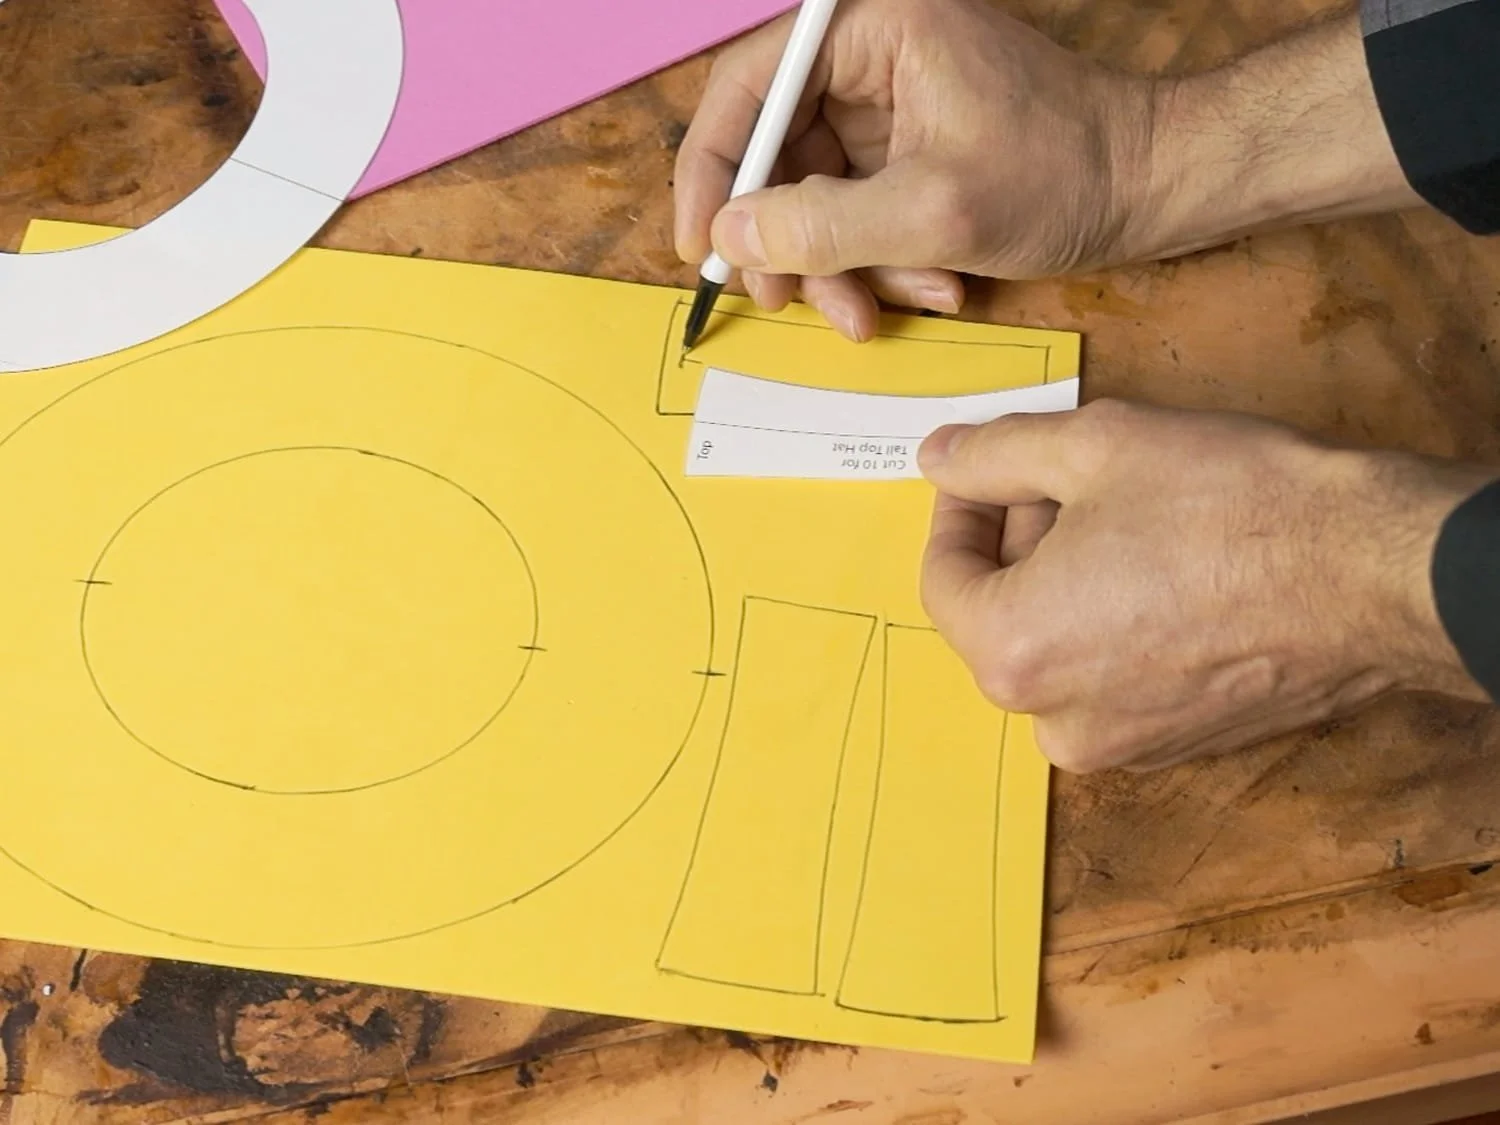
Step 4: Assemble the Band
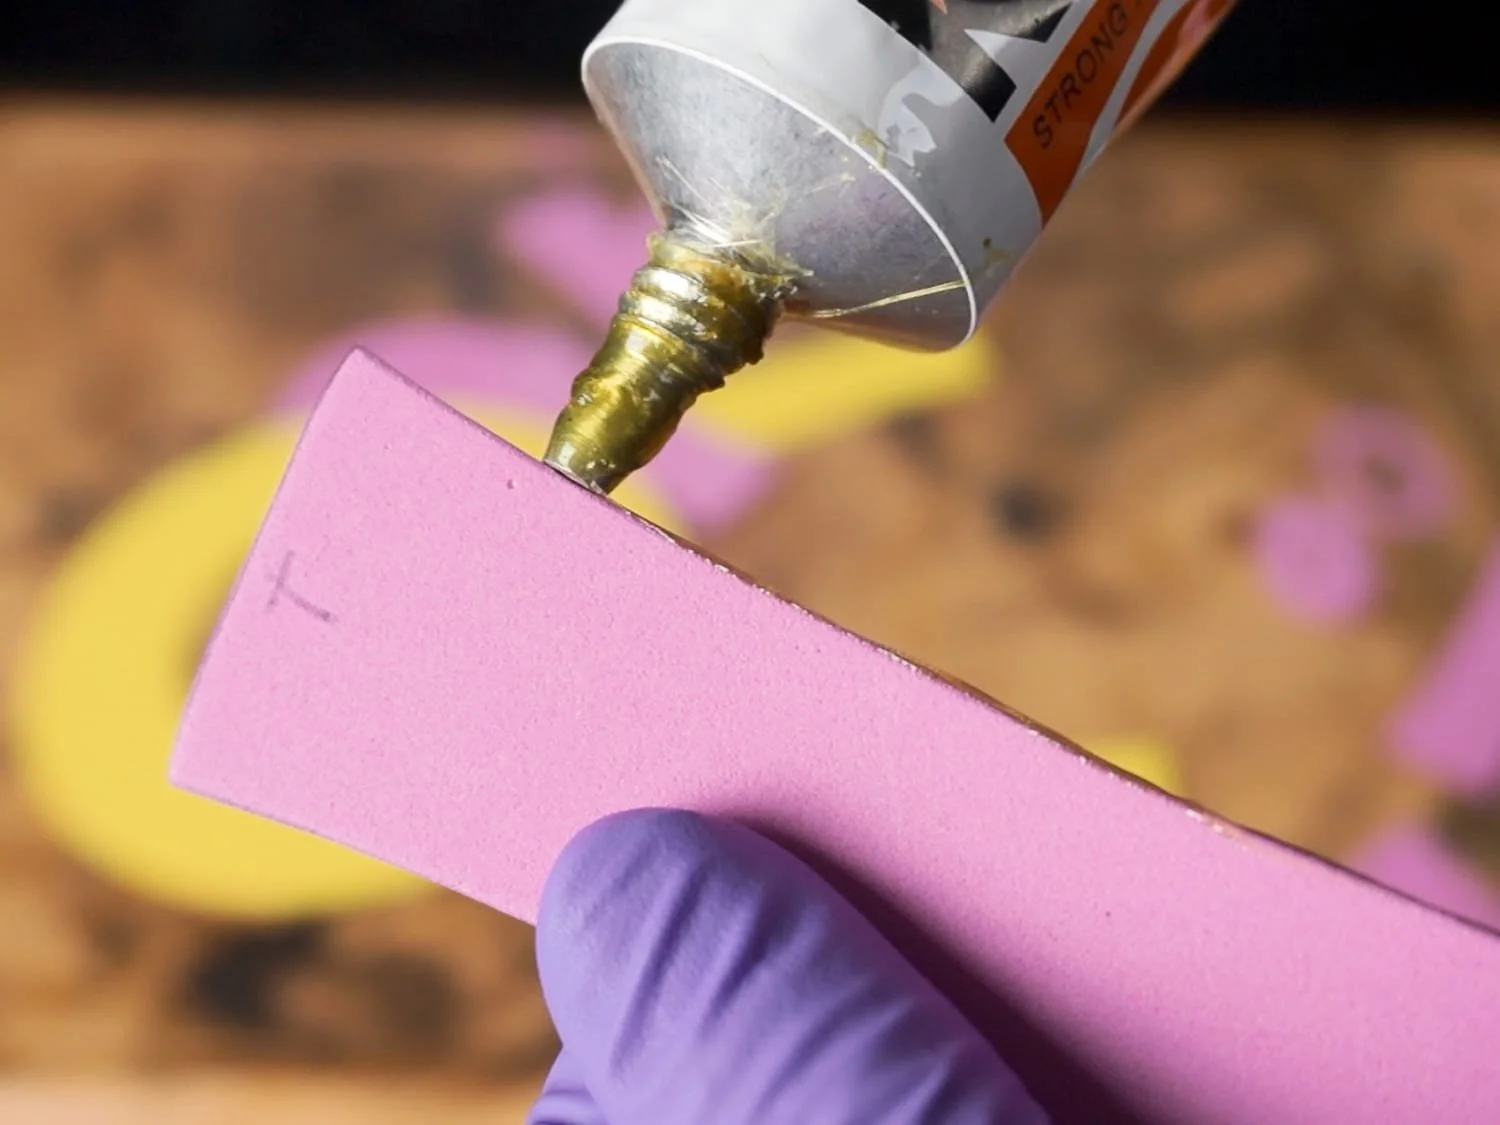
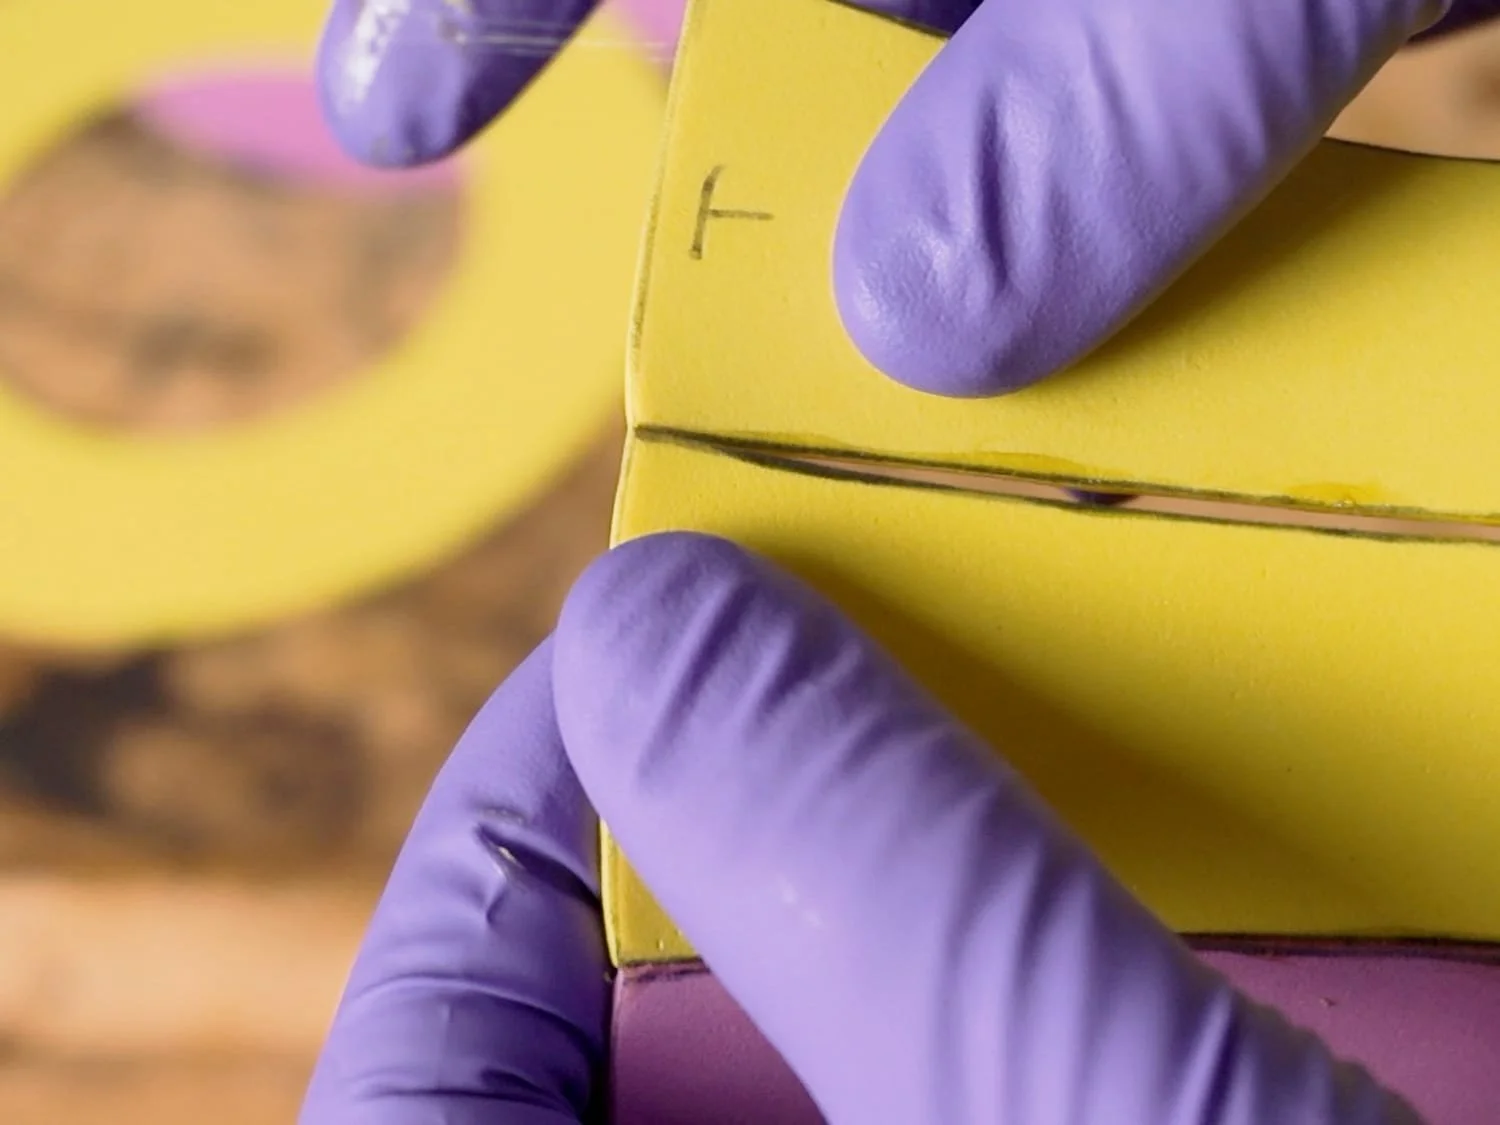
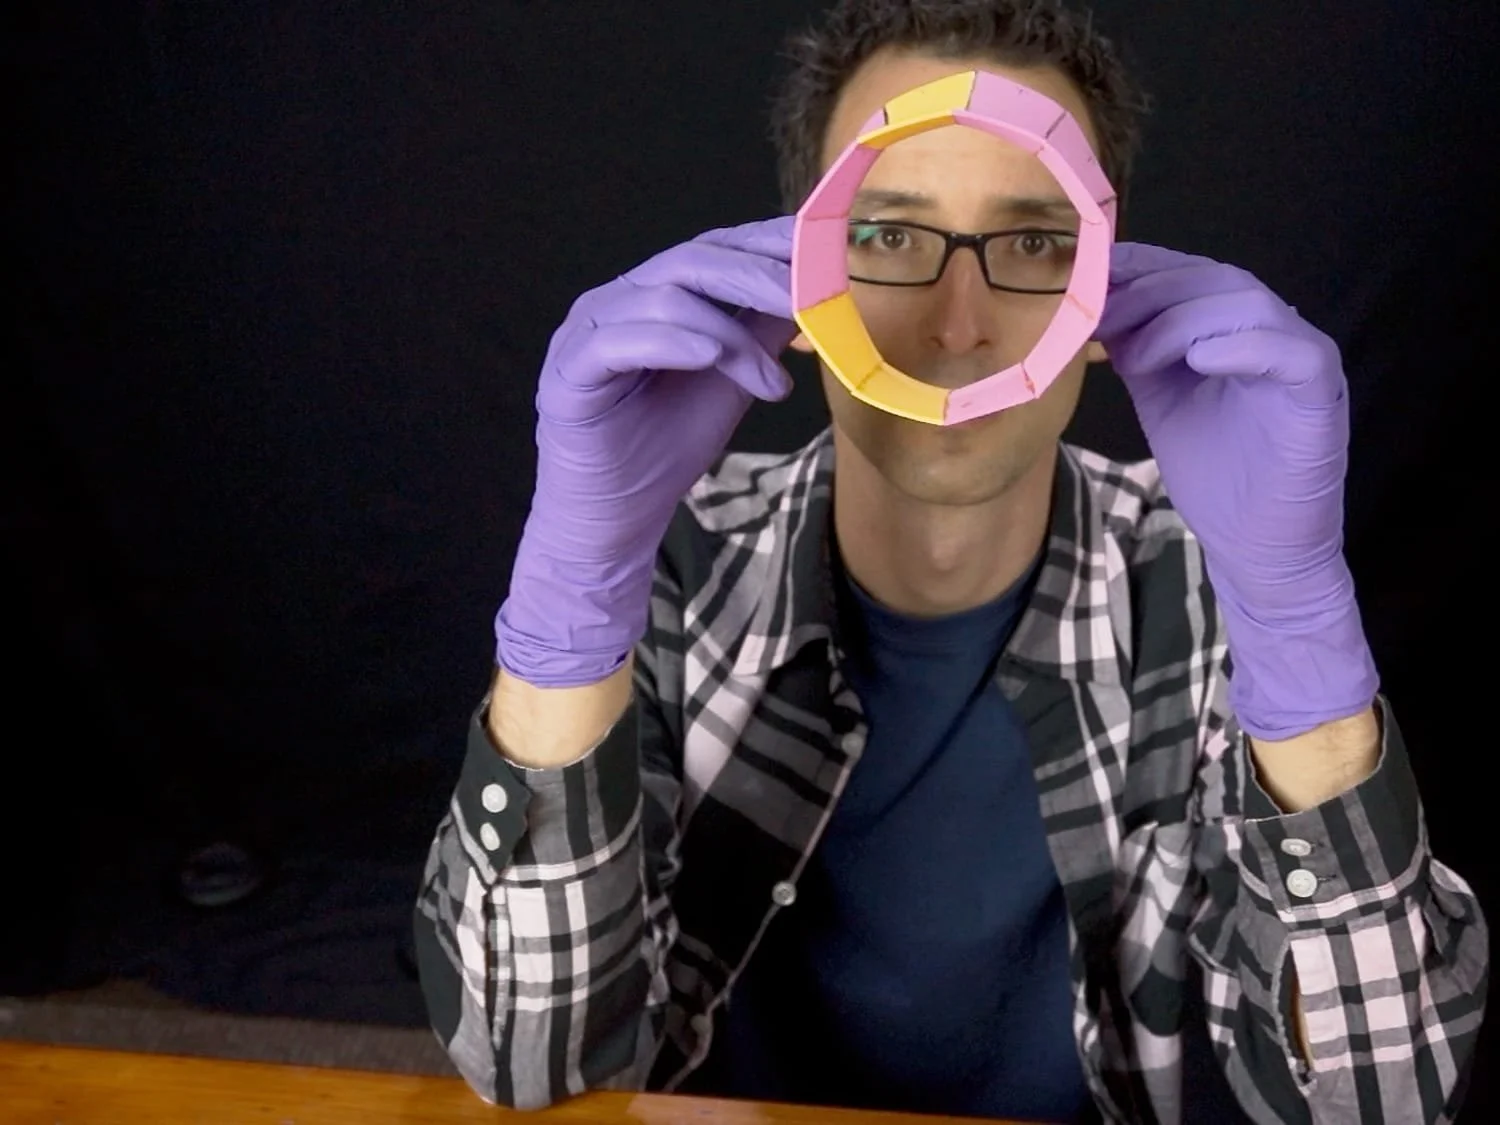
Making the band involves gluing the ten band pieces together, edge to edge. It can be a little finicky as each edge is a concave line, but that’s the magic sauce that gives this hat the “corseted” look.
You can use contact cement or even hot glue for this. If you are planning to use hot glue, make sure you check out some of my newer videos that give a better idea how I like to use hot glue.
If you are using contact cement, you spread it on the long edges of the band pieces, wait until it is no longer tacky and then press the edges together. It works best if you press the top and bottom corners together first, and then press from the ends towards the center.
Step 5: Fold Over the Brim
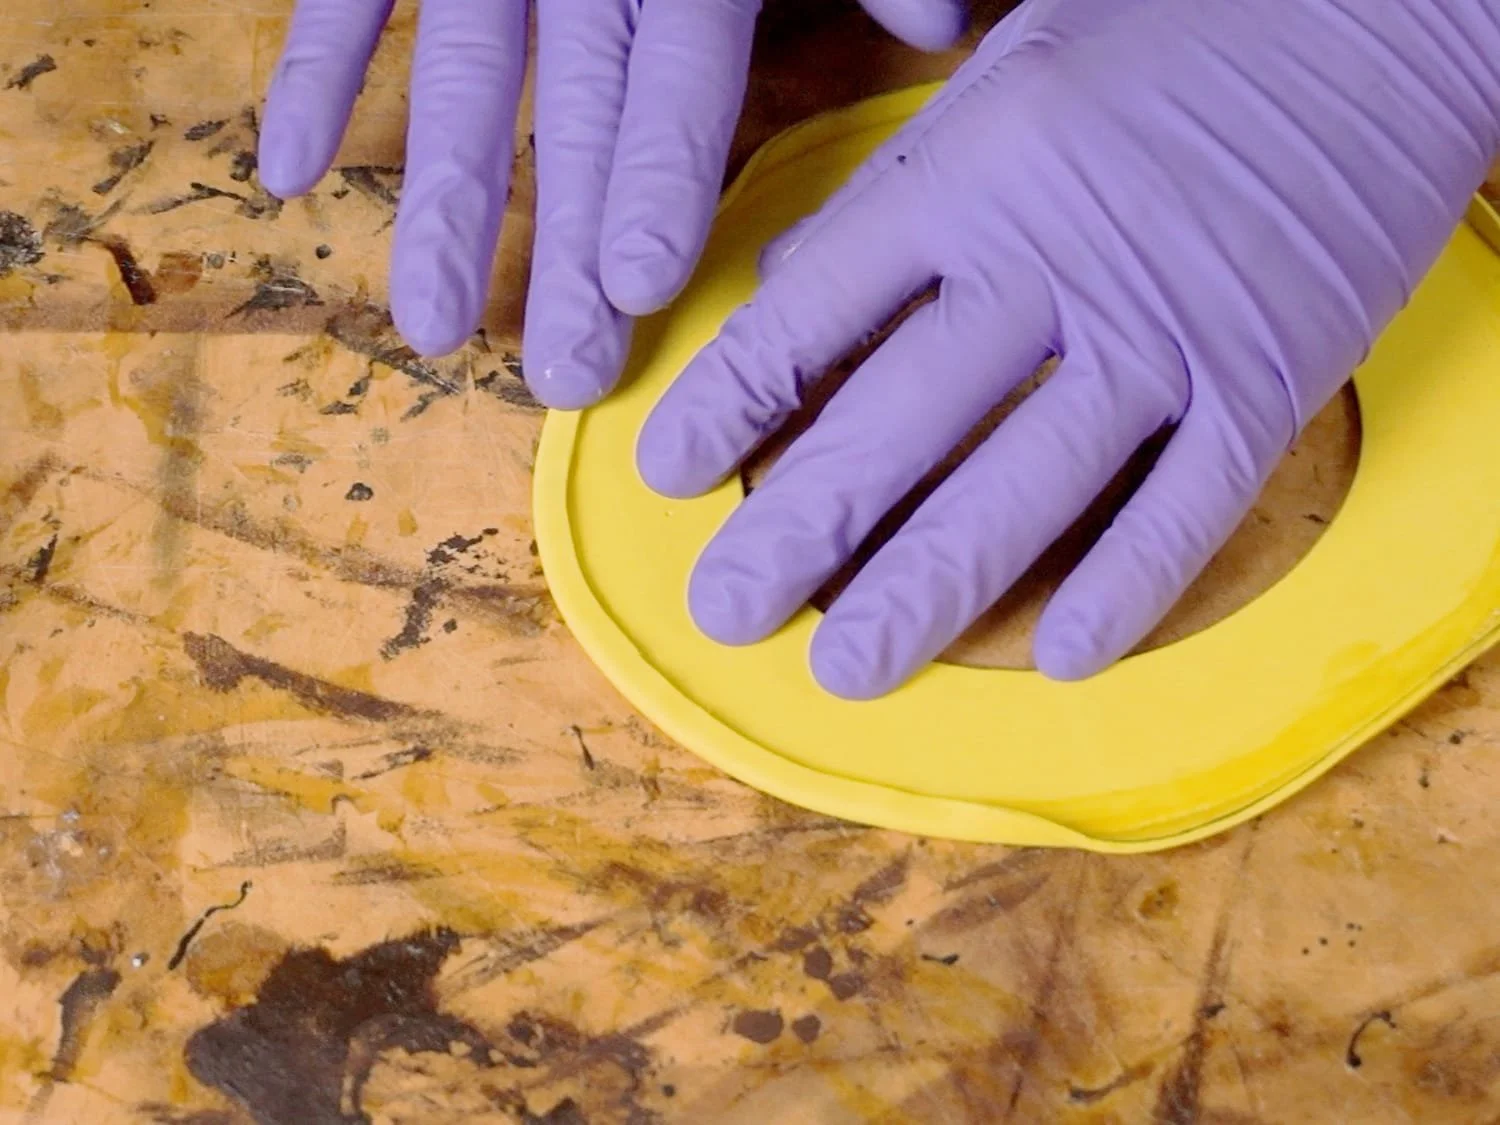
In order to keep the brim of this little top hat from being too flimsy, I like to fold a thin section of it back over itself to double the edge thickness.
It is a bit tricky to get this rim around the brim nice and even so I recommend trying on some scrap first.
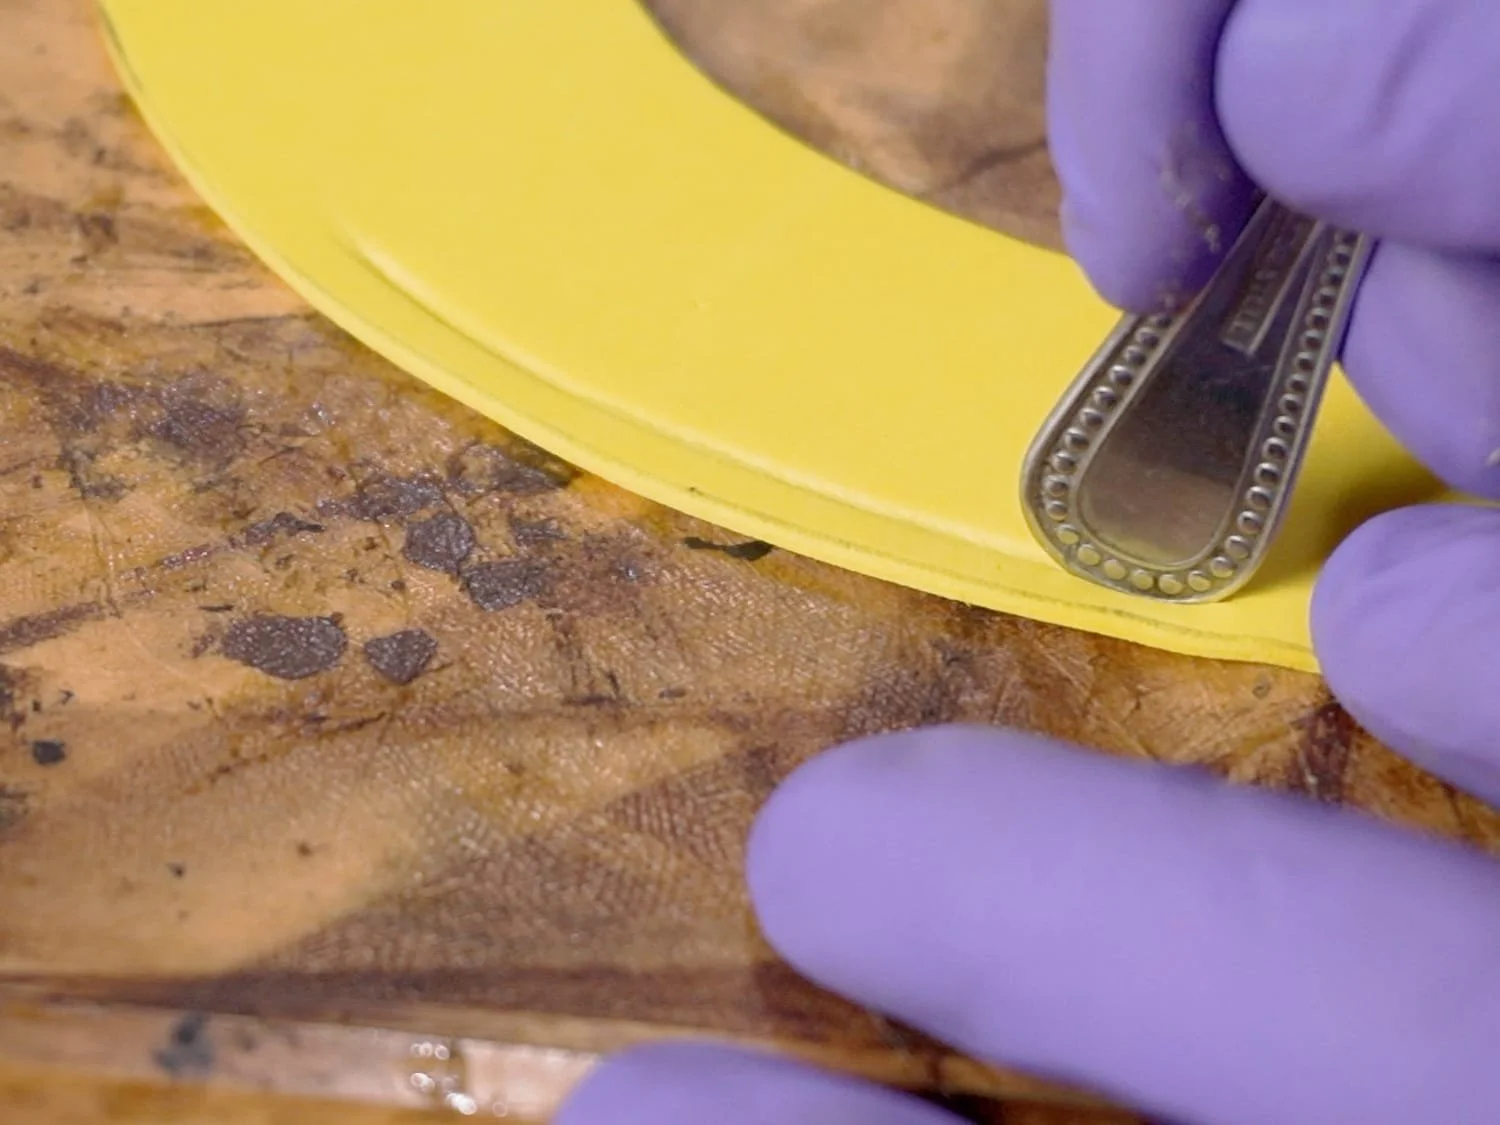
you can use the handle of a spoon to create a permanent groove in the foam brim by rubbing it back and forth with firm pressure. Do this all the way around the brim, about 6mm from the edge.
Now you can spread contact cement around the brim, covering where it will fold over.
Then fold over the brim and stick it down.
Step 6: Glue the Band to the Brim
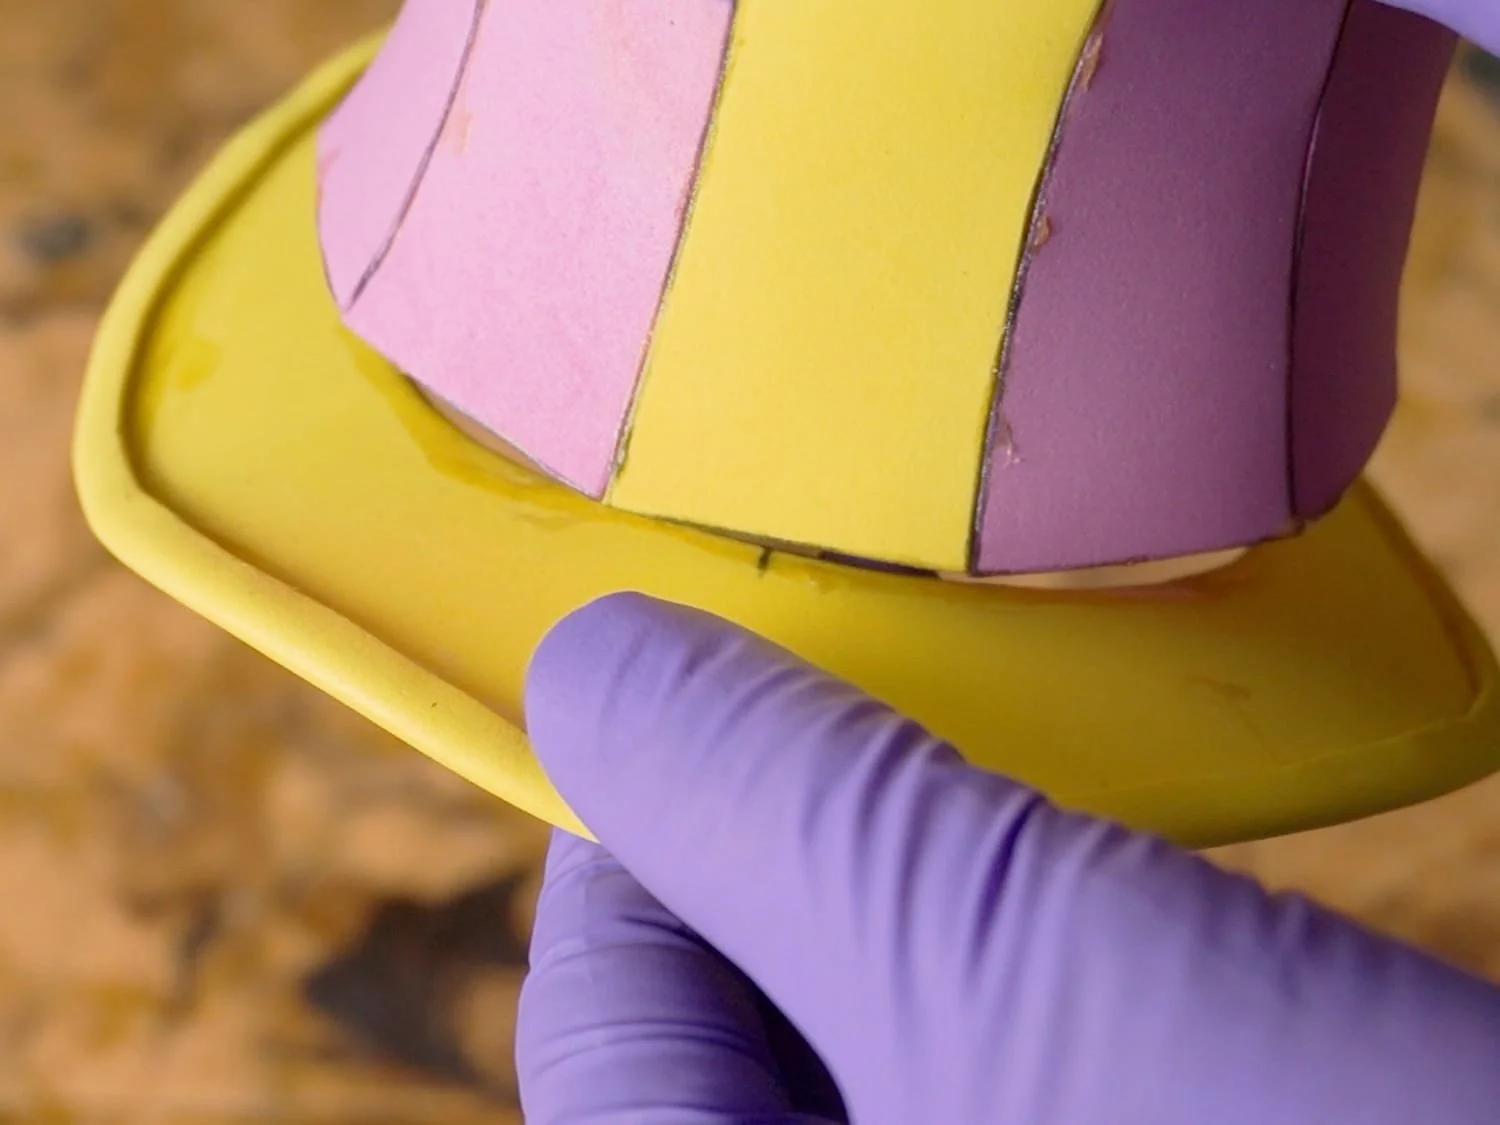
Apply contact cement to the bottom edge of the band and the top surface of the brim.
It is important to try and get these together as evenly as possible, so line up the centre of the brim with thecentre of one of the band pieces. Then, line up the back of the brim as well. Now, work your way around the hat trying to evenly attach the band to the brim.
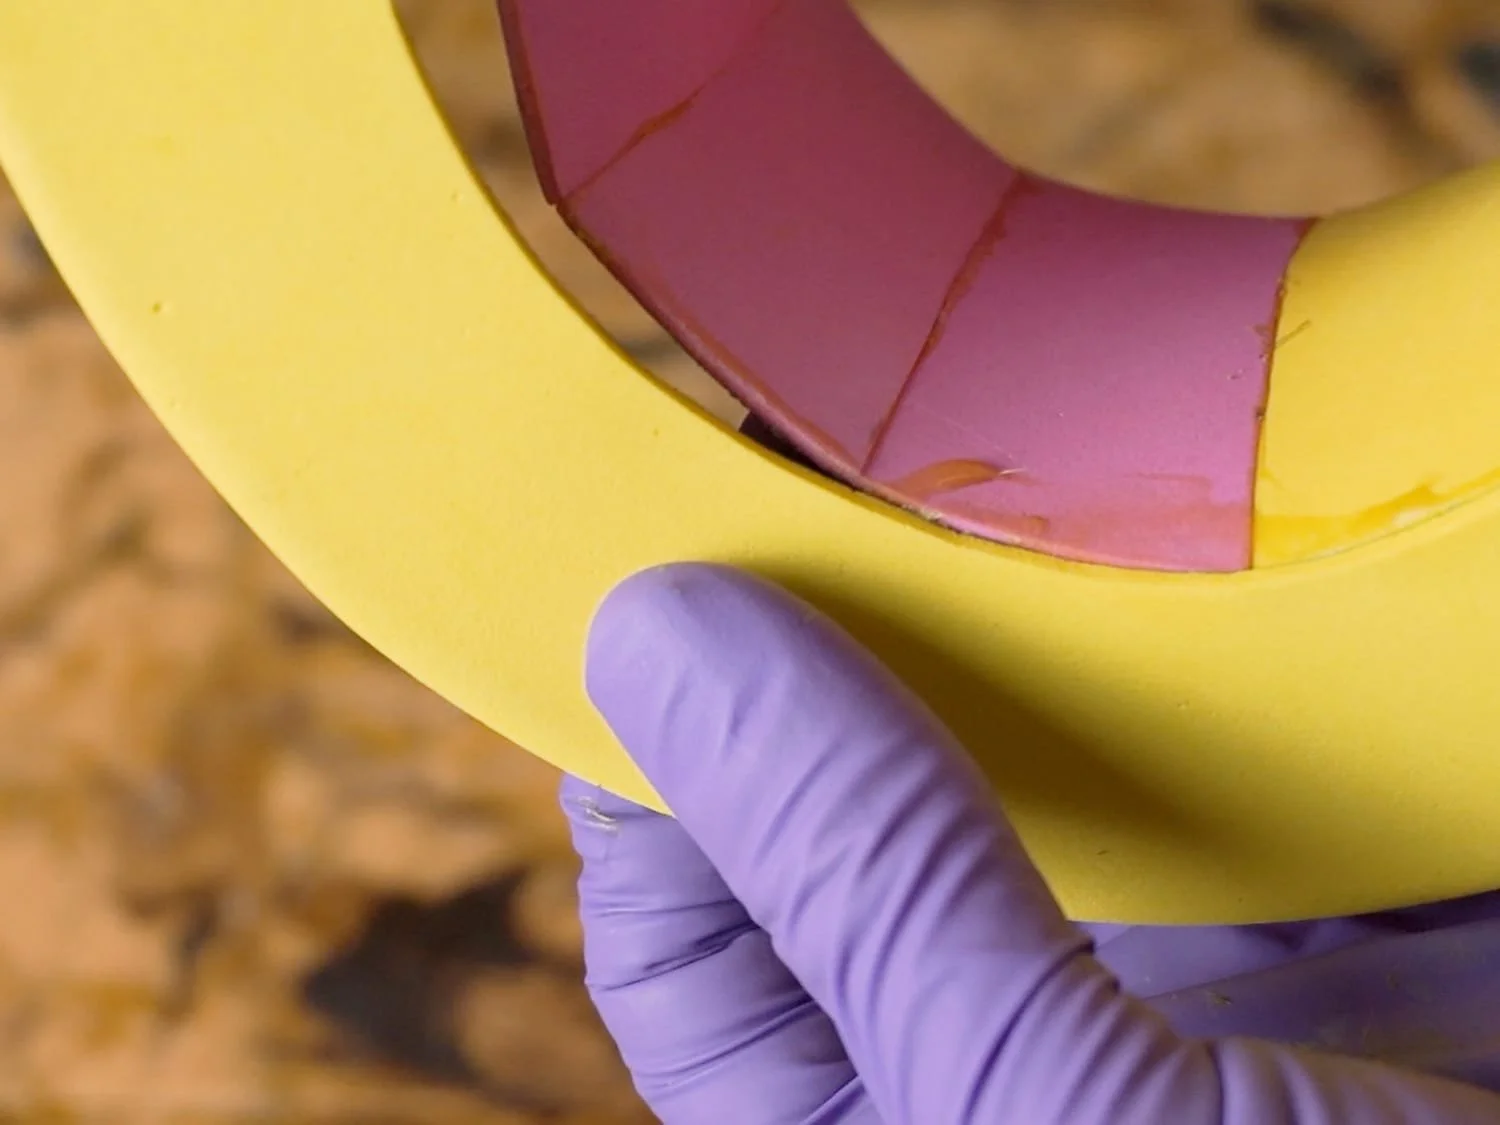
Step 7: Glue the Top to the Brim
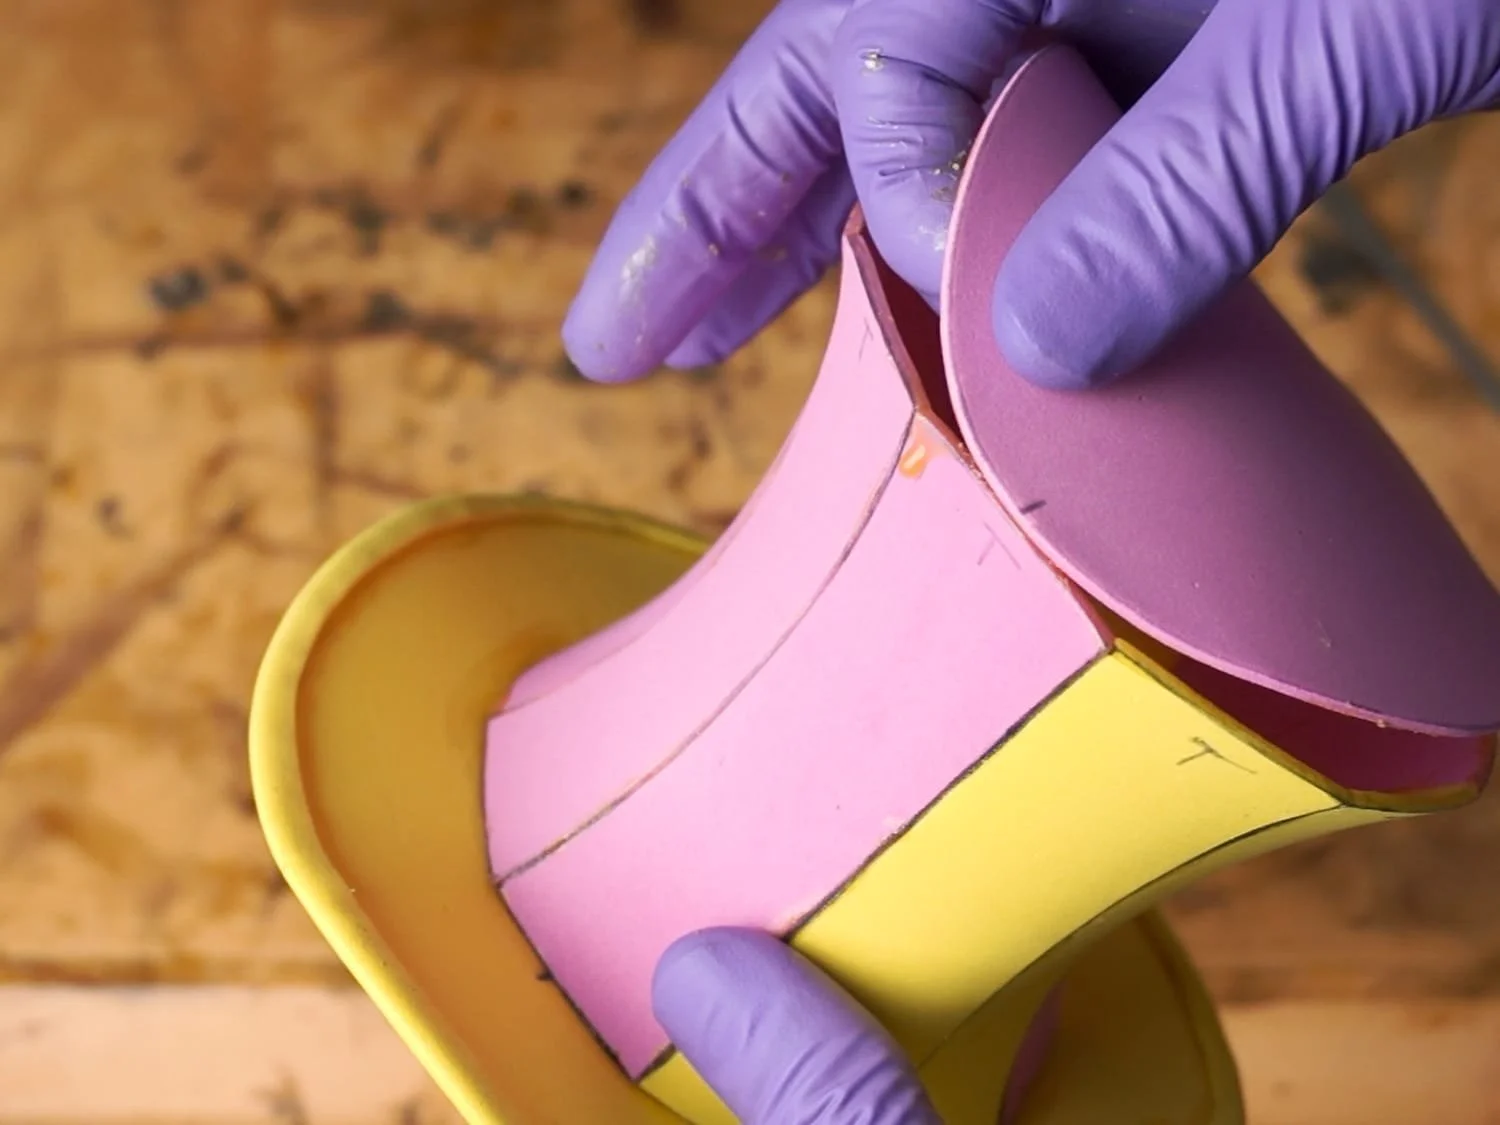
Glue the front and back of the top piece to the front and back of the band to get it lined up. Now work your way around the band, gluing the top down as evenly as possible.
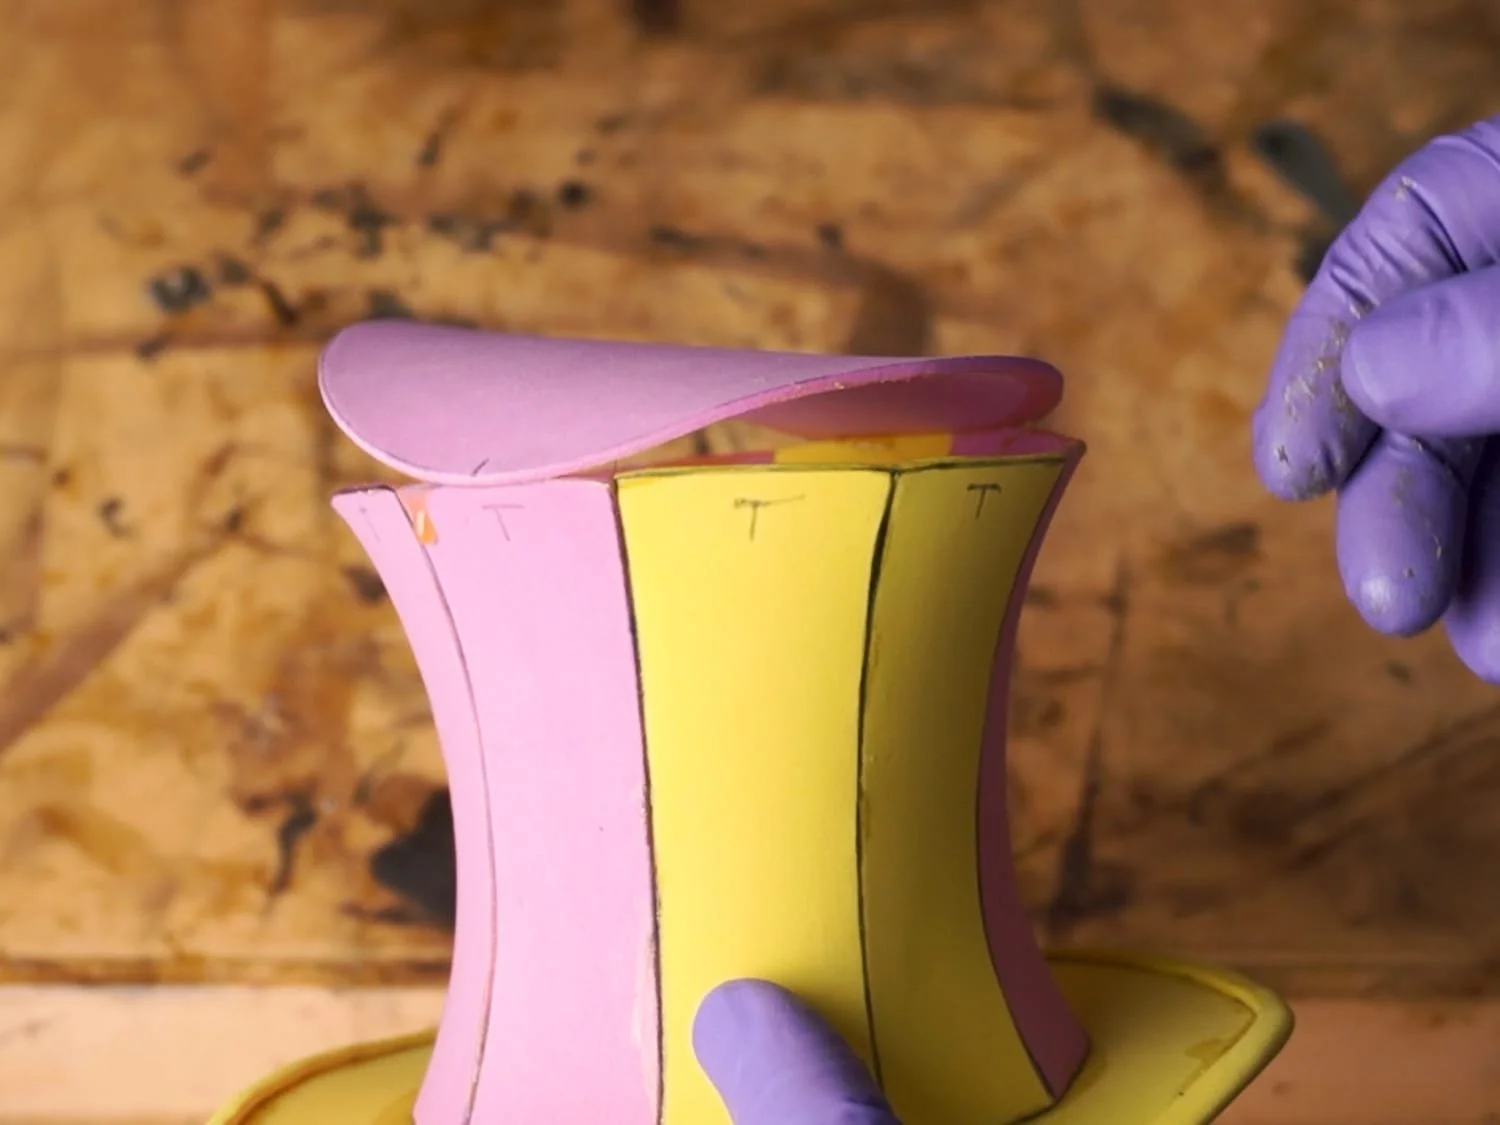
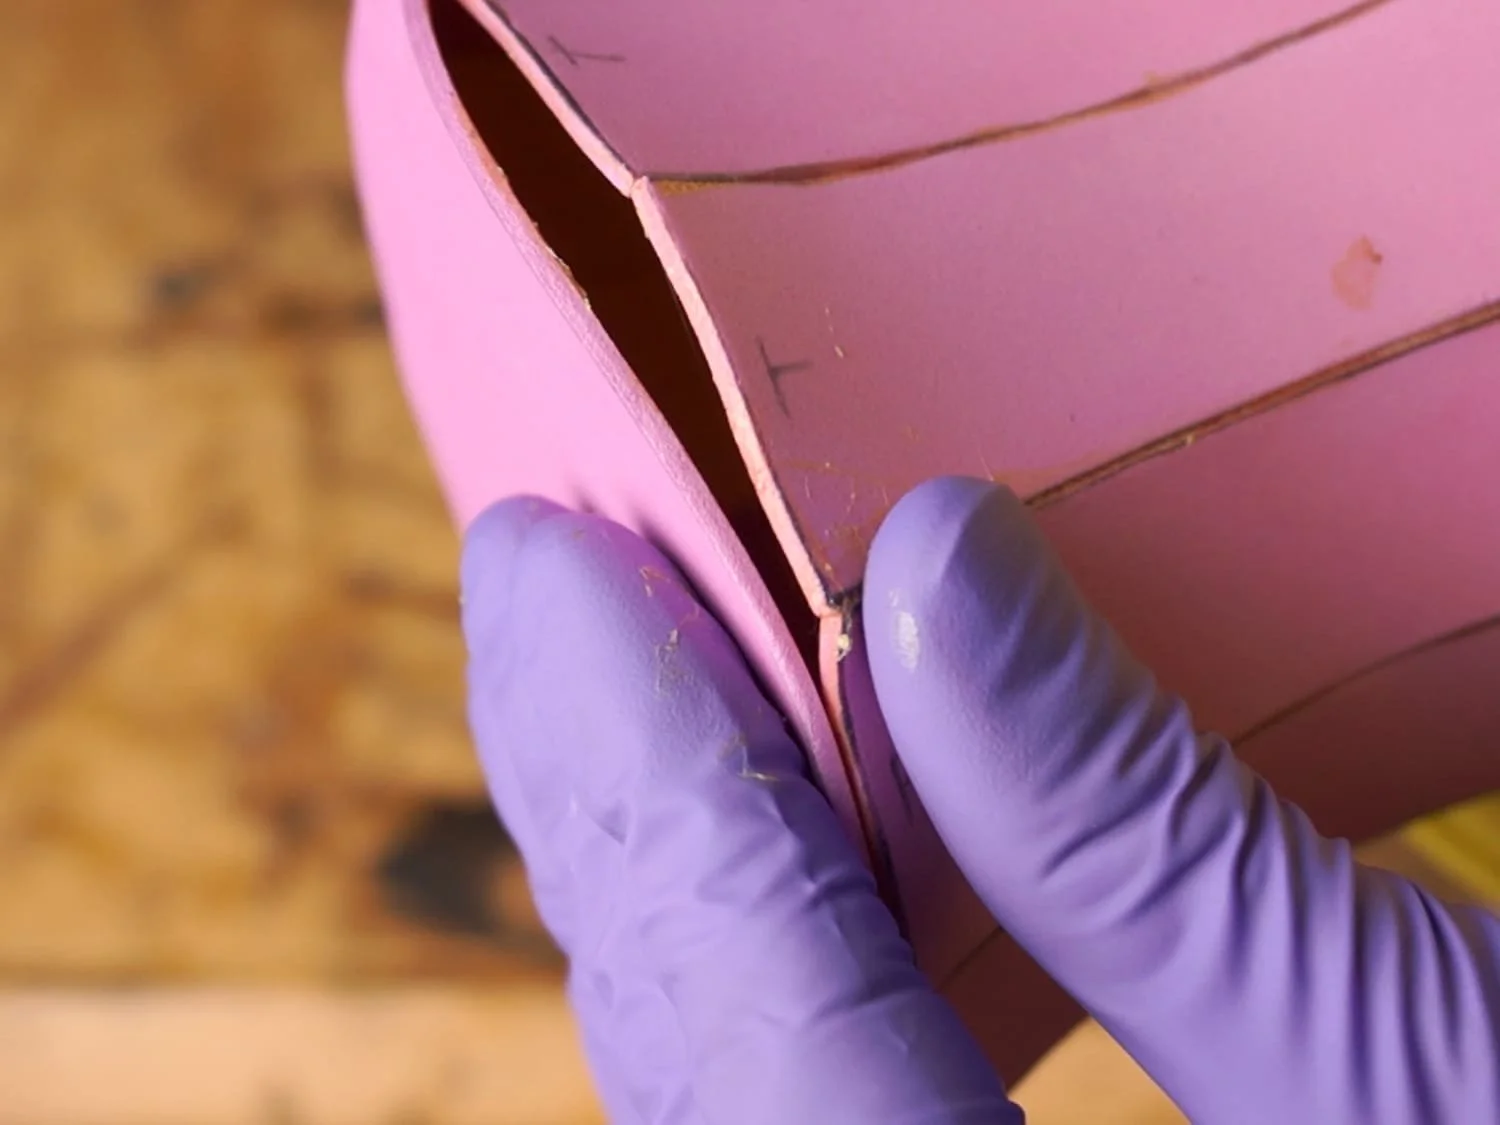
Step 8: Curve the Brim
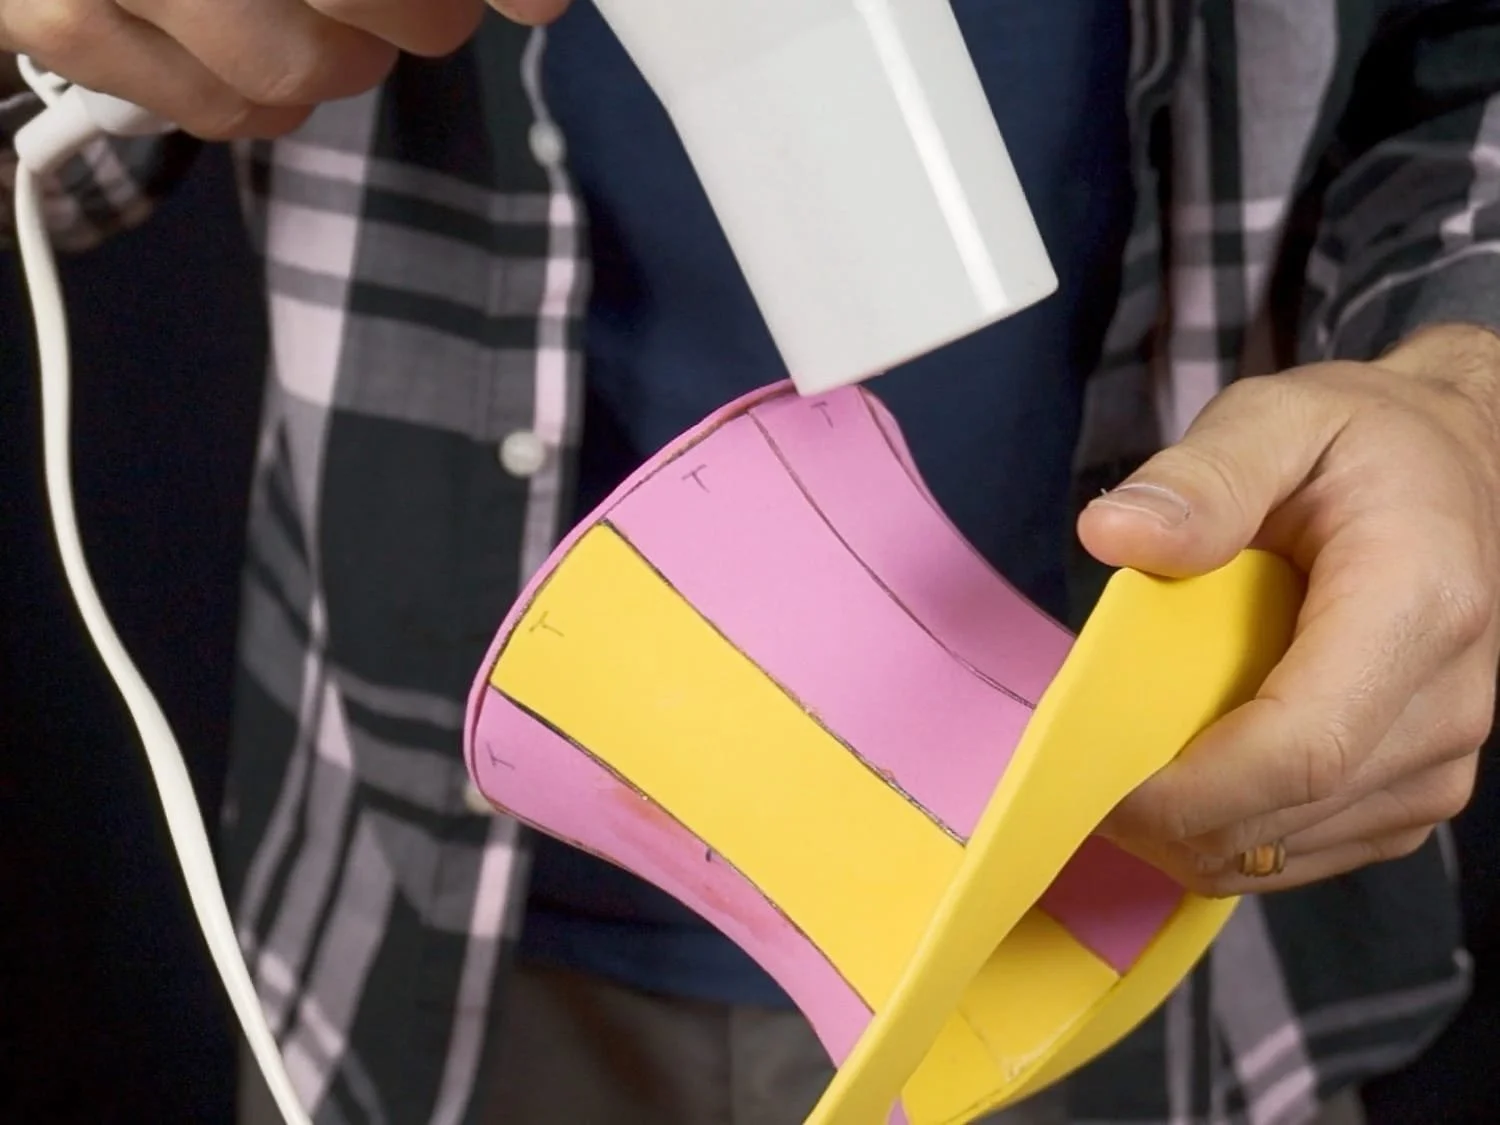
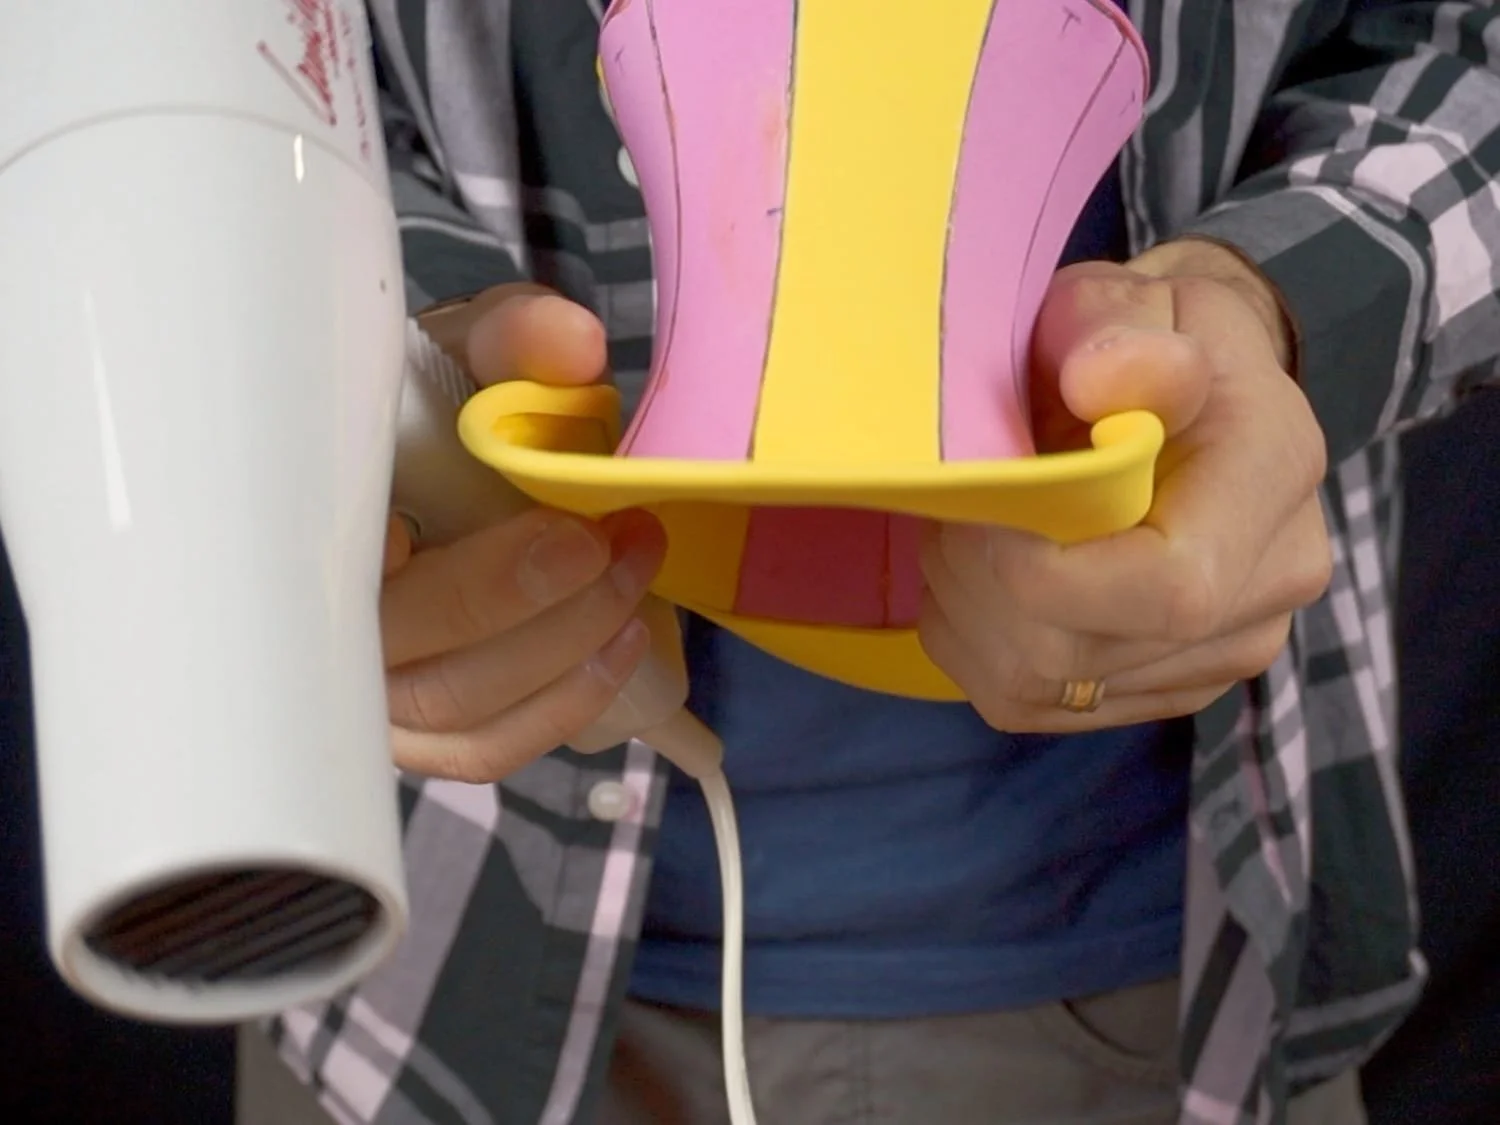
Grab your hairdryer, set it at the hottest setting, heat up the brim and curve it to your liking, holding it like that as it cools.
Step 9: Glue Hair clips
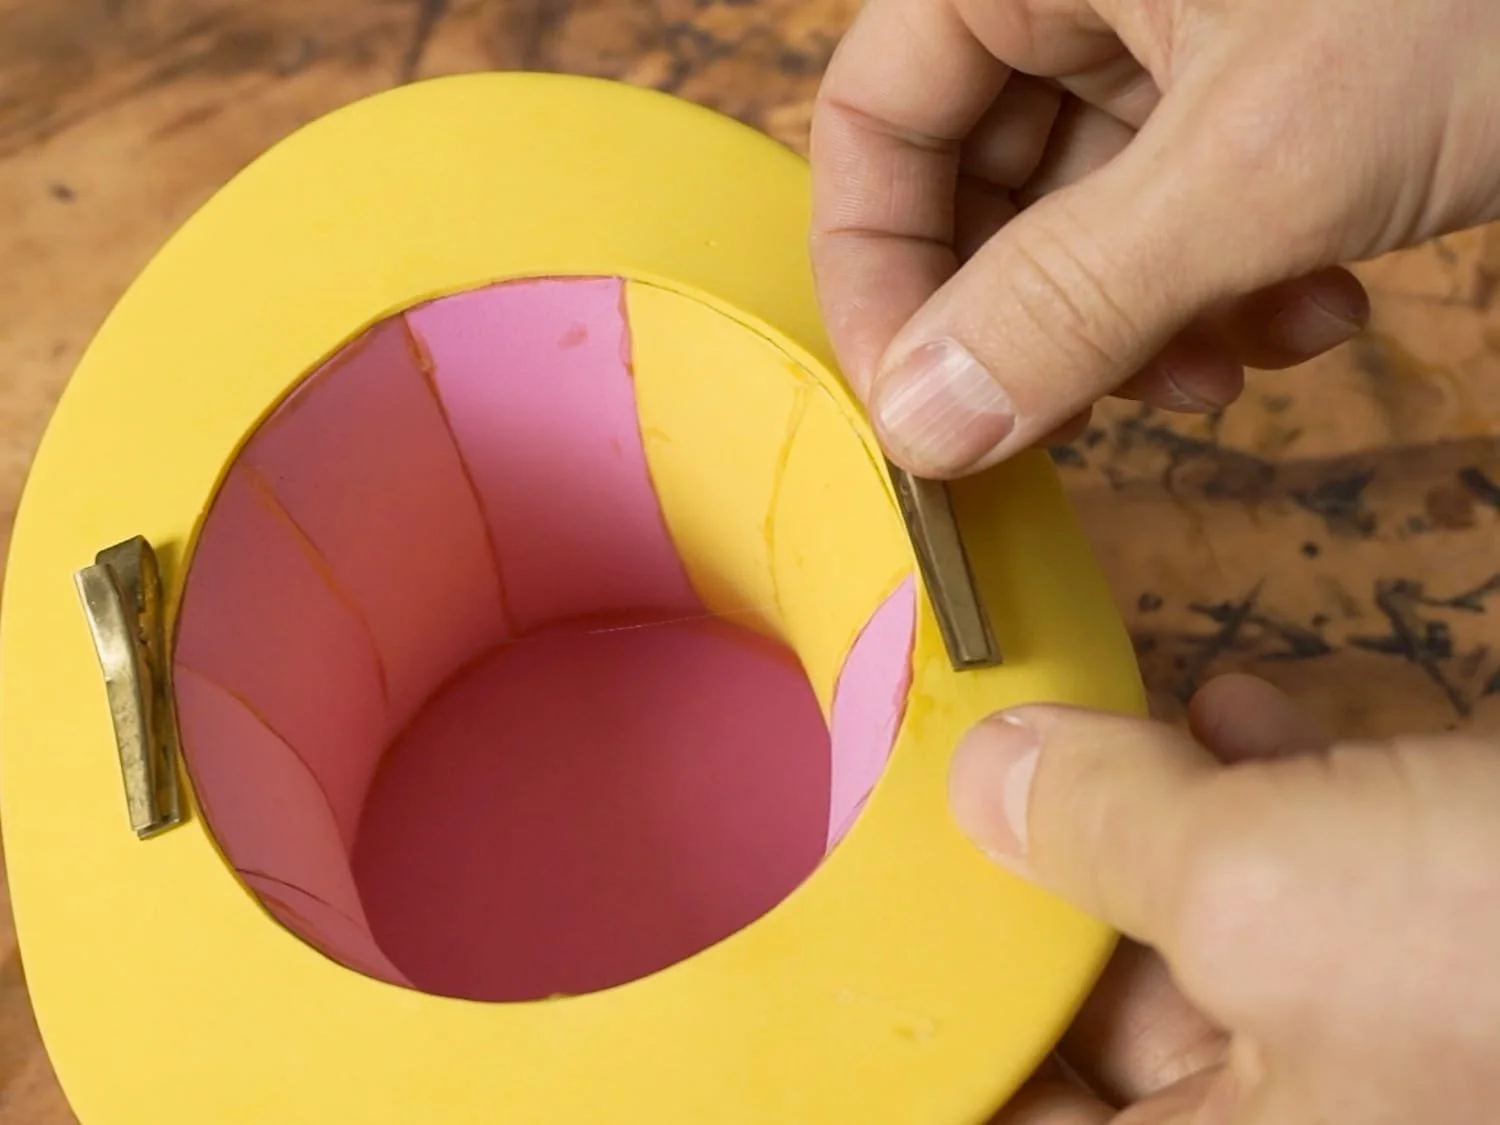
If you want to be able to keep this mini top hat on your head, you are going to need some hair clips or something similar.
I glued two clips just on either side of the opening.
Step 10: You Might be Done?
If you just want a plain mini top hat, you’re pretty much done!
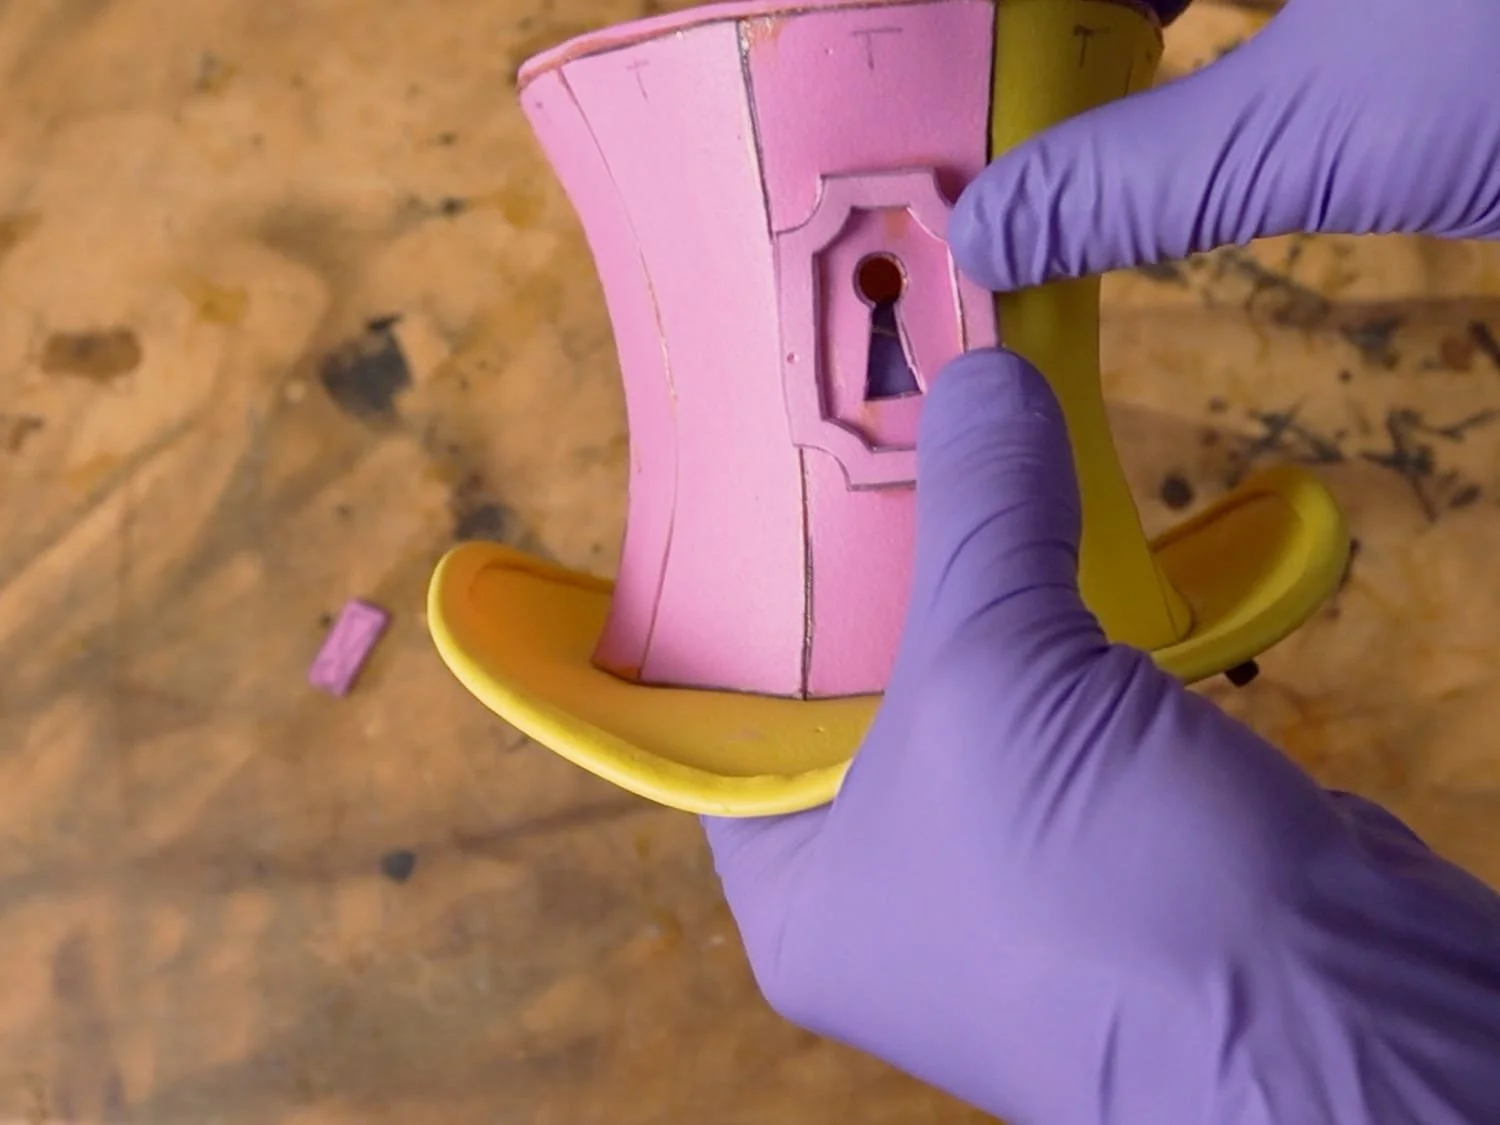
If you want to make it a little steampunk, feel free to add some of the extra pieces that are included with the template!
I also added fake rivets, you can find out about the many ways to make them in this Fake Rivets Tutorial
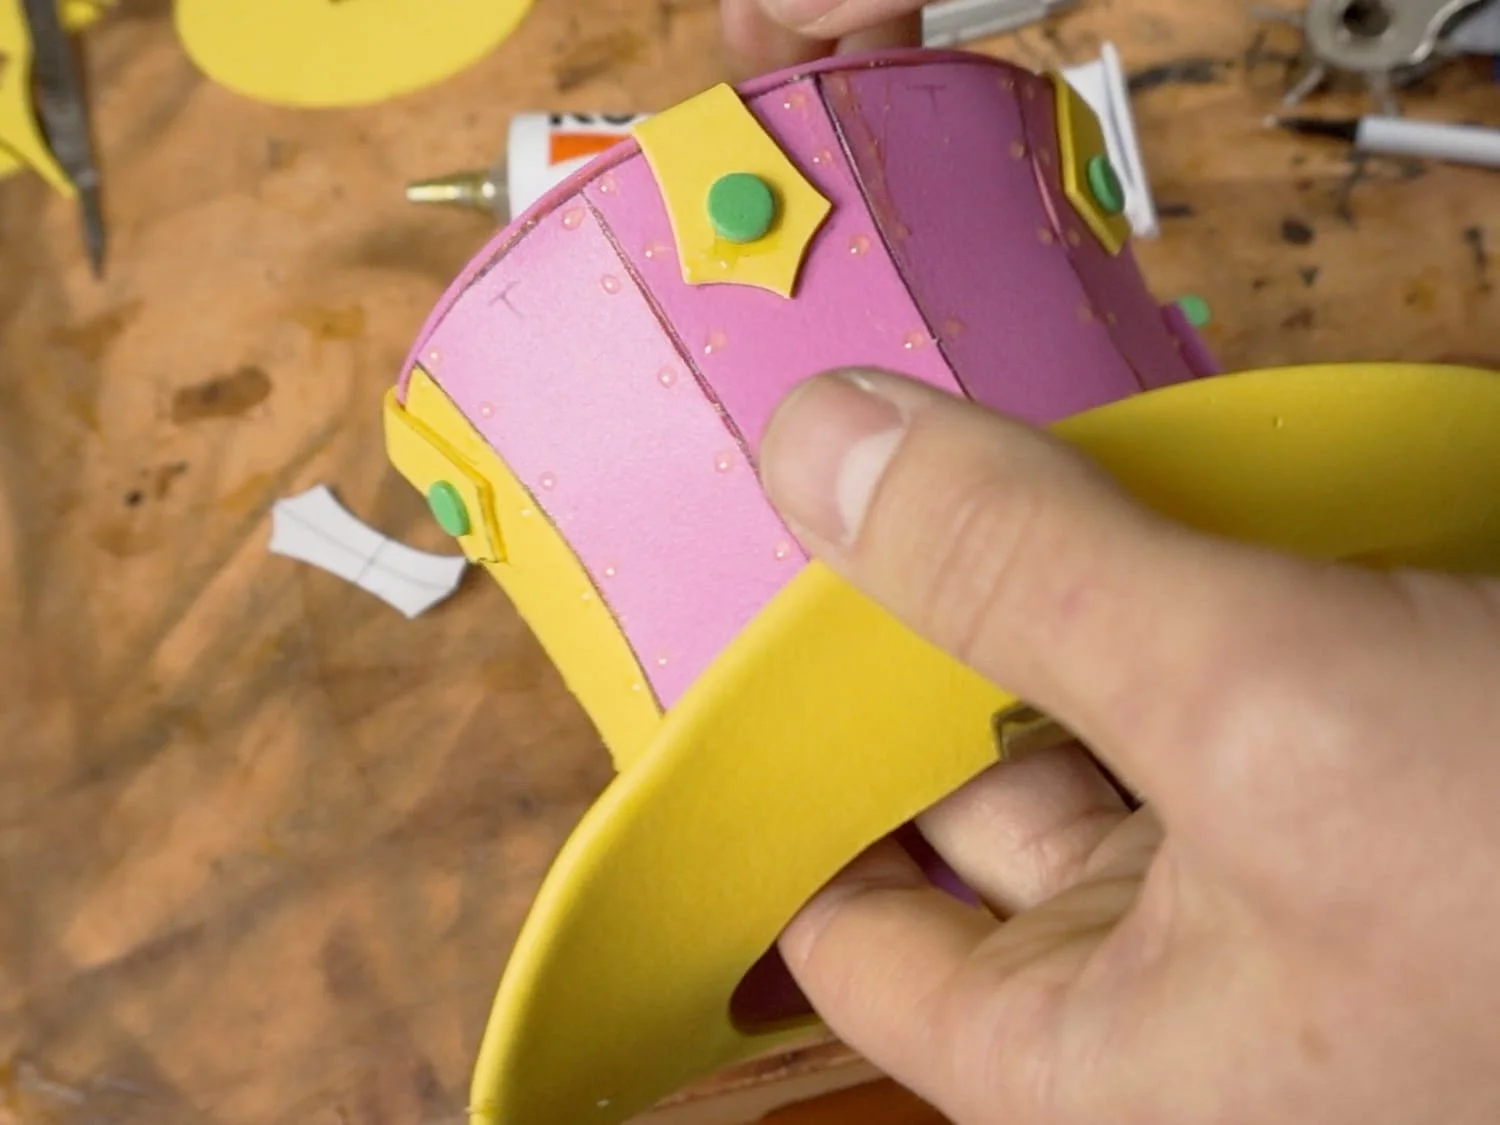
Step 11: Painting
Obviously, you can paint your hat however you want because…you made it…and it’s yours.
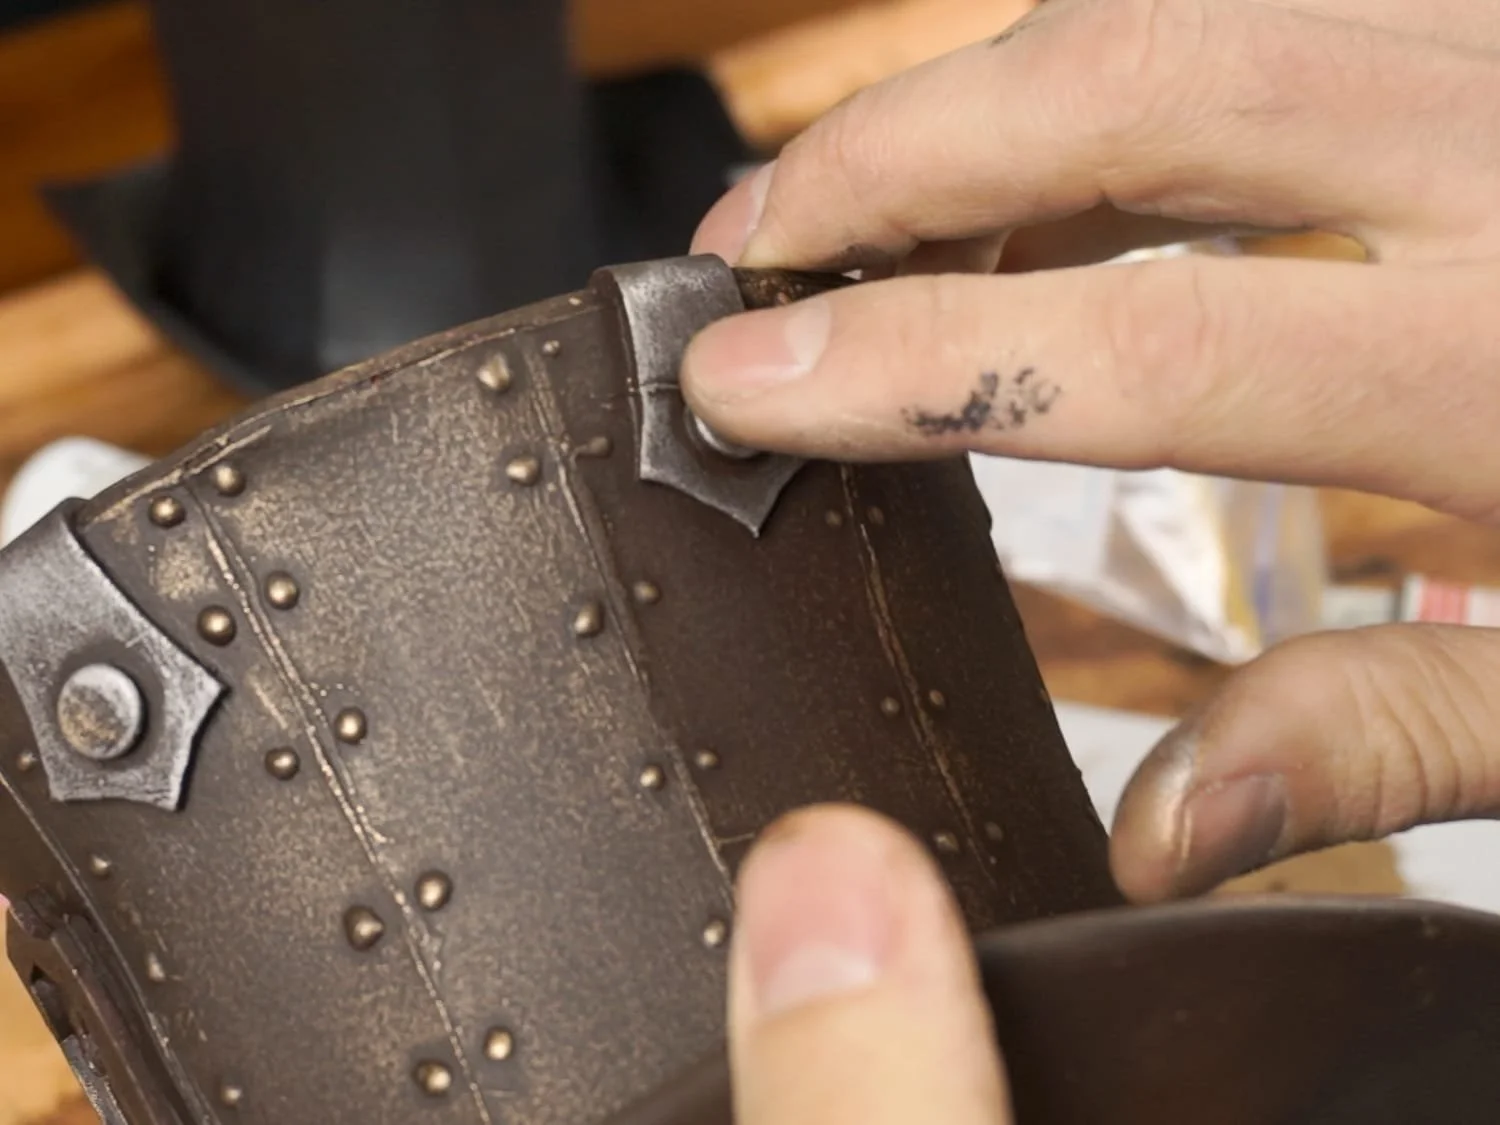
I added an antique metal look to finish off the steampunk style I was going for. If you want to know my technique for this style of painting, check out my painting tutorial video.
Mainly I gave it a few coats of brown artists acrylic paints and then lightly rubbed on some metallic paints.
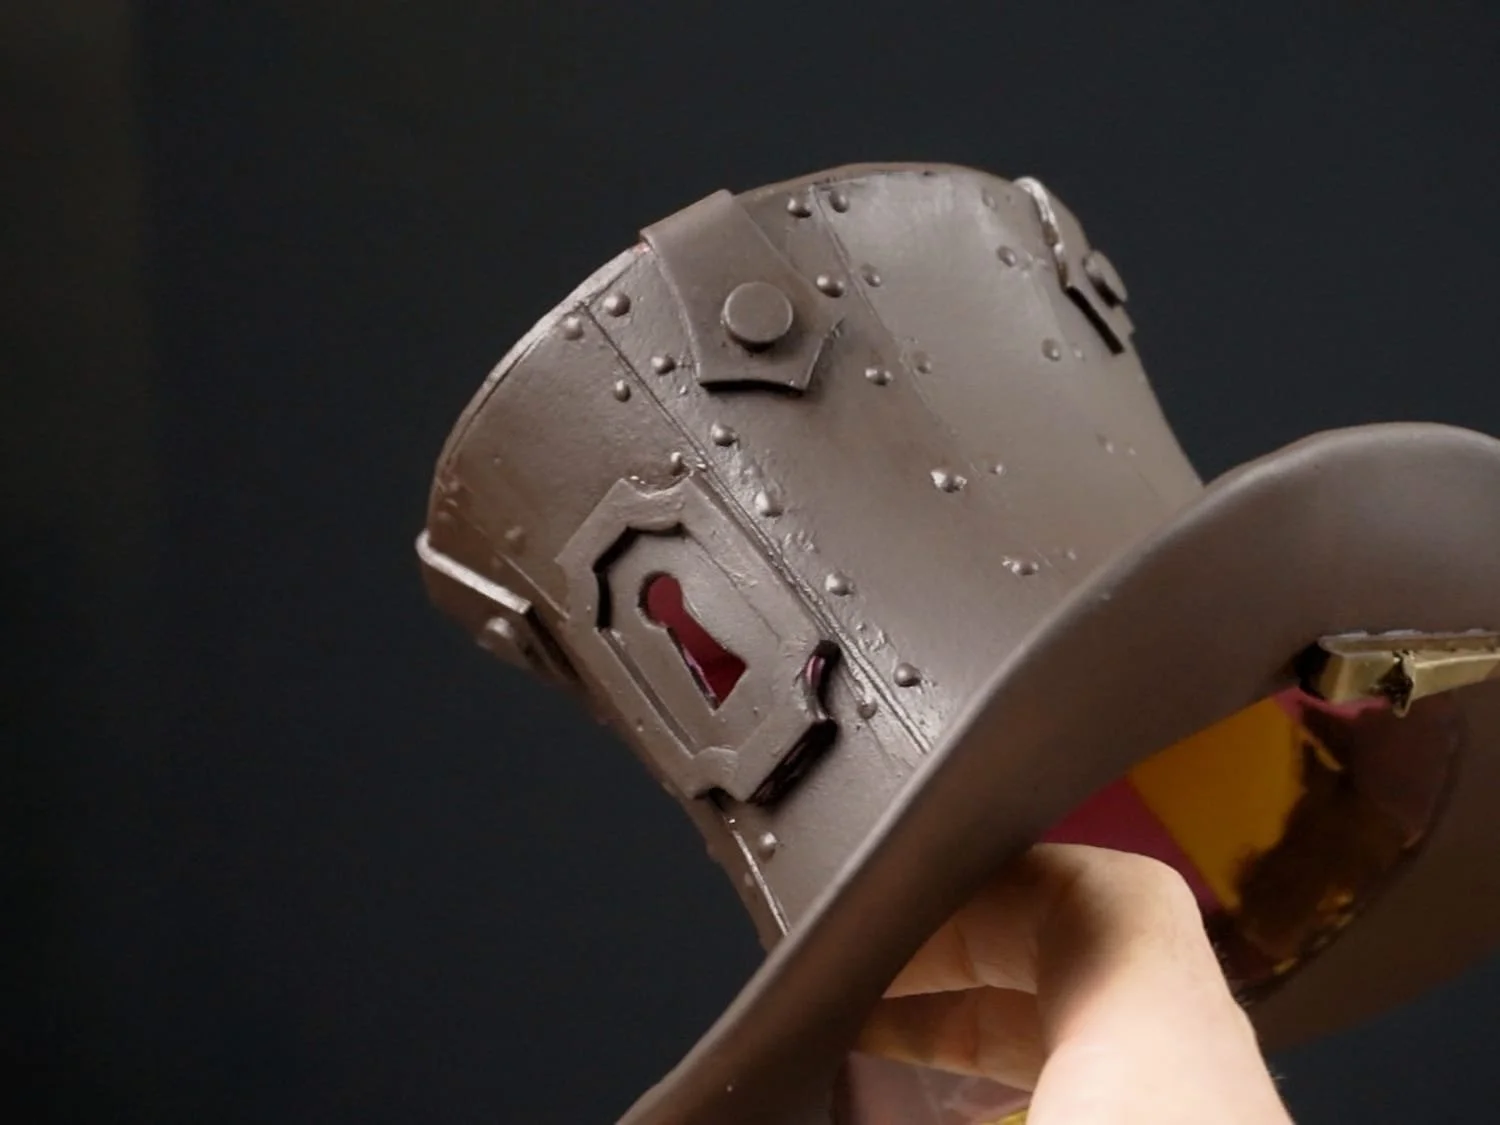
Finished!!
Good job, you made yourself an amazing little top hat. Now put it on and get out there!