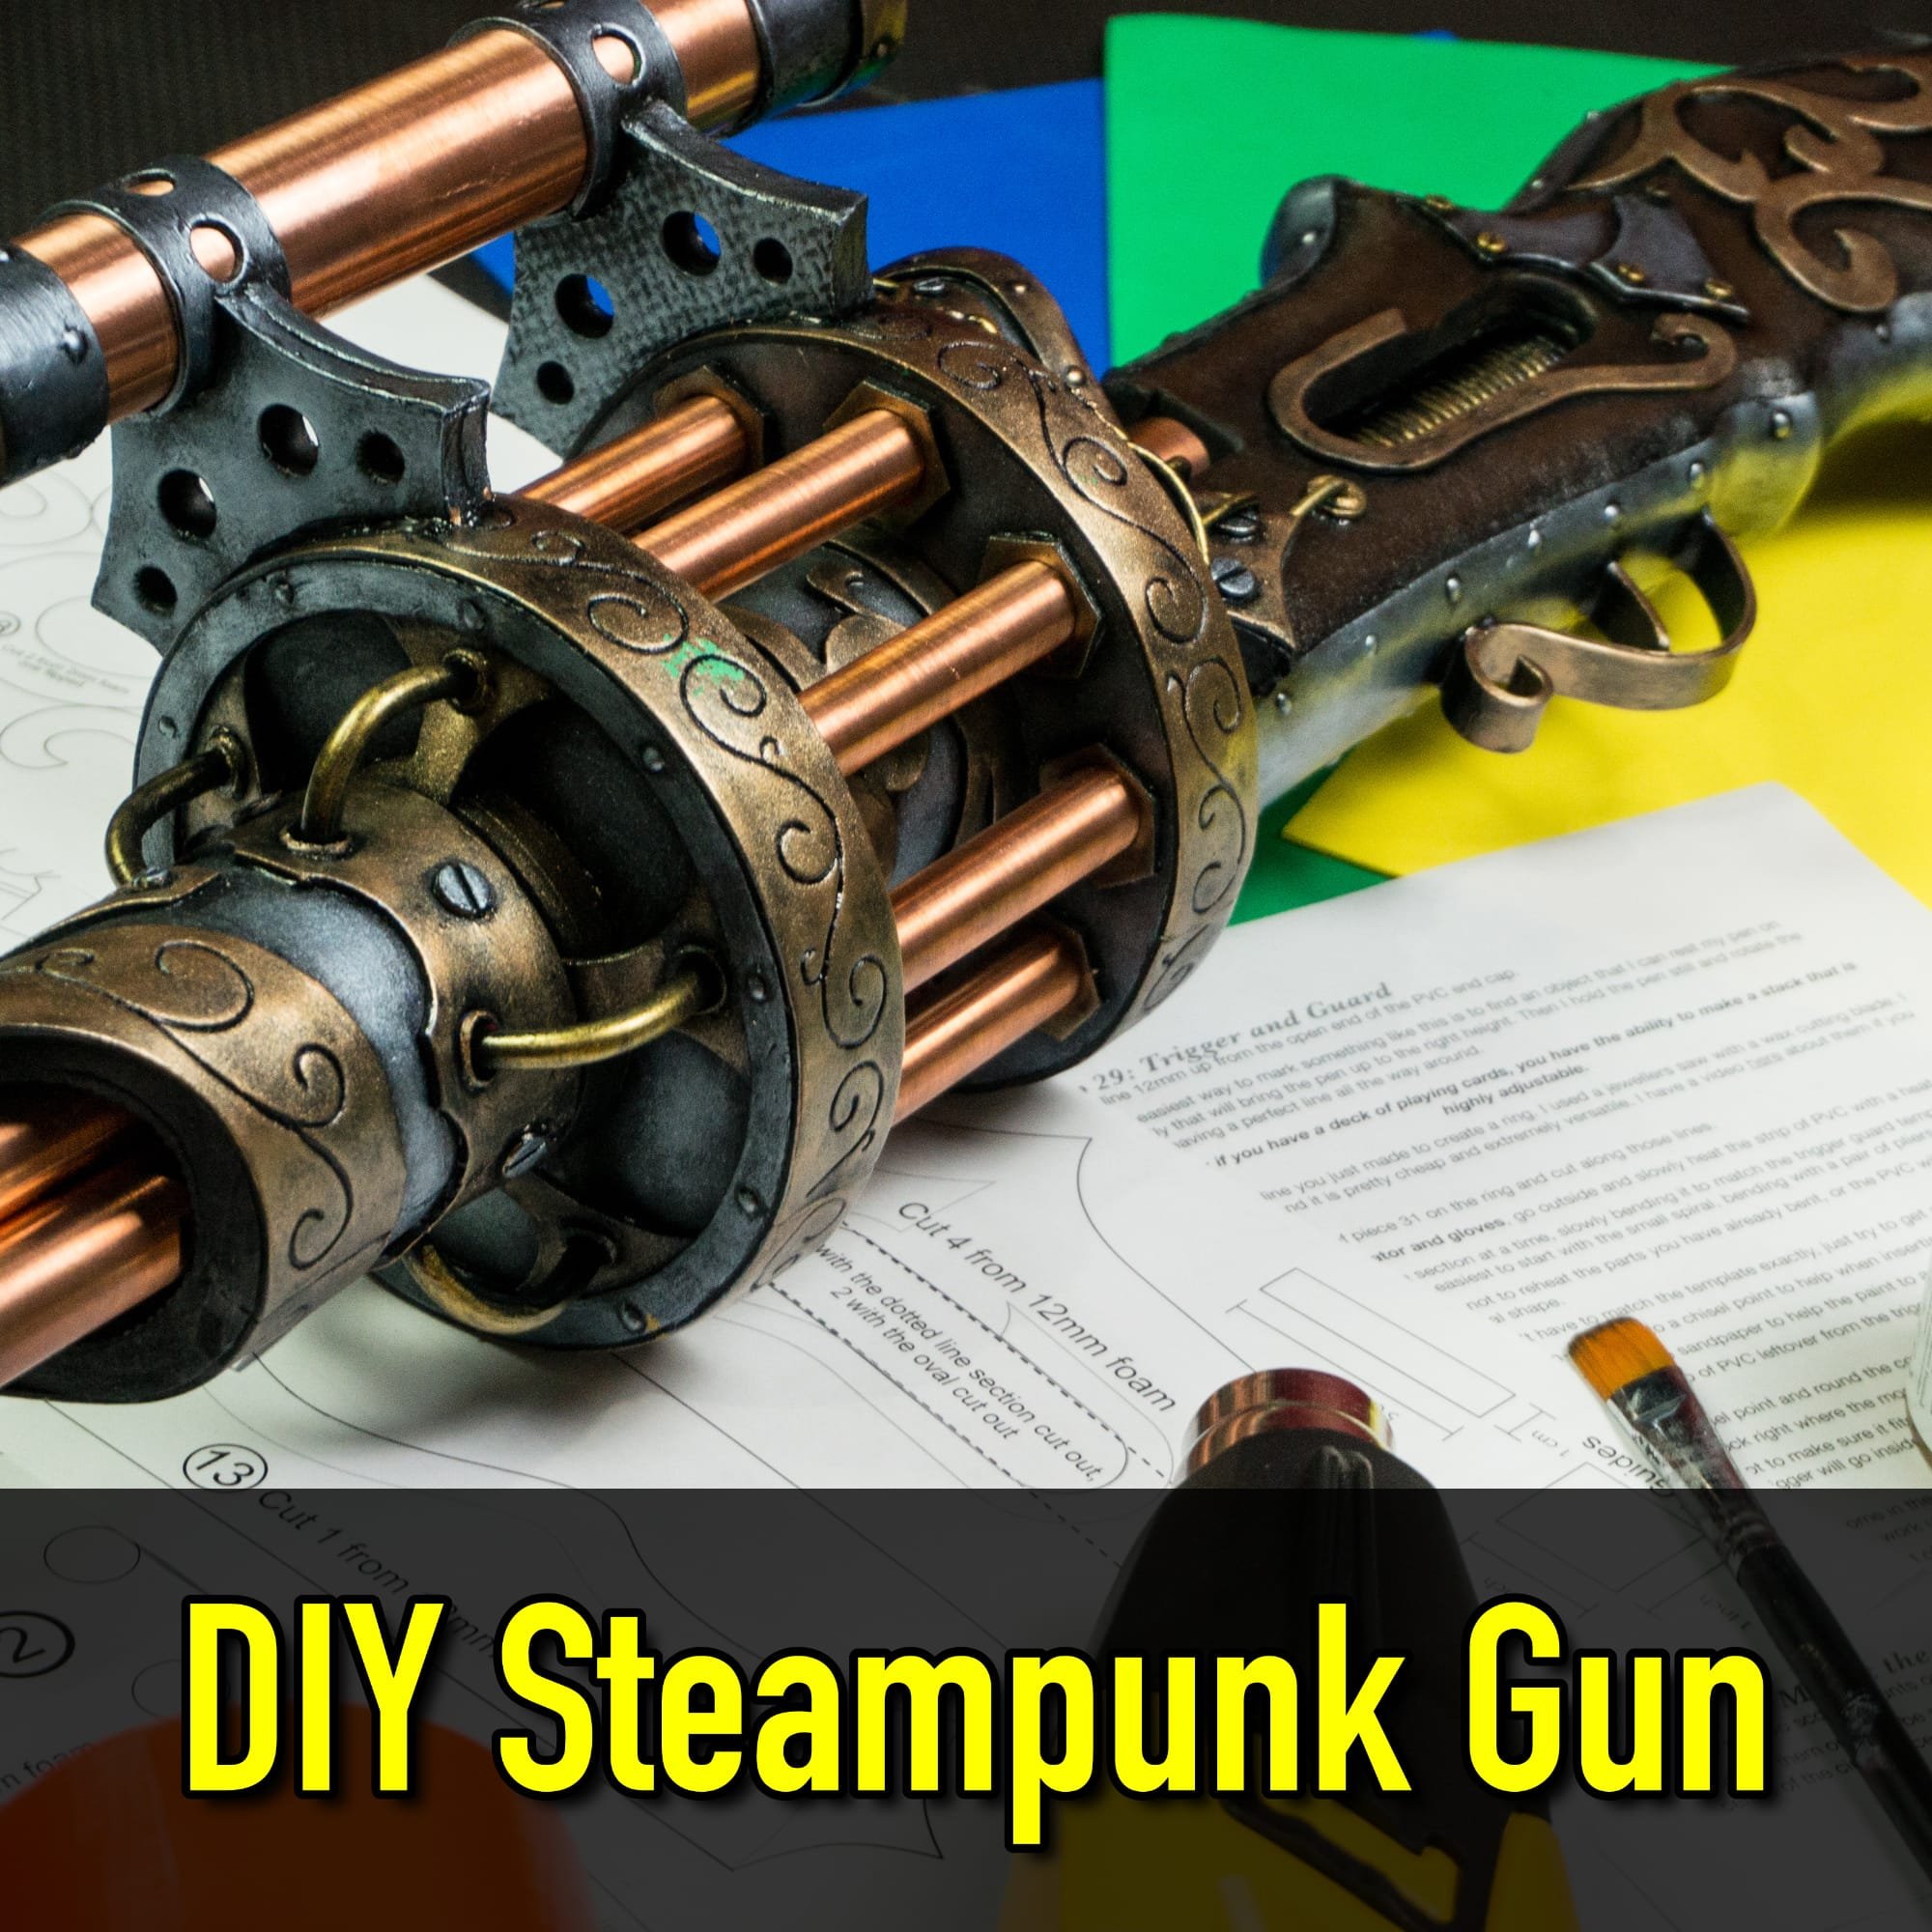
DIY Steampunk Gun. Make your own cosplay rifle from foam!
I am a big steampunk geek. I absolutely love the steampunk aesthetic, the use of contrasting metals and the flair of ornamentation on what would otherwise be purely functional pieces of machinery. Unfortunately, we cannot all access a metal shop to create custom steampunk props, so I have created a tutorial that uses much more accessible materials and the wonder of metallic paint to create the steampunk vibe.

This is a super quick overview of how to make a steampunk rifle, but for more detailed instructions, you can buy the pattern here, or watch the tutorial video here.
There’s a complete list of the materials I used to make the steampunk gun included with the pattern instructions, but the main supplies I used were:
The pattern,
12mm thick EVA foam (interlocking floor mats),
PVC conduit
PEX pipe
Golf club tube
Glue (epoxy, superglue, hot glue)
Paint
Please note, the above links are affiliate links, and I do get a small commission if you buy through these links. It doesn't cost you any more and it helps me out!

Step 1: Print and Cut out the Pattern

It all starts with a good pattern. I make my patterns so they can be printed on your printer at home, using either A4 or U.S. letter size paper. The pattern piece for the stock is larger than one sheet of paper, so there are guidelines to help you line up the sheets and tape them together. I like to do this against a window so that the light shining through helps me see the marks better.
When cutting the pattern out of the paper, cut as close to the line as you can without removing the line. For the detailed sections I like to use a scalpel instead of scissors.
Step 2: Get Tracing
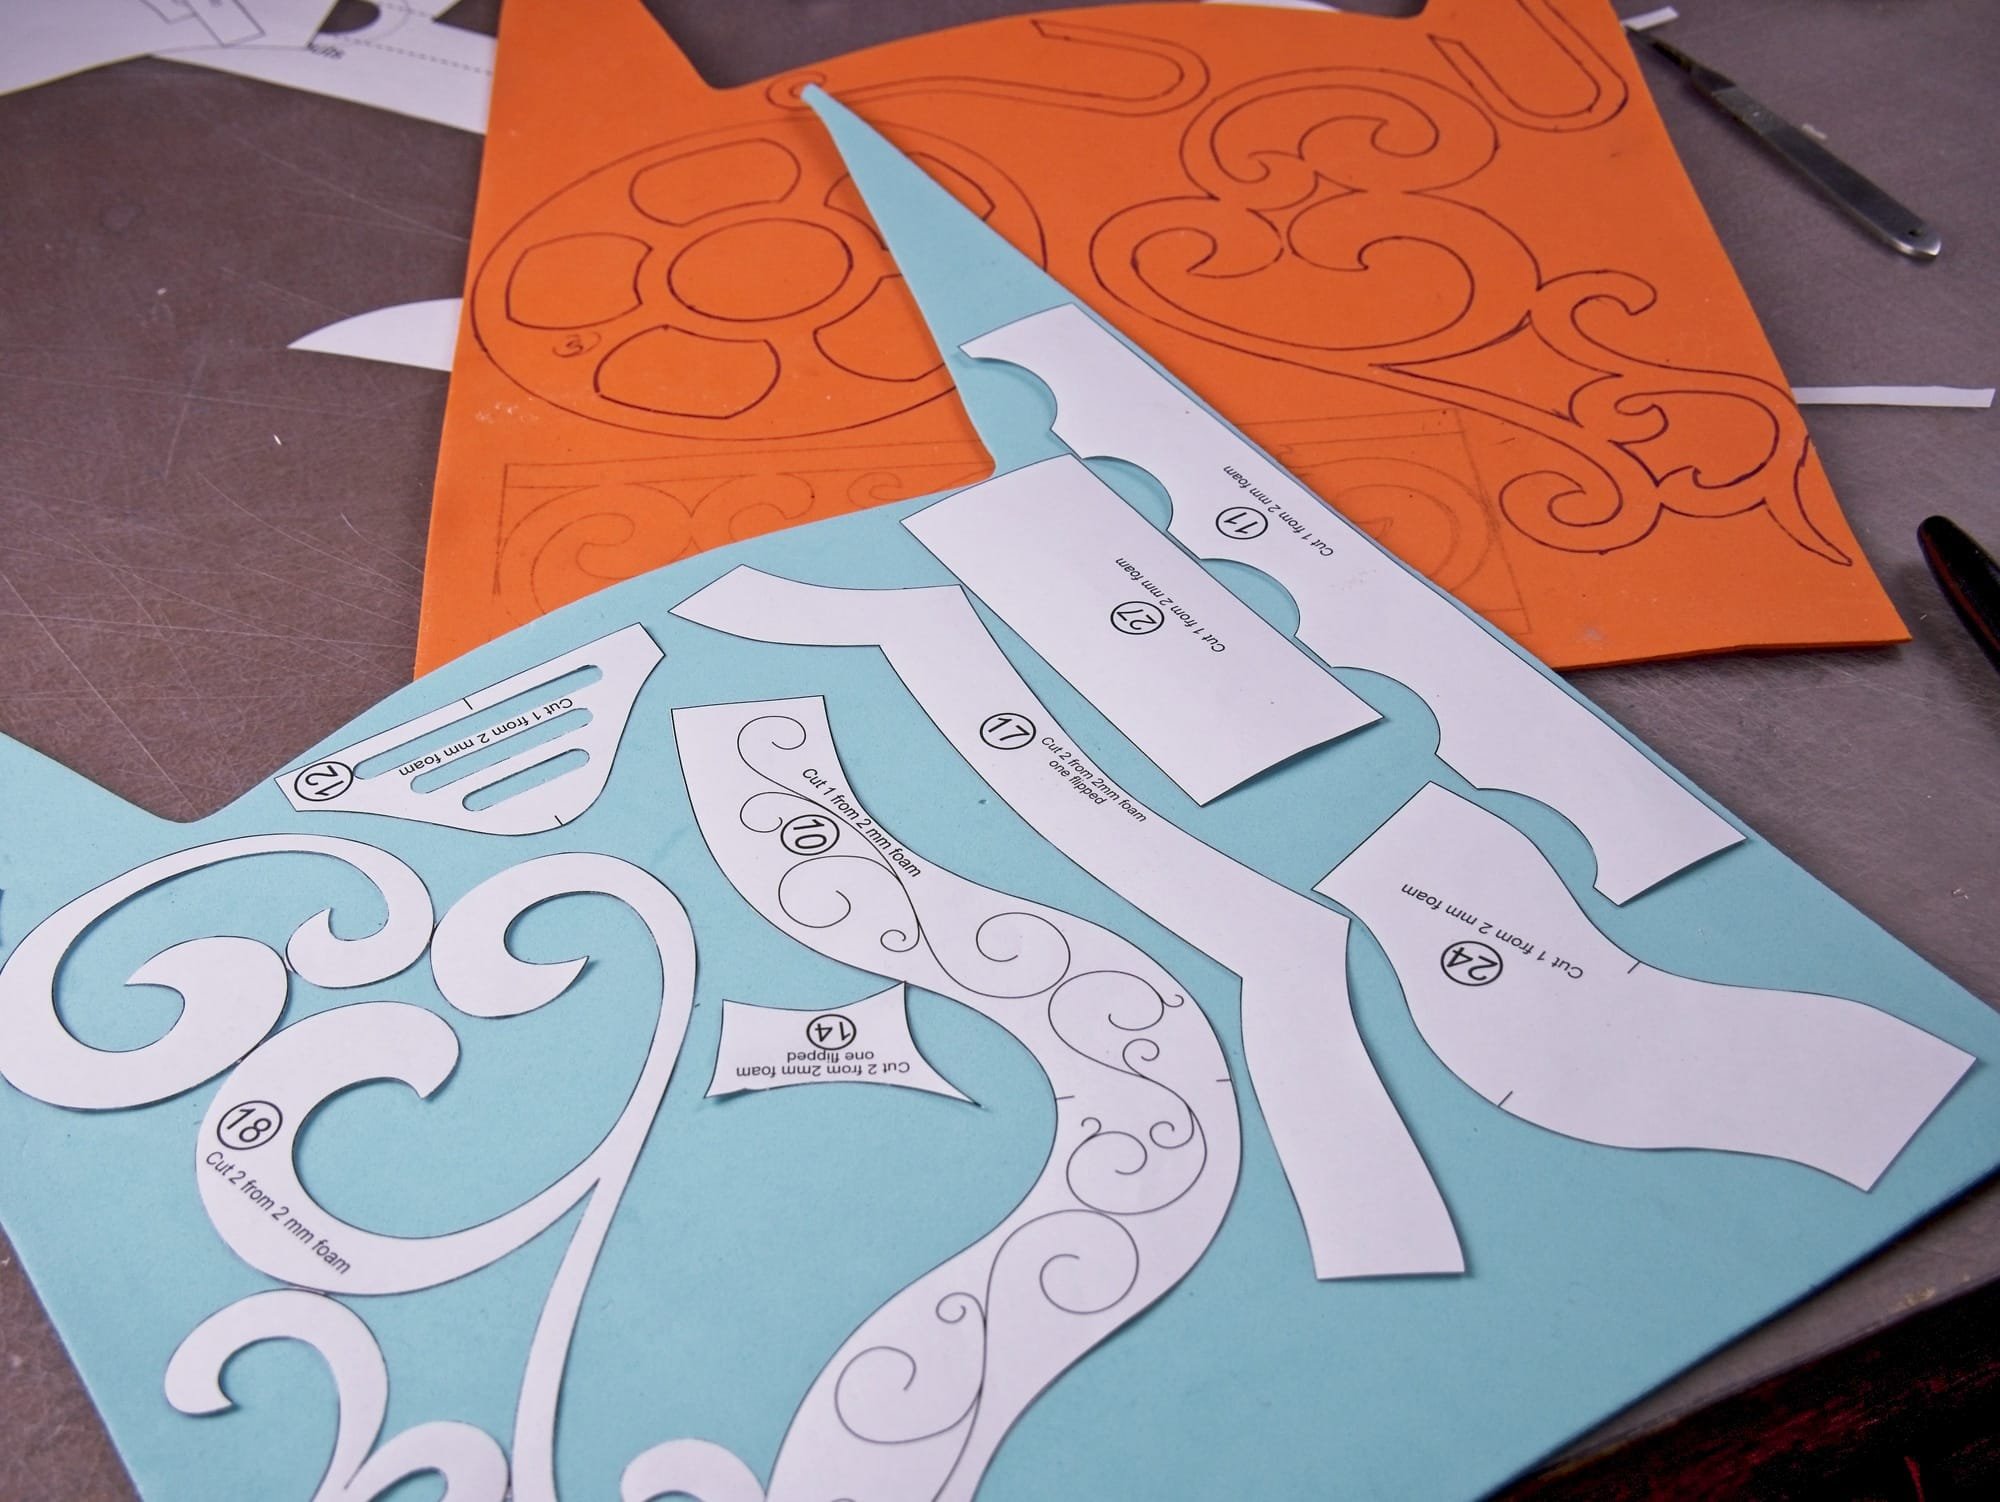
Pattern pieces laid out on 2mm foam sheet
Place the pieces on the foam and trace around them with a pen, holding them firmly so that they don’t move while being traced. Handily, each template piece is marked with the foam thickness needed and how many of each to cut.
If you are using foam that has a texture on one side, it’s important to note which pieces need to be cut in mirror image sets, so you can keep the texture to the inside of the gun stock.

Using a ball point pen to create impressions in the foam
One fun thing about craft foam is that you can kind of “etch” designs into it. A few of the pieces on this project get some fancy swirly ornamentation etched into them to add to the steampunk style. It’s pretty simple, just go over the designs pressing firmly with a ball point pen, and as you trace over the same line a few times, it will get permanently compressed into the foam!
A Handy Tip for Transferring All Those Swirly Lines
If you have an inkjet printer, it is possible to transfer the designs onto the foam without having to cut out the paper. This is very handy for the pieces which have a lot of swirly designs on them.
Print the design out using an inkjet printer (the thinner the paper, the better) and then flip it over on the foam. Wet the back with a sponge being careful not to move the paper while doing so. Once the paper is totally saturated and you can see the printing through the back of the paper, you can peel the paper back to reveal the design on the foam. Let it dry. **Remember that the design will be reversed**

Soak the back of the paper with a wet sponge….

….and peel it off to reveal the design!
Step 3: Cut the Foam

Using a sharp scalpel to cut the 2mm foam.
Note: If you are getting frustrated while cutting your parts out of foam, it’s probably because your knife is dull. It is super important that your knife is extremely sharp, otherwise the cuts will end up looking really ragged and ugly. Either get a new blade or sharpen your knife. It’ll make all the difference in the world!
I cut most of the thick foam using a utility knife. Because of its wider blade, it cuts straight lines and wide arcing curves very well. It doesn’t do well though with tighter radius curves. For those I use my scalpel with a #11 blade.
Step 4: Make a Foam Stock-Stack
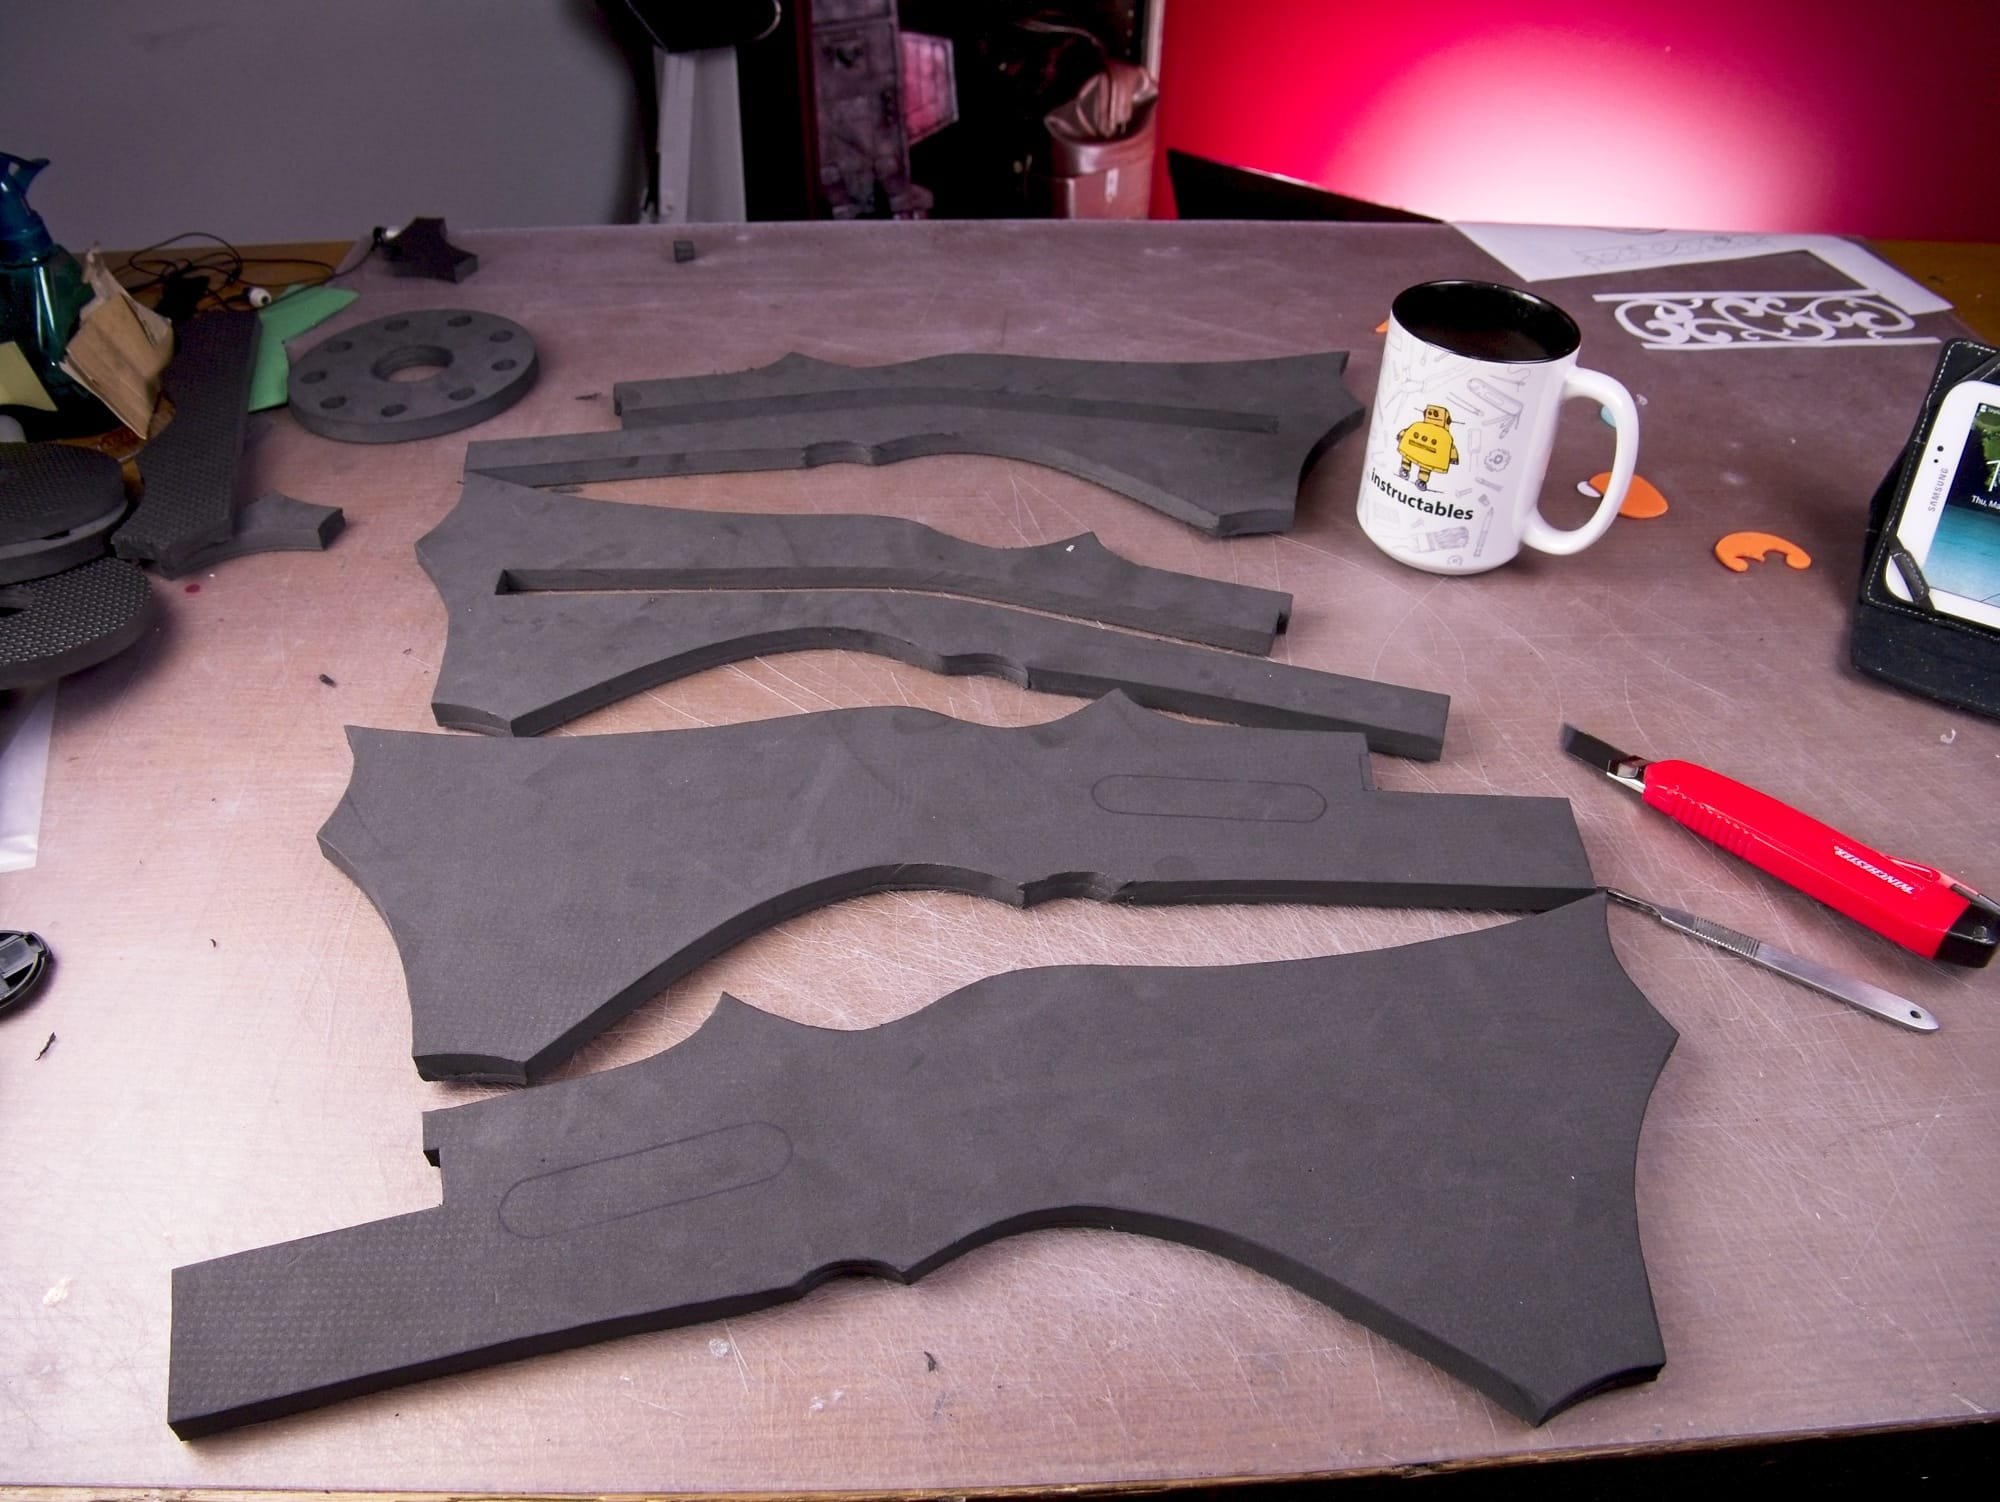
The four stock pieces.

Applying water based contact cement to the stock pieces
Three stock pieces glued together.
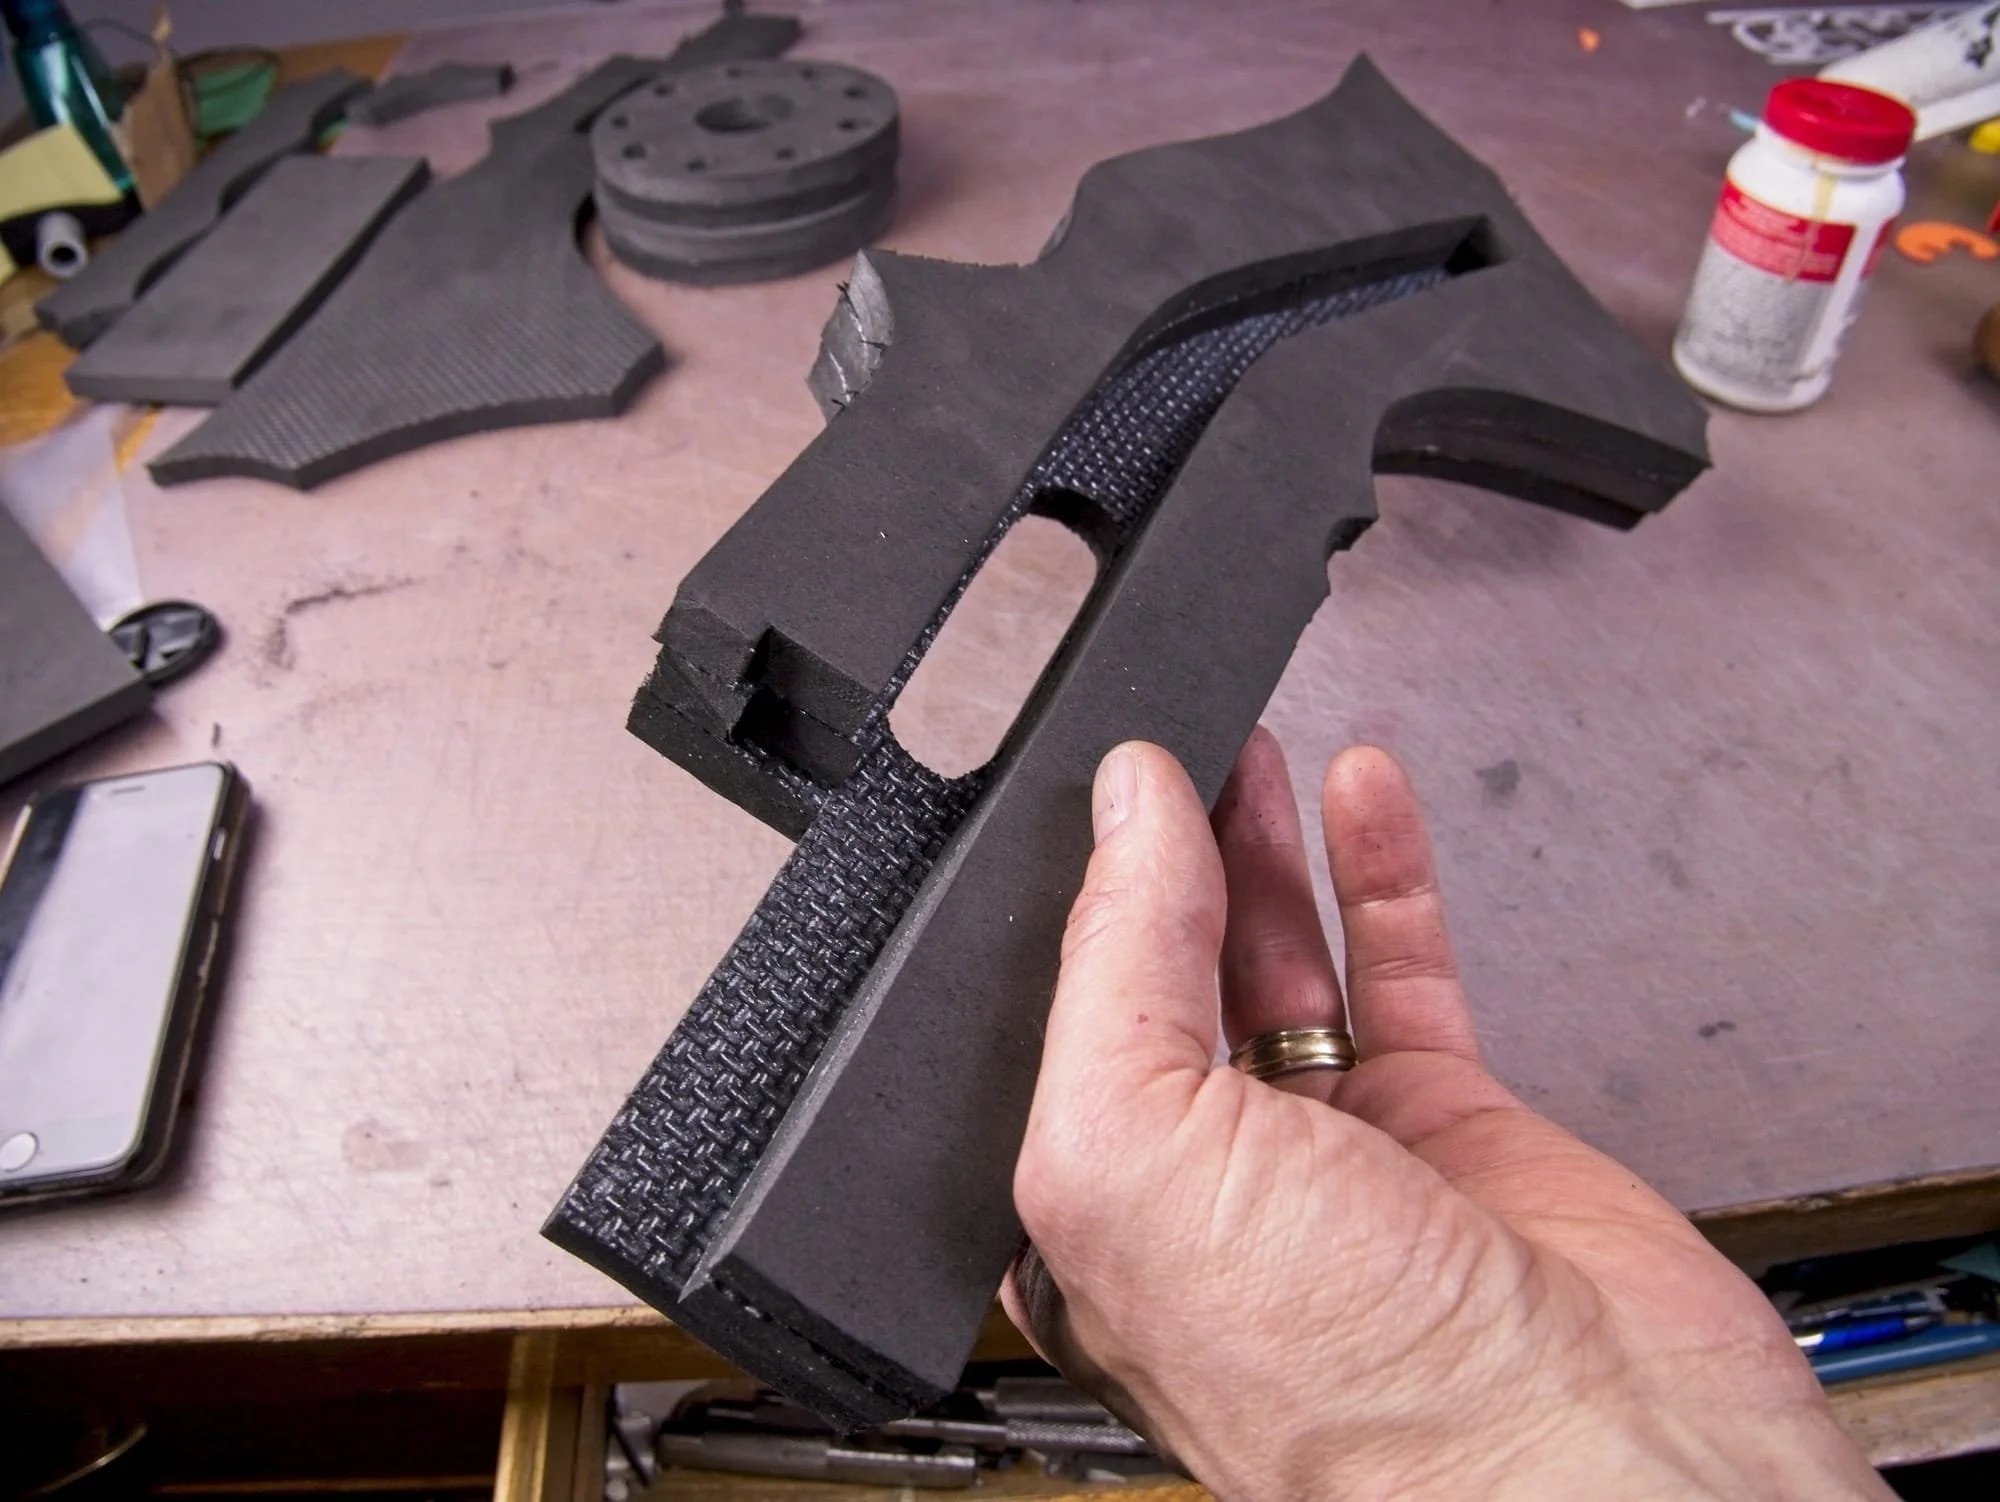
In order to make a decently thick stock out of 12mm thick foam, we are going to need to make a 4 layer thick stack. The first 3 pieces get glued together first, using a water based contact cement. The last piece gets left off for now so that the barrel can be added in before the whole thing gets closed up.
When the texture is printed onto the foam mats in the factory, heat is used, which seals up the pores in the foam making it harder for the glue to bond with it. The first thing to do before gluing on the textured sides is rub them down with a bit of 80 grit sandpaper to roughen them up and give something for the glue to grab onto.
Step 5: Add a Barrel
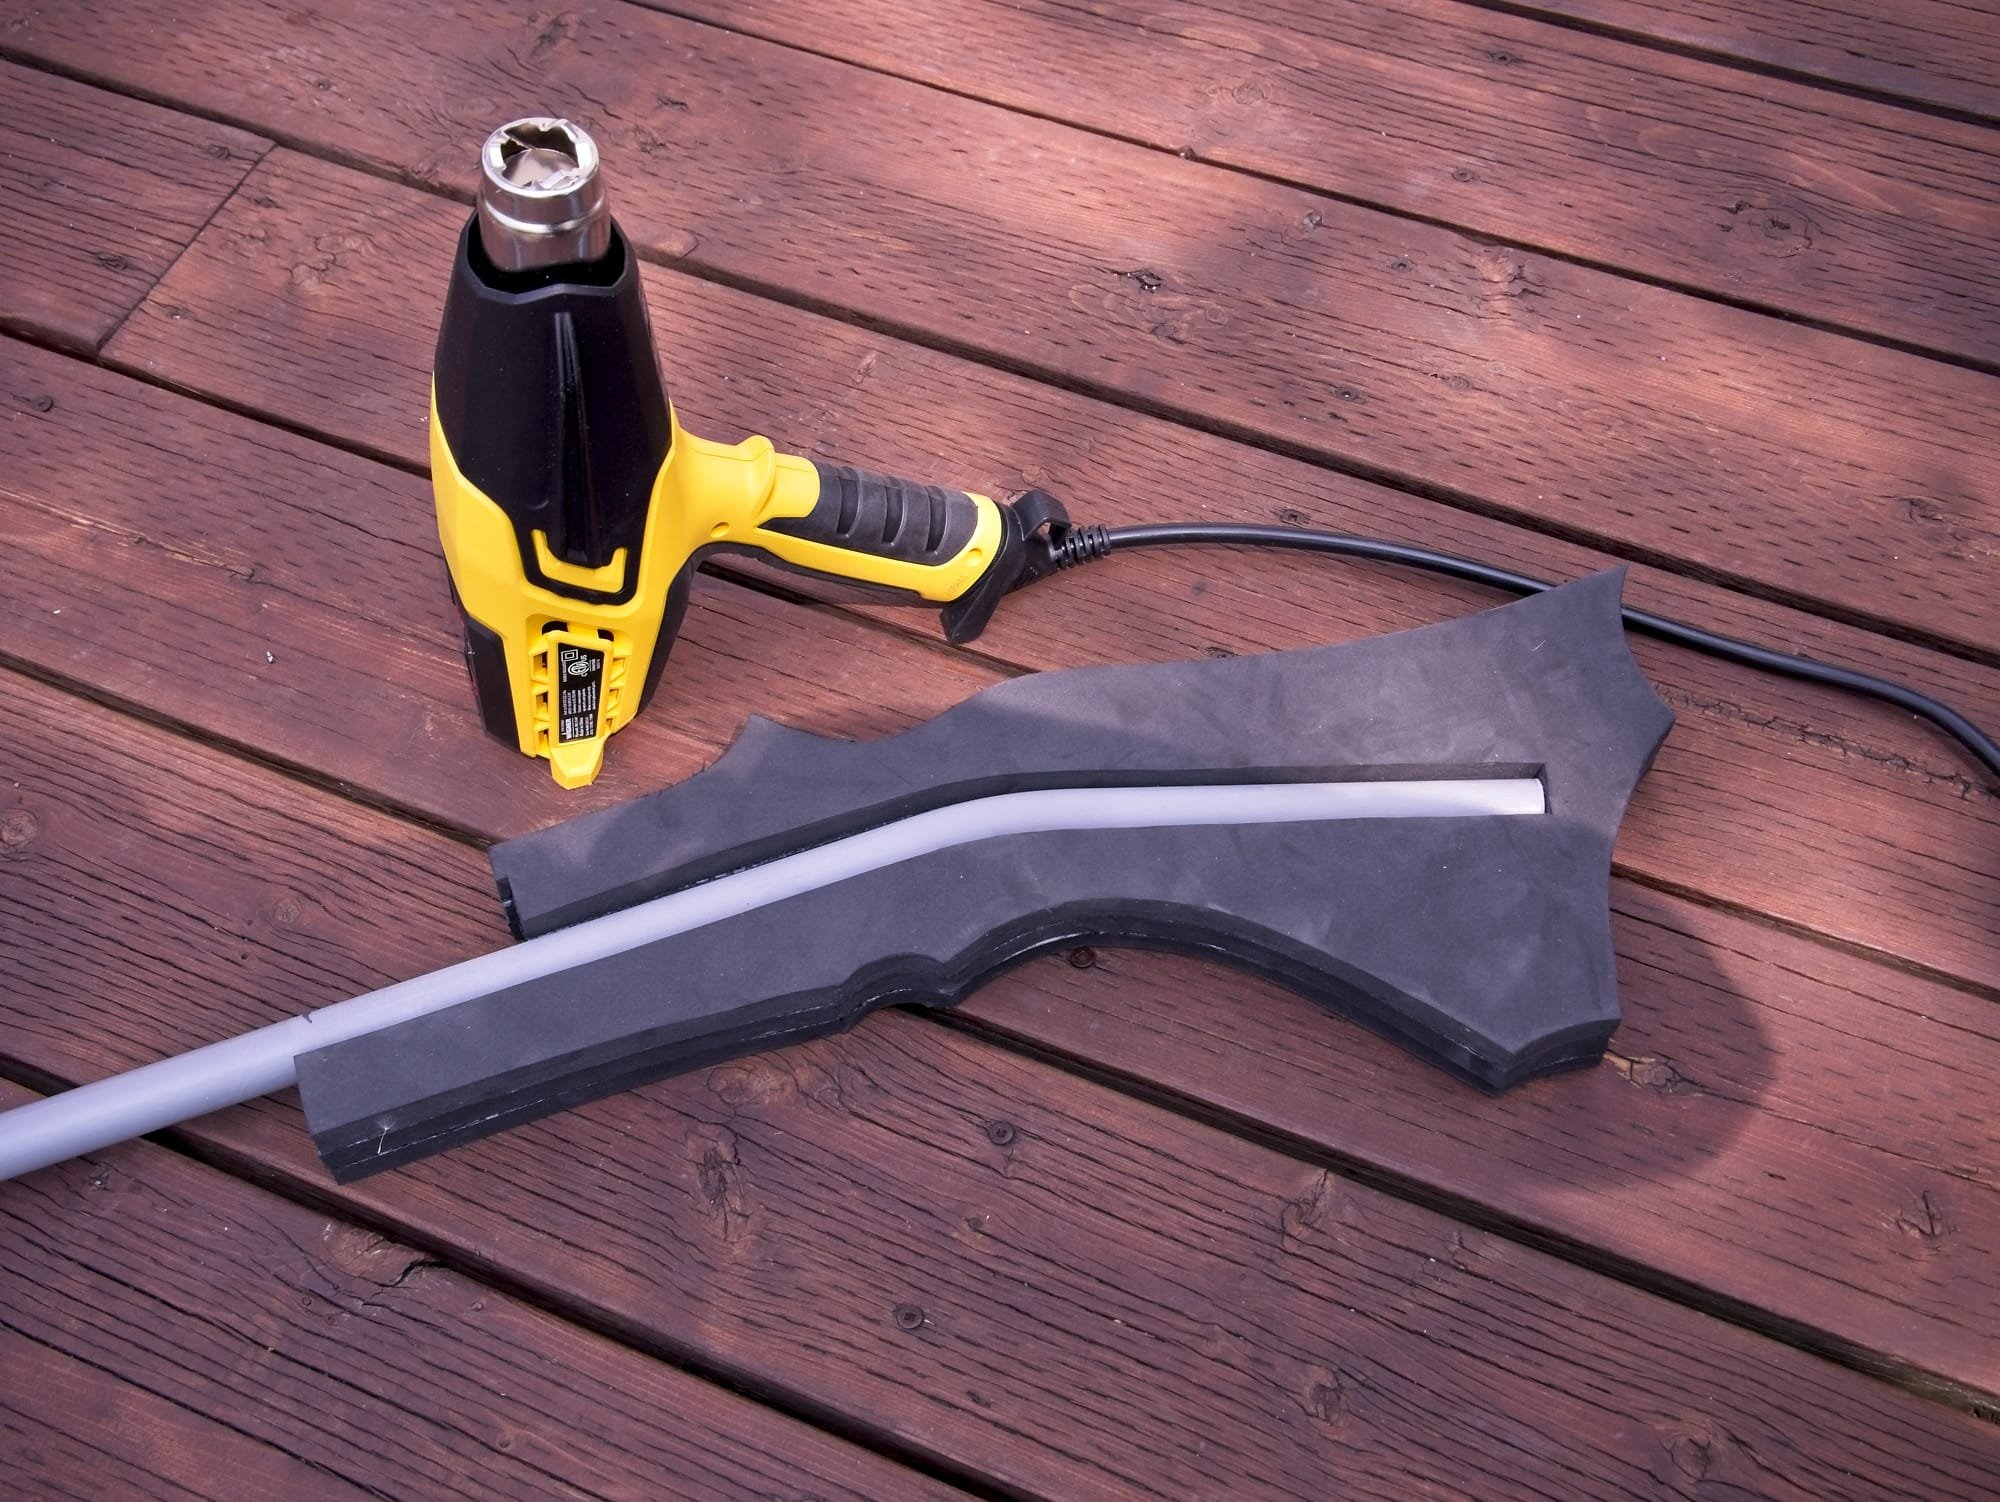
Use a heat gun to bend the PVC pipe.
The lower barrel is made from a piece of 1/2” PVC conduit. The conduit plays a much bigger role than just being the barrel, it also runs right through the stock in order to add strength and stiffness to it. Of course, in order to fit into the stock, the PVC needs to be bent a bit. PVC is easy to bend with a heat gun, although you should do it outside and wear a respirator,- if PVC gets too hot it does release dangerous chemicals!
Do not heat PVC with a flame of any kind. If PVC burns it creates chlorine gas, which combines with moisture in the air to create hydrochloric acid! This is highly toxic.
Step 6: Make the Barrel Fancy

Wrap a coil of wire around the barrel.
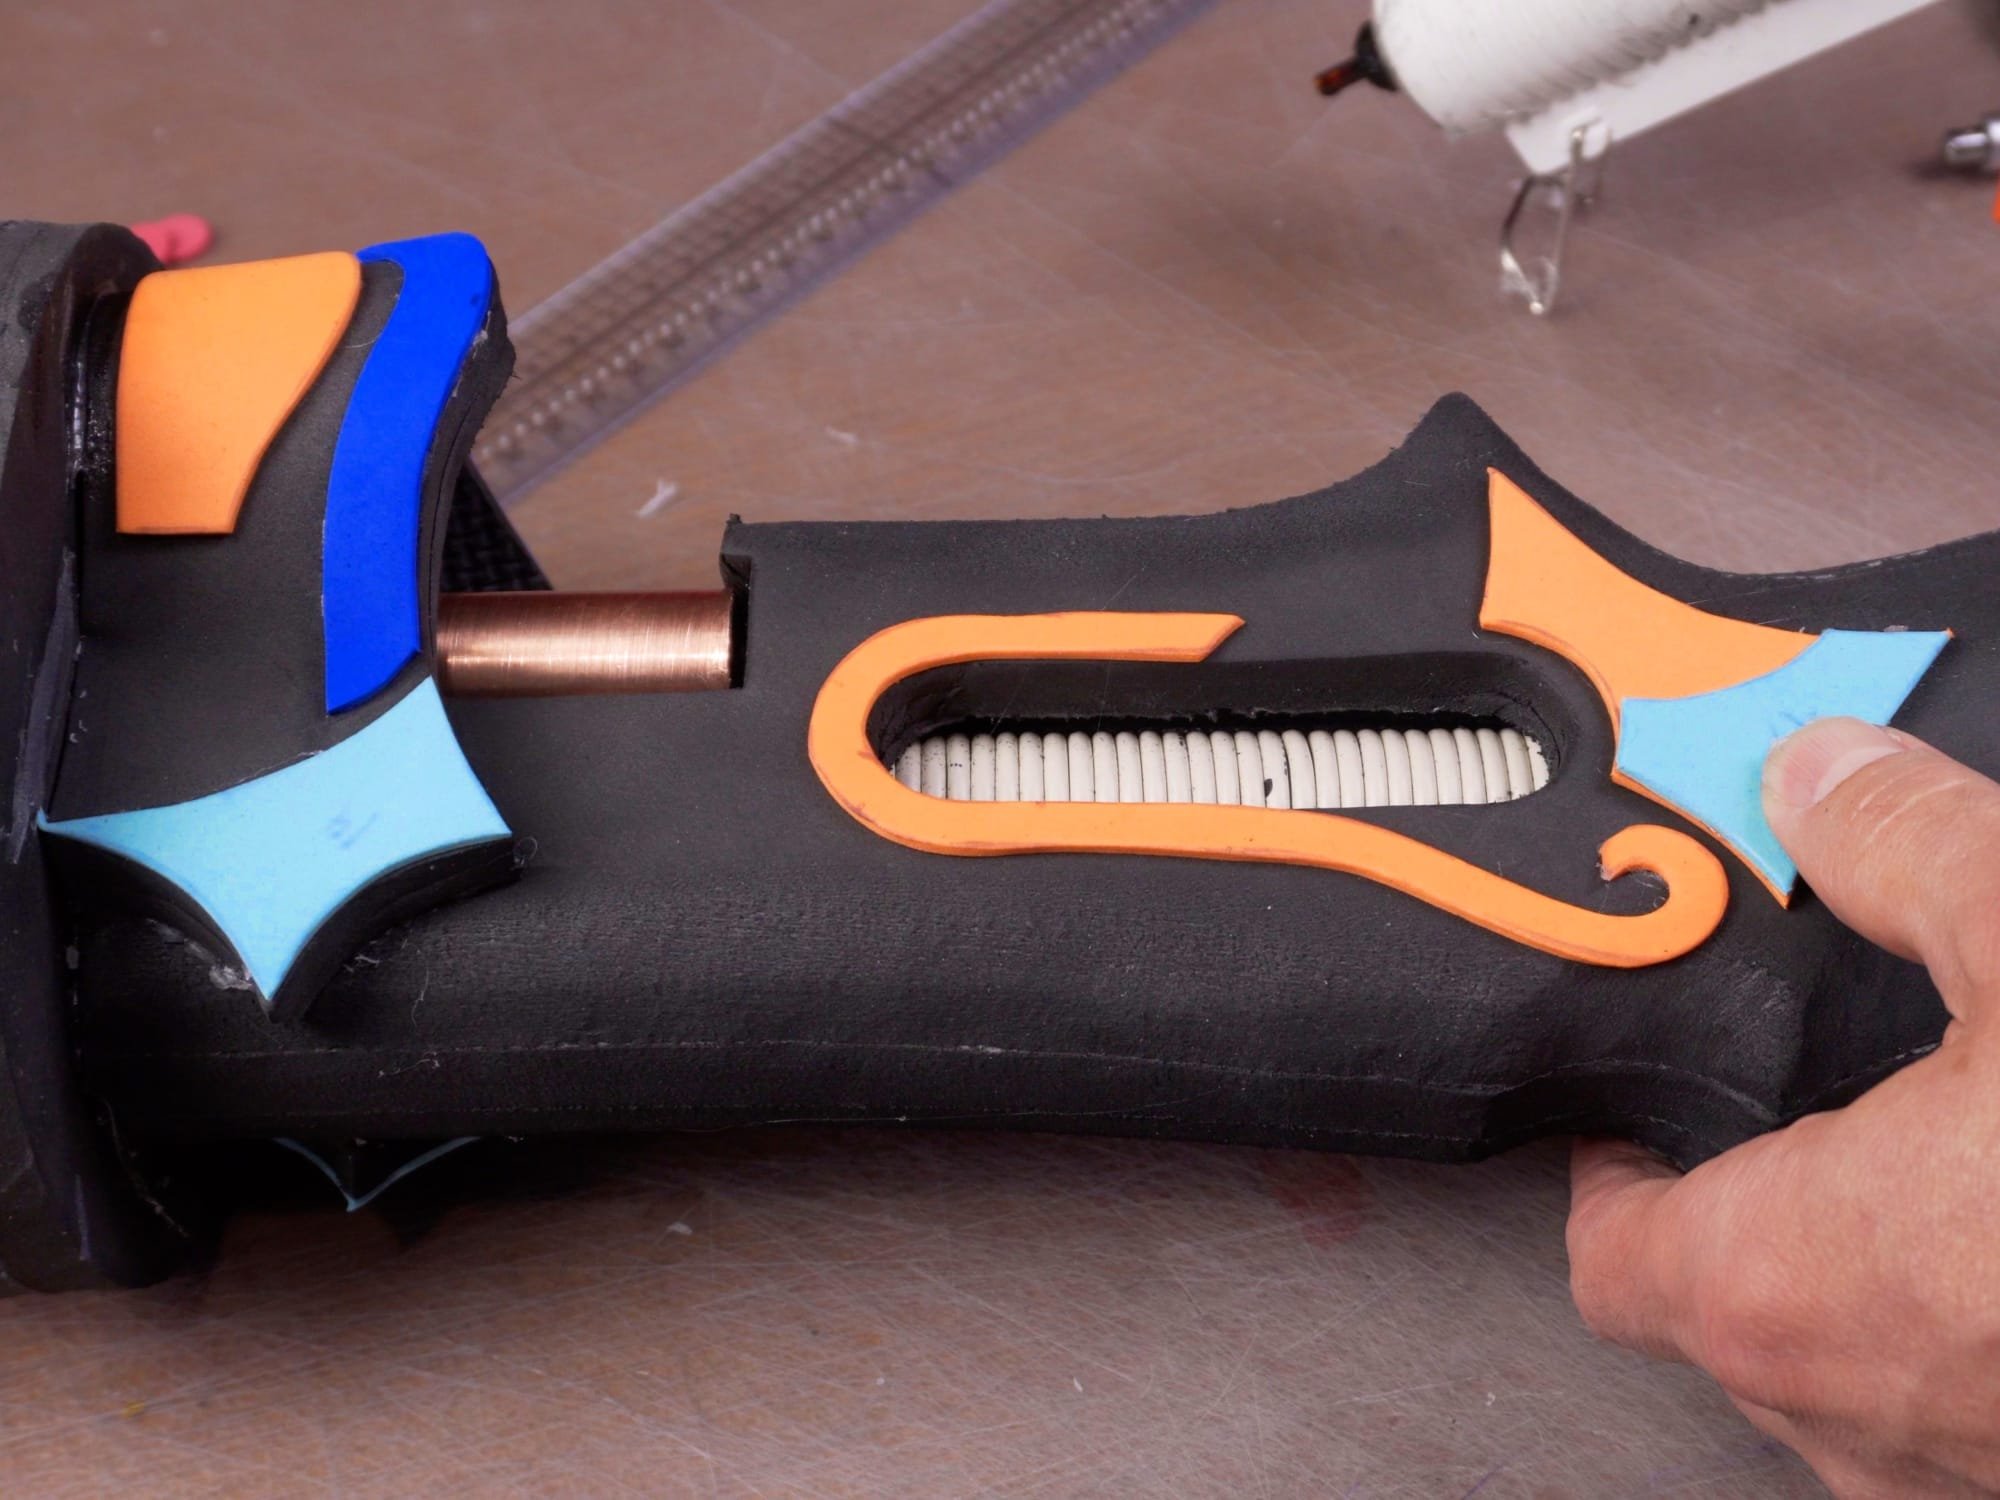
There’s a nice little window through the side of the stock, so we are going to add some interest by wrapping a coil of wire around the barrel and set it in there. I used some old telephone wire I had lying around, but whatever you find can work! Depending on the wire you use, you might need to trim a little foam away from the channel in the centre two stock pieces, right where the wire sits. The thicker the wire, the more to trim.
I also wanted to make the barrel look like it was made from copper. It’s possible to just use copper paint, but I wanted something a little shinier and more realistic, so I found some copper tape online. As long as you take your time while applying it, you can get a really good effect, and it looks and acts like metal because it really is metal.

Copper Tape.

Using a pen to smooth the copper tape down against the barrel
Step 7: Assemble the Stock and Barrel

Gluing the last layer of the stock together.
The last piece of foam in the foam-barrel-stack finally can be glued in place!!
Step 8: Unflatten the Stock

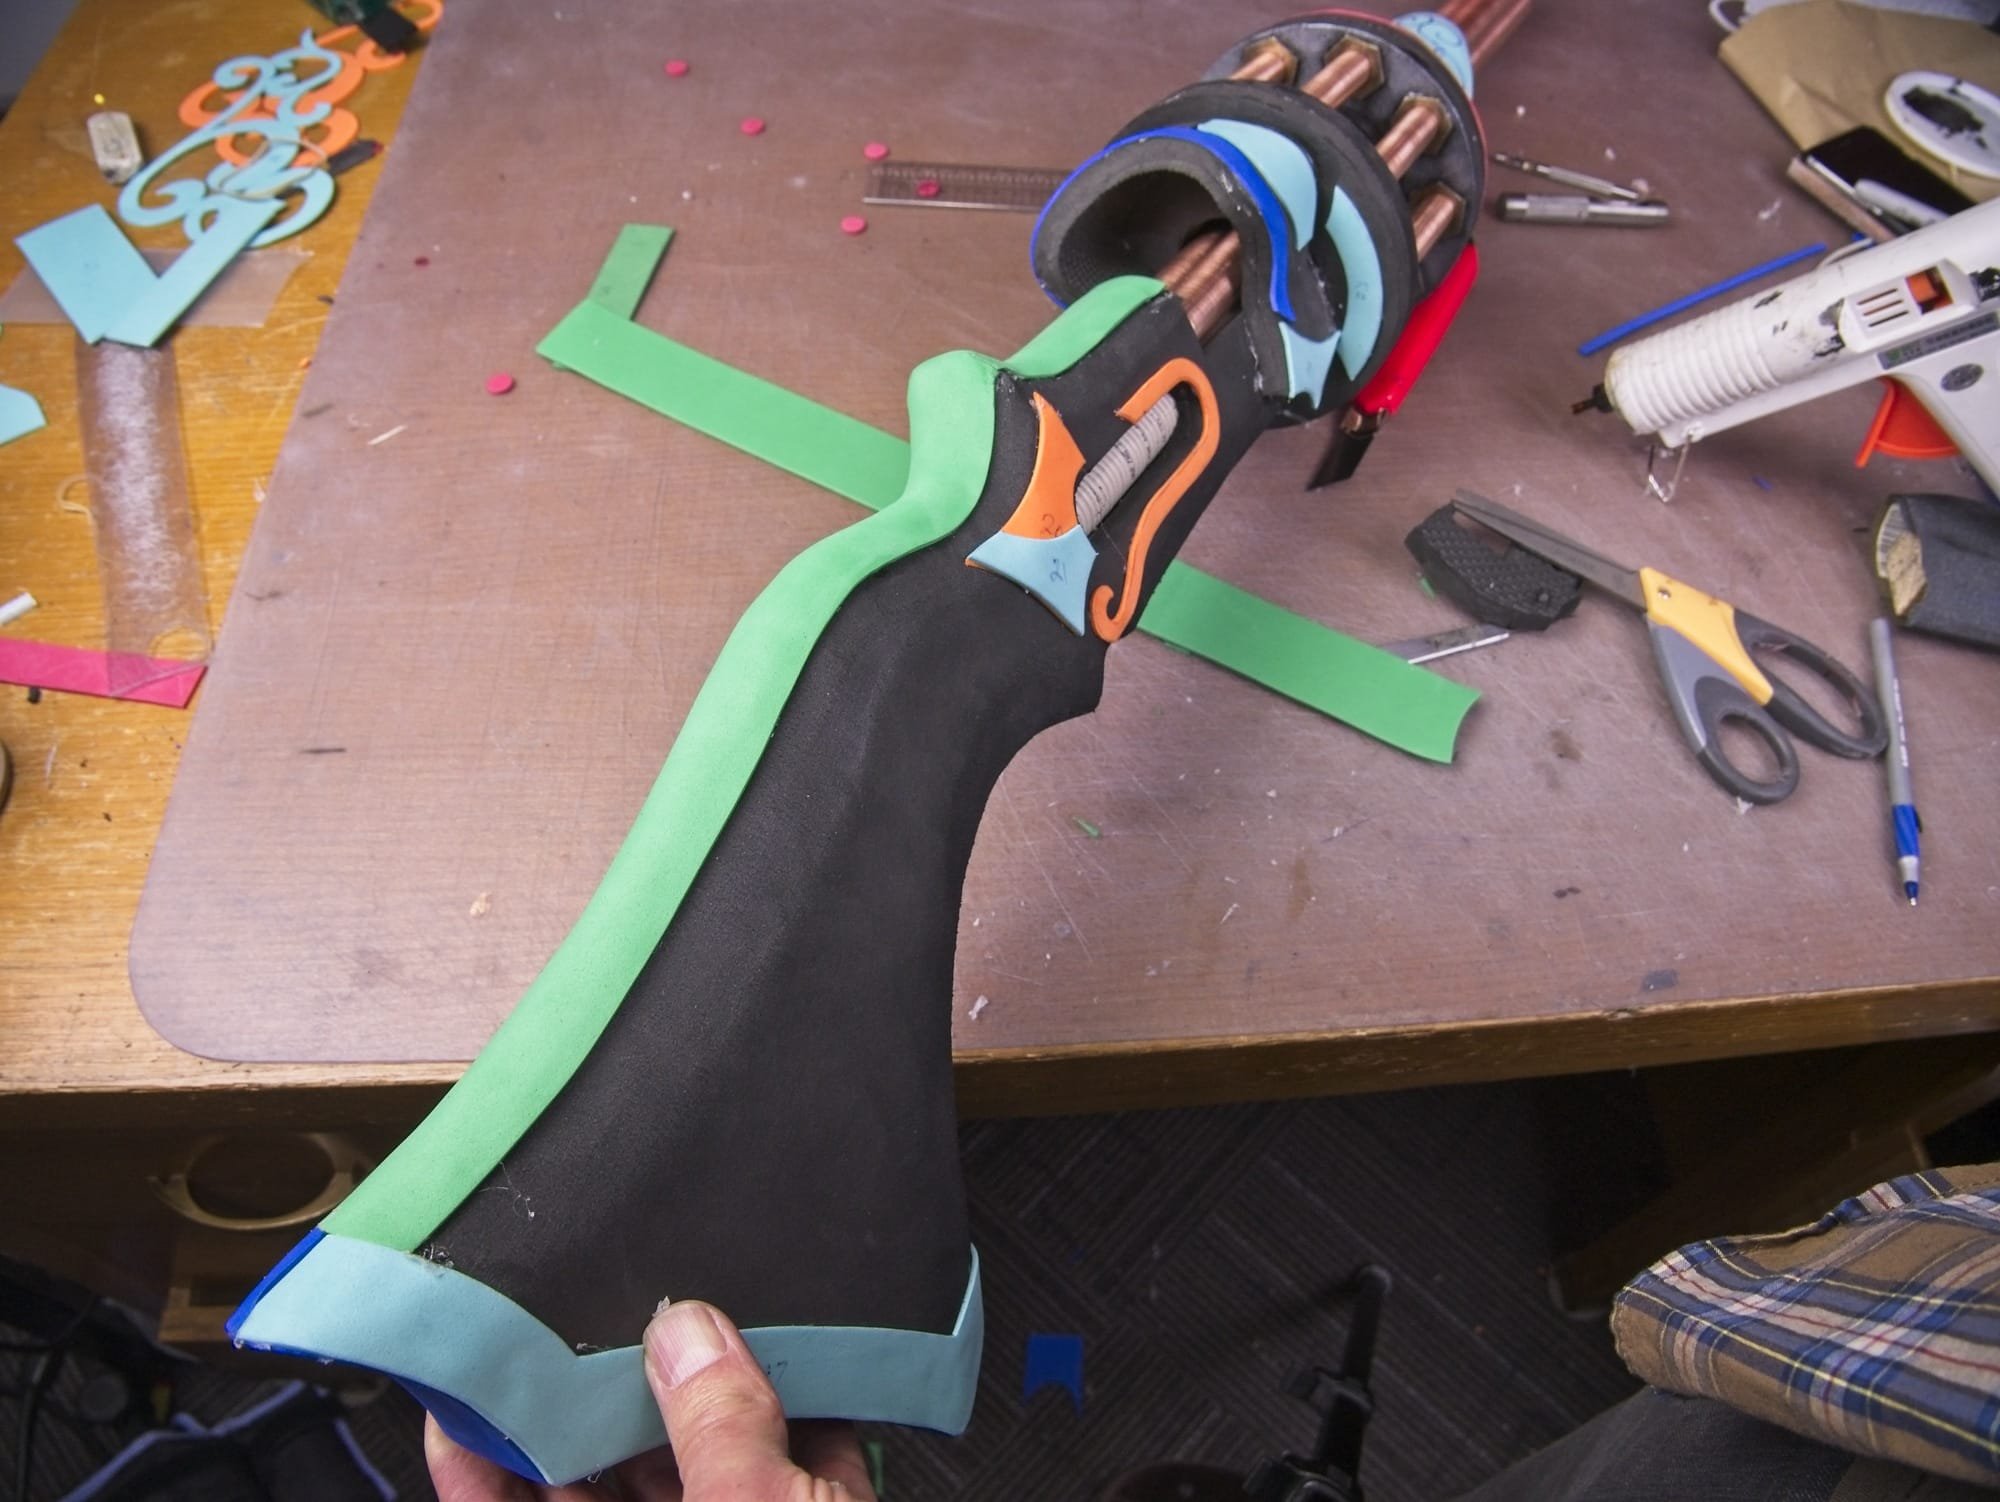
Using an old carving knife to shape the stock
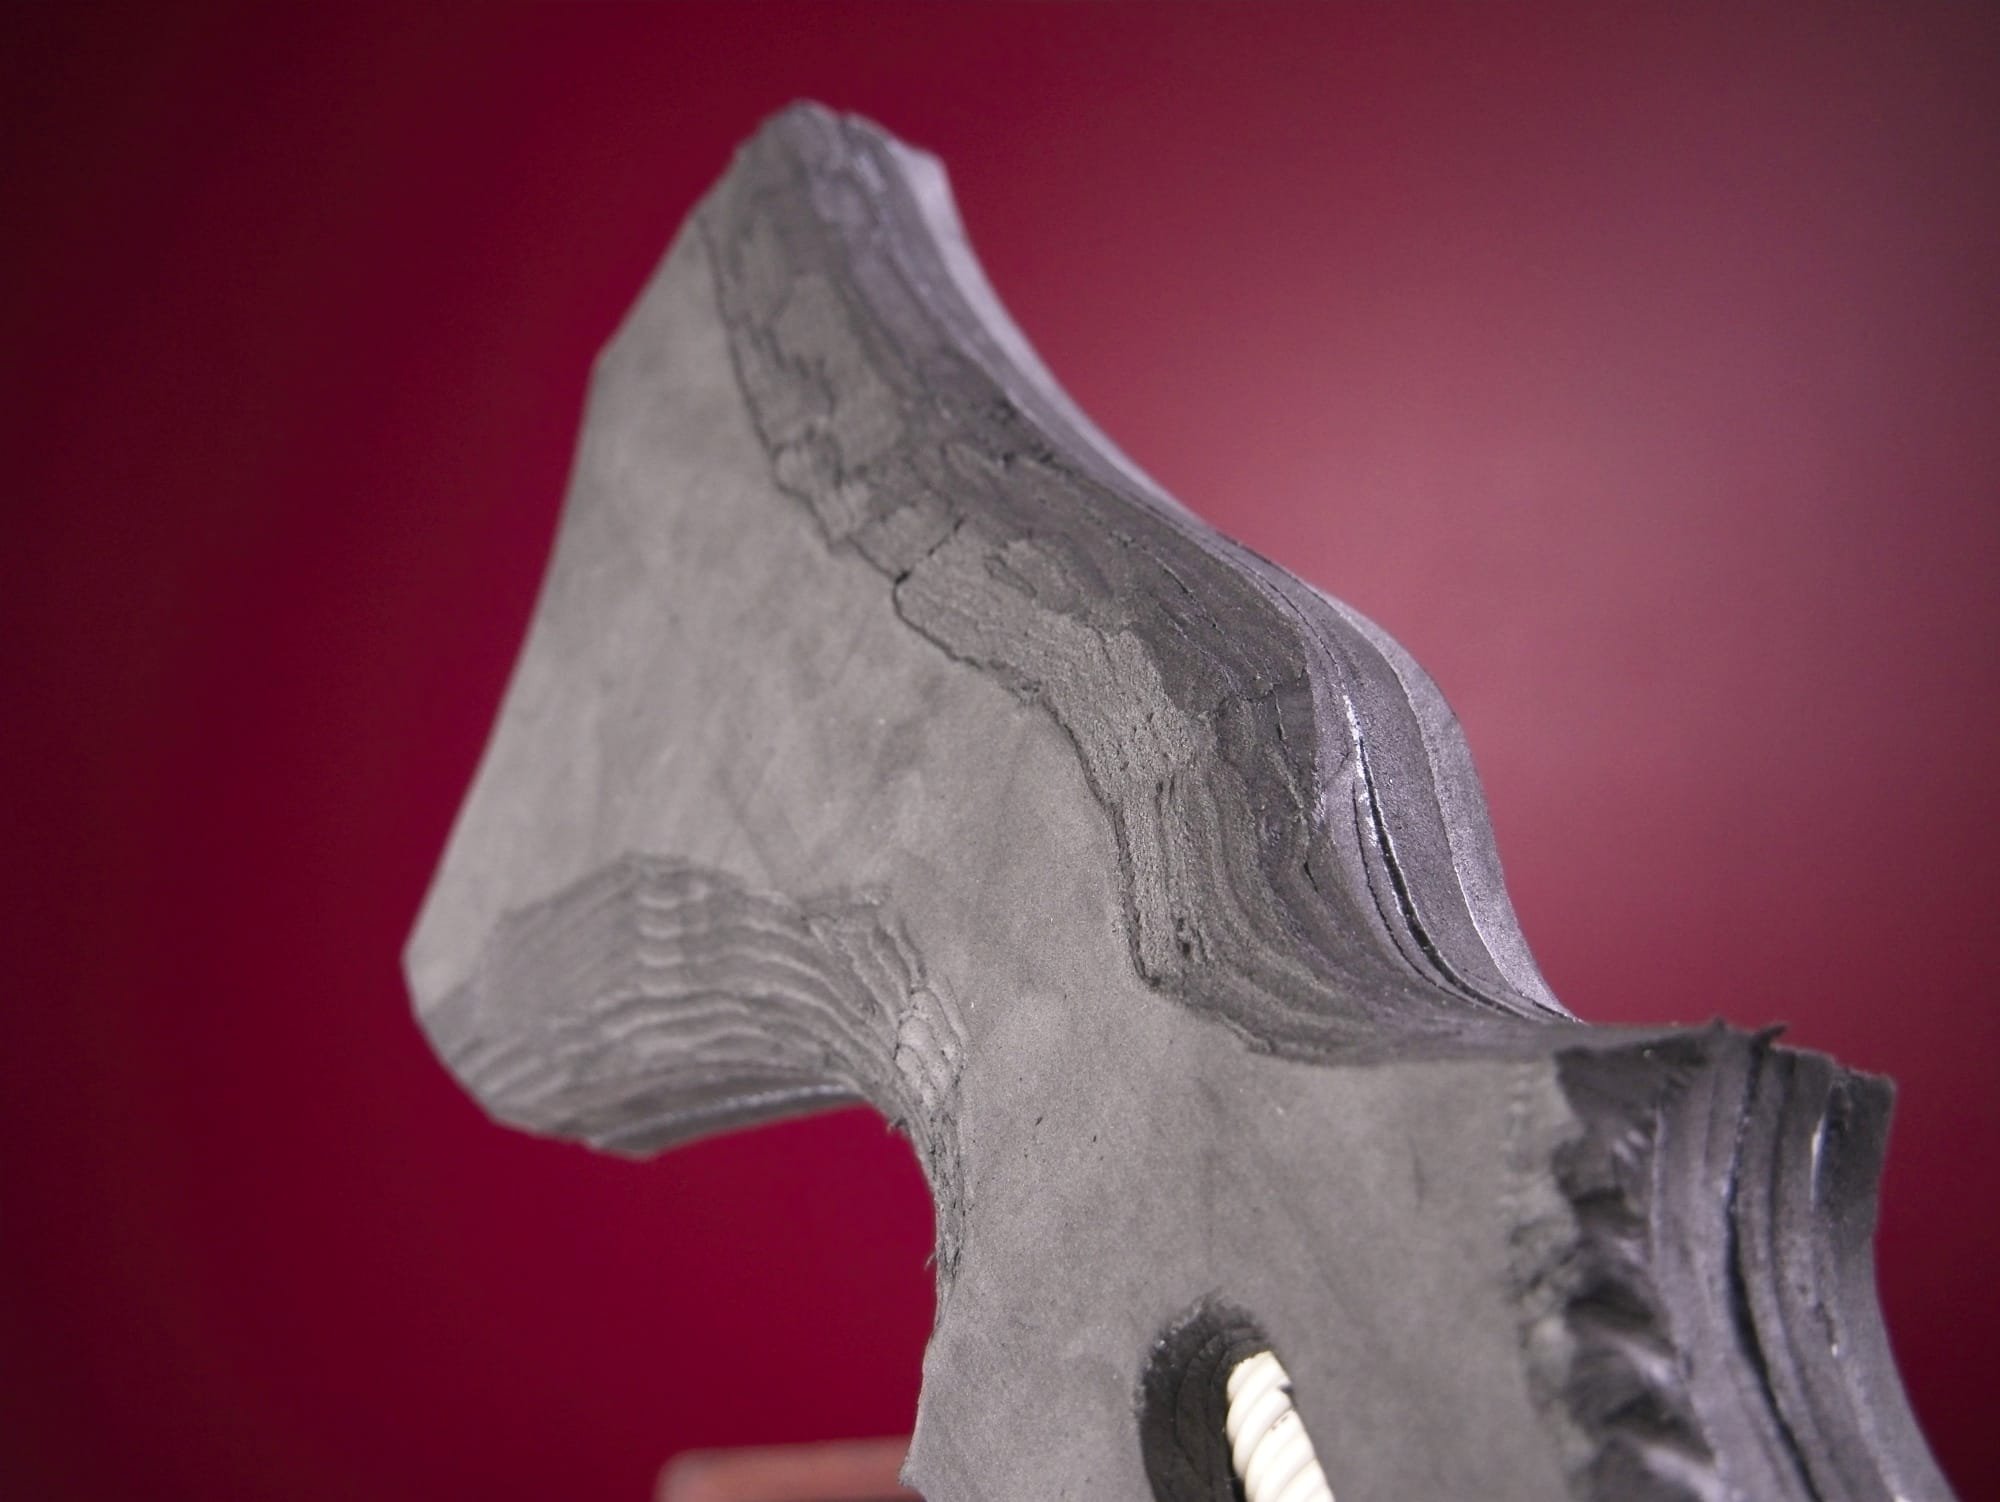
The stock after rough carving
As it is, the stock looks pretty chunky and awkward, so it’s time to round off all the edges.
I like to do this with an old electric carving knife - it makes it easier to take thinner layers of foam off with less effort. It is not necessary to have though, as I was able to carve one side with only a utility knife (with a ridiculously sharp blade). It is worth mentioning here that a good sharpening stone is really useful to keep that blade sharp during this process.
Once the basic shape has been carved, it can be smoothed out with some coarse sandpaper wrapped around a dowel, and then continuing with finer sandpaper.
It’s pretty hard to get EVA foam mats really smooth, but hitting them with a heat gun at the end can sometimes help to get rid of some of the little feathery bits.

Sanding the carved stock.

The carved stock after sanding and heating with a heat gun
Step 9: More Barrels, More Fun!

More Barrels!
If one barrel is good, three should be great, right?
The next two barrels are made similar to the first one, except they don’t run through the stock like the first one did. Instead they get glued to the first barrel which supports their weight.
Step 10: Make the Vortex Cannister
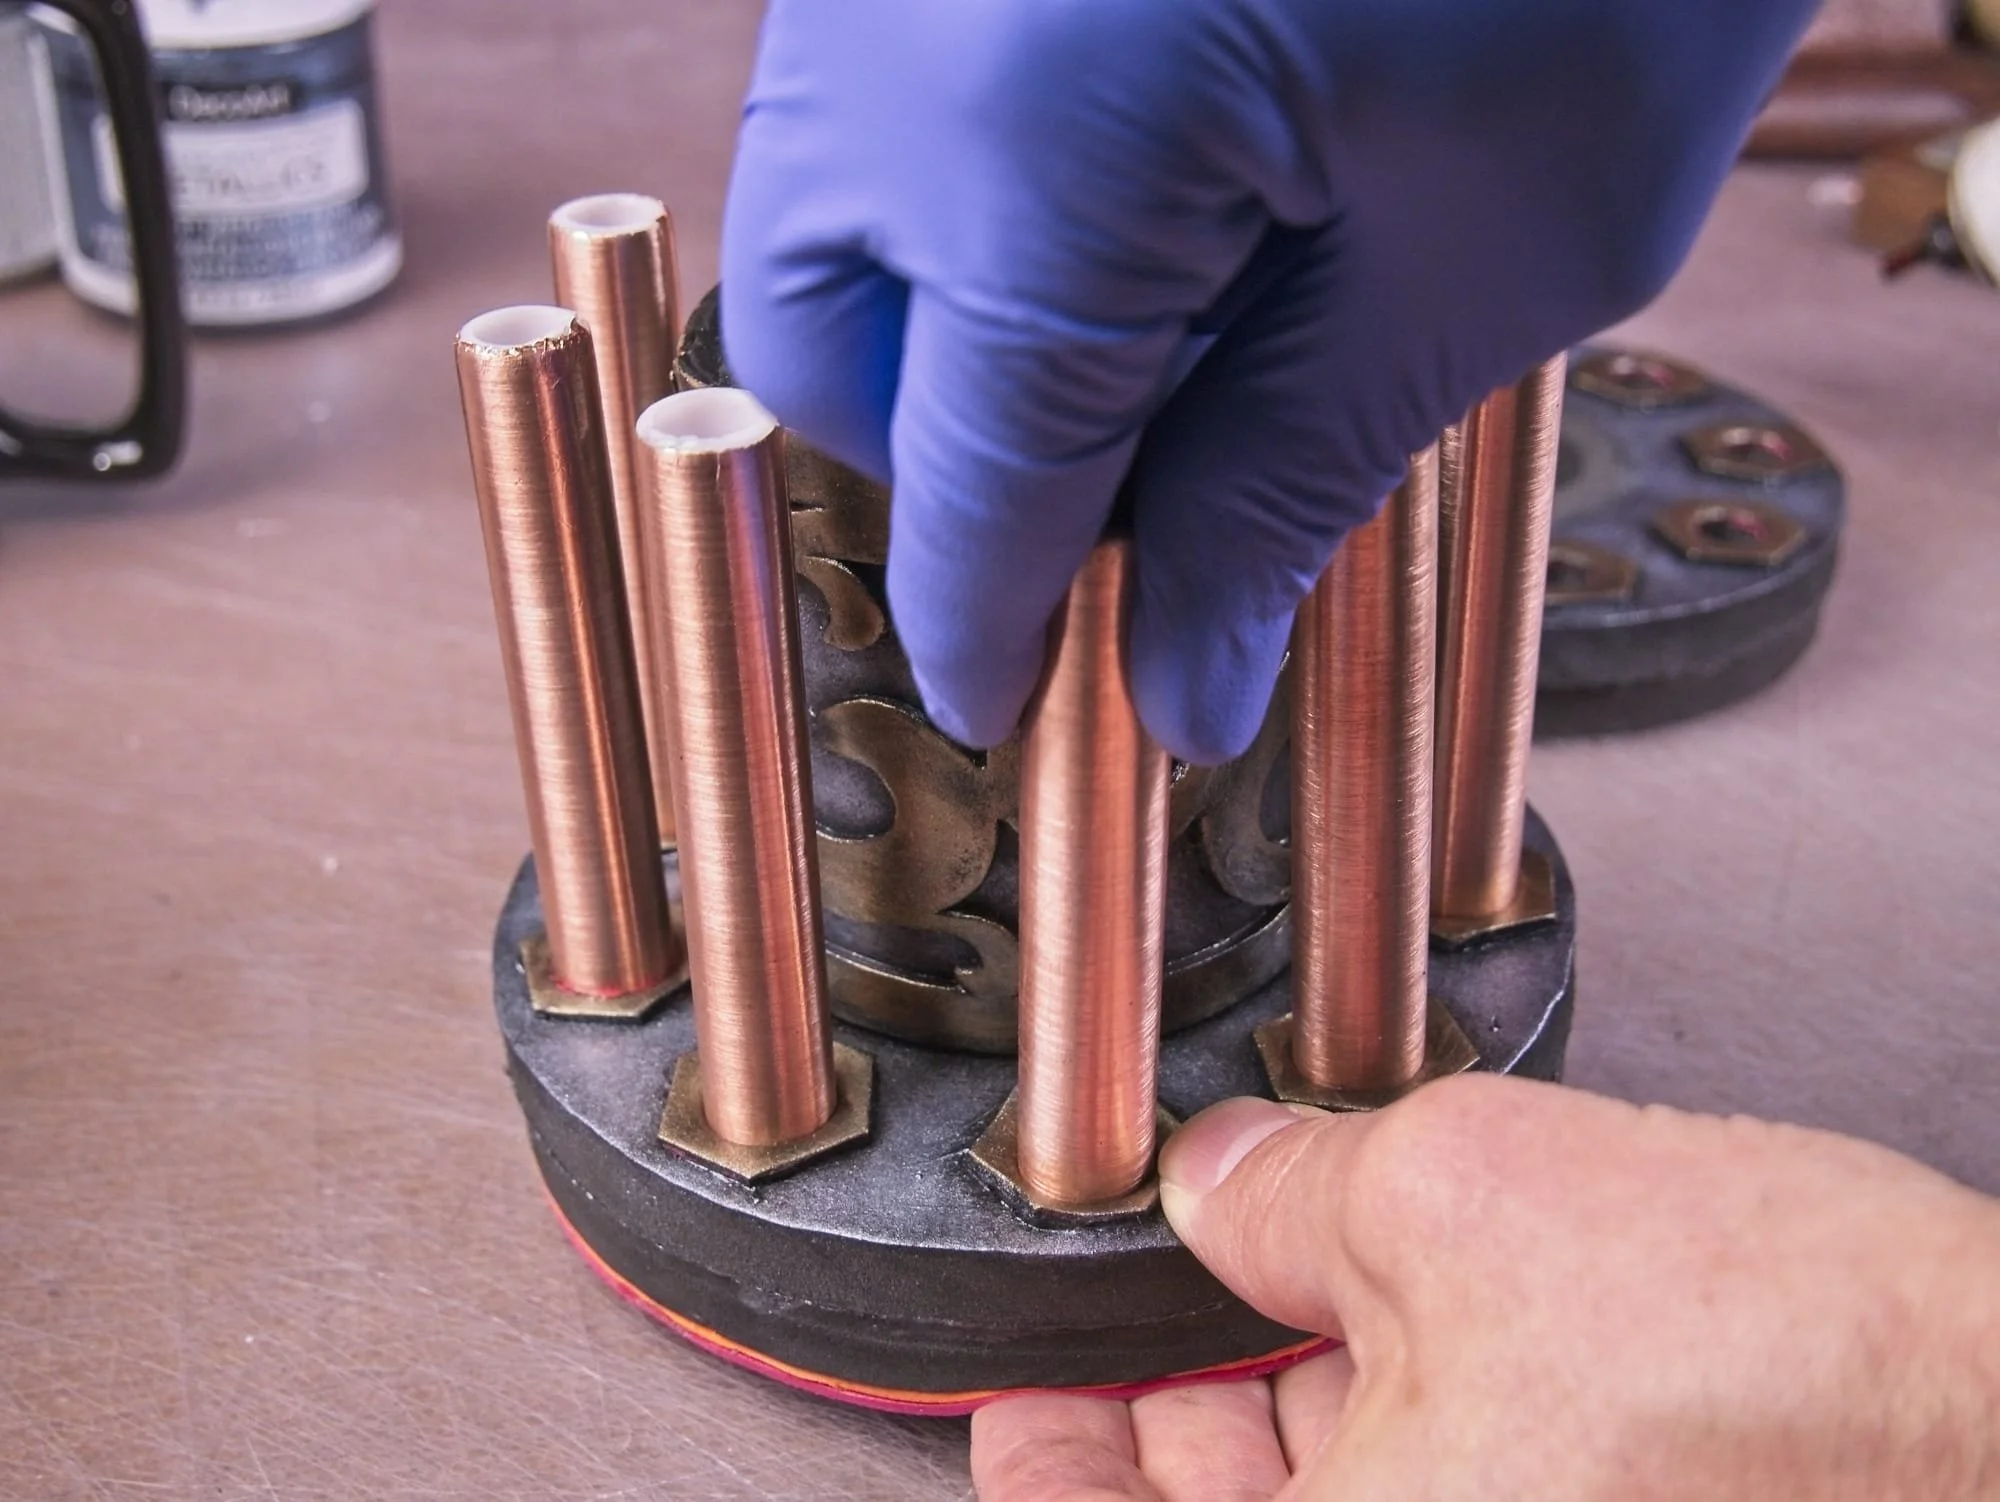
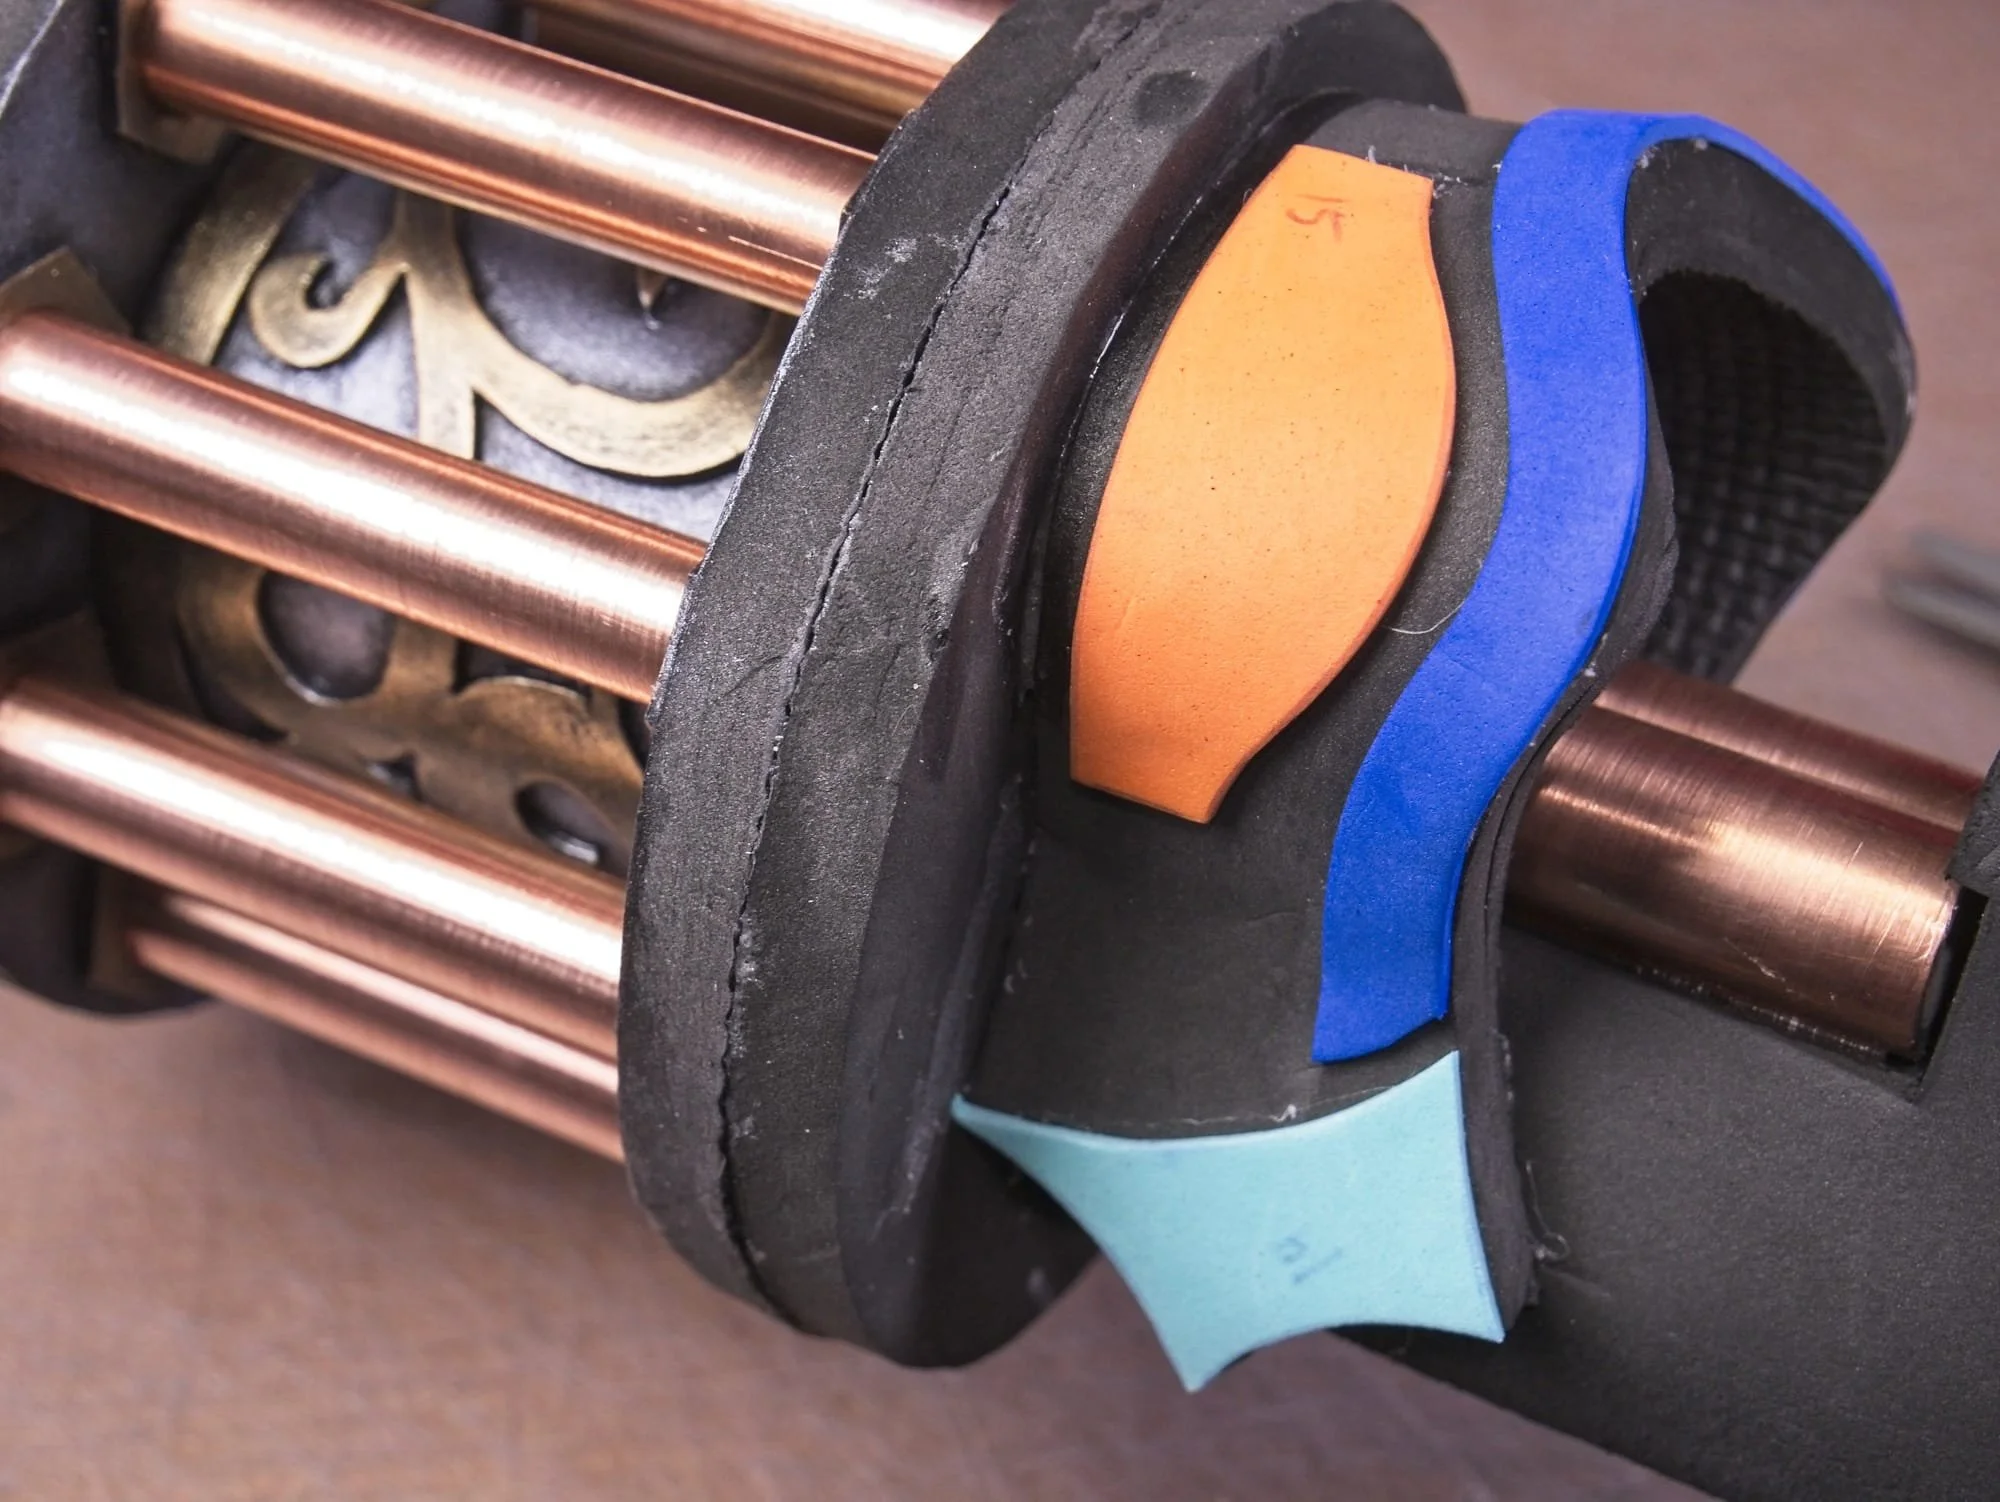
Adding the copper covered pipes to the already painted vortex canister.
Every steampunk gun needs a vortex canister, and this one is no exception. It uses a lot of the techniques we’ve already explored. There are 9 copper tape covered pipes that surround a circular, fancily decorated core. Before adding all the pipes, it’s important to paint the inside of the canister, otherwise it will be really hard to paint later.

The finished vortex canister.
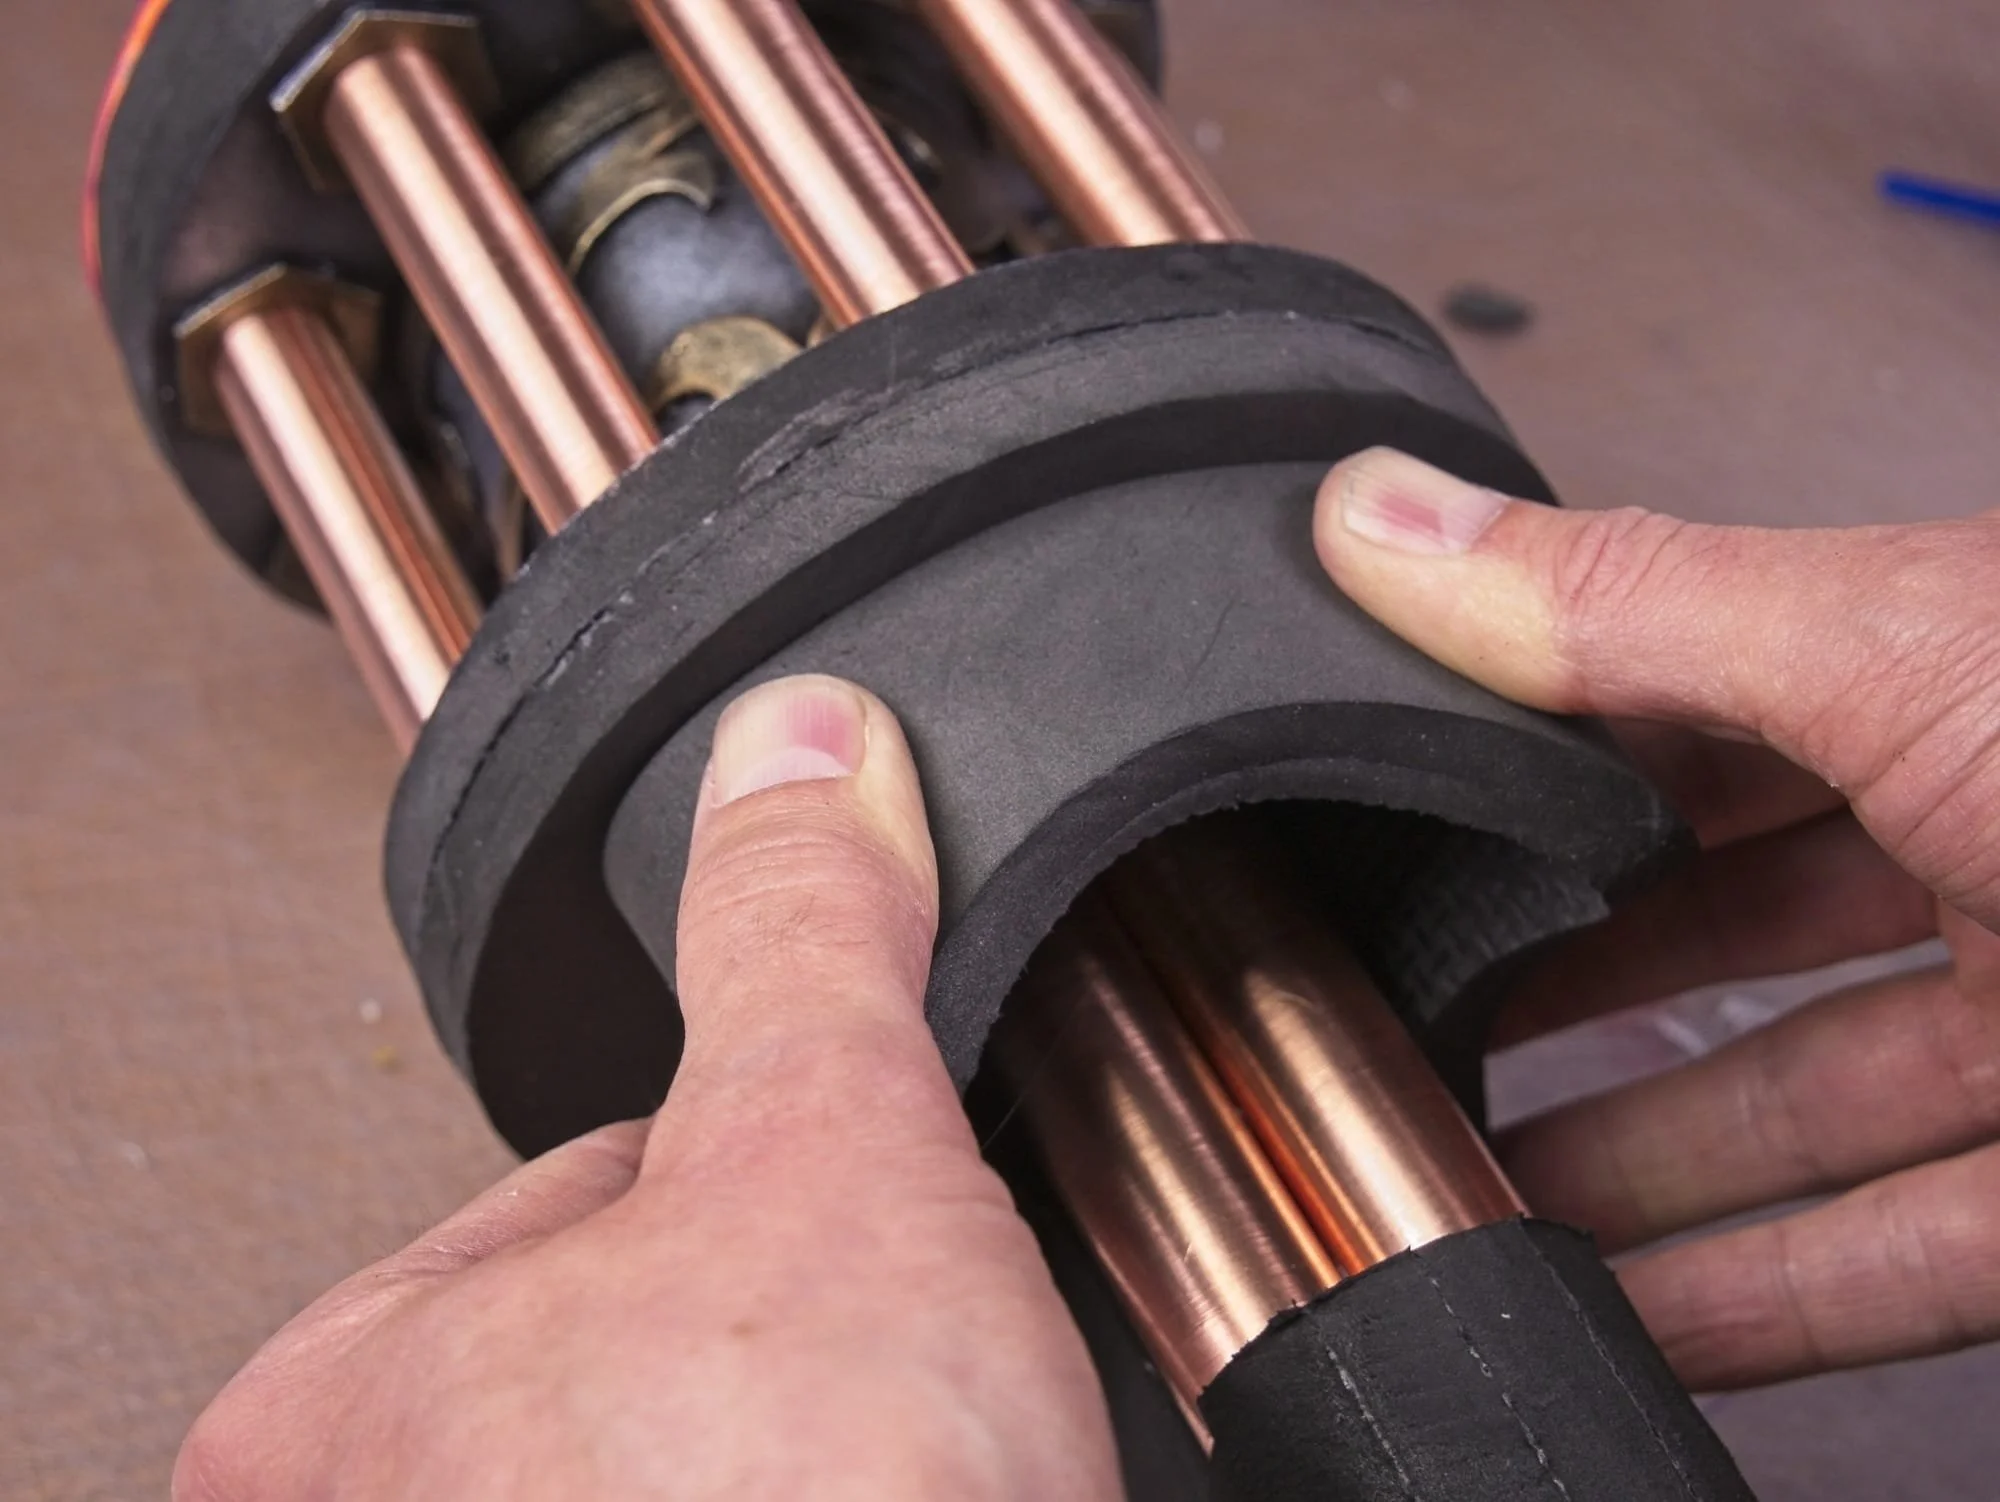
Step 11: The Hooded Tube
Next comes the hooded tube, which is going to get glued to the front of the vortex canister. Then the whole hooded tube/vortex canister combo gets slid down the barrel until it reaches the flat end of the stock, where it is glued in place.

Adding the hooded tube to the front end of the vortex canister.

Adding the vortex canister to the rifle.
Step 12: Stick Some Stuff Onto the Vortex Canister
Adding the back piece to the steampunk rifle.
Details added to the steampunk rifle.
Details added to the side of the stock.
On the back end of the vortex canister, we are adding another foam piece that is nicely decorated with some bright craft foam bits!
Step 13: Hide Some Seams
Gluing strips to cover the seams.

Cover the base of the stock with 2mm foam.
The fact that the stock of the gun is made up of a 4-layer-foam-stack means that it looks just a little bit ugly if we are being honest. In order to make everything look as intentional as possible, we are going to cover those segments with strips of foam!
Step 14: Fancy it up!

Adding swirls to decorate the sides of the stock.

Strips added to cover the seam on the large disks as well as adding extra fancy detail.
Step 15: Add a Scope

Painted scope parts.
For the scope, I used a golf club tube, just because it was a different size from the other tubes I had already used. Golf club tubes are cheap if you can find them, and are a nice sized thin walled tube. The scope assembly is made from a few parts, there is the front and back of the scope and the two mounts. All the scope pieces are made and then painted before assembling them onto the scope. The scope gets covered with the copper tape in the same way as the barrels did, the only difference being that it will need more than one strip of tape because the tube is much larger.
Step 16: A Few Faux Rivets
There are a few ways to make fake rivets. You can use small google eyes, foam discs, or my favourite: 5 minute epoxy.
The thing I like about epoxy rivets is that they don’t all look the same, which gives a better simulation of something hand made in the past. They also don’t jiggle like the google eyes do.

Piece with epoxy rivets
Using 2 part 5 minute epoxy, squeeze out equal parts and mix them thoroughly. You only want a very small amount of epoxy as it will start to harden in a few minutes.
Dip the head of a wooden match or something similar into the epoxy and lightly touch it against the place where you want your rivet.
Slowly lift the match head away, leaving behind a small blob of epoxy.
As the epoxy cures it will get thicker until it is leaving long strings behind when you make your dots. This means it is time to make another little batch of epoxy.
As you are working, stay aware of how you are holding the pieces and that you aren’t touching rivets that aren’t fully cured.
Step 17: Wire it up

Foam discs glued onto the gun, ready for wiring.

Wires inserted into foam disks.

Larger wires coming from the vortex canister
Now it is time to add some wires to the steampunk rifle for more detail. I used two different wire thicknesses- the phone wire I used earlier and some much thicker wire from an old extension cord. Glue a foam disc everywhere a wire attaches to the gun body, and then poke a hole in the middle of the disc for the wire to stick into.
You can see that I have also added some foam discs that don’t have a wire in them and some of those are made to look like screw heads. To make the screw heads, use your super sharp knife to cut two parallel lines near the centre of the disc. Don’t cut all the way through the disc. Once at the bottom of your second cut, turn the knife horizontal and cut across the bottom, linking the two vertical cuts together. If you are lucky, a small strip will come out, but more likely you will need to cut across the bottom from the other vertical cut as well to get the strip to come out cleanly.
Step 18: Make the Trigger Guard
The trigger guard is made from a strip of PVC. Because it is hard to find a flat sheet of PVC at my local hardware store, I looked for something that was PVC but had some sort of large, flat-ish section. I ended up using an end cap. I cut a strip off the cap and then used my heatgun to form it into the shape I needed for the trigger guard. I used a jewellers saw with a wax cutting blade. I love this tool, and it is pretty cheap and extremely versatile. I have a video here about them if you are interested.Step 19: Mount the Scope…Mount

Using my phone to help draw an even line on the PVC end cap

Installing the trigger guard
Step 19: Mount the Scope…Mount

Scope glued in position
Step 20: Paint it to Look Amazing!
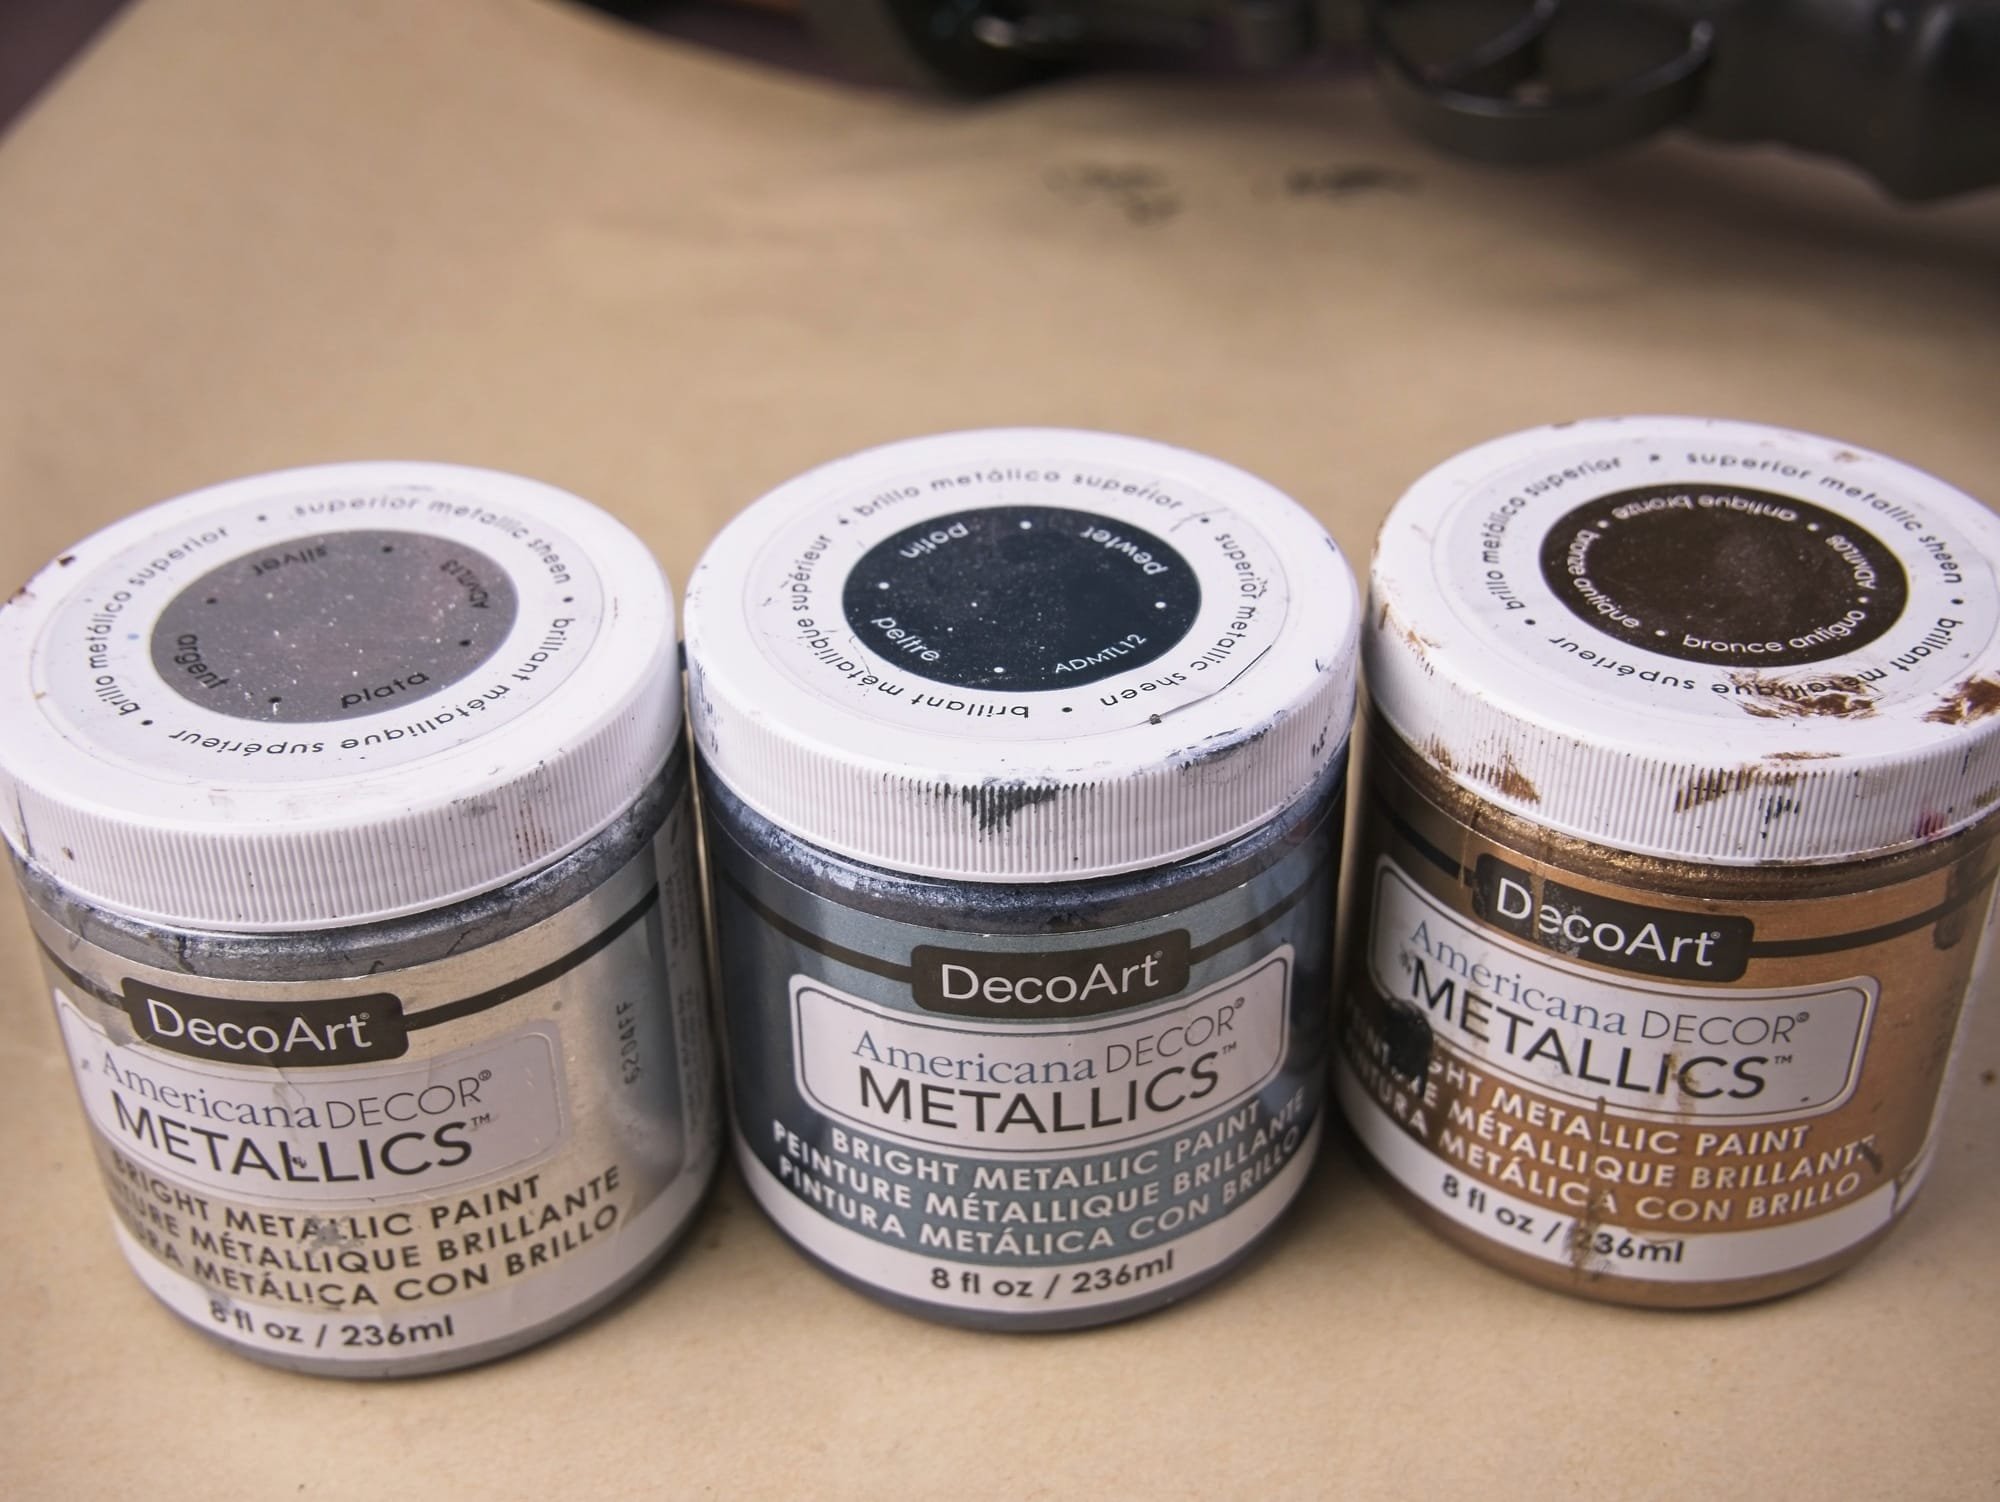
I used Decoart Metallics paints to apply the antique paint
Here is a little summary of the techniques I like to use when I am painting a steampunk project.
Do a base coat with artist acrylic paints. For this project I used black as the base for everything except the stock, where I used burnt umber. I find that artist acrylics have a little bit more flexibility in them when they are dry. I don’t use any primer on my foam, but I do encourage putting 2 - 3 good coats of paint to seal all the pores as well as give a nice solid surface for applying the metallic colours.

Rub the metallic paints on to raised surfaces a little at a time
My favourite metallic paints tend to change over time, but for this project I used DecoArt Americana Decor Metallics Vintage Bronze for the brass, and a 50/50 mixture of DecoArt Americana Decor Metallics Pewter and Silver for the silver colour.
My technique for creating an antique metal look is as follows:
Put on a tight fitting rubber glove. This keeps your hands clean as well as preventing fingerprint smears in your metallic coating.
Put a small blob of metallic paint onto a piece of scrap cardboard.

Steampunk rifle with metallic paint applied
Dip your fingertip lightly into the paint and then rub it onto a clean section of cardboard. Rub in a circular motion until almost all the paint is off your finger. It is especially important to watch the tip of your finger because paint can build up there, so you want to rub off any accumulation that occurs.
Rub your finger on the foam that you want to paint. Slowly build up the metallic colour, repeatedly going back and getting more paint on your finger.
If there are places your finger can’t reach, you can use a small, dry paintbrush. Dip the brush in the paint and then dab most of it off on the cardboard. Then use a vertical dabbing motion to apply the paint, again building it up slowly. It is good to stay away from inside edges as the antique look requires sections that would get less wear to look darker.
You will end up getting paint on places that you want to have a different colour. That’s fine, just go back over them with some black paint before using the next colour.
Step 21: Final Scope Installation

Gluing the scope in place
The last step is gluing the scope into the mounts. A couple drops of super glue and your are all finished!
Step 22: Done.
Thanks for hanging out with me!
If you'd like to see more of my projects you can find me here:
Subscribe to my YouTube Channel
Follow me on Instagram
Check out my Pattern Shop
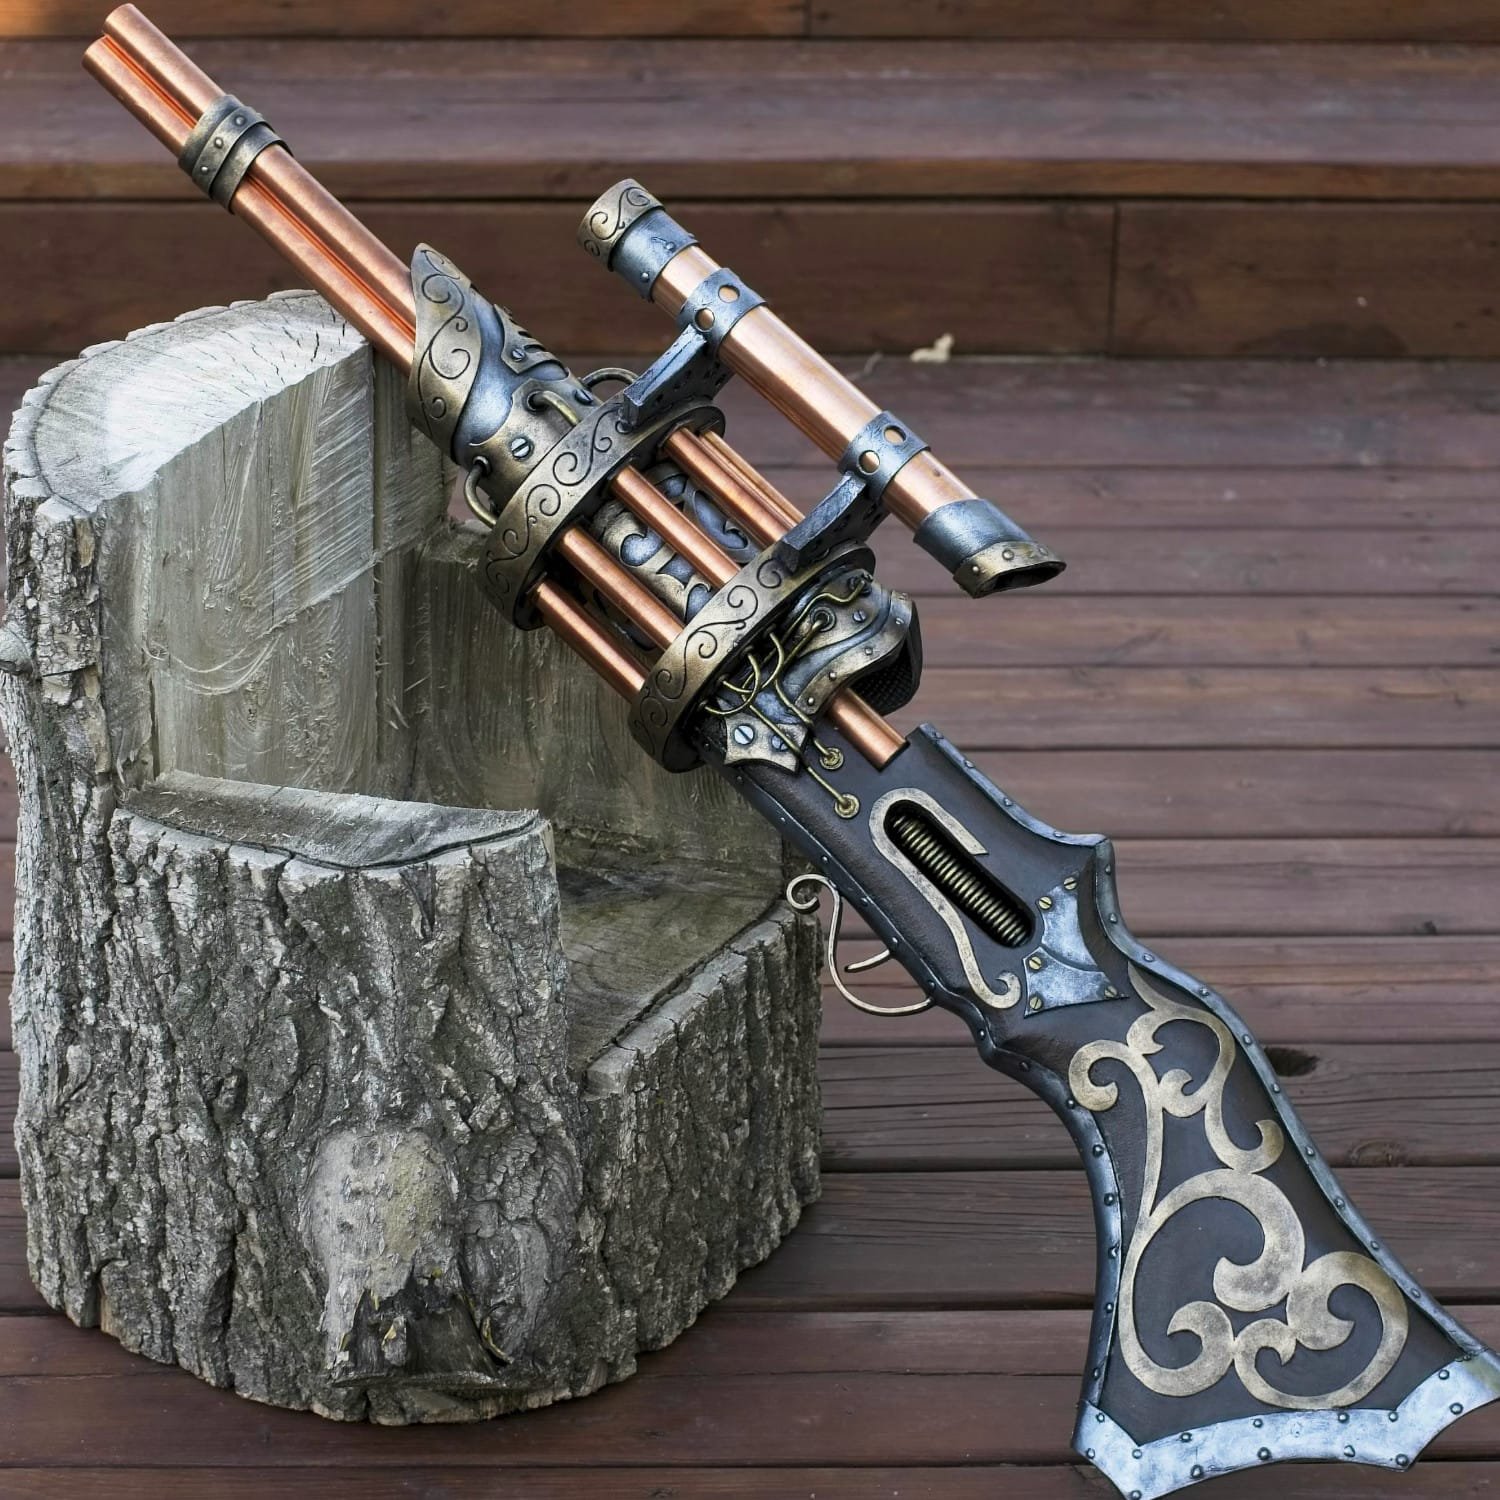
Finished steampunk rifle. Nice.