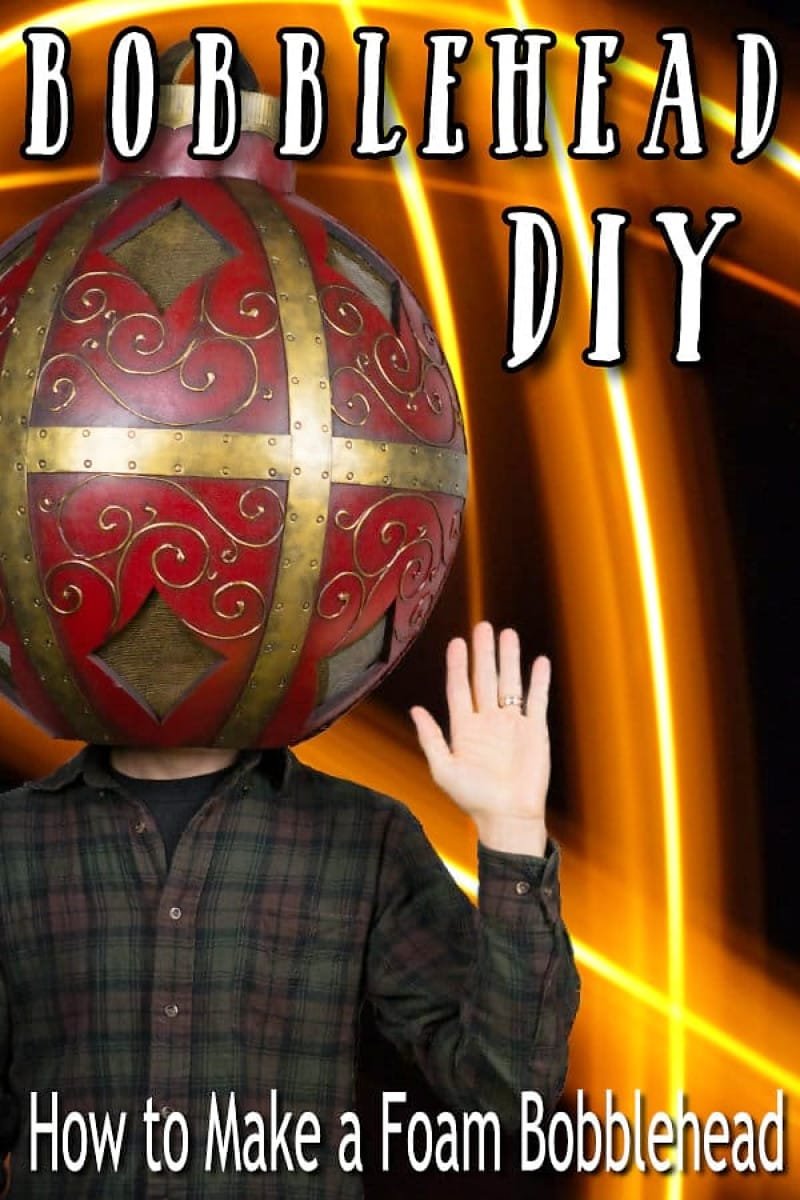
How To Make a Bobble Head Costume. My Christmas Costume Idea!
So, I was going to do something simple for this year's Christmas dress up party. Maybe throw on a Santa hat and call it good. Yes, even though I love making costumes, sometimes I just want to....not.
However, a couple of days before the party, while I was in bed in that beautiful half awake, half asleep state where everything makes sense, I dreamed of a giant Christmas ball that you could wear on your head. Kind of a like a DIY bobblehead costume with a Christmas vibe. When I woke up, I explained it to my wife. She just shook her head. That's when I knew it was crazy. So crazy it just might work. So I tried, and was super happy with the result! If you are looking for a sweet Christmas costume idea, this just might be what you are looking for.
The thing I am excited about is that this could be the basis for any number of big round things you could wear on your head. If you make any, I'd love to hear about it!
If you prefer to watch, you can see the video tutorial below.

Follow the first part to make your own bobblehead template or grab the pattern I made. Well, let’s get making…
Note: There may be Amazon links in the following content and as an Amazon Associate I earn from qualifying purchases.

Wrap a layer of plastic food wrap around a basketball. Don’t stretch it too much or it will try to shrink back once you cut it off.
Wrap a layer of plastic packing tape over top of the plastic wrap. You don’t have to be super particular about wrinkles or anything, just make sure the whole ball is covered.

Draw a line around the centre of ball. The great thing about basketballs is that they already have a line at the centre, so all you have to do is follow it!
Use elastic bands to split the ball into 6 equal sections

A ring ruler is a great tool for lining up the elastics.
I used a ring ruler to make sure the elastics were evenly spaced. Using the elastics as a guide, draw two more lines around the ball.
Cut one of the sections off the basketball.

Then fold that section in half and cut along the fold.
Figure out how big you want your bobble head to be, and scale up the pattern piece to that size. For me, I scaled my basketball sized pattern up 240%.
Alternatively, you could skip all the basketball fun, and just get the pattern I already made here.

Once you have the pattern, print it out and trace it 12 times on 10mm thick foam and cut it out. The pattern I made allows three sections to fit on a standard puzzle piece foam mat. It is important that you use a very sharp knife so that you can make a nice clean cut through the foam.

Glue the foam pieces together in sets of three, starting at the point and working your way back. I use hot glue for most of my projects because it creates less toxic fumes, but it will also work with contact cement. If you use hot glue, just glue a small section at a time and hold it together until the glue cools. This is a lot faster if you use a glue gun with adjustable temperature control. You can see the one I use here.

Glue two quarter sections together to create a half sphere. After a bit of frustrating trial and error, I figured that the best way was to glue the top centre point first.

Then glue the very bottom edges so that the dome would hold its shape. You can then work your way along the seam gluing it together. The best way to get a nice seam is to apply the glue and then press directly on the seam until it is slightly convex in the spot you are gluing. Hold it until it has cooled.


Now you should have two halves which can be glued together. I glued the halves together at each vertical seam first and then went around the ball gluing the rest of the horizontal seam.

Oh, and don’t forget to make a hole for your head to go through. I cut a bit off the tip of each pattern piece for my second half, guessing what size it should be, but you could also wait until it is assembled and then cut the circle, starting small and widening it until your head just fits through.

Although this makes a pretty round shape, it isn’t perfect yet, because it was made from flat sheets of EVA foam, so the next step is to form it using pressure and heat. I inflated an exercise ball inside the bobblehead, just enough so that it was reasonably firm. I didn’t want to create too much pressure on my glue seams.

I covered the ball with cling wrap, and then a strip of tape along each glue seam. The reason I did this is that I want the EVA foam to stretch in the middle of each panel, but I don’t want it to stretch around the outside edge of the panels. This also gives all the glue seams some extra strength so that they don’t burst.

Then use a heat gun to slowly heat up each section of the ball. It is important to take your time on this step, as it will take a while for the foam to be heated all the way through. As well, if you hold the heat gun on one spot for too long, the cling wrap will start to melt. It’s a good indicator that you need to slow down if that happens!


Here’s a look at the ball after it’s been heated. It shows quite clearly where I have positioned the packing tape as well. In the video I wasn’t sure if I had given the ball enough heat, so I also submerged it for a while in a tub of hot water, though I think that probably was not necessary.

Leave the ball to completely cool, to lock the foam into shape. I just left it overnight and unwrapped it in the morning. See how nice and round it is! Now you can deflate the exercise ball and remove it.
Cut some long strips of 2mm thick EVA foam about 4cm wide.
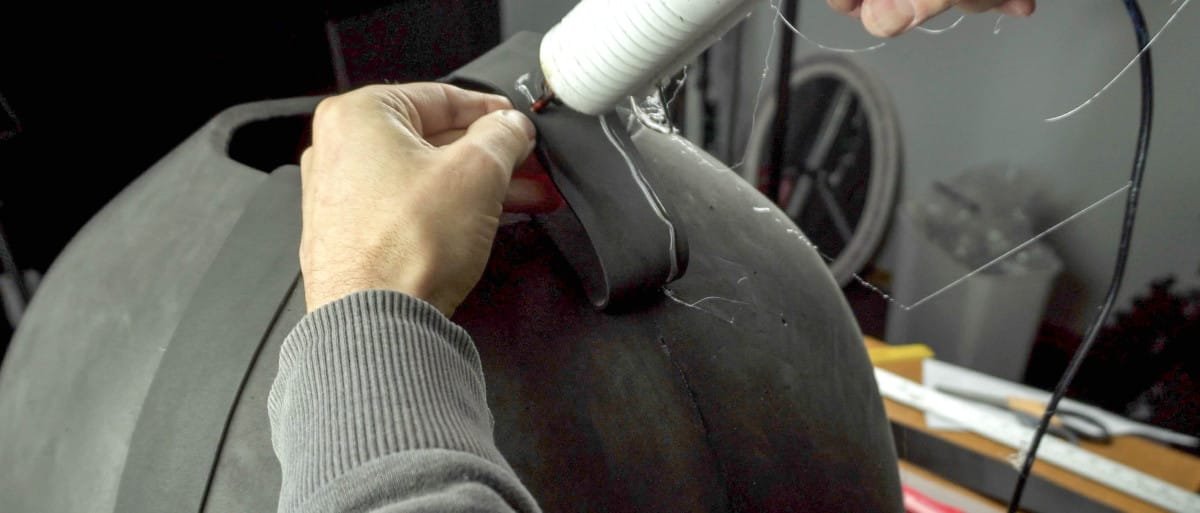

Glue the strips down, covering all the seams. I covered all the vertical seams with a strip each, and then used separate pieces around the horizontal centre line between each set of verticals.

Make a long tube of foam- I used some 6mm thick EVA foam. This tube needs to sit on top of your head like a hat. It is what is going to hold the bobblehead up when you wear it.

Once you know the size of the tube for your head you can use it to mark out the hole in the top of the ball. You want the tube to fit tightly in the hole. Cut out the hole….

….and slide the tube down through the opening.

With the tube pushed down quite far into the ball, put the ball on your head and use your head to push the tube back up until the ball is positioned in the right place. Carefully take it off without moving the tube and then you can glue the tube in place at the top of the ball. All the weight of the ball is resting on this seam, so make sure you glue it well.
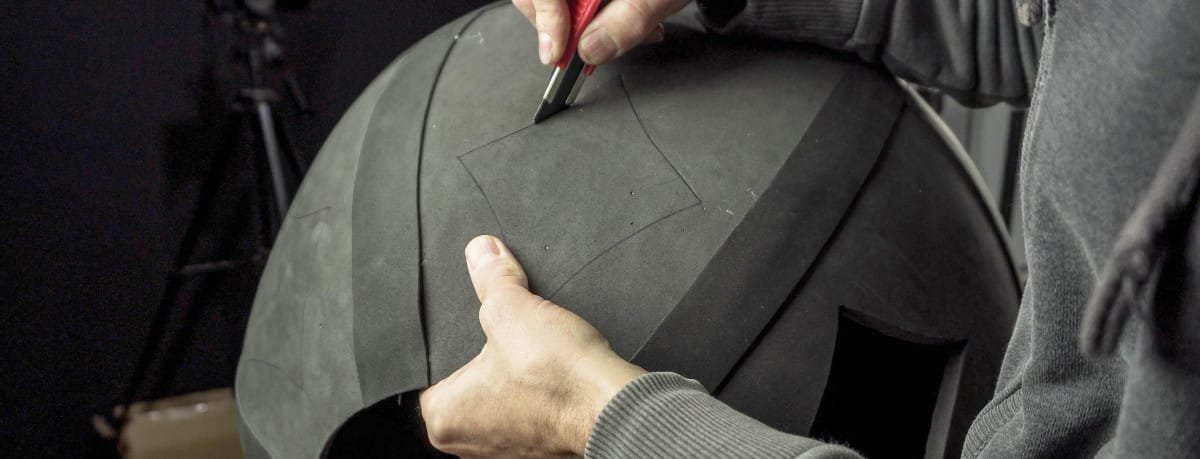
Now that you know where your eyes are going to be when wearing the bobblehead, you can cut some appropriately placed openings so that you can see. I cut some diamonds, but you can do whatever you want.
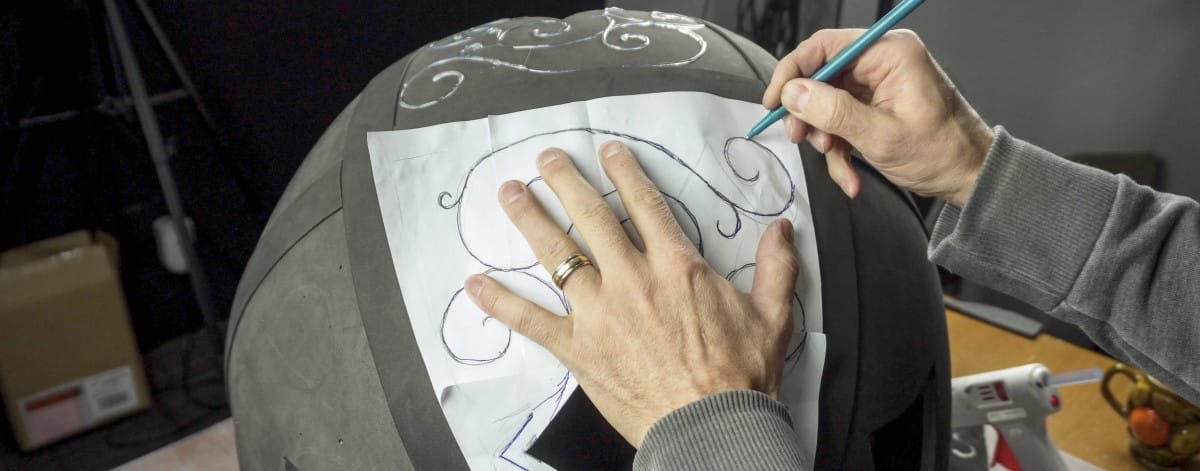

Since this is a Christmas decoration, I decided to add some more decorative elements. Like some sweet swirls! I just drew the swirls on the original pattern piece and then traced over the lines while holding it against the foam. This left a faint impression which I then drew over with pen so I could see it well.

I used my glue gun to create raised lines along the swirls. If you have a glue gun that has temperature control, turn the temperature down so that the glue coming out will be a bit thicker and hold it’s shape. The glue gun I use is really quite cheap (under $30) but has a temperature control, which is awesome. Hold your glue gun about 1cm above the foam and as you squeeze the trigger, let it fall gently onto the line. Move the tip of your glue gun so that the glue strip follows the line. This technique does take some practice, so I would suggest giving it a try on some scrap before you use it on your ball.

Push and twist the back of a pen against the foam strips, leaving circular indentations. These will be to give the impression of rivets along the strips.


Cut another strip of 2mm foam for the rim around the top of the tube. I found this cap which had a great texture, so I heated the strip with my heat gun and then rolled the cap over the foam, while pressing down quite firmly. It’s too hard to heat the whole strip at once, so I heated it a section at a time.

Cut some scallops in the strip.

Glue the strip around the top of the tube. Cut another strip of 6mm foam and glue it into the tube to create the hanging tab.

Paint everything black. I used the “Finish Max Super” HVLP spray gun that was given to me by Homeright to speed up the process. In order to get a good result with the sprayer, I did thin down my acrylic paint with water.
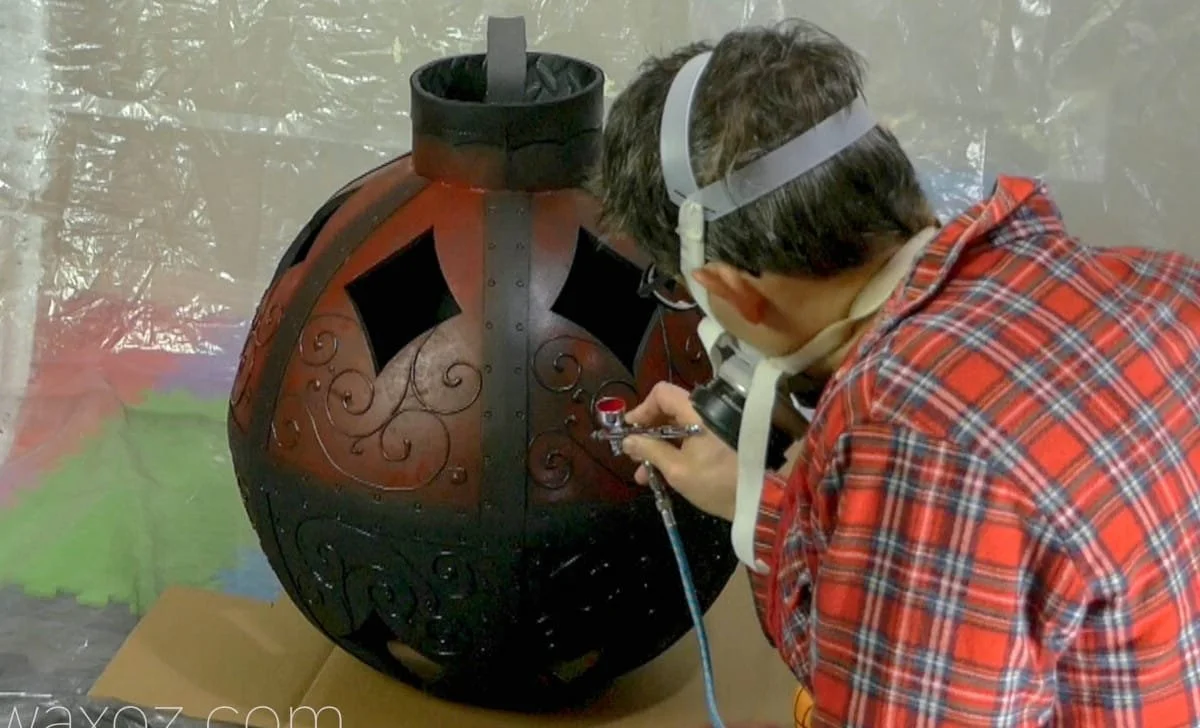
Paint the sections red. I used my airbrush and some acrylic paint, well thinned down with water. I needed quite a few coats to get a good colour, maybe 3 or 4 coats.

I used my airbrush to create some depth in the design. I sprayed black paint along all the swirls, as well as beside all the foam strips.
Paint all the strips black. Give it at least 2 coats of paint so that the metallic paint will go on smoothly.
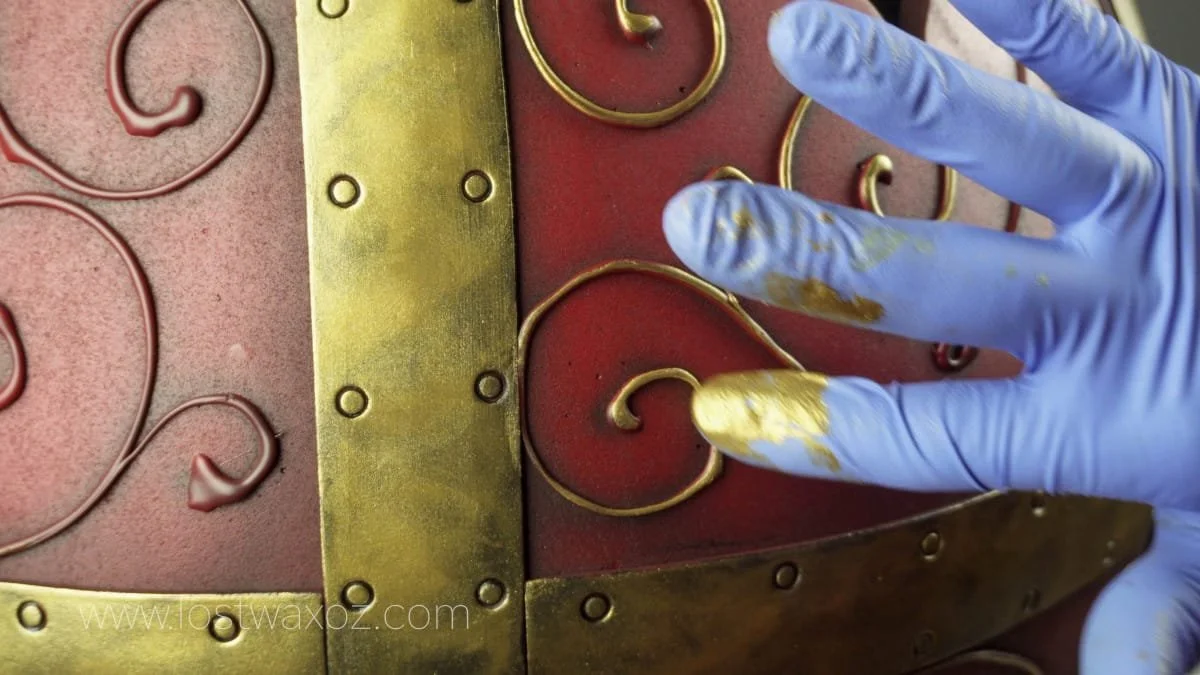
Apply metallic paint to the swirls as well as to all the foam strips. I used DecoArt Americana Decor Metallics “Vintage Brass.” (Amazon affiliate link)

I wanted to make the diamond holes a little less obvious yet still be able to see properly, so I used some insect screen to cover the holes. I painted them with the metallic paint before I glued them across the holes.

The last thing I did was spray a coat of Pledge Floor Gloss over the whole ball to protect it and give it a shiny resilient surface.

And that’s it, time to get out there and amaze everyone with your new Christmas Costume!