Homemade steampunk waistcoat for $7
I just wanted to share with you how I made a double-breasted victorian waistcoat from an old suit jacket I got at a thrift store for $5. This is a perfect item to add to your steampunk wardrobe!
First I found an old suit jacket, it was single-breasted, but when I overlapped the front as in a double-breasted jacket, it fit me nice and snug. Sweet.

I don't need arms on this thing, so I cut em off, then I tried it on to get an idea of where I would cut the armholes for real. Always remembering to leave extra for seam allowance.

Marked the new armholes and cut. I basically just made the shoulders narrower and kept the bottom of the armhole at pretty much the same place. You can see the bulky padding for the shoulders here. I ripped that all out.
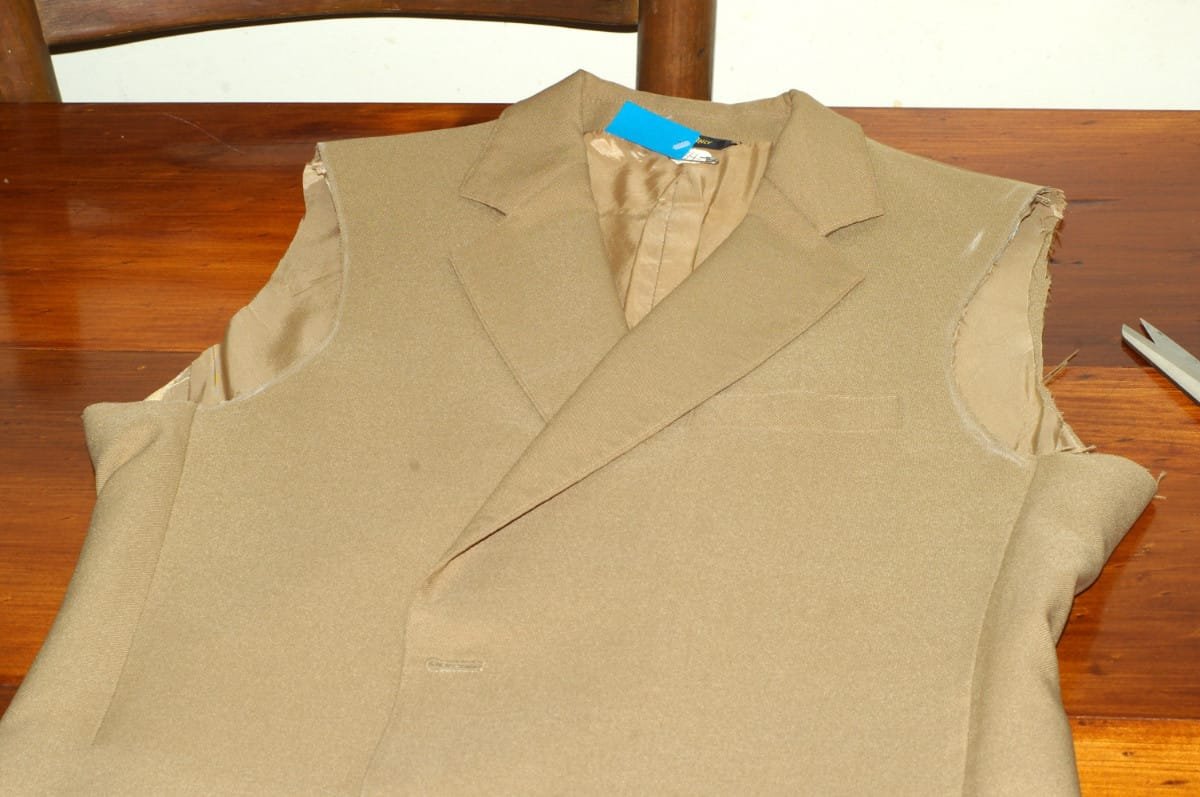

I wanted the waistcoat to fit me well and it had a bit of extra material at the bottom of the armhole, so before I hemmed the armholes, I made a dart from under the armpit, straight down to get rid of some of that extra fabric.

Okay, this part was the trickiest part, getting a nice seam around the armhole. I hemmed the jacket material and the lining separately and then sewed them together for the finished arm. I couldn't figure out a better way to do this, maybe someone out there has a good idea. I found it really had a tendency to go kinda wavy. I think also very important was cutting little slits on the inside curve where I was hemming, so the fabric can stretch.

Okay, finally got it sorted! Everything else from here is a walk in the park!

I tried on my waistcoat again, figured out how long I wanted it, and cut it off, again remembering to leave a seam allowance. Also, not shown here, I sewed the slit at the back of the jacket shut.

Finally, I can hem the bottom. I did the outer material on the machine and then I hand stitched the lining down.
Buttons, buttons, buttons
I was lucky and the buttonholes were exactly where I needed them. Because I wanted a high collar though I needed to add two more button holes at the top. Then I just figured out where the buttons needed to go and sewed them on.
You can kind of see the crease where the collar used to fold down. I tried best as I could to iron it out, but I couldn't get rid of it all. As well, I had to put a little stitch in the collar to hold it down in the right place. I guess 50 years of it being creased in the same place is hard to overcome.
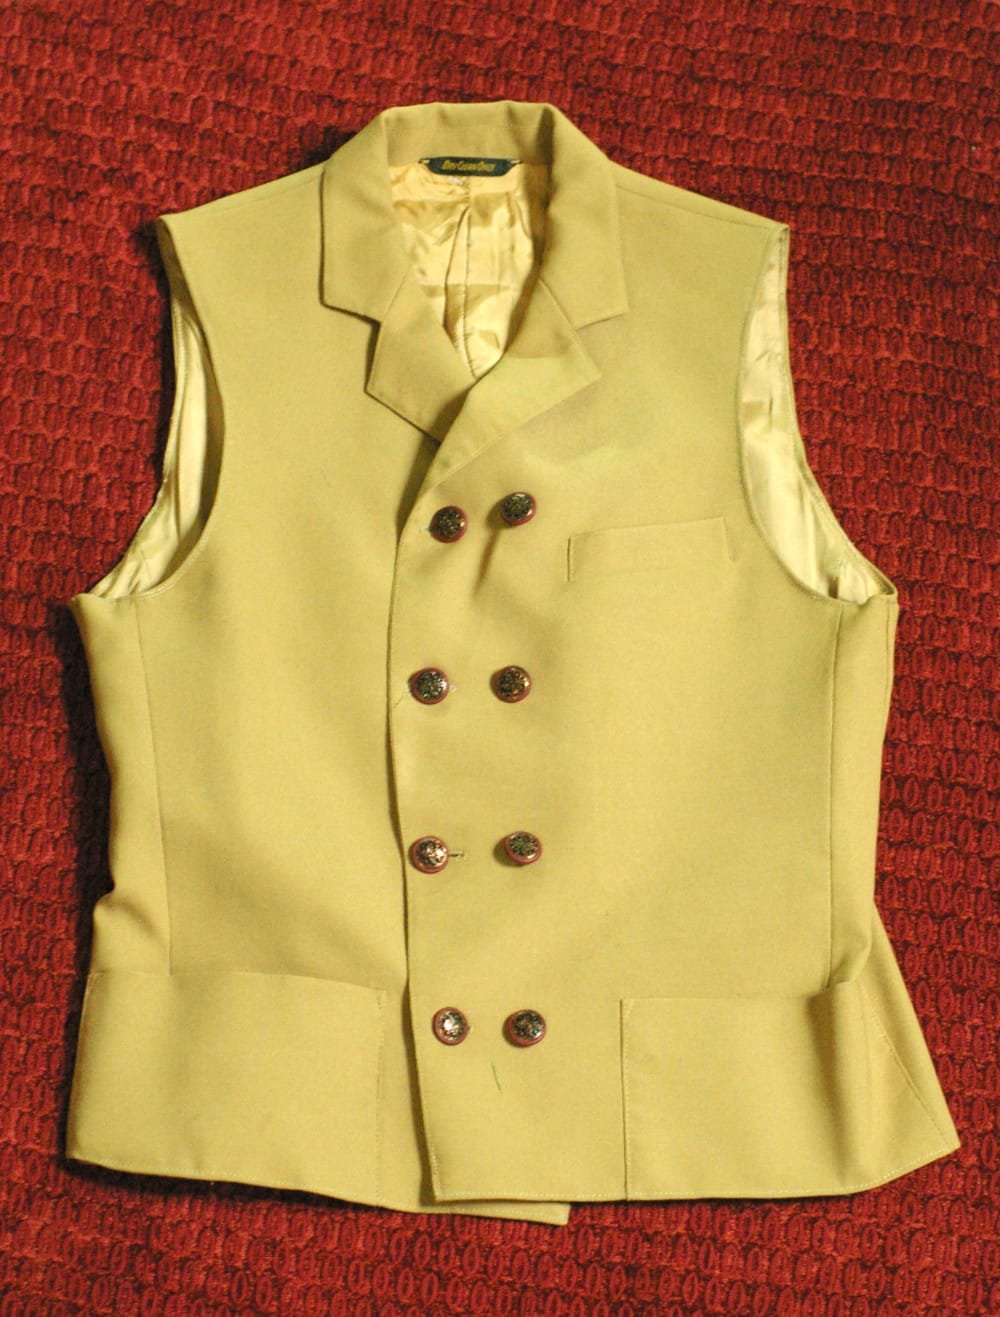
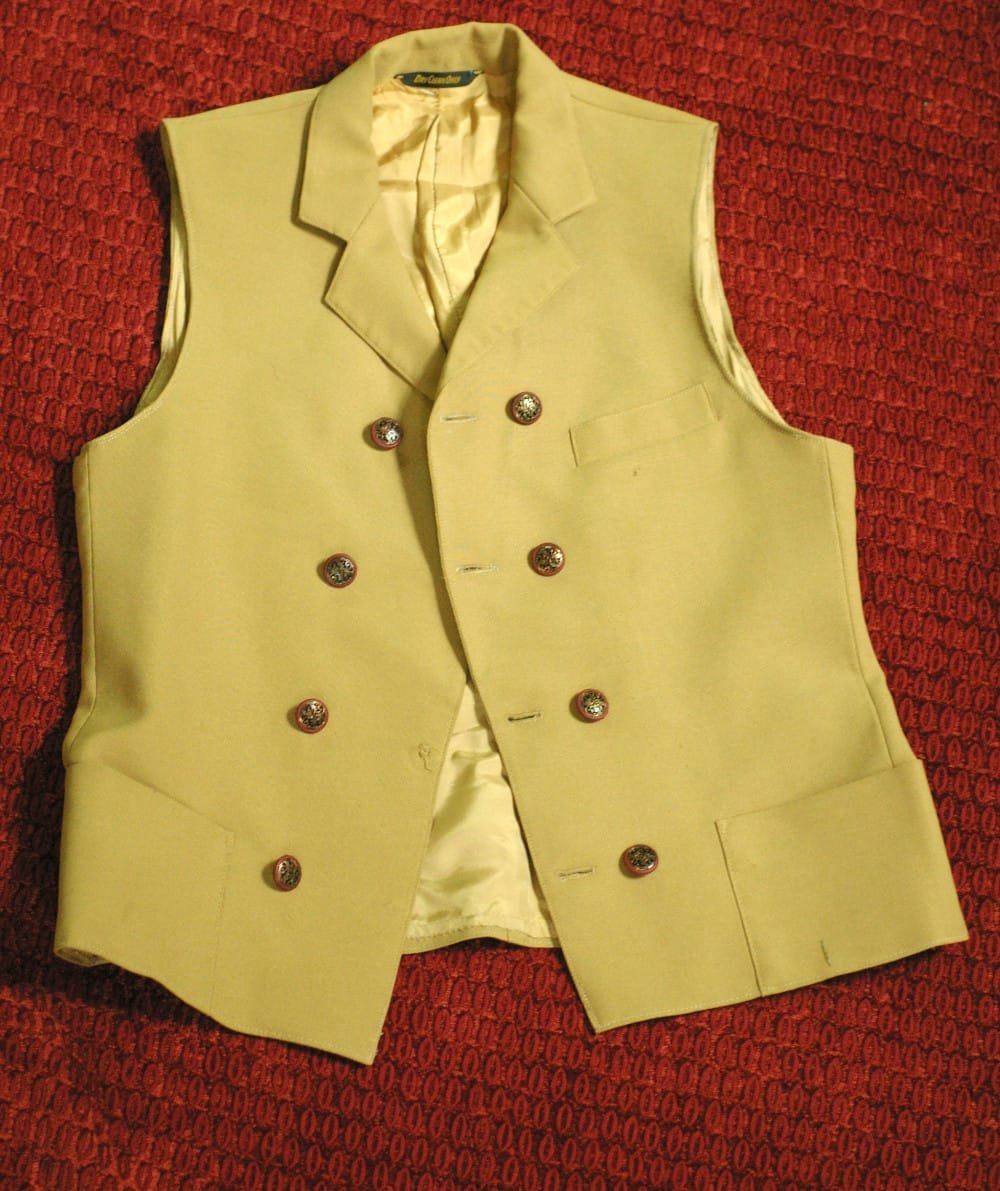
Finished steampunk waistcoat
And that's it, done. I think it probably took me a whole day to do it, but if I had to do it again it would be so much quicker. And for $7 (including buttons), you can't really complain.
I ended up wearing this to a recent wedding and got heaps of positive comments. Awesome.